How to Convert Word Documents to High-Quality PNG Images
Convert every Word page to a crisp PNG with PDF rasterization, LibreOffice commands, sizing guidance, troubleshooting, and quality checks.
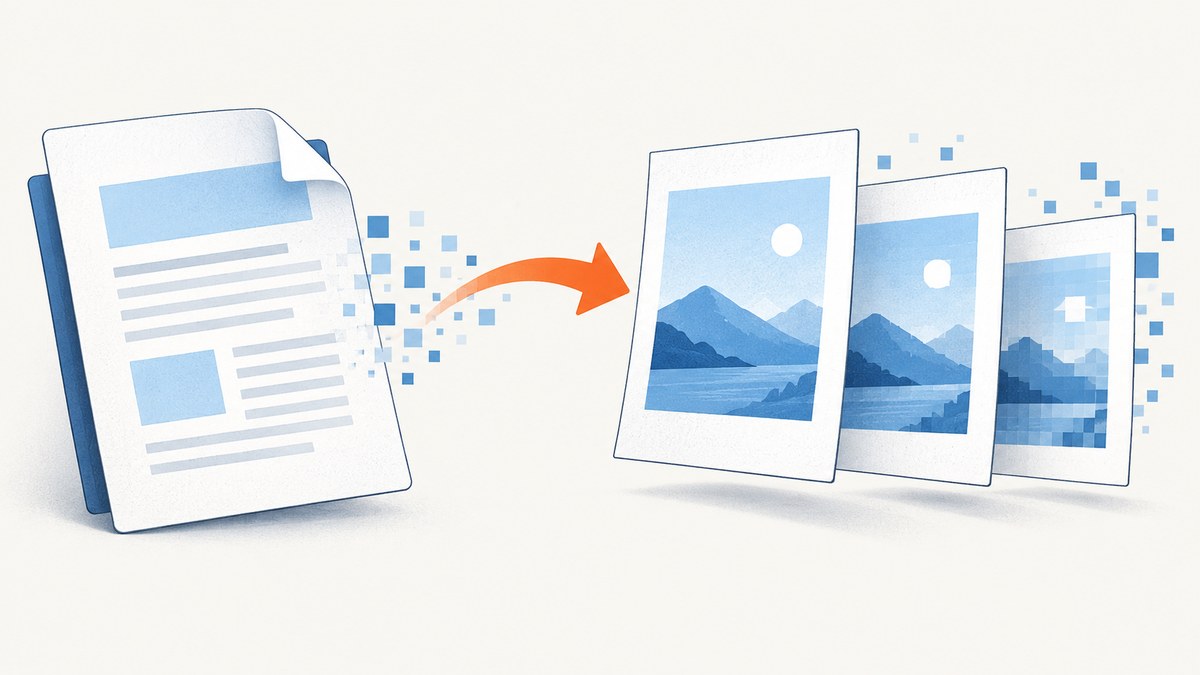
Use a two-step workflow for the most predictable result: export the Word document to PDF, then rasterize each PDF page to PNG at the pixel dimensions your destination requires. The PDF preserves page layout; the rasterizer controls the final pixels.
For supported Writer documents, LibreOffice can also export directly to PNG with explicit pixel width and height. That route is convenient, but inspect the output because fonts, page breaks, and layout can render differently between applications.
Choose the right conversion method
| Need | Recommended route | Trade-off |
|---|---|---|
| Separate PNG for every page with control over output size | Export PDF, then rasterize | Requires a PDF rasterizer and its PDF-reading dependency |
| Fast conversion in an application that supports Writer PNG export | LibreOffice Writer direct export | Verify page behavior and rendering in your installed release |
| Print-oriented images | Calculate physical print size and required pixels, then render accordingly | Larger images require more storage and processing |
| Web or email sharing | Start with the actual display pixel dimensions | Extra pixels increase file size without improving a smaller display |
Method 1: Export Word to PDF, then rasterize every page
Step 1: Export the document to PDF
Open the DOC or DOCX file in Word or another compatible word processor and export or save it as PDF. Review the PDF before converting it: check page breaks, fonts, margins, tables, images, headers, footers, and page count. Fix layout problems in the document before rasterization.
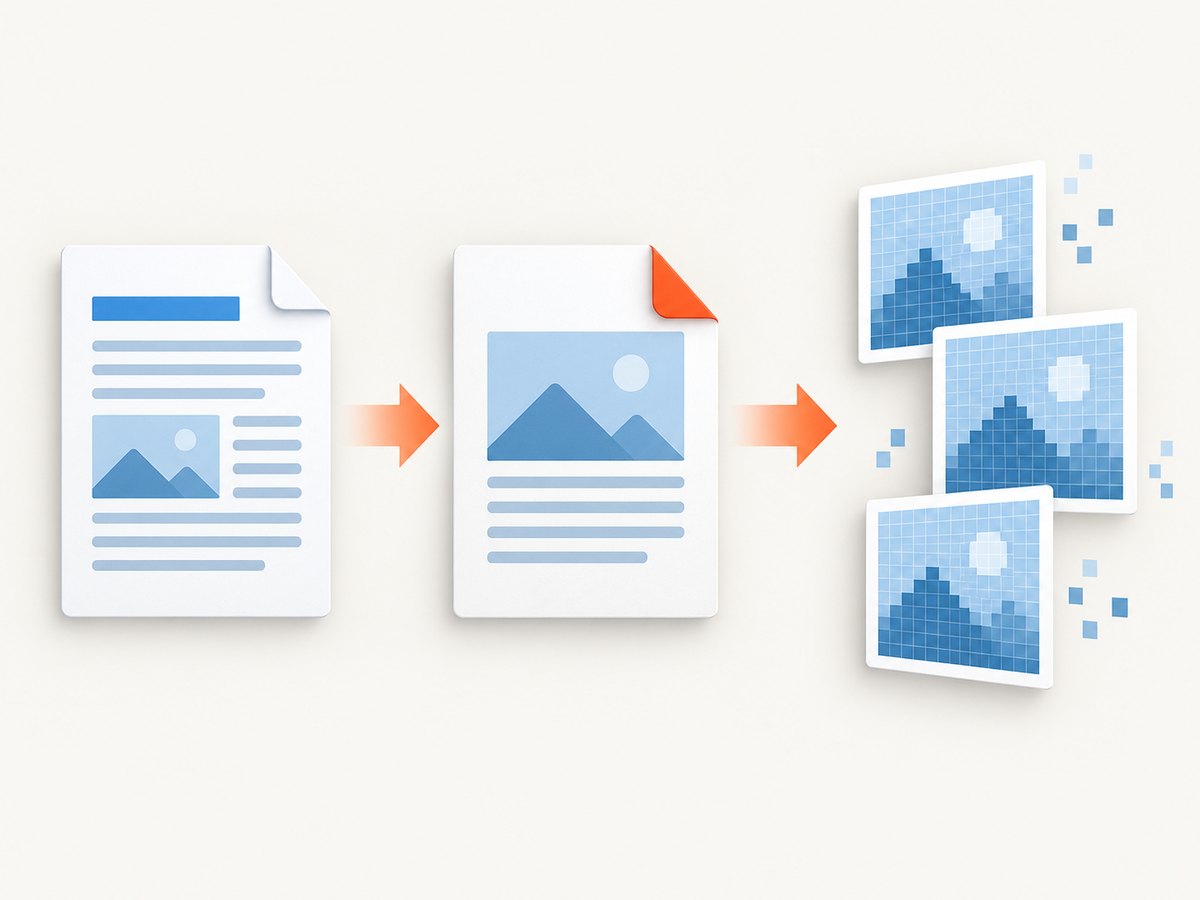
If LibreOffice is installed, a headless PDF export can be scripted:
soffice --headless --convert-to pdf --outdir output input.docxLibreOffice’s PDF export options include page-range selection and image-resolution controls such as ReduceImageResolution and MaxImageResolution. The documented resolution values include 75, 150, 300, 600, and 1200 DPI. A listed 300 DPI default applies to the PDF export property’s maximum image resolution when reduction is enabled; it is not a universal PNG recommendation. See the LibreOffice PDF export reference.
Step 2: Install a PDF rasterizer
ImageMagick can read PDF pages through Ghostscript. Install both according to your operating system, then confirm that PDF reading is enabled in your installation. ImageMagick documents the dependency and PDF conversion examples in its format documentation.
Step 3: Render the PDF to PNG
magick -density 300 input.pdf -background white -alpha remove -alpha off page-%03d.png-density 300 controls the rendering density before the PDF is converted. It is an example setting, not a guarantee of best quality. Choose a value based on the destination and inspect the resulting pixel dimensions.
The command produces files such as page-000.png, page-001.png, and so on. PNG preserves sharp text edges without JPEG compression artifacts, but files can be large for photo-heavy pages.
Render only selected pages
ImageMagick supports PDF page selection with an index expression. For example, this renders the first three pages:
magick -density 300 input.pdf[0-2] page-%03d.pngPage indexes are zero-based in this form, so [0-2] means pages 1 through 3. Confirm the output names and count after conversion.
Set a target pixel width or height
When the destination specifies pixels, use a resize step after rasterization. Preserve the page’s aspect ratio unless the destination explicitly requires stretching:
magick -density 300 input.pdf -background white -alpha remove -alpha off -resize 2000x page-%03d.pngThis sets a maximum width of 2000 pixels while allowing ImageMagick to calculate the matching height. Upscaling cannot restore detail that was missing from low-resolution images embedded in the original document.
Method 2: Export directly from LibreOffice Writer
LibreOffice documents a Writer PNG export filter named writer_png_Export. Its command-line parameters include PixelWidth, PixelHeight, and AntiAliasing. This example requests 2480 by 3508 pixels:
soffice --convert-to 'png:writer_png_Export:{"PixelWidth":{"type":"long","value":"2480"},"PixelHeight":{"type":"long","value":"3508"}}' --outdir output input.docxThe dimensions in this example are illustrative. Set them for the actual use case and inspect the result. The LibreOffice graphics export reference describes the filter and export properties. The latest help page is rolling documentation, so confirm syntax against the LibreOffice version installed on your machine.
Direct Writer export is useful for a quick conversion, but test documents containing complex fields, unusual fonts, floating objects, tracked changes, or section-specific layouts. If page-by-page control or predictable PDF layout matters, export to PDF first and rasterize that PDF.
Choose PNG dimensions for the destination
Screen and web use
Start with the displayed width in pixels. Rendering far beyond that width increases processing time and file size without improving the final display. If an image will be shown at 1000 CSS pixels on a high-density screen, rendering around 2000 physical pixels wide may be appropriate, provided the resulting file remains practical.
Print use
Calculate pixels from the physical print size and the required print density:
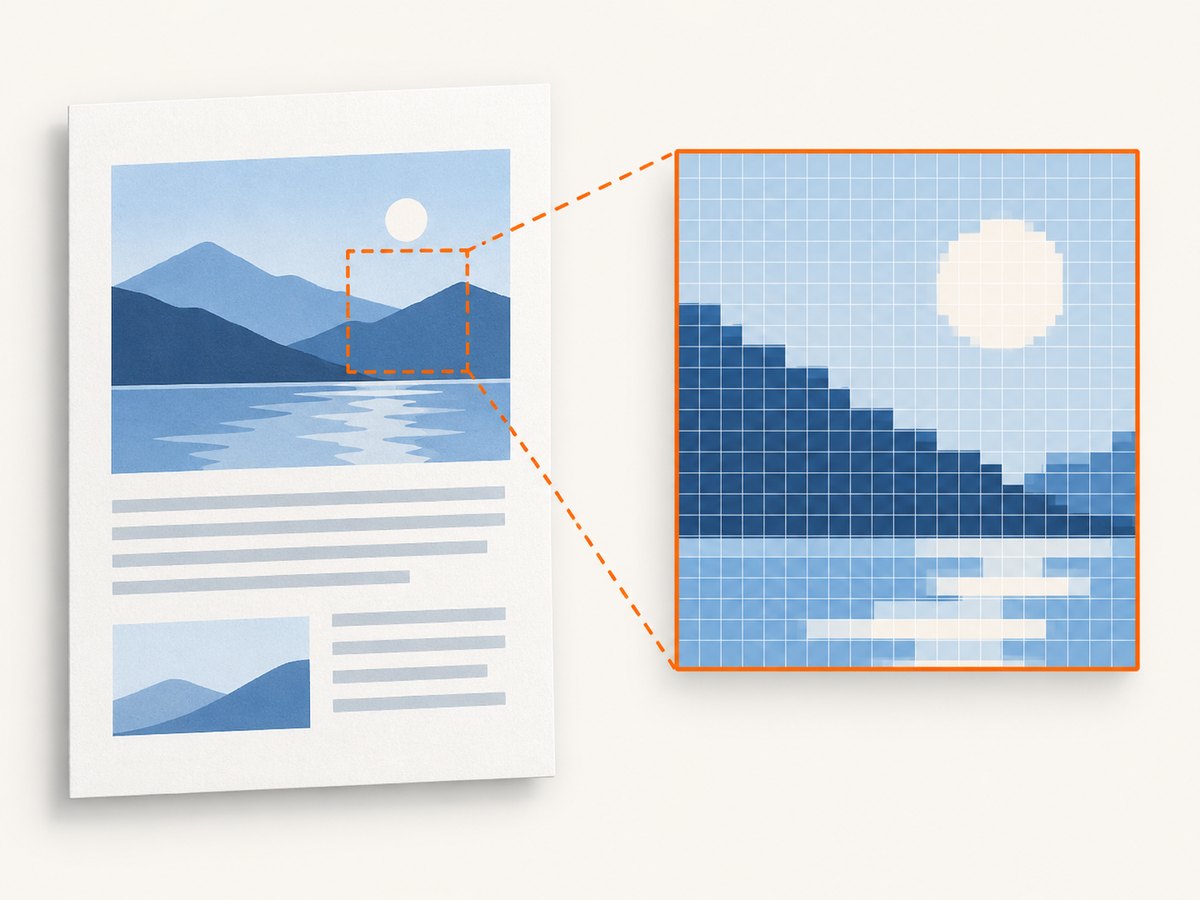
pixels = inches × pixels per inchFor example, a 6-inch-wide image at 300 pixels per inch requires 1800 pixels across. The source document’s embedded images still limit detail; increasing render density does not recreate information that was never present.
DPI versus pixels
DPI is a rendering input for the PDF-to-image step. Pixel width and height determine the actual raster size. For on-screen use, the destination’s pixel dimensions are usually the practical constraint. Always inspect the PNG at its intended display size.
Quality-control checklist
- Confirm that the PDF page count matches the source document.
- Check page order and output filenames.
- Open representative first, middle, and last pages.
- Inspect small body text, footnotes, tables, and thin rules at the intended display size.
- Look for clipped margins, missing backgrounds, transparency changes, and shifted objects.
- Check that fonts have not been substituted.
- Compare image-heavy pages for acceptable file size.
- Verify that the final PNG color and alpha behavior match the destination.
Common errors and fixes
| Symptom | Likely cause | Fix |
|---|---|---|
no decode delegate for this image format PDF |
ImageMagick cannot access a PDF delegate, commonly Ghostscript. | Install Ghostscript, confirm it is on the executable path, and verify that your ImageMagick policy permits PDF reading. |
| Only one page is exported | The direct export path or application treats the document as a single graphic. | Use the PDF-then-rasterize workflow, which explicitly creates one image per PDF page. |
| Text looks blurry | Rendering density or output dimensions are too low for the display size. | Increase density or target pixels, then inspect at the intended size. Check the source PDF first. |
| Large files | High pixel dimensions, photo content, or many pages. | Render to the required dimensions, avoid unnecessary upscaling, and process only needed pages. |
| Transparent or black page background | Alpha handling differs between the PDF renderer and output settings. | Use -background white -alpha remove -alpha off for opaque white pages, or retain alpha deliberately when transparency is required. |
| Missing or substituted fonts | The conversion environment does not have the document’s fonts. | Install the required fonts, regenerate the PDF, and review the PDF before rasterization. |
| Objects or page breaks move | The document was laid out by a different application or release. | Export with the application that created the document when possible, compare the PDF, and use PDF rasterization after layout is correct. |
| LibreOffice command fails | Filter syntax differs by release, or shell quoting is incorrect. | Check the installed release’s help, keep the filter string quoted, and test with a copy of the file. |
Performance, reliability, and cost considerations
- Performance: Higher density and larger pages consume more CPU, memory, and storage. Convert only the page range you need and resize to the destination instead of generating oversized intermediates.
- Reliability: Keep the PDF as an auditable intermediate. If a PNG looks wrong, compare it with the PDF to determine whether the problem occurred during document layout or rasterization.
- Repeatability: Pin the conversion application and fonts in automated jobs. Record the density, dimensions, page range, and tool versions alongside generated files.
- Cost: Local conversion has no per-page API charge, but it uses compute, disk space, and operational time. Larger outputs increase storage and transfer costs.
Or skip the browser setup
If your document is available as a web page or PDF URL and you need a rendered page image, ScreenshotNeo returns a PNG, JPEG, WebP, or PDF from one GET request. It removes cookie and consent banners, newsletter popups, and chat widgets before capture. Bot checks, blank pages, failed loads, timeouts, and cache hits are not billed, and the response identifies the result with X-Page-Verdict and X-Billed headers. Its MCP server lets Claude, Cursor, and other MCP clients use take_screenshot, get_page_info, and capture_pdf.
See the ScreenshotNeo API documentation for all options. This example captures a rendered page:
curl -G "https://api.screenshotneo.com/v1/shot" -d access_key=YOUR_API_KEY --data-urlencode url=https://screenshotneo.com/docs/ -o shot.webpimport requests
r = requests.get("https://api.screenshotneo.com/v1/shot", params={"access_key": "YOUR_API_KEY", "url": "https://screenshotneo.com/docs/"}, timeout=90)
open("shot.webp", "wb").write(r.content)const q = new URLSearchParams({ access_key: 'YOUR_API_KEY', url: 'https://screenshotneo.com/docs/' });
const res = await fetch(`https://api.screenshotneo.com/v1/shot?${q}`);ScreenshotNeo includes full-page capture, element selection, custom CSS and JavaScript, waiting controls, device presets, retina scale, image resizing, caching, signed links, asynchronous jobs, bulk capture, and PDF options. One thousand screenshots per month are free with no card; paid plans start at $5 for 3,000. Create a free ScreenshotNeo account.
FAQ
Can Word save directly to PNG?
The documented direct Writer PNG workflow in this guide is for LibreOffice. For predictable page-by-page output across Word documents, export to PDF and rasterize each page.
Should I use 300 DPI?
Use it as a starting point for print-like output, not as a universal rule. Choose pixel dimensions based on the destination and inspect the result.
Why does increasing DPI not improve a photo?
Rasterization creates more pixels around the source content, but it cannot restore detail absent from a low-resolution image embedded in the document.
How do I convert only selected pages?
Export the document to PDF, then pass a page range such as input.pdf[0-2] to ImageMagick.
Why keep the PDF after conversion?
The PDF preserves layout and provides a stable reference for diagnosing font, clipping, and page-order problems in the PNG output.


