How to Create Better Videos with Audio and Motion
A practical guide to planning, recording, lighting, sound, camera movement, editing, and finishing videos that look intentional and sound clear.
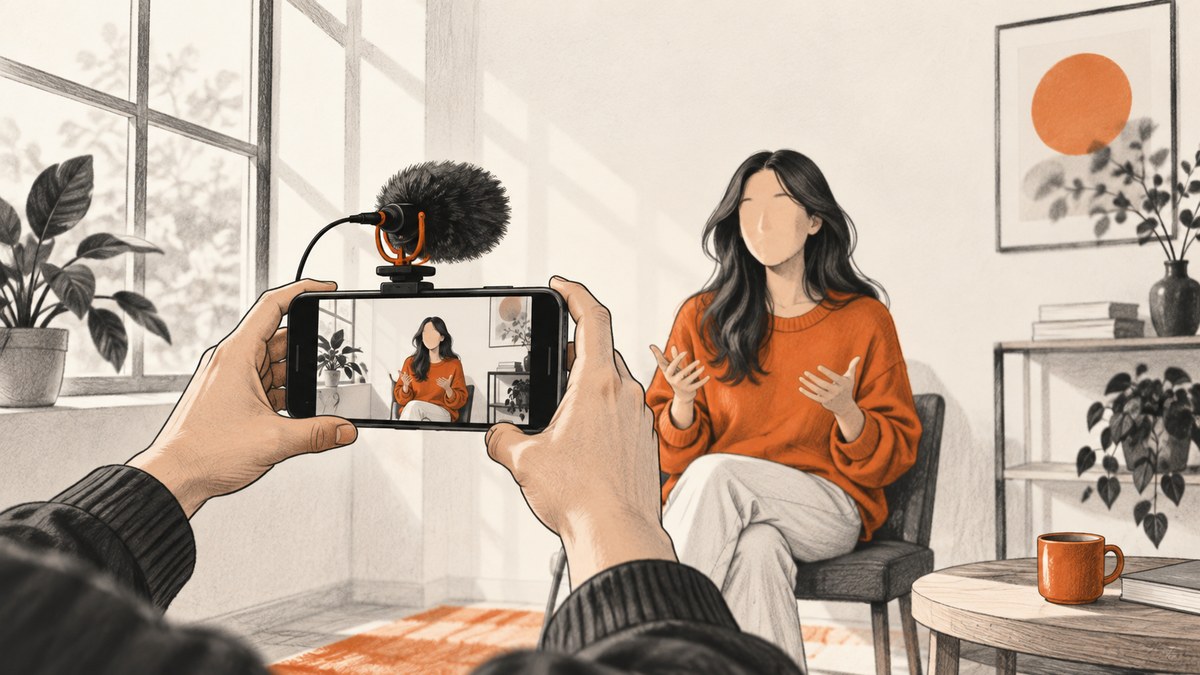
Better videos start with clear choices before you press Record. Decide what the viewer should understand, plan your shots, place the microphone close enough for intelligible speech, use soft light, and make every camera movement serve the story. You can do this with a phone, available daylight, and a simple mount. Add equipment only when it solves a specific problem.
YouTube frames the beginner equipment decision with two useful questions: “What type of camera will I use? How will I handle sound and lighting?” YouTube’s equipment guidance recommends matching equipment to your creative style and production goals. Its mobile guidance also says creators can begin with a mobile device.
1. Plan the video before filming
Planning prevents most avoidable audio and motion problems. Start with one sentence that describes the video’s promise and the audience it serves. Then choose the evidence, demonstration, or story beats needed to deliver that promise.
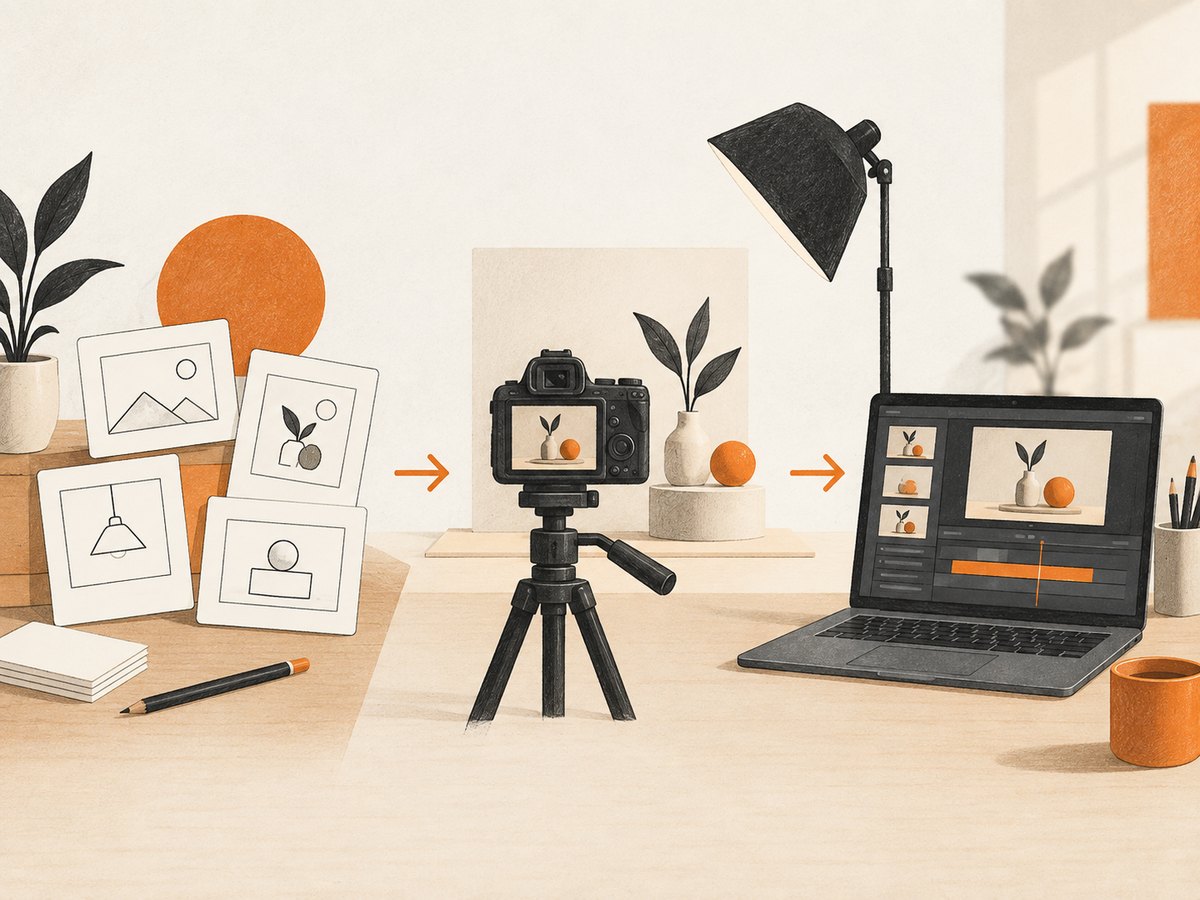
Write a brief and a simple script
- Purpose: what the viewer should learn, feel, or do.
- Audience: their knowledge level, context, and likely questions.
- Structure: opening, explanation or demonstration, proof or example, and close.
- Locations: where each section will be recorded and what sound or light is available.
- Delivery: presenter to camera, voice-over, interview, screen recording, or a combination.
A script can be fully written, bullet based, or limited to key lines. Choose the format that lets the speaker sound natural while keeping the message accurate.
Turn the script into a shot list
A shot list names the framing, angle, subject, and camera movement for every planned shot. YouTube’s filming tips describe a shot list as a way to specify angle, framing, and camera movement.
| Shot | Framing and purpose | Motion and audio |
|---|---|---|
| Opening | Medium or close shot that establishes the presenter or subject | Static frame; clean spoken line |
| Demonstration | Wide view showing context, then close details | Planned pan or cut; record room sound |
| Proof or example | Over-the-shoulder, insert, or screen view | Locked camera; voice-over or live explanation |
| Close | Consistent framing with the opening | Static or gentle push-in; final call to action |
Scout the location
Listen for fans, traffic, refrigerators, air conditioners, echo, and intermittent sounds such as construction. Check where daylight falls at the intended recording time. Adobe’s video production guide treats scouting, preproduction, production, and post-production as connected parts of the workflow. Record a short test clip at the actual position and listen with headphones before setting up the full take.
2. Choose a camera and frame for the destination
A recent phone is enough for many tutorials, interviews, demonstrations, and social videos. Use the rear camera when possible because it often offers more control, but confirm framing with a mirror, monitor, or short test recording.
Set the orientation and composition
- Use horizontal framing for 16:9 HD video when the destination expects a landscape frame. YouTube’s mobile guide recommends this approach.
- Use vertical framing when the platform and viewing context are vertical. Decide before filming so you do not crop important action later.
- Leave consistent headroom and look room. Keep the subject’s eyes near the upper third unless the style calls for something else.
- Lock focus and exposure when your phone supports it. This prevents distracting brightness or focus changes during a take.
- Clean the lens and check the background for moving objects, bright windows, and accidental clutter.
Do not buy a camera because a specification sounds impressive. Borrowing or renting can help you evaluate whether a change in lens, low-light performance, or physical controls solves a real production constraint; YouTube’s equipment guidance explicitly discusses borrowing and renting as ways to manage cost.
3. Record clear speech first
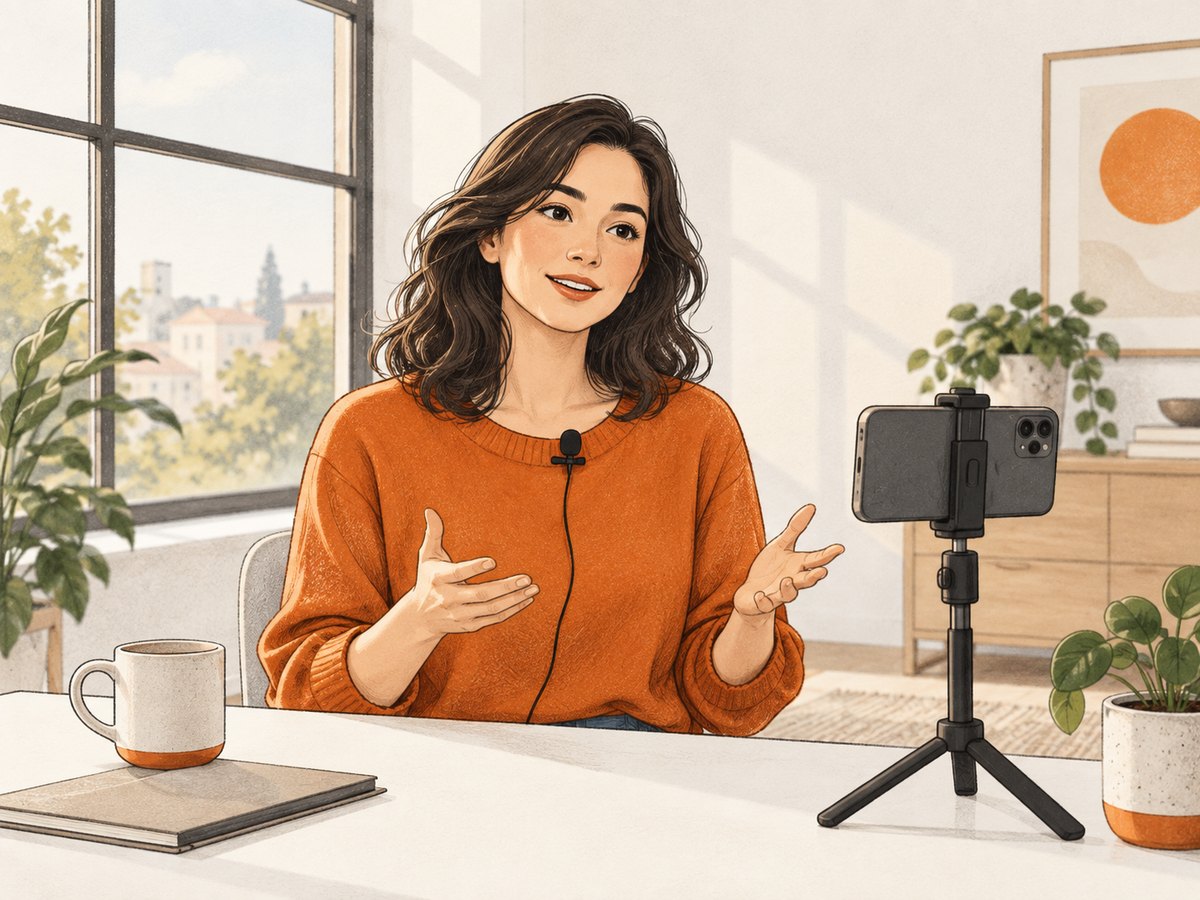
Viewers can forgive a simple image more readily than unintelligible dialogue. Put the speaker close to the microphone, avoid covering the phone’s microphone, and reduce noise at the source. YouTube advises: “Consider using an external microphone to improve your sound quality when filming in a noisy environment.”
Improve sound without buying gear
- Choose the quietest practical room and turn off distracting equipment.
- Move the speaker closer to the phone or camera.
- Soften hard reflective surfaces with curtains, rugs, clothing, or pillows to reduce echo, as YouTube’s mobile guidance suggests.
- Keep hands, cases, and mounts away from microphone openings.
- Record 10 seconds of room tone. This gives you consistent background sound for edits.
When an external microphone helps
Use a microphone when the built-in microphone cannot keep the subject close enough or the location is noisy. A directional shotgun microphone can capture natural sound from farther away. A wireless lavalier keeps a presenter’s voice close while they move. Check the camera’s input, connector, power needs, and phone compatibility before purchasing; an adapter may be required.
Monitor with headphones when possible. Watch for clothing rub on lavaliers, cable bumps, wind, clipping, and radio interference. Record a short test with the subject speaking at the loudest expected level, then adjust input gain so peaks do not distort.
4. Use soft, even light
Soft light gives a mobile camera more usable detail across the face. Start with what you have:
- Window light: place the subject facing a large window rather than with the window directly behind them.
- Outdoor shade: shade reduces harsh highlights and deep shadows compared with direct midday sun.
- White card or reflector: bounce light back onto the shadow side of a face.
- Room lights: turn off mixed-color sources when they create distracting color differences.
Lighting can establish mood, but consistency matters more than complexity. If daylight changes during a long take, close curtains or add controllable soft lights. YouTube’s equipment tips discuss soft lights, two-point lighting, and camera-mounted lights without prescribing one universal rig.
5. Make motion intentional and stable
Motion should reveal information, follow a person, change emphasis, or create a deliberate transition. Put the movement in the shot list instead of improvising every move.
Match the move to the purpose
| Move | Useful when | Execution |
|---|---|---|
| Static shot | Explaining a concept or delivering a key line | Use a tripod, stable surface, or phone mount |
| Pan or tilt | Revealing a space or object | Move slowly from a planned start to end point |
| Follow move | Tracking a walking subject | Clear the path and rehearse speed |
| Push-in or pull-out | Changing emphasis or ending a beat | Keep the subject’s scale and focus consistent |
A flexible phone mount can place a phone above, beside, or below the usual eye line for unusual shots. If a static shot is intended, do not add handheld movement simply because the camera is available.
Stabilize only after you capture carefully
Use two hands, brace against a stable surface, or use a mount. Walk heel-to-toe for a moving shot and avoid sudden starts and stops. Adobe documents Warp Stabilizer in Premiere for reducing camera movement in post-production. Stabilization can crop or distort footage, so treat it as a repair option rather than a replacement for planning.
6. Capture a repeatable production workflow
- Prepare: charge devices, clear storage, clean the lens, connect the microphone, and set orientation.
- Test: record image, speech, room tone, and movement. Review with headphones.
- Lock: set focus and exposure, mark tripod positions, and record the lighting state.
- Record safety takes: capture the opening and key lines twice, then repeat any shot with a mistake rather than hoping an edit can hide it.
- Capture cutaways: record hands, tools, details, establishing views, and clean background plates.
- Label files: use names such as
scene03_take02and copy footage to a second storage location.
7. Edit for understanding, sound, and continuity
Start by removing unusable takes and organizing the best performance. Then cut for meaning: remove pauses that do not help, keep breaths that preserve natural delivery, and use cutaways to hide necessary edits. Keep dialogue understandable before adding music.
- Balance speech so volume does not jump between clips.
- Reduce distracting noise carefully; heavy processing can make voices sound artificial.
- Use room tone under cuts so the background does not suddenly drop to silence.
- Choose music and sound effects that support the pace without competing with speech. YouTube points creators to the YouTube Studio Audio Library.
- Check continuity of screen direction, hand position, lighting, and background objects.
- Watch the final export on the device and connection your audience is likely to use.
Editing improves with practice. Adobe’s production workflow places editing inside a larger cycle of planning, production, and post-production, so note what failed and update the next shot list.
8. Troubleshooting common problems
| Symptom | Likely cause | Fix |
|---|---|---|
| Speech sounds distant | Subject is too far from the microphone | Move the microphone closer, use a lavalier or shotgun mic, and verify the connector |
| Voice is distorted | Input gain is too high | Lower gain, keep peaks below clipping, and repeat the loudest line |
| Room sounds echoey | Hard reflective surfaces | Move closer, add soft furnishings, or record in a smaller furnished room |
| Face is dark | Bright window or light behind the subject | Turn the subject toward the window or add bounced fill |
| Exposure keeps changing | Auto exposure is reacting to movement or backgrounds | Lock exposure and reframe away from extreme bright areas |
| Footage is shaky | Unplanned handheld movement | Use a mount, brace the camera, rehearse the move, and apply stabilization sparingly |
| Color changes between clips | Mixed light sources or auto white balance | Remove mixed sources and lock white balance when available |
| Wind overwhelms audio | Unprotected microphone outdoors | Use wind protection, move behind shelter, and record a closer backup take |
| Phone stops recording | Low battery, full storage, heat, or an incompatible accessory | Free storage, charge, reduce heat, and test the complete setup before the session |
9. Performance, reliability, and cost decisions
Performance: Reduce retakes by testing the complete chain—camera, microphone, light, mount, and storage—before the main recording. Short test clips reveal problems faster than a long take. Keep a shot list visible so movement and framing stay consistent.
Reliability: Carry charging power, spare storage where applicable, adapters, and a backup way to record audio. Save original files before editing. For interviews or important demonstrations, record a second audio source when practical.
Cost: Spend first on the problem your tests reveal. Natural light, a quiet room, a stable surface, and a phone can produce a useful starting setup. Consider borrowing, renting, or buying used equipment before purchasing new. An external microphone is usually the clearest upgrade when speech is distant or the location is noisy; a mount helps when stability and repeatable framing are the bottleneck.
10. A practical preflight checklist
- Message, audience, and opening line are defined.
- Shot list includes framing, angle, and movement.
- Location is quiet enough and the light direction is known.
- Lens is clean; storage and battery are sufficient.
- Orientation, focus, exposure, and white balance are set.
- Microphone is compatible, close, unobstructed, and monitored.
- Room tone and a complete test take have been recorded.
- Tripod or movement path is safe and rehearsed.
- Cutaways and safety takes are planned.
- Footage will be copied and labeled after recording.
11. Or skip the browser setup
If your video workflow needs screenshots of web pages for tutorials, reviews, storyboards, or reference frames, ScreenshotNeo can capture a URL with one request. Its clean-shot process accepts cookie or consent banners and removes more than 60 known consent platforms, newsletter popups, and chat widgets before capture; each step can be turned off. Bot checks, CAPTCHAs, blank pages, timeouts, failed loads, and cache hits cost nothing, and the response identifies the result with X-Page-Verdict and X-Billed headers.
See the ScreenshotNeo documentation for all options, including full-page capture with lazy images loaded, CSS selector element capture, dark mode, device presets, retina scale, custom CSS and JavaScript, clicks, waits, blocked resources, headers, cookies, user agents, authorization, timezone, geolocation, transparent backgrounds, resizing, caching, signed links, PDFs, async jobs, webhooks, bulk capture, usage, and the OpenAPI specification.
curl -G "https://api.screenshotneo.com/v1/shot" -d access_key=YOUR_API_KEY --data-urlencode url=https://stripe.com -o shot.webpimport requests
r = requests.get("https://api.screenshotneo.com/v1/shot", params={"access_key": "YOUR_API_KEY", "url": "https://stripe.com"}, timeout=90)
open("shot.webp", "wb").write(r.content)const q = new URLSearchParams({ access_key: 'YOUR_API_KEY', url: 'https://stripe.com' });
const res = await fetch(`https://api.screenshotneo.com/v1/shot?${q}`);ScreenshotNeo also provides an MCP server with take_screenshot, get_page_info, and capture_pdf for Claude, Cursor, and other MCP clients. The Free plan includes 1,000 shots per month with no card; paid plans start at $5 for 3,000 shots. Create a free ScreenshotNeo account.
12. FAQ
Can I make a good video with only a phone?
Yes. Start with a quiet location, soft window light or shade, a stable frame, and a test recording. Upgrade only when a specific limitation remains.
Should I buy a microphone or a light first?
Review your test. If speech is distant or noisy, address the microphone. If faces are dark or uneven, improve the light. A window, shade, or white card may solve lighting without a purchase.
How much camera movement should a beginner use?
Use static shots for explanations and add movement when it reveals context, follows action, or changes emphasis. Planned, repeatable movement is easier to edit than constant handheld motion.
Is stabilization always safe to apply?
No. Stabilization can crop or distort footage. Capture steadily first, then apply it only where the result remains natural.
When should I use a shotgun microphone instead of a lavalier?
A shotgun microphone is useful for directional sound from farther away; a lavalier keeps a moving presenter’s voice close. Confirm your camera or phone supports the selected microphone and connector.


