How to Create Your First Jenkins Pipeline
Build your first Jenkins Pipeline with a minimal Jenkinsfile, configure it in the UI or Git, troubleshoot failures, and trigger it from code.
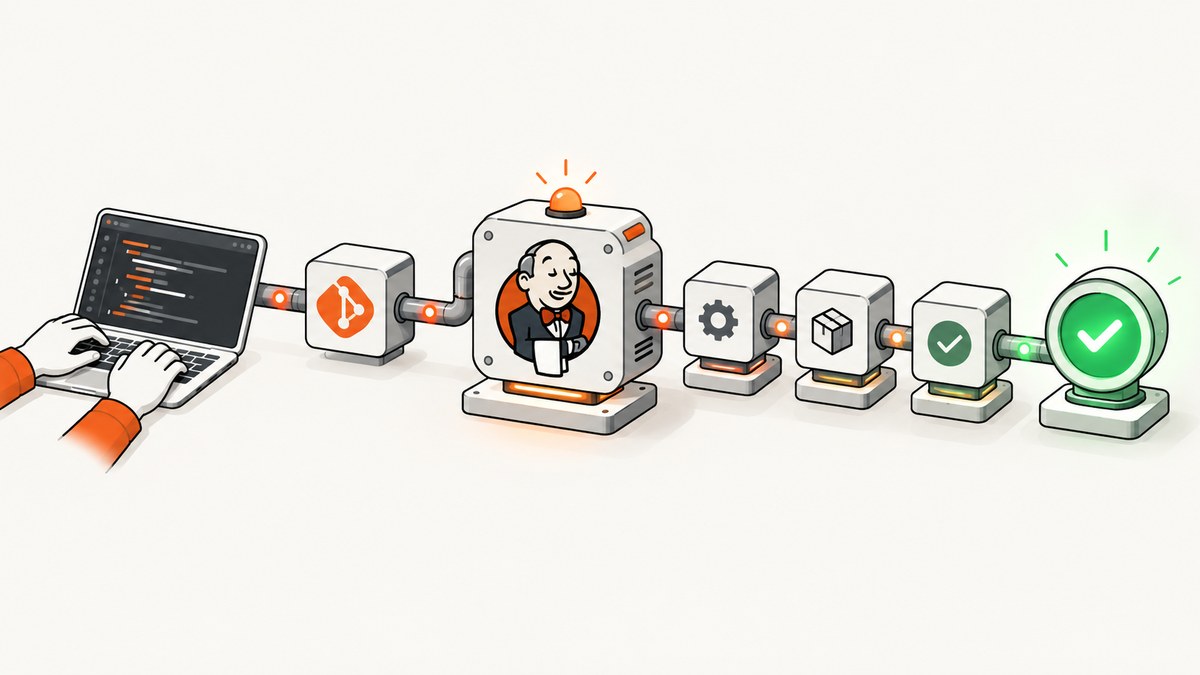
A Jenkins Pipeline is a repeatable definition of work such as checking out code, running tests, building an artifact and deploying it. The fastest first example is a Declarative Jenkinsfile with an agent, one named stage and an echo step.
pipeline {
    agent any

    stages {
        stage('Hello') {
            steps {
                echo 'Hello world!'
            }
        }
    }
}
Create a Pipeline job, paste this script into the Pipeline definition, save it and select Build Now. A successful run allocates an executor and workspace, enters the Hello stage and prints the message in Console Output. For a real project, store the same file in source control and configure Jenkins to load it from the repository. Jenkins documents the introductory workflow in its Pipeline getting-started guide and the repository model in its Jenkinsfile documentation.
What you need before creating a Pipeline
- Jenkins 2.x or later. The post-install wizard normally suggests the Pipeline plugin, but installed plugins and versions differ. Check your controller in Manage Jenkins → Plugins instead of assuming a particular screen.
- An executor and agent.
agent anylets Jenkins choose an available node. That node needs a workspace and the tools required by later steps. - Credentials for private repositories or services. Add them in Jenkins’ credentials store and reference their IDs from the Pipeline; do not commit secrets to a Jenkinsfile.
- Source control access. Git-based jobs need the Git plugin, which is included in most standard installations, plus a repository URL and credentials when the repository is private.
There are two useful setup routes. An inline script is quickest for a disposable experiment. A repository-backed Jenkinsfile is the better default for application work because changes can be reviewed, versioned, audited and kept beside the code that they build.
| Route | Definition location | Best use | Trade-off |
|---|---|---|---|
| Pipeline script | Stored in the Jenkins job configuration | First experiment or temporary proof of concept | Changes are harder to review and are tied to one controller |
| Pipeline script from SCM | A Jenkinsfile in Git or another supported SCM | Team projects and production automation | Requires repository and credential configuration |
Option A: create a Pipeline in the Jenkins UI
- Open the Jenkins dashboard and choose New Item.
- Enter a project name, select Pipeline, then choose OK.
- Scroll to the Pipeline section. Set Definition to Pipeline script.
- Paste the minimal Declarative Pipeline shown above.
- Choose Save, then Build Now.
- Open the build number, choose Console Output, and confirm that the Hello stage completed and the message was printed.
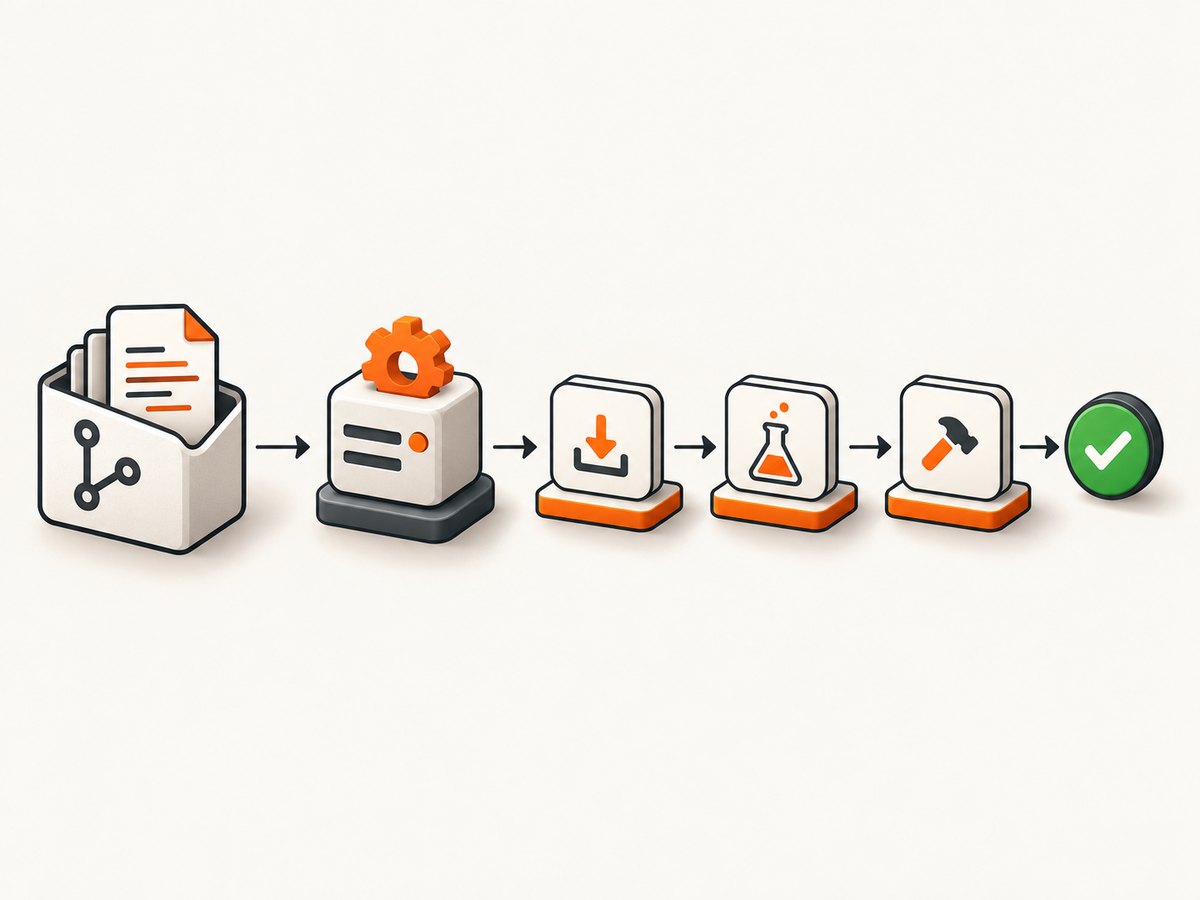
This route stores the definition inside Jenkins. It is useful for learning the execution model: Jenkins allocates an agent, creates a workspace, runs stages in order and records logs. Once the experiment becomes part of a project, move the script into source control.
Option B: load a Jenkinsfile from Git
- Create a file named
Jenkinsfileat the root of your repository. - Paste the minimal pipeline into that file, commit it and push it.
- Create a new Jenkins item and select Pipeline.
- In the Pipeline section, set Definition to Pipeline script from SCM.
- Choose Git, enter the repository URL, select credentials if needed and choose the branch or ref to build.
- Leave Script Path as
Jenkinsfilewhen the file is at the repository root. For a file such asci/Jenkinsfile, enter that path instead. - Save the job and run it. Jenkins checks out the selected revision and evaluates the Jenkinsfile from that checkout.
A repository-backed definition gives every change a commit, review and rollback point. It also prevents a controller administrator from becoming the only person who can see how the build works. If you use a different filename or directory, the Script Path must match it exactly, including case.
Understand the minimum Declarative syntax
pipeline {                 // The Declarative Pipeline block
    agent any              // Allocate an executor and workspace

    stages {                // Ordered units of work
        stage('Checkout') {
            steps {
                checkout scm
            }
        }

        stage('Test') {
            steps {
                sh 'npm ci'
                sh 'npm test'
            }
        }
    }
}
pipeline {}encloses a Declarative Pipeline.agentdetermines where work runs.anyuses any available agent; a label such asagent { label 'linux' }restricts scheduling to matching nodes.stagesgroups work into named sections shown in Jenkins’ build views.stepscontains executable operations such asecho,sh,bat,checkoutand plugin-provided steps.stagenames a logical checkpoint. Keep names short and describe the outcome, such as Test, Build or Publish.
Declarative syntax is simplified and opinionated, which makes it a good first choice. Scripted Pipeline is an alternative written in a Groovy-based style and can express more programmatic control. You can mix a carefully scoped script {} block into Declarative code when necessary, but begin with the simpler form.
Add a practical build, test and artifact flow
The following example is runnable on a Linux agent with Git, Node.js and npm installed. Replace the commands with those used by your project.
pipeline {
    agent { label 'linux' }

    options {
        timestamps()
        skipDefaultCheckout(true)
        timeout(time: 20, unit: 'MINUTES')
    }

    stages {
        stage('Checkout') {
            steps {
                checkout scm
            }
        }

        stage('Install') {
            steps {
                sh 'npm ci'
            }
        }

        stage('Test') {
            steps {
                sh 'npm test'
            }
        }

        stage('Build') {
            steps {
                sh 'npm run build'
            }
        }

        stage('Archive') {
            steps {
                archiveArtifacts artifacts: 'dist/**', fingerprint: true
            }
        }
    }

    post {
        always {
            echo "Build result: ${currentBuild.currentResult}"
        }
        failure {
            echo 'Inspect the first failing stage and its console log.'
        }
    }
}
skipDefaultCheckout(true) makes checkout explicit, which is useful when you want a dedicated Checkout stage. timeout stops a stuck build. timestamps adds times to log lines. archiveArtifacts keeps selected files with the build record; the path must exist on the agent when that step runs. Remove options and stages that do not match your environment rather than copying them blindly.
Use Jenkins’ syntax tools instead of guessing plugin steps
Open ${YOUR_JENKINS_URL}/pipeline-syntax while signed in to your controller. The Snippet Generator is populated from steps exposed by plugins installed on that controller, so its examples reflect your actual environment. The same page provides a Declarative Directive Generator and a Global Variable Reference. Use these tools when a step’s arguments, credentials binding or plugin version is unclear.
Plugin documentation and generated snippets can differ between controllers. If a snippet works on one Jenkins instance but not another, compare installed plugin versions and available steps before changing the Groovy syntax.
Trigger a Pipeline from code
After creating a job, Jenkins can be started from a browser, a webhook or an HTTP client. The exact authentication and CSRF settings belong to your controller. A common authenticated request looks like this:
curl -X POST 'https://jenkins.example.com/job/my-pipeline/build' \\
  --user 'USERNAME:API_TOKEN'
For a parameterized job, use the buildWithParameters endpoint:
curl -X POST 'https://jenkins.example.com/job/my-pipeline/buildWithParameters' \\
  --user 'USERNAME:API_TOKEN' \\
  --data-urlencode 'ENVIRONMENT=staging' \\
  --data-urlencode 'VERSION=1.2.3'
Python example:
import os
import requests

jenkins = os.environ['JENKINS_URL'].rstrip('/')
user = os.environ['JENKINS_USER']
token = os.environ['JENKINS_API_TOKEN']

response = requests.post(
    f'{jenkins}/job/my-pipeline/buildWithParameters',
    params={'ENVIRONMENT': 'staging'},
    auth=(user, token),
    timeout=30,
)
response.raise_for_status()
print('Queued:', response.status_code)
Node.js example:
const base = process.env.JENKINS_URL.replace(/\\/$/, '');
const user = process.env.JENKINS_USER;
const token = process.env.JENKINS_API_TOKEN;

const auth = Buffer.from(`${user}:${token}`).toString('base64');
const body = new URLSearchParams({ ENVIRONMENT: 'staging' });

const response = await fetch(`${base}/job/my-pipeline/buildWithParameters`, {
  method: 'POST',
  headers: {
    Authorization: `Basic ${auth}`,
    'Content-Type': 'application/x-www-form-urlencoded',
  },
  body,
});

if (!response.ok) throw new Error(`Jenkins returned ${response.status}`);
console.log('Queued:', response.status);
Use an API token instead of a password, keep it in a secret manager and restrict the Jenkins account to the permissions needed to trigger the job. For webhooks, configure the provider and Jenkins plugin according to the SCM integration installed on your controller.
Common errors and fixes
| Symptom | Likely cause | Fix |
|---|---|---|
No such DSL method |
The step comes from a missing or incompatible plugin. | Open Pipeline Syntax on the same controller, verify the plugin is installed and check its documentation and version. |
There are no nodes with the label |
Your agent label does not match any online node. |
Inspect node labels and executors, or use agent any for the first test. |
Jenkinsfile not found |
The Script Path is wrong, the file is not committed, or the selected branch does not contain it. | Check the exact case-sensitive path and branch in the repository. |
| Git authentication fails | The repository is private or the credential type is wrong. | Add a repository credential in Jenkins and select its ID in the SCM configuration. Confirm the controller can reach the Git host. |
Permission denied while running a command |
The executable is absent, not executable or unavailable on the selected agent. | Install the tool on that agent, correct its PATH, or select a node with the required toolchain. |
| Build waits indefinitely | No executor is free, a stage is waiting for input, or a command is hung. | Check the queue and stage log, then add a reasonable Pipeline timeout. |
| Build passes but no artifact exists | The archive glob does not match files in the workspace. | Print the directory contents, confirm the build output path and run archiving after the build stage. |
| Secret appears in a log | A credential was interpolated or printed unsafely. | Use Jenkins credentials bindings, avoid echoing secret variables and rotate any exposed token immediately. |
Read the first failure in Console Output, not only the final red status. Later stages often fail as a consequence of an earlier checkout, dependency or environment error.
Reliability, speed and cost considerations
- Keep stages deterministic. Pin dependency versions with lockfiles, use clean workspaces where appropriate and make the required toolchain explicit on the agent.
- Fail early. Put checkout and dependency installation before expensive build or deployment stages. Use stage names that make the failing boundary obvious.
- Set time limits. A Pipeline timeout prevents a disconnected service or hung test from consuming an executor forever.
- Control concurrency. If two deployments must not overlap, configure job-level concurrency controls or a lock appropriate to your installed plugins.
- Reuse dependencies carefully. Caches can reduce install time, but stale caches can hide reproducibility problems. Rebuild from the lockfile when diagnosing inconsistent results.
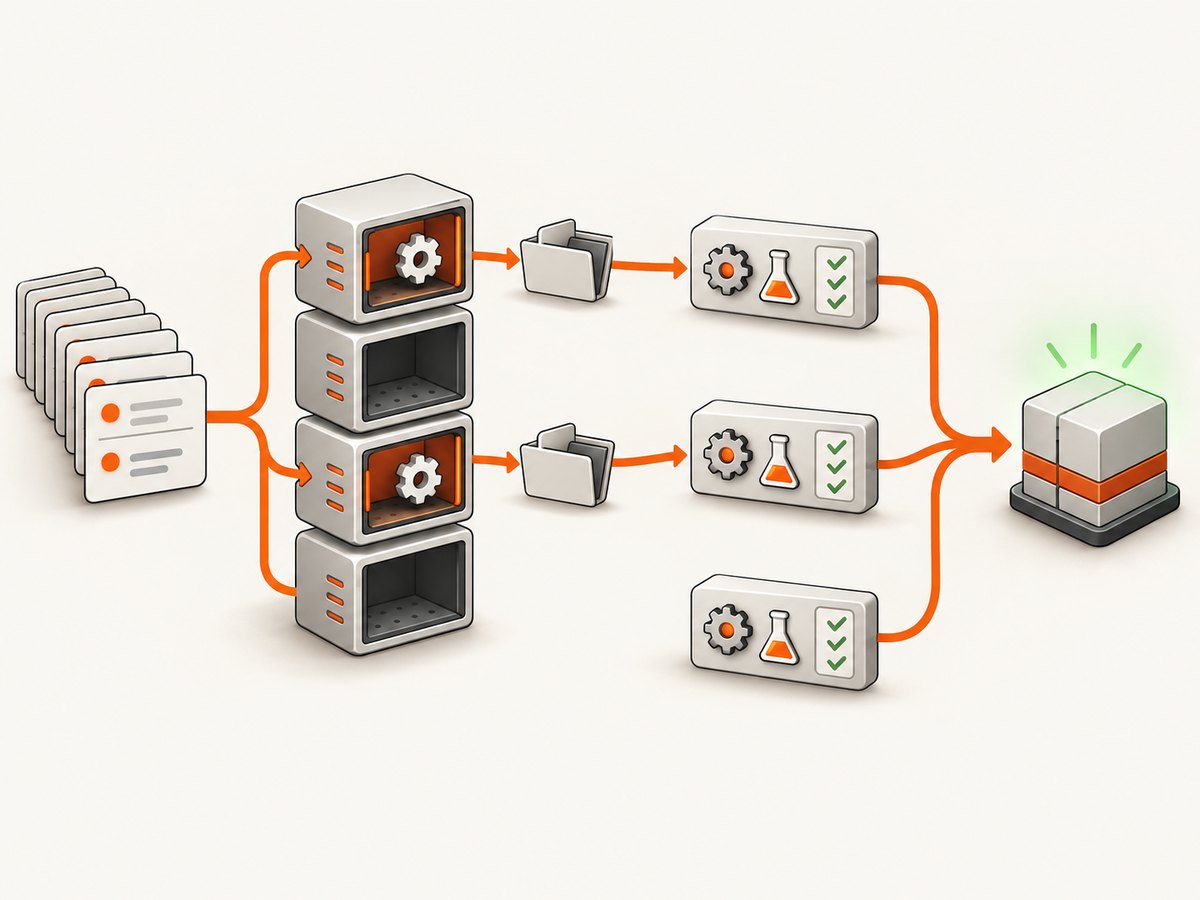
- Account for controller and agent resources. Every running build consumes an executor and workspace. Parallel stages can shorten elapsed time while increasing CPU, memory and license usage.
- Retain only what you need. Build logs and archived artifacts consume controller or artifact-storage capacity. Configure retention policies that match audit and rollback requirements.
Jenkins itself is extensible through plugins, so reliability depends on the controller, agents, network, credentials and plugin versions you operate. Record plugin changes and test Jenkinsfile changes on a non-production job when a change affects deployment or credentials.
Blue Ocean and current visualizations
Do not make Blue Ocean the primary route for a new Pipeline tutorial. Jenkins documentation states that Blue Ocean has been deprecated since July 2026 and will receive no further security fixes or functionality updates. For visualization, the same documentation identifies the actively maintained Pipeline Graph View plugin and Pipeline: Stage View as alternatives. The Pipeline itself remains defined by the Jenkinsfile and job configuration.
Or skip the browser setup
If your goal is to capture the result of a Jenkins-hosted page, build report or deployment preview, ScreenshotNeo can return a screenshot with one HTTP request. It removes cookie and consent banners, newsletter popups and chat widgets before the capture. Bot checks, blank pages, failed loads, timeouts and cache hits are not billed, and the response identifies the result with X-Page-Verdict and X-Billed headers. It also provides an MCP server with take_screenshot, get_page_info and capture_pdf tools for Claude, Cursor and other MCP clients.
See the ScreenshotNeo API documentation for all options. A direct request:
curl -G "https://api.screenshotneo.com/v1/shot" -d access_key=YOUR_API_KEY --data-urlencode url=https://www.jenkins.io -o shot.webpimport requests
r = requests.get("https://api.screenshotneo.com/v1/shot", params={"access_key": "YOUR_API_KEY", "url": "https://www.jenkins.io"}, timeout=90)
open("shot.webp", "wb").write(r.content)const q = new URLSearchParams({ access_key: 'YOUR_API_KEY', url: 'https://www.jenkins.io' });
const res = await fetch(`https://api.screenshotneo.com/v1/shot?${q}`);You can use full-page capture, a CSS-selected element, custom waits, headers and cookies, device presets, dark mode, PDF output and signed links when your Jenkins workflow needs them. The Free plan includes 1,000 screenshots per month with no card; paid plans start at $5 for 3,000. Create a free ScreenshotNeo account.
FAQ
Should I use Declarative or Scripted Pipeline first?
Use Declarative for a first Pipeline. It provides a clear structure and validates required sections. Move to Scripted syntax when your workflow needs its programming model and you understand the operational trade-offs.
Does the Jenkinsfile have to be named Jenkinsfile?
No. Jenkins defaults to Jenkinsfile, but the Pipeline job’s Script Path can point to another filename and directory.
Why is an agent required?
The agent tells Jenkins where to allocate an executor and workspace. Steps that run commands or access checked-out files need that execution context.
How do I see what a plugin supports?
Use the controller’s /pipeline-syntax page and Snippet Generator. It reflects steps exposed by plugins installed on that specific controller.
Can I start a Pipeline after a Git push?
Yes. Configure the repository webhook and the SCM integration installed on your Jenkins controller, or use a scheduled poll where a webhook is not available.
Where should deployment credentials live?
Store them in Jenkins credentials and reference them by ID. Keep secrets out of the repository, console output and URL query strings.


