How to Create Your First Visual Template
Build a reusable visual template by choosing its purpose first, then designing, checking, and sharing one clear example.
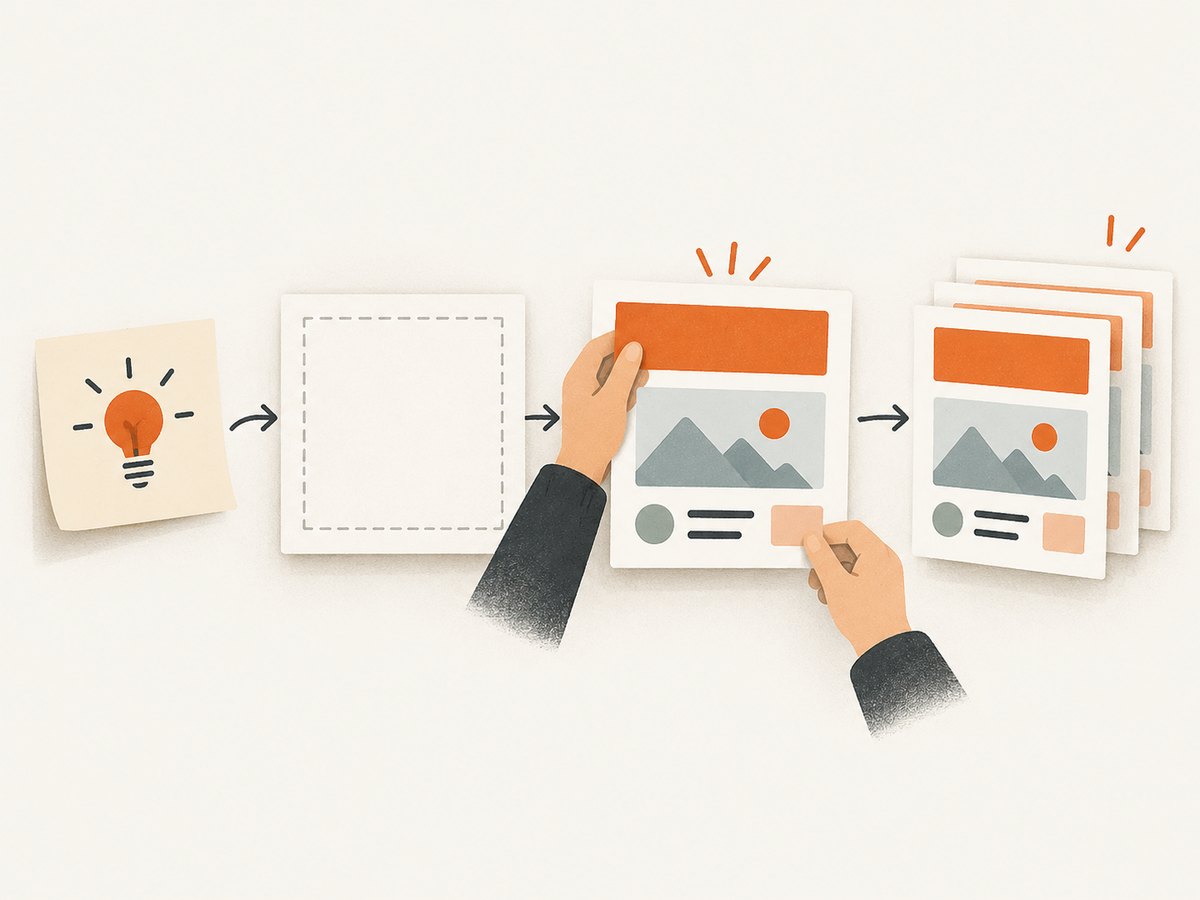
A visual template is a reusable design with a defined purpose, layout, and editable content. To make your first one, decide who it is for and where it will appear, choose a format and editor, build one clear example, check it at its intended size, then save or share it in a way that preserves reuse.
This walkthrough uses one example: a square social post announcing a community event. The same steps can guide a presentation cover, invitation, lesson plan, or digital interface, but dimensions, sharing, and print requirements differ by output. Canva supports several types of designs and templates; Figma’s materials focus more on digital design and team-produced assets. Neither workflow is universal. [Canva template guide; Figma design guide]
1. Decide what the template is for
Before opening an editor, answer: What will this template be used for? A useful template solves one repeated design task for a particular person or team. “Make a graphic” is too broad. “Let a volunteer announce the date, location, and registration link for each monthly event” is specific enough to shape the layout.
- Audience: Who will make or read this design?
- Job: What should a reader understand or do?
- Placement: Where will it appear: a social feed, email, slide deck, webpage, or printed page?
- Required content: Which details must always be present, and which change each time?
- Reuse: Who will edit it, and how will they get a copy?
For the event post, the fixed parts might be the organization’s colors, logo area, and layout. The event name, date, location, image, and registration destination change. Write that distinction down; it will prevent you from turning the template into a finished one-off graphic.
Choose the output before the editor
Choose a digital or print output and its destination first. A social graphic needs to read at its displayed size. A presentation cover needs to fit the slide format. A printed flyer must meet the print provider’s dimensions and color requirements. If you are making a user interface, the content structure and interaction context matter more than a poster-like composition.
Do not guess exact print specifications. Ask the printer about dimensions, bleed, file format, and color mode. Canva recommends CMYK for print because colors on screens can differ from colors on paper; the print provider’s instructions should determine the final setup. [Canva Help Center: Create designs using templates]
2. Choose a starting point and editor
You can start with a blank design or adapt an existing template. A blank canvas gives you control and helps when the content has a distinctive structure. An existing template can help you get a first layout quickly, but inspect it before editing: its page size, hierarchy, and editable elements still need to suit your job.
Canva’s help guide describes searching for templates from the homepage or editor, previewing one, then customizing it. Canva also documents an AI generation route; it is an option, not a requirement. Its beginner guide covers creating, editing, and sharing a design. [Template workflow; Customizing templates]
Figma is a relevant route when the work is a digital interface or a team asset. Figma Buzz provides editable templates for social media assets, ads, emails, and one-pagers; publishing templates depends on the plan. Check the current workspace and plan controls before building a workflow around a publishing feature. [Figma Buzz templates; Create a new Figma file]
| Need | Useful starting point | Consider |
|---|---|---|
| General graphics, presentations, invitations, or a beginner-friendly guided design flow | Canva | Template search, page controls, and shareable template links |
| Digital design fundamentals or team-produced digital and marketing assets | Figma or Figma Buzz | Workspace context and plan-dependent template publishing |
| Either editor, if its export fits the printer’s requirements | Confirm dimensions, bleed, file type, and color mode with the print provider |
This is a comparison of the documented workflows, not a claim that one tool is universally easier or better. Controls can vary by design type, device, workspace settings, and plan.
3. Set up the canvas and learn the working area
Create a design in the format you chose. For the example, that is a square digital event post. Use the editor’s suggested size if the destination provides one, and verify the current destination requirements rather than relying on a remembered pixel size.
In Canva, the documented working area includes a side panel for templates, elements, text, uploads, brand tools, and apps; a canvas; a top toolbar; and page controls. The exact controls shown depend on the design and account context. Find these areas before editing so you know where to change content, add assets, and manage pages. [Canva: Customizing templates]
- Open a blank design or find and preview a template that matches the output.
- Confirm the page or canvas dimensions.
- Identify the canvas, content or template panel, toolbar, and page controls.
- Name the file for its purpose, such as “Monthly community event post.”
For a multi-page design, decide whether pages share a common structure or serve different jobs. Keep the first version small: one page is enough to prove a reusable layout before adding variants.
4. Build a clear hierarchy
Arrange the information in the order a reader needs it. For the event post, a practical hierarchy is event name, date and location, short supporting detail, then a registration instruction. The title should be the easiest item to notice; secondary details should remain legible without competing with it.
Use a small set of recurring visual choices: a background, one or two supporting colors, a text style for the headline, and a quieter style for details. Repetition helps someone recognize related posts and makes later edits more predictable. Use spacing and alignment to group related details. Avoid filling every empty area with decoration: the goal is to make the important content easy to scan.
When adapting an existing template, replace its sample wording and images deliberately. Check that the new content still fits. A long event name or address may wrap onto extra lines; the layout should tolerate that without covering other elements or shrinking text until it is hard to read. If people will reuse the design, make the editable fields obvious through their placement and labels outside the artwork, such as in a short instruction note accompanying the template.
Make the reusable parts and changing parts clear
- Keep the organization name, recurring colors, and stable layout consistent.
- Leave sensible space for fields that change, including unusually long titles.
- Use replaceable images or image areas where each edition needs different artwork.
- Remove sample content that could accidentally be published unchanged.
- If there are multiple pages, duplicate, rearrange, or remove pages as the editor allows.
5. Check the design at its real size
Review the design in the context where it will be used, not only while zoomed in on the canvas. For a digital post, check that the headline, date, and action remain readable when the graphic is displayed smaller. For print, check the exported result against the print provider’s requirements. For a multi-page or team asset, review every page and check that repeated elements stay consistent.
Use a short pre-share checklist:
- Does the design communicate one clear job?
- Can a reader find the main message and required details quickly?
- Are text and images inside the intended page boundaries?
- Do likely edits—longer names, dates, or locations—fit?
- Have placeholder text and example images been replaced or clearly marked?
- Does the final output suit its destination, and for print, has the printer confirmed specifications?
Make one correction at a time. If a headline is hard to scan, first adjust its size, position, or surrounding space; adding more colors and effects rarely fixes a hierarchy problem.
6. Save, export, or share for reuse
The right handoff depends on how the design will be used. A finished digital graphic may be exported for posting. A collaborative working file may be shared with the people who will edit it. A reusable template needs a sharing method that gives each recipient a way to create their own version rather than accidentally editing the source.
Canva’s Design School describes a shareable Template link workflow for turning a design into a template. Use that template-sharing flow when recipients should reuse the design; do not assume that an ordinary view link behaves the same way. [Canva: Turn designs into templates]
- Remove accidental placeholders and confirm the source design is the version you want to preserve.
- Choose the editor’s template-sharing workflow if recipients should make their own copy.
- Share the resulting link with a short note explaining which fields they should change.
- Keep an untouched source version so later edits do not erase the starting point.
- For a final image or print file, choose an export format that the destination accepts and verify the exported output.
Before using any sharing or publishing feature in a team workspace, confirm who can access it and whether it depends on workspace settings or plan. For print, the export should follow the printer’s specifications, especially for color mode and any required dimensions.
Or skip the browser setup
If your work also involves capturing a reference page or checking how a design appears on a website, ScreenshotNeo provides a website screenshot API and MCP server for developers. A GET request returns a PNG, JPEG, WebP, or PDF. The call below saves a WebP screenshot; see the API documentation for options and response details.
curl -G "https://api.screenshotneo.com/v1/shot" -d access_key=YOUR_API_KEY --data-urlencode url=https://stripe.com -o shot.webpimport requests
r = requests.get(
"https://api.screenshotneo.com/v1/shot",
params={"access_key": "YOUR_API_KEY", "url": "https://stripe.com"},
timeout=90,
)
r.raise_for_status()
open("shot.webp", "wb").write(r.content)const q = new URLSearchParams({ access_key: 'YOUR_API_KEY', url: 'https://stripe.com' });
const res = await fetch(`https://api.screenshotneo.com/v1/shot?${q}`);
if (!res.ok) throw new Error(`Screenshot request failed: ${res.status}`);
await import('node:fs/promises').then(fs => fs.writeFile('shot.webp', Buffer.from(await res.arrayBuffer())));Replace the example target URL with a page you are allowed to capture and provide your API key. ScreenshotNeo accepts cookie or consent banners as a visitor and removes more than 60 known consent platforms, newsletter popups, and chat widgets before capture; each step can be turned off. Bot checks and CAPTCHAs, blank pages, timeouts, failed loads, and cache hits are not billed, and response headers report the page verdict and billing status. Its MCP server offers take_screenshot, get_page_info, and capture_pdf for Claude, Cursor, and other MCP clients. Plans include 1,000 free screenshots per month without a card; paid plans start at $5 for 3,000 shots. Every feature is available on every plan. Learn more at ScreenshotNeo, or sign up for 1,000 free screenshots a month, with no card.
Troubleshooting your first template
| Problem | Likely cause | What to do |
|---|---|---|
| The design looks crowded | Too many messages or decorative elements compete for attention. | Keep the required information, remove decoration that does not help, and increase spacing around the headline and details. |
| Text no longer fits after editing | The template was built around short sample wording. | Allow more space for variable fields, shorten supporting copy, or adjust the layout while keeping important text readable. |
| A recipient edits the original | The shared URL may be a normal view or edit link rather than a template link. | Use the editor’s dedicated template-sharing flow and check its recipient behavior before distributing it. |
| Controls described in a guide are missing | Controls can vary by device, design type, workspace settings, or plan. | Check the current editor help for your context and choose a supported workflow for that workspace. |
| Printed colors differ from the screen | Screen and paper color appearance differ, and the export may not meet print requirements. | Ask the print provider for color mode and export specifications; Canva recommends CMYK for print. |
| The exported file is rejected by a destination | The destination has requirements for size, format, or other file settings. | Check the destination’s current requirements and re-export to match them. |
Performance, reliability, and cost considerations
A visual template has no single performance metric. For a digital asset, practical quality means it remains readable at its display size and can be edited without breaking the layout. For print, verify the provider’s specifications before export. For a team workflow, keep a clean source and make the handoff instructions clear so people can reuse it without rebuilding it.
Reliability comes from checking the actual output and preserving a known-good source. Review the design after changing variable content, test the sharing method with the intended audience, and keep a copy before making substantial revisions. If controls or publishing features are unavailable, check device, design type, workspace settings, and plan rather than assuming the editor is malfunctioning.
Canva and Figma capabilities can depend on the design workflow and plan, so check current product documentation before committing to a publishing or collaboration process. The research for this guide does not establish comparative software prices or a universal tool winner. Choose based on the output, reuse method, and team context you need.
FAQ
Should my first template be blank or based on an existing design?
Either works. Start blank when the content needs a distinctive structure; adapt a template when its format and hierarchy already fit. In both cases, replace sample content and check that likely edits still fit.
Is a template the same as a finished graphic?
No. A finished graphic is ready to use as-is. A template preserves a reusable structure and leaves the appropriate content editable for the next use.
Can I use the same template for print and digital?
Sometimes the layout can be adapted, but do not assume one export fits both. Confirm dimensions, color mode, and file requirements with the destination or print provider.
How do I know the template is ready to share?
Check that the content hierarchy is clear, variable fields accommodate likely edits, examples are removed or marked, and the sharing workflow gives recipients the intended ability to reuse it.


