How to Create Images from Forms
Turn form answers into personalized images with no-code workflows, templates, or custom code. Includes validation, uploads, delivery, retries, and a working example.
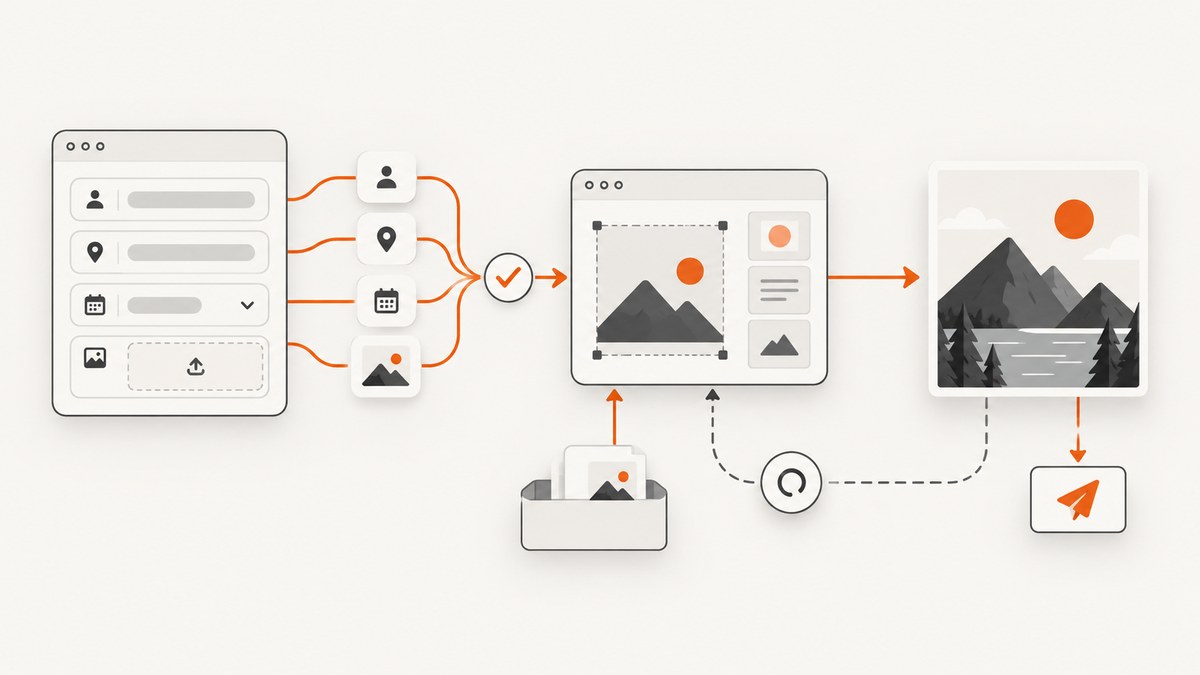
Direct answer: creating an image from a form submission requires four stages: collect structured answers, map those values into a prompt or template, call an image-generation or rendering service, and save or deliver the resulting asset. Use generative prompts when every result can vary. Use a fixed template when the logo, typography, dimensions, and legal text must stay in exact positions.
The same pipeline works for certificates, personalized product cards, event graphics, social posts, listing thumbnails, email images, and downloadable reports. This guide explains no-code workflows, template rendering, and custom code, then covers uploaded reference images, validation, security, retries, delivery, performance, cost, and troubleshooting.
1. Choose the right form-to-image approach
| Approach | Best for | Main trade-off |
|---|---|---|
| Prompt-based generation | Creative variations, illustrations, personalized scenes | Exact layout and typography are harder to guarantee |
| Template rendering | Certificates, social cards, listings, branded announcements | Less visual variation; templates need initial design work |
| Custom code and APIs | Products that need validation, queues, retries, provider choice, and access control | More engineering and operational work |
Start by writing down what must remain stable. If a legal disclaimer, price, logo, or QR code must always be readable, populate a template. If the image should interpret a free-form idea, use a controlled prompt. A hybrid is often useful: render the logo, name, and price with a template, then place a generated illustration in a bounded area.
2. Design the form for reliable image output
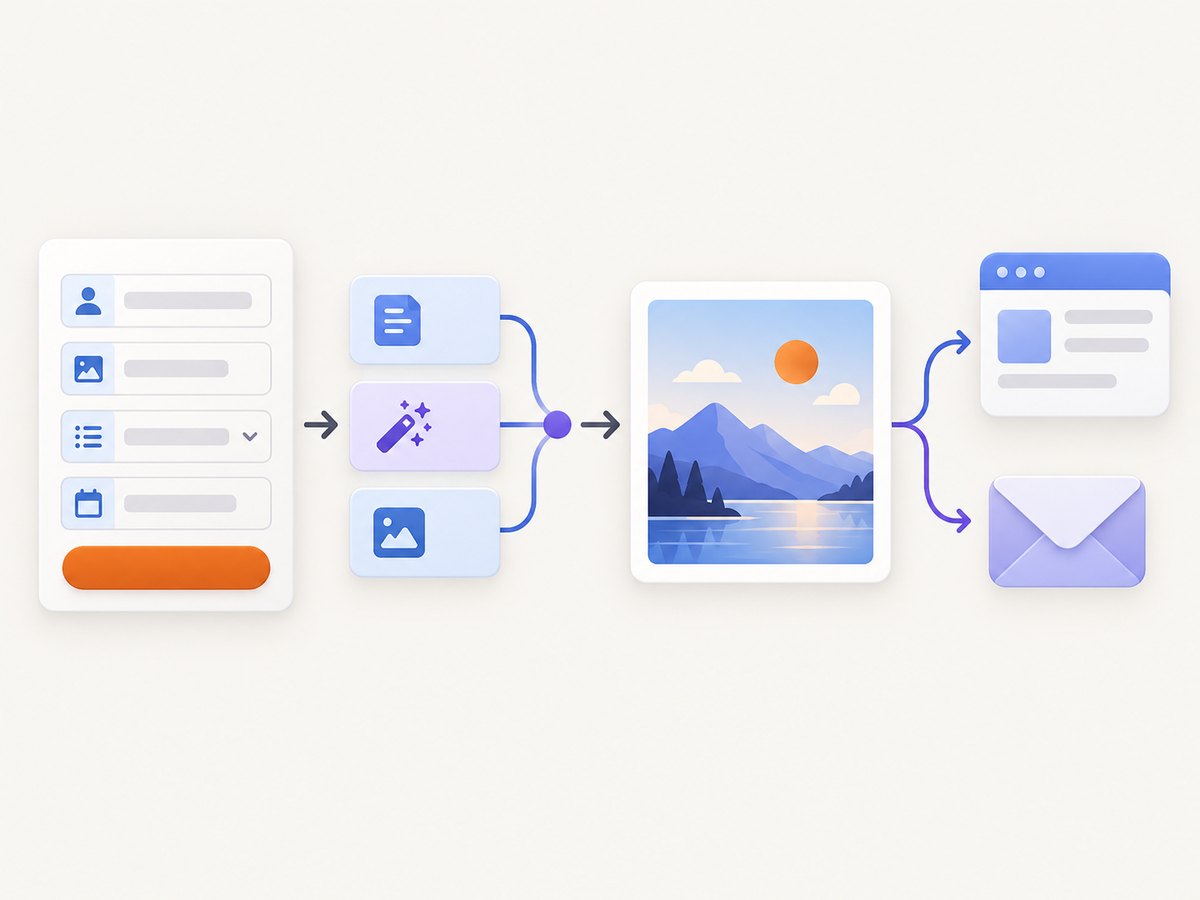
Image quality depends on input quality. Collect fields that map directly to visual decisions rather than one large paragraph. For example:
- Identity: name, company, or recipient.
- Subject: product type, event, destination, or character.
- Style: choose from a controlled list such as photographic, flat illustration, or watercolor.
- Color: use a select menu or validated color value.
- Audience: child, professional, technical, or general.
- Output: aspect ratio, file type, and intended destination.
Constrain values where consistency matters. A select field prevents unexpected style names and makes template logic predictable. Validate length, allowed characters, and required fields on the server even when the browser already validates them. Treat every submitted value as untrusted text before inserting it into a prompt, SVG, HTML, or API payload.
3. No-code prompt generation
A no-code workflow can connect a form to an image action and route the result to an app record, listing, or email. Softr’s OpenAI integration describes mapping data from forms, records, or earlier workflow steps into a prompt, then using the generated image as a record attachment, listing visual, or email asset. Its documented flow is: open Workflows or Data Sources, add OpenAI, connect or authorize it, map fields, test, save, and activate. See the Softr OpenAI integration documentation.
Example prompt mapping
Suppose the form has name, product, color, and style. Build a prompt with a fixed instruction and mapped values:
Create a clean marketing illustration for a {{product}}.
Primary color: {{color}}.
Visual style: {{style}}.
The composition should leave clear space for the recipient name "{{name}}" to be added later.
Do not render words, logos, prices, or watermarks in the generated artwork.
Keep user text in quoted fields and apply length limits. Do not let a free-form field replace the entire system instruction. If the image will be public, add moderation and review rules before publishing it. Store the generated asset URL or file reference with the submission so a later workflow can resend the email without generating a second image.
4. Fixed template rendering for consistent branding
When geometry and copy must not drift, populate a template. Zapier’s Placid integration describes the service as one that “lets you automatically create images from templates.” This model is appropriate for certificates, event announcements, listing thumbnails, and social cards where every output shares the same dimensions and brand rules. See the Zapier Placid integration page.
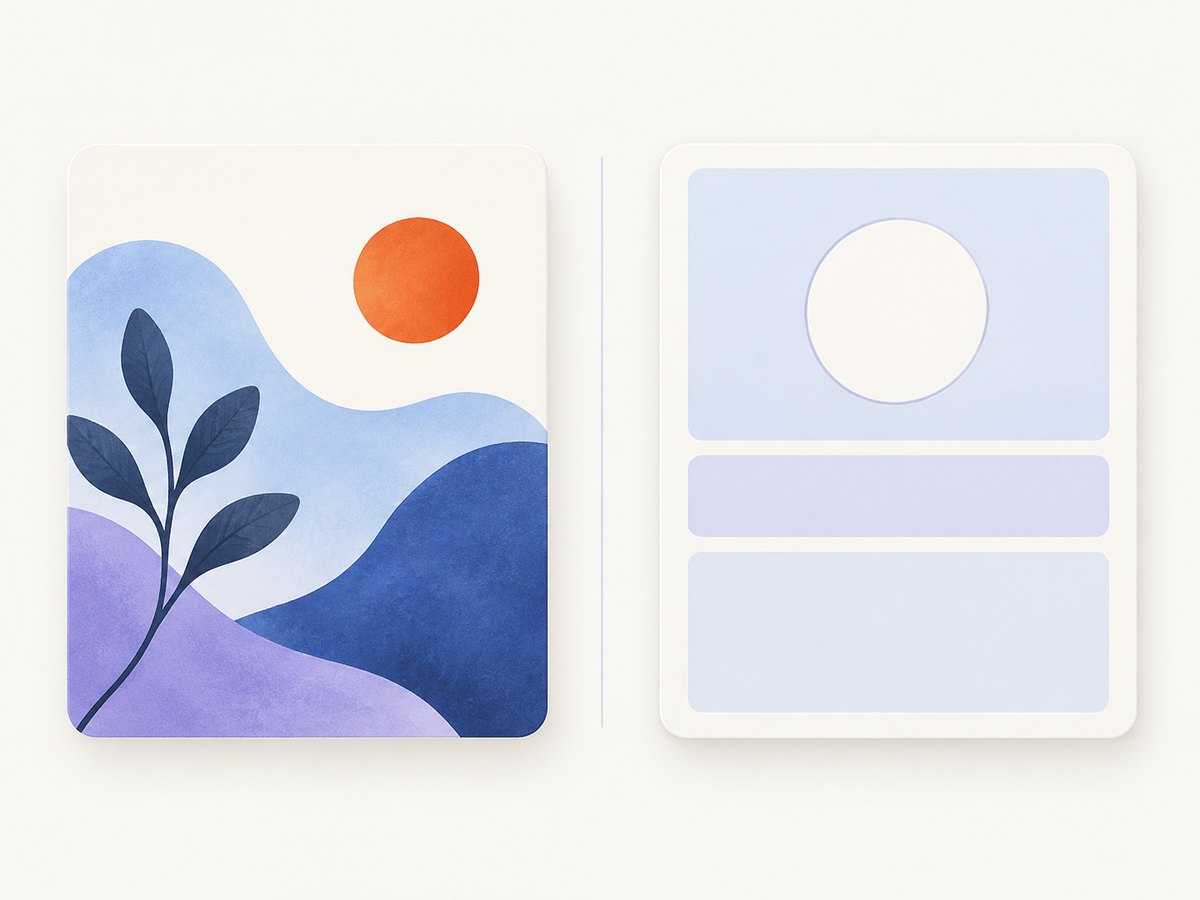
A template payload normally contains text variables, colors, image URLs, and optional visibility switches. Keep the template ID and version in configuration, not in a user-submitted field. Save the returned asset identifier alongside the original form submission. If a template changes later, retaining the version lets you reproduce an older certificate or receipt.
5. A complete custom-code example
The following example is self-contained: it accepts a form submission, validates fields, escapes values, and writes an SVG image. SVG is useful for a first implementation because it preserves text sharply and requires no external image provider. You can send the resulting file to an object store, attach it to an email, or convert it to PNG in your existing media pipeline.
Node.js: form data to an SVG asset
import { writeFile } from 'node:fs/promises';

const submission = {
  name: 'Maya Chen',
  product: 'Aurora bicycle',
  color: '#5B5FEF',
  style: 'clean geometric illustration'
};

const allowedStyles = new Set([
  'clean geometric illustration',
  'soft watercolor',
  'bold editorial poster'
]);

function escapeXml(value) {
  return String(value)
    .replaceAll('&', '&')
    .replaceAll('<', '&')
    .replaceAll('>', '&')
    .replaceAll('"', '"')
    .replaceAll(''', ''');
}

function validHex(value) {
  return /^#[0-9a-fA-F]{6}$/.test(value);
}

function makeSvg({ name, product, color, style }) {
  if (!name || name.length > 80) throw new Error('Invalid name');
  if (!product || product.length > 120) throw new Error('Invalid product');
  if (!validHex(color)) throw new Error('Invalid color');
  if (!allowedStyles.has(style)) throw new Error('Invalid style');

  return `<svg xmlns="http://www.w3.org/2000/svg" width="1200" height="630" viewBox="0 0 1200 630">
  <rect width="1200" height="630" fill="${color}"/>
  <circle cx="990" cy="120" r="210" fill="#ffffff" fill-opacity=".18"/>
  <circle cx="1080" cy="540" r="280" fill="#000000" fill-opacity=".12"/>
  <text x="80" y="180" font-family="Arial, sans-serif" font-size="34" fill="#ffffff">${escapeXml(style)}</text>
  <text x="80" y="300" font-family="Arial, sans-serif" font-size="64" font-weight="700" fill="#ffffff">${escapeXml(product)}</text>
  <text x="80" y="390" font-family="Arial, sans-serif" font-size="38" fill="#ffffff">For ${escapeXml(name)}</text>
</svg>`;
}

const svg = makeSvg(submission);
await writeFile('generated-card.svg', svg, 'utf8');
console.log('Created generated-card.svg');
In a web application, call makeSvg from a server route after authentication. Never trust a browser-only validation result. If you need PNG or JPEG output, pass the validated SVG to the image conversion service already used by your stack, then record the output content type and checksum.
Browser form flow
<form id="card-form">
  <input name="name" required maxlength="80" placeholder="Recipient name">
  <input name="product" required maxlength="120" placeholder="Product">
  <input name="color" required pattern="#[0-9a-fA-F]{6}" value="#5B5FEF">
  <select name="style">
    <option>clean geometric illustration</option>
    <option>soft watercolor</option>
    <option>bold editorial poster</option>
  </select>
  <button>Create image</button>
</form>
<script>
  document.querySelector('#card-form').addEventListener('submit', async (event) => {
    event.preventDefault();
    const body = Object.fromEntries(new FormData(event.currentTarget));
    const response = await fetch('/api/form-to-image', {
      method: 'POST',
      headers: {'content-type': 'application/json'},
      body: JSON.stringify(body)
    });
    if (!response.ok) throw new Error('Image request failed');
    const result = await response.json();
    location.href = result.downloadUrl;
  });
</script>
6. Handling uploaded reference images
If the form includes an uploaded image, define accepted formats, maximum size, retention, and access rules before processing. Anthropic’s vision documentation lists JPEG, PNG, GIF, and WebP support and a 10 MB direct-API image limit. It supports images as base64 data, a URL, or a Files API file_id, and recommends reusing file references instead of resending bytes. Its documentation also states that Claude is an image-understanding model and cannot generate, edit, or create images. Use an image-generation or rendering service for the final asset. See the Anthropic vision documentation.
For uploads, verify the declared type against the file signature, strip metadata when appropriate, scan for malware, store objects privately, and issue short-lived download links. Do not place an untrusted upload directly into an HTML or SVG template.
7. Delivery, retries, and duplicate submissions
- Validate and normalize the submission.
- Create an idempotency key from the submission ID and image version.
- Persist a
queuedrecord before calling the image service. - Generate or render the asset in a worker.
- Persist the provider response, content type, dimensions, and storage key.
- Deliver a download link, email attachment, record attachment, or app preview.
Use exponential backoff for transient network errors and cap attempts. Do not retry validation failures, rejected content, or an invalid template payload. If the browser needs an immediate response, return a job ID and poll a status endpoint; do not hold a request open while a slow generation runs. A webhook can complete the job asynchronously, but verify its signature and make the handler idempotent.
8. Performance, reliability, and cost
- Performance: resize source uploads before analysis, avoid regenerating identical inputs, and cache by a normalized payload plus template version.
- Reliability: keep the original fields and prompt/template version so an asset can be reproduced. Record provider request IDs and failure reasons.
- Cost: estimate cost per submission, including retries, storage, conversion, email, and moderation. Generate only after required fields pass validation.
- Privacy: publish a retention period for form answers and uploads. Delete temporary files after the final asset is stored.
- Consistency: use enumerated styles and fixed templates when visual drift would create support or compliance work.
9. Or skip the browser setup
If your next step is to capture the generated result, a hosted screenshot endpoint avoids managing a browser, fonts, waiting rules, and cookie dialogs. ScreenshotNeo accepts one GET request and returns a PNG, JPEG, WebP, or PDF. It can capture a full page or one CSS-selected element, load lazy images, apply custom CSS or JavaScript, click an element, wait for a selector, delay, or network idle, and use custom headers, cookies, user agents, timezone, and geolocation. See the ScreenshotNeo documentation for the request options.
cURL
curl -G "https://api.screenshotneo.com/v1/shot" -d access_key=YOUR_API_KEY --data-urlencode url=https://stripe.com -o shot.webpPython
import requests
r = requests.get("https://api.screenshotneo.com/v1/shot", params={"access_key": "YOUR_API_KEY", "url": "https://stripe.com"}, timeout=90)
open("shot.webp", "wb").write(r.content)
Node.js
const q = new URLSearchParams({ access_key: 'YOUR_API_KEY', url: 'https://stripe.com' });
const res = await fetch(`https://api.screenshotneo.com/v1/shot?${q}`);
ScreenshotNeo accepts the parameter names used by other screenshot APIs, which makes switching easier. Cookie and consent banners are accepted before capture, and more than 60 known consent platforms, newsletter popups, and chat widgets can be removed. Each cleanup step can be turned off. Bot checks or CAPTCHAs, blank pages, timeouts, failed loads, and cache hits cost nothing; response headers identify the page verdict and whether the request was billed. An MCP server provides take_screenshot, get_page_info, and capture_pdf tools for Claude, Cursor, and other MCP clients. The Free plan includes 1,000 shots per month with no card; paid plans start at $5 for 3,000 shots.
Create a free ScreenshotNeo account and start with 1,000 screenshots a month without adding a card.
10. Troubleshooting
| Symptom | Likely cause | Fix |
|---|---|---|
| Text appears outside the image | Unescaped user input in SVG or HTML | Escape XML/HTML characters and enforce length limits. |
| Every output looks different | Free-form prompts or unconstrained style values | Use select fields, a fixed prompt structure, or a template. |
| Duplicate charges or duplicate assets | Browser retries without idempotency | Persist a submission key and return the existing job result. |
| Upload is rejected | Unsupported format or size limit | Accept JPEG, PNG, GIF, or WebP, enforce the documented 10 MB direct limit where applicable, and show a clear error. |
| Image is blank | Generation finished before fonts or remote assets loaded | Wait for a selector or network idle, preload assets, and verify the final response before delivery. |
| Webhook repeats | Handler does not record completion before returning | Verify the signature, write the event ID transactionally, and make processing idempotent. |
| Private data is exposed | Public object URL or prompt includes sensitive fields | Use private storage, short-lived links, redaction, and a documented retention policy. |
11. Implementation checklist
- Define whether the result is generative, templated, or hybrid.
- List required fields, allowed values, maximum lengths, and output dimensions.
- Validate on the server and escape values in every output format.
- Choose where the asset is stored and how long it remains available.
- Add idempotency, retries for transient failures, and a job status model.
- Record the prompt or template version and the original submission ID.
- Test long names, special characters, missing uploads, duplicate clicks, and provider timeouts.
- Decide whether a human reviews public or regulated content.
FAQ
Can a form create a personalized image without code?
Yes. Map form fields into an image action in a workflow tool, then route the result to a record, listing, email, or app screen. Use controlled fields when consistent output matters.
Should I use AI generation or a template?
Use generation for creative variation. Use a template when position, branding, legal copy, or dimensions must remain fixed.
Can an image-understanding model create the final image?
Not necessarily. Check the provider’s current capability. Anthropic’s documentation says Claude can analyze images but cannot generate, edit, or create them, so pair analysis with a separate generation or rendering service.
How do I prevent one submission from producing several images?
Create an idempotency key from the submission ID and image version, persist the job before generation, and return the existing result when the same key is received again.
Where should generated images be delivered?
Choose based on the user journey: a record attachment for internal tools, a listing visual for catalogs, an email asset for notifications, or a private download link for user-facing exports.


