How to Create Lead Generation Graphics with Zapier
Build reusable Canva lead graphics with Zapier, connect matching forms, route submissions, and automate reliable follow-up.
Direct answer: Create a reusable Canva design with locked brand elements and replaceable text or image fields, then use Zapier to fill that template from a form, table, calendar, or another trigger. Send the audience to a campaign-specific landing page and form, store each submission, and route it to the person or system responsible for follow-up. The graphic earns attention; the form and routing turn that attention into a lead.
Zapier is the handoff layer, not the design editor. Canva is the documented example for template-based generation. Zapier’s Canva integration includes an action called Autofill Design From Brand Template, which maps data from a trigger app into text, images, and other template elements. Zapier currently states that Canva Pro, Team, or Enterprise is required for API access through the integration. Check the live integration page before building because plan requirements can change.
1. Define the offer, audience, and handoff
Before opening Canva, record the audience, offer, call to action, destination URL, and lead fields. The offer might be a checklist, consultation, report, discount, or webinar. The call to action should use one clear verb, such as “Get the checklist.” Keep the promise on the graphic identical to the promise on the landing page. Someone who clicks “Download the retail launch checklist” should see that same offer after the click, rather than a generic form.
Use a campaign-specific landing page and form. Preserve source or UTM values so later routing can distinguish campaigns. Decide which fields are genuinely needed for qualification. Every extra field adds friction and creates more data to protect.
2. Build a reusable Canva template
- Create the design at the dimensions required by the channel.
- Place stable brand elements such as colors, type styles, logo treatment, footer, and legal copy in fixed positions.
- Name replaceable elements clearly:
headline,subhead,offer_image,date, andcta. - Define maximum lengths before connecting Zapier. A headline that fits one campaign may overflow when a longer value is inserted.
- Export a sample and inspect it on a phone-sized screen for contrast, readable type, safe margins, and CTA visibility.
Zapier documents patterns such as branded social graphics from blog data, marketing materials from form data, event graphics from calendar entries, and quote graphics from spreadsheet rows. Adapting that pattern to lead-generation campaigns is a practical application of the documented integration; it does not prove automated graphics convert better.
3. Connect source data and map fields in Zapier
Your trigger can be a form response, a new table row, a scheduled publishing event, or another app event. In Zapier:
- Create a Zap and connect the trigger app.
- Choose the event that supplies approved campaign data.
- Add Canva as the action app and select Autofill Design From Brand Template.
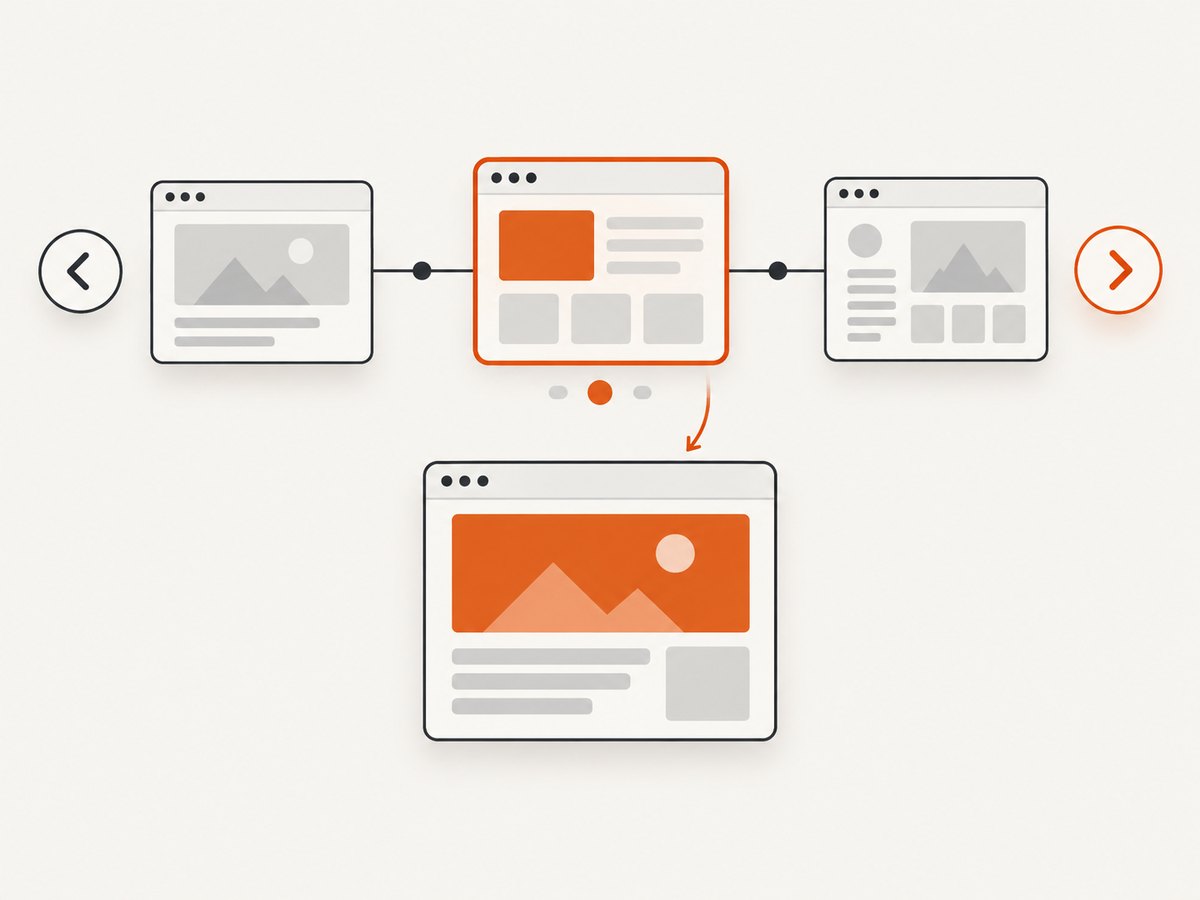
- Connect an eligible Canva account, select the template, and map each trigger field to the matching text or image element.
- Test with representative values, including the longest headline and a missing optional image.
- Review the generated design before enabling the Zap.
Keep a human review step when copy, prices, dates, regulated claims, or image rights need approval. Automation can move data into a design; it cannot decide whether a claim is accurate or approved.
Example field map
| Source field | Canva element | Validation |
|---|---|---|
offer_name |
headline |
Character limit and approved wording |
short_benefit |
subhead |
Fallback text if empty |
image_url |
offer_image |
Reachability, dimensions, and usage rights |
landing_url |
CTA metadata | HTTPS and campaign ID retained |
event_date |
date |
Timezone and locale checked |
4. Make the landing page and form match
Repeat the offer on the landing page, explain its value, and state what happens after submission. Zapier’s form guidance recommends asking for as few fields as practical, supporting mobile use, preserving readable spacing and contrast, explaining why information is requested, and making the submit button visually distinct. These are recommendations, not a guaranteed conversion effect.
- Use the same headline and CTA wording as the graphic.
- Keep labels visible instead of relying only on placeholders.
- Show useful, field-level validation errors.
- Include a concise privacy notice and any required consent choice.
- Test keyboard navigation, focus order, contrast, and the smallest supported phone viewport.
- Show a thank-you page that confirms delivery or gives the next step.
Zapier’s lead-capture template provides a beginner path with an online form, thank-you page, Zapier Table, internal notification, and follow-up email. The form can be shared by public link or embedded. Check plan limits in the current Forms guide.
5. Store, route, and follow up
Save the submission before sending notifications so a temporary email failure does not lose the lead. Retain timestamp, campaign ID, source or UTM values, contact details, consent state, and processing status.
- Write the form response to Zapier Tables or your CRM.
- Normalize names, phone numbers, and dates.
- Assign an owner using an explicit rule such as campaign, geography, or company size.
- Send an internal alert containing the offer, source, and record link.
- Start the promised follow-up only after storage and deduplication succeed.
- Record delivery errors for retry and review.
For several campaigns, keep campaign-specific intake steps but centralize shared formatting and routing. Zapier’s documented internal example uses feeder workflows that add UTM data, send records through a webhook to one catchall workflow, and deliver them to HubSpot. Treat that as one architecture to adapt, not a universal requirement. Zapier also describes lead automation for syncing form or ad leads into CRM, chat, and email systems.
6. Add quality controls
- Content: verify offer, date, price, and legal copy against the approved brief.
- Layout: check overflow, clipped images, contrast, and CTA visibility.
- Link: open the landing URL on mobile and desktop and verify campaign parameters.
- Form: submit a real test and confirm the thank-you state, record, alert, and follow-up.
- Resilience: define behavior for missing images, overlong fields, and unavailable downstream apps.
7. Measure operations and outcomes separately
Track generated designs, review rejects, landing visits, form starts, completed submissions, routing failures, response time, and duplicate rate. Compare campaign outcomes only when audience, offer, placement, and attribution rules are understood. Automation makes the handoff repeatable; it does not establish that a particular graphic will convert better.
Or skip the browser setup
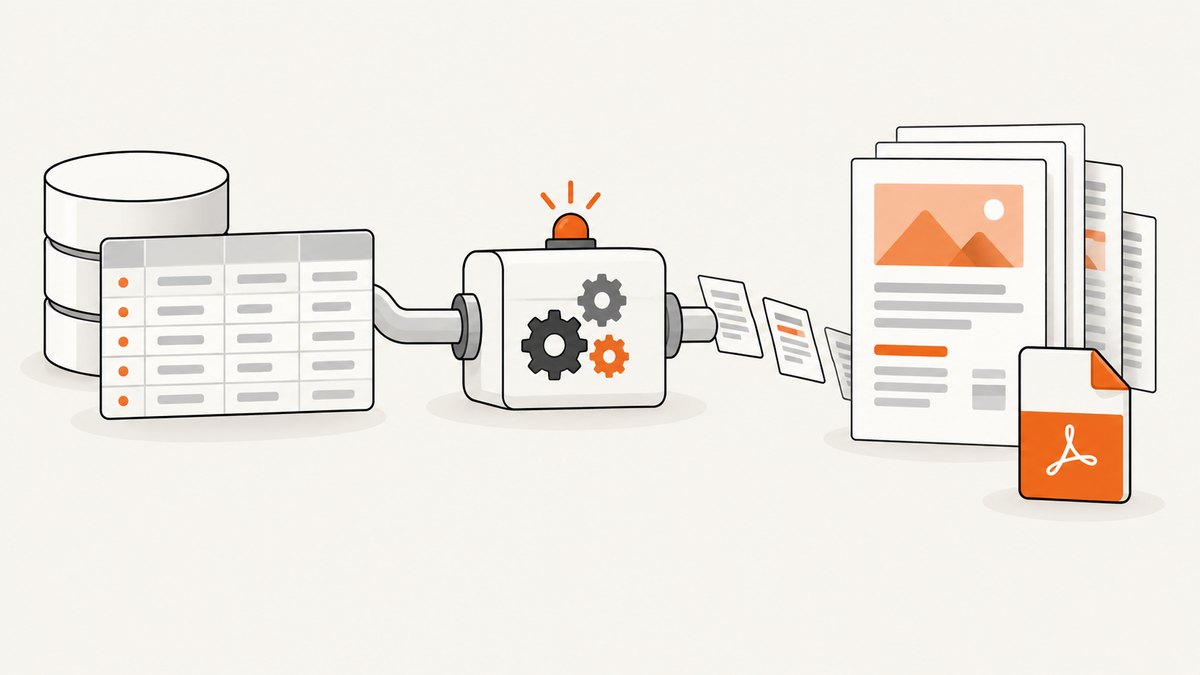
If you need screenshots of the landing page, generated graphic, or thank-you state, ScreenshotNeo returns a clean image or PDF from one GET request. The ScreenshotNeo API docs cover the available options.
cURL
curl -G https://api.screenshotneo.com/v1/shot -d access_key=YOUR_API_KEY --data-urlencode url=https://stripe.com -o shot.webpPython
import requests
r = requests.get('https://api.screenshotneo.com/v1/shot', params={'access_key': 'YOUR_API_KEY', 'url': 'https://stripe.com'}, timeout=90)
open('shot.webp', 'wb').write(r.content)
Node.js
const q = new URLSearchParams({ access_key: 'YOUR_API_KEY', url: 'https://stripe.com' });
const res = await fetch(`https://api.screenshotneo.com/v1/shot?${q}`);
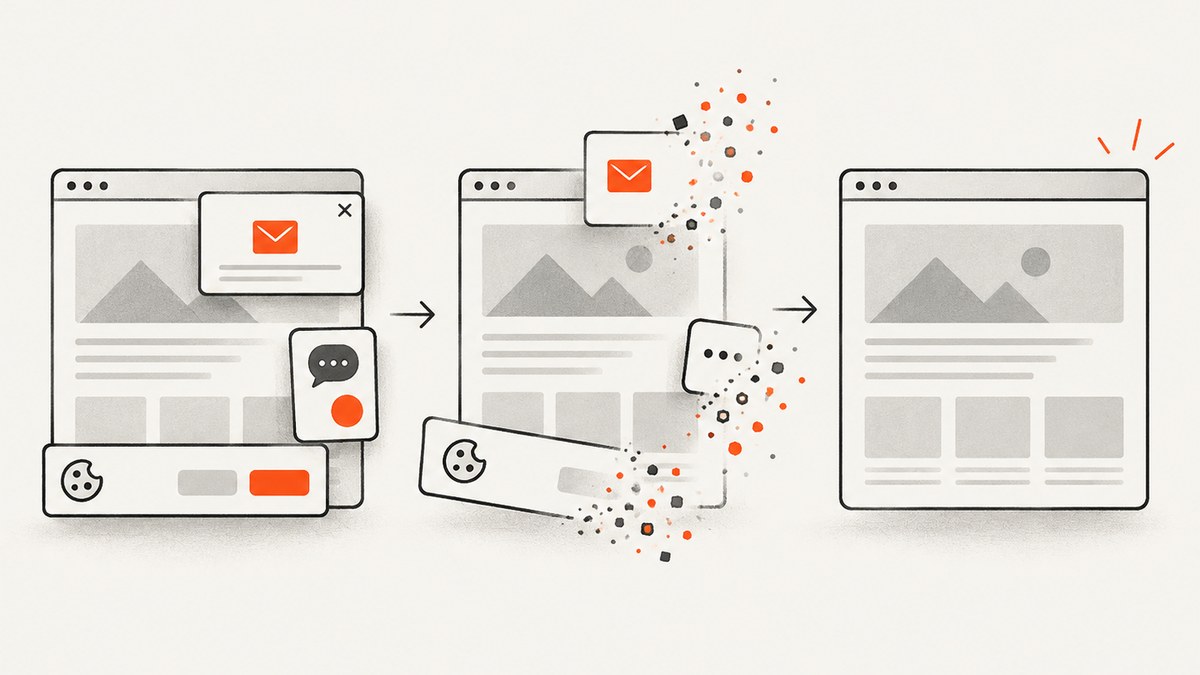
ScreenshotNeo removes cookie and consent banners, newsletter popups, and chat widgets before capture, and each cleanup step can be turned off. Bot checks, blank pages, timeouts, failed loads, and cache hits cost nothing; X-Page-Verdict and X-Billed headers identify the result. Its MCP server provides take_screenshot, get_page_info, and capture_pdf for Claude, Cursor, and other MCP clients. Options include full-page capture with lazy images, CSS-element capture, dark mode, device presets, custom viewports, retina scale, PDFs, custom CSS and JavaScript, clicks, waits, blocked resources, headers, cookies, user agents, timezone, geolocation, transparent backgrounds, resizing, caching TTLs, signed links, async webhooks, bulk capture of 100 URLs, and usage data.
There are 1,000 free screenshots each month with no card. Paid plans start at $5 for 3,000 shots, and yearly billing gives two months free. Create a free ScreenshotNeo account to start.
Troubleshooting
| Symptom | Cause | Fix |
|---|---|---|
| Canva action unavailable | Plan or API requirement changed | Check the current Zapier integration and use an eligible Canva plan. |
| Text overflows | Input exceeds the template limit | Validate upstream, add fallback text, or redesign the text box. |
| Image is blank | Private, expired, blocked, or invalid URL | Use a reachable asset and test the exact trigger URL. |
| Duplicate leads | Retries or repeated submissions | Store an idempotency key and upsert instead of blindly creating. |
| Alert arrived but CRM is empty | Wrong step order or rejected field | Write and verify the record first, map required fields, and log failures. |
| Screenshot contains a popup | Capture occurred before cleanup | Use cleanup options, waits, and hide selectors; inspect verdict headers. |
Performance, reliability, and cost notes
- Reuse approved assets and keep templates simple to reduce review time.
- Wait for a meaningful selector or network idle instead of relying only on long delays.
- Separate generation, review, publishing, and routing so each stage can be retried.
- Cache stable screenshots with a chosen TTL; avoid caching personalized or sensitive pages.
- Use async jobs, signed webhooks, bulk requests, and the usage API for higher-volume capture.
- Verify Zapier task and app-plan limits before enabling a large campaign. ScreenshotNeo bills only clean shots; failed loads, bot checks, blank pages, timeouts, and cache hits are free.
FAQ
Can Canva automatically post to social media?
Canva can create designs through the documented Zapier integration. Additional Zapier actions may publish to social tools depending on connected apps and plans; that is separate from generating the graphic and routing its form submission.
Do I need a separate design for every campaign?
No. Start with one approved template and replace controlled fields. Create variants when the audience, placement, or offer requires a different layout.
Should every submission trigger an email sequence?
Only after the promised value is delivered and your consent and qualification rules allow it. Store and route the record first.
When is a screenshot API useful?
Use one when you need repeatable previews of landing pages, generated assets, or thank-you states without maintaining a browser. ScreenshotNeo also supports MCP tools for AI-agent workflows.
Sources: Canva integrations, lead-capture template, form guidance, and scalable lead capture.


