How to Create an Open Graph Image
Create an Open Graph image, publish it at a stable URL, and add the metadata that helps link previews show the right artwork.

An Open Graph image is the artwork a page declares for link previews. Create a representative image, publish it at a stable, publicly reachable absolute URL, and set that URL in the page’s og:image metadata. A 1200×630-pixel canvas (about 1.91:1) is a useful starting point for broad compatibility, but it is a practical recommendation rather than a size mandated by the Open Graph Protocol. Check the current guidance for platforms that matter to your audience.
The essential work is twofold: make an image that still reads when shown small, and put correct metadata in the rendered document head. You can use one static image across a small site, create page-specific files, or generate images in code when many routes need their own artwork.
1. Decide whether the image is shared or page-specific
Start by listing which pages need previews. A small site, company homepage, or landing page may only need one carefully chosen image. A blog, documentation site, or catalog often benefits from artwork that reflects each page’s subject. The Open Graph Protocol identifies the image through og:image; the protocol does not dictate how you create the file.
| Approach | Good fit | Trade-off |
|---|---|---|
| Static image file | A small number of pages, or artwork that rarely changes | Simple to create and publish; page-specific images need separate files and updates. |
| Code-generated image | Many routes or content that changes by page | Repeatable and route-specific; requires implementation and maintenance. |
| Visual editor | You want to compose or edit artwork visually | Useful for making the image, but you still need to publish it and configure page metadata. |
Next.js supports static image files and generated images through an opengraph-image route. Figma is one optional visual editor; it supports uploading and editing images in a design. Neither a particular editor nor framework is required by the protocol.
2. Design and publish the image
- Choose a canvas. Use 1200×630 pixels as a practical starting point. Keep the subject and any important design elements within the canvas so that a platform’s particular crop or preview size is less likely to obscure them.
- Make the page topic obvious. Use artwork that represents the page. If you include words in the image, keep them short and check that they remain legible when the image is reduced. The image should complement the page title, not require tiny text to explain it.
- Export an appropriate file. Choose a format your publishing setup and target platforms support, then keep the file at a stable location. Next.js’s documented file convention accepts JPG, JPEG, PNG, and GIF. Check relevant platform requirements if format or size limits matter to your audience.
- Publish it where crawlers can fetch it. Use a publicly reachable, absolute URL such as
https://example.com/images/article-preview.png. A relative path like/images/article-preview.pngdoes not provide the full image URL expected inog:image. - Keep the URL stable where possible. If you replace the artwork, updating the existing file can avoid changing metadata across pages. If you change the path, update the metadata and verify the new URL is accessible.
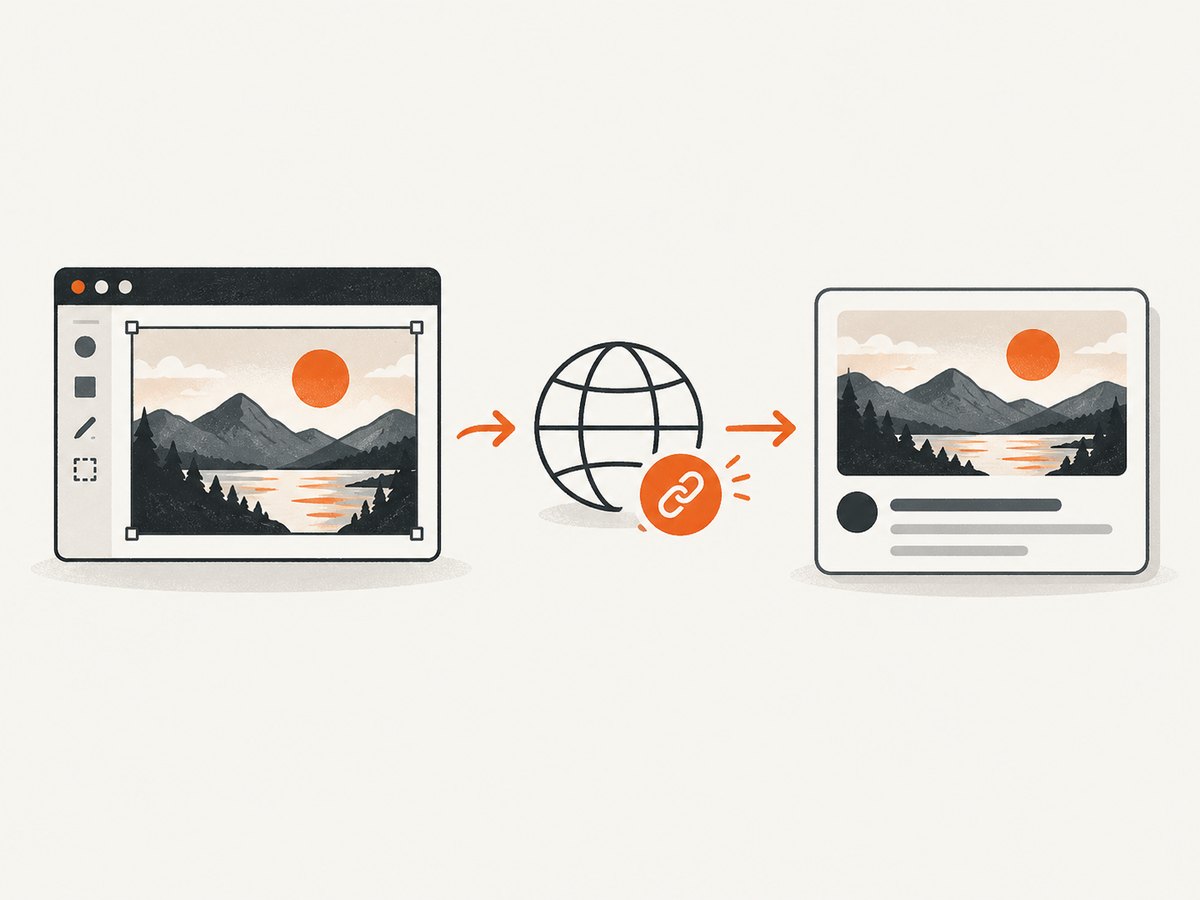
For visual creation, Figma is one option documented for importing and editing images; any suitable editor or image-generation workflow can serve the same purpose. The design tool does not publish Open Graph metadata for you. That is still part of the web page or framework configuration.
3. Add Open Graph metadata to the page
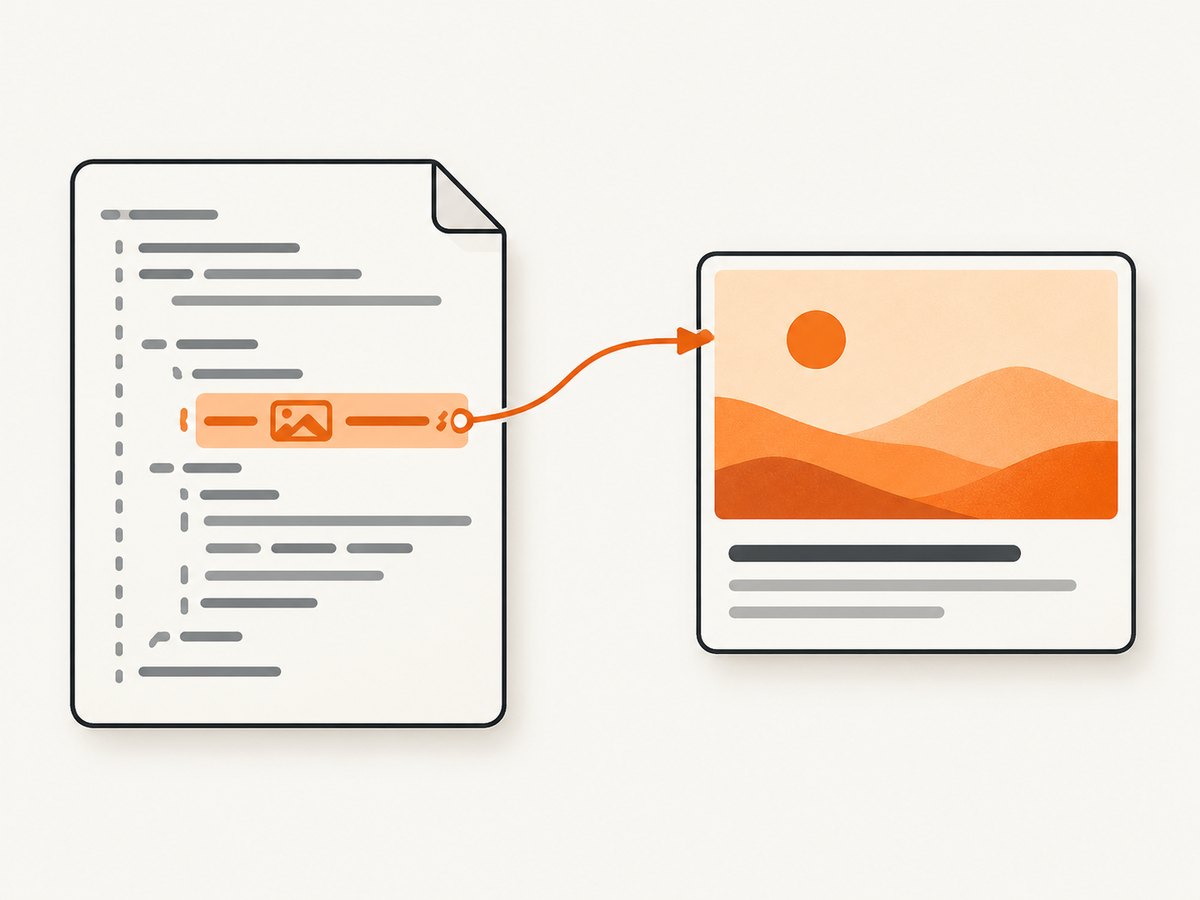
The Open Graph Protocol defines four basic properties for a page: og:title, og:type, og:image, and og:url. They belong in the document head. Add a useful og:description if you have a concise summary, and provide og:image:alt to describe what the image contains. The protocol says a page specifying og:image should also specify og:image:alt; write a description of the image contents rather than a caption.
<head>
  <title>A page title</title>
  <meta property="og:title" content="A page title" />
  <meta property="og:type" content="website" />
  <meta property="og:url" content="https://example.com/page" />
  <meta property="og:image" content="https://example.com/images/page-preview.png" />
  <meta property="og:image:alt" content="An illustrated overview of the page topic" />
  <meta property="og:image:width" content="1200" />
  <meta property="og:image:height" content="630" />
  <meta property="og:description" content="A short description of the page." />
</head>
Replace the example title, URL, image URL, description, and alt text with values for the actual page. The width and height above describe the example image; make them match your file if its dimensions differ. The protocol documents structured image properties for secure URL, MIME type, width, height, and alt text, so you can include properties that accurately describe the asset.
Multiple candidate images
The protocol permits more than one og:image. If a page declares several, the first tag in document order gets preference when values conflict. Put the intended default first. Keep each image’s structured properties associated with the image declaration they describe; do not accidentally apply one image’s dimensions or alt text to another.
4. Choose static metadata or generate images with Next.js
Static image and metadata
For a small site, create and deploy the image as a static asset, then put its absolute URL in the head metadata as shown above. Maintain the metadata per page if image, title, URL, or description vary. This is usually the most direct approach when you only have a few images.
Next.js file convention
Next.js recognizes an opengraph-image file in a route segment and adds the relevant metadata. Its documented convention supports JPG, JPEG, PNG, and GIF files; the guide includes a 1200×630 example. This can be convenient when a route has its own static preview image. Consult the current [Next.js Open Graph image documentation](https://nextjs.org/docs/app/api-reference/file-conventions/metadata/opengraph-image) for placement details and framework-specific behavior.
Next.js generated image route
When many pages need different images, or an image should use route or content data, Next.js also documents an opengraph-image route for programmatic generation. This avoids maintaining a separate manually composed file for every route, but adds code and a generation path to maintain. Use the framework’s documented API and supply content that is safe to render; verify the generated result and resulting metadata for representative routes.
Choose based on how often the artwork varies. A static file is easier to review and deploy for a handful of pages. Generation is useful when variation is systematic, such as a page title and category rendered into a consistent design across many content routes.
5. Inspect the deployed result
- Inspect the rendered head. Load the deployed page and view its source or inspect the document head. Confirm there is an
og:imagetag, its value is the full intended URL, and the title, page URL, and image alt description belong to this page. - Open the image URL directly. Check that it resolves publicly to the intended image. Confirm the file is the right one and that it has the dimensions and format your metadata describes.
- Check a real shared-link preview. Share or enter the page URL on the platforms important to your audience and inspect the result. Platform display and cropping differ, so a correct image declaration does not guarantee identical presentation everywhere.
- Recheck after changes. If metadata or the image changes, inspect the deployed page and preview again. A platform may cache preview data, so a change may not appear immediately; allow for cache delay and consult that platform’s current tools or guidance.
Options and edge cases to account for
- One image for the whole site: Valid when a shared brand image represents the pages well. Page-specific artwork can make individual links more recognizable, but requires a mapping from page to asset or a generation process.
- Absolute versus relative URL: Use the complete public image URL in
og:image. Confirm the deployed domain and path are correct, especially between staging and production. - Alt text: Describe visible image content. A useful description is specific enough to distinguish the image, without repeating the page title as a caption.
- Several images: Put the preferred one first. Keep image-specific structured properties in the correct order and association.
- Dimensions and format: State dimensions and MIME type only when they describe the file. The Open Graph Protocol has structured fields for them, but does not impose one universal pixel size for every platform.
- Crop and small previews: Keep key content away from edges and test the actual preview sizes that matter. Exact crops and display behavior are platform-specific.
- Generated image content: Escape or safely render dynamic titles and other route data using your framework’s supported mechanism. Preview special characters, long titles, and missing fields rather than assuming every route has typical content.
Or skip the browser setup
If you need to inspect how the page and its preview image render, ScreenshotNeo can capture the page as a PNG, JPEG, WebP, or PDF through one GET request. The API can capture the page after loading, and its options include viewport and full-page screenshots. See the ScreenshotNeo API documentation for the request options.
curl -G "https://api.screenshotneo.com/v1/shot" \
  -d access_key=YOUR_API_KEY \
  --data-urlencode url=https://example.com/page \
  -o shot.webp
import requests
r = requests.get(
"https://api.screenshotneo.com/v1/shot",
params={"access_key": "YOUR_API_KEY", "url": "https://example.com/page"},
timeout=90,
)
open("shot.webp", "wb").write(r.content)const q = new URLSearchParams({
access_key: 'YOUR_API_KEY',
url: 'https://example.com/page'
});
const res = await fetch(`https://api.screenshotneo.com/v1/shot?${q}`);
if (!res.ok) throw new Error(`Screenshot request failed: ${res.status}`);
await Bun.write('shot.webp', res);ScreenshotNeo removes cookie banners, newsletter popups, and chat widgets before the shot; those steps can be turned off. Bot checks, blank pages, timeouts, failed loads, and cache hits are not billed, and response headers identify the page verdict and billing status. Its MCP server gives AI agents tools for screenshots, page info, and PDF capture. The free plan includes 1,000 screenshots a month with no card; paid plans start at $5 for 3,000. Sign up for 1,000 free screenshots a month, with no card.
Troubleshooting
| Symptom | Likely cause | What to check |
|---|---|---|
| No image appears in the preview | The tag is absent from the rendered head, or its URL is wrong or inaccessible. | Inspect the deployed HTML and open the exact absolute og:image URL in a browser. Confirm the asset is publicly reachable. |
| The old image still appears | The page or image preview may be cached by the platform. | Verify the deployed metadata and asset first. Allow for caching, then use the platform’s current preview inspection or refresh process if available. |
| The wrong image is selected | Another image tag appears first, or image properties are associated with a different declaration. | Review tag order and keep the preferred og:image first, with its structured properties together. |
| The preview is cropped awkwardly | The platform uses its own display or crop behavior, or important content sits near the image edge. | Move essential artwork inward and inspect previews on the platforms that matter. Do not assume one crop rule applies everywhere. |
| Metadata works locally but not after deployment | Production may render different metadata, use a different asset path, or block public retrieval. | Inspect production’s rendered head and open the production image URL directly. Check environment-specific domains and paths. |
| Generated pages have inconsistent artwork | Route data may be missing, too long, or handled differently than expected. | Test representative routes, including long titles and missing optional data; add sensible fallbacks and safe rendering. |
Performance, reliability, and maintenance
A static image is a deployed asset and requires little runtime work, which makes it a straightforward choice for a small set of pages. A generated-image route introduces rendering logic and a dependency on the data used to construct each preview. Keep that logic narrow, define fallbacks for missing content, and check generated output when changing the design or route data.
Use stable asset URLs and deploy the file before or alongside metadata that references it. That sequencing reduces the chance that a crawler sees a page whose image path is not yet available. When replacing artwork at the same URL, remember that a platform may retain an earlier preview for some time. If reliable validation matters, inspect both the page metadata and the image itself after deployment.
There is no universal image size or crop guaranteed by the protocol. The 1200×630 canvas is a practical baseline from current implementation guidance, not a promise of identical results. Check platform-specific requirements when they affect your audience, and avoid treating any single preview tool as proof that all platforms will render identically.
Frequently asked questions
What is the recommended Open Graph image size?
1200×630 pixels, around a 1.91:1 ratio, is a practical cross-platform starting point. The Open Graph Protocol does not prescribe one universal size, so verify current platform guidance where needed.
What file format should I use?
Use a format accepted by your platform and publishing setup. Next.js’s documented opengraph-image file convention supports JPG, JPEG, PNG, and GIF. Check the current requirements for the platforms you target.
Does every page need its own image?
No. A shared image can work when it represents the page. Page-specific artwork may better identify individual articles or products; static files or a code-generated route can provide it.
Is Open Graph metadata a replacement for the page title?
No. It declares metadata for link previews. Keep the page’s normal title and other page metadata configured as appropriate for your site too.
Does adding an image guarantee that every platform shows it?
No. The metadata identifies the image, while platforms control retrieval, caching, and presentation. Inspect the deployed page and the previews that matter to your readers.
Source notes
- Open Graph Protocol: basic properties, image URL and structured properties, alt text guidance, and multiple-image ordering.
- Next.js Open Graph image documentation: static image convention and generated image routes.
- Figma help: image upload and editing in a design.


