How to Create Open Graph Images With HTML and CSS
Build a reusable HTML/CSS card, render it to an image, and add Open Graph metadata so social platforms can fetch and preview it.

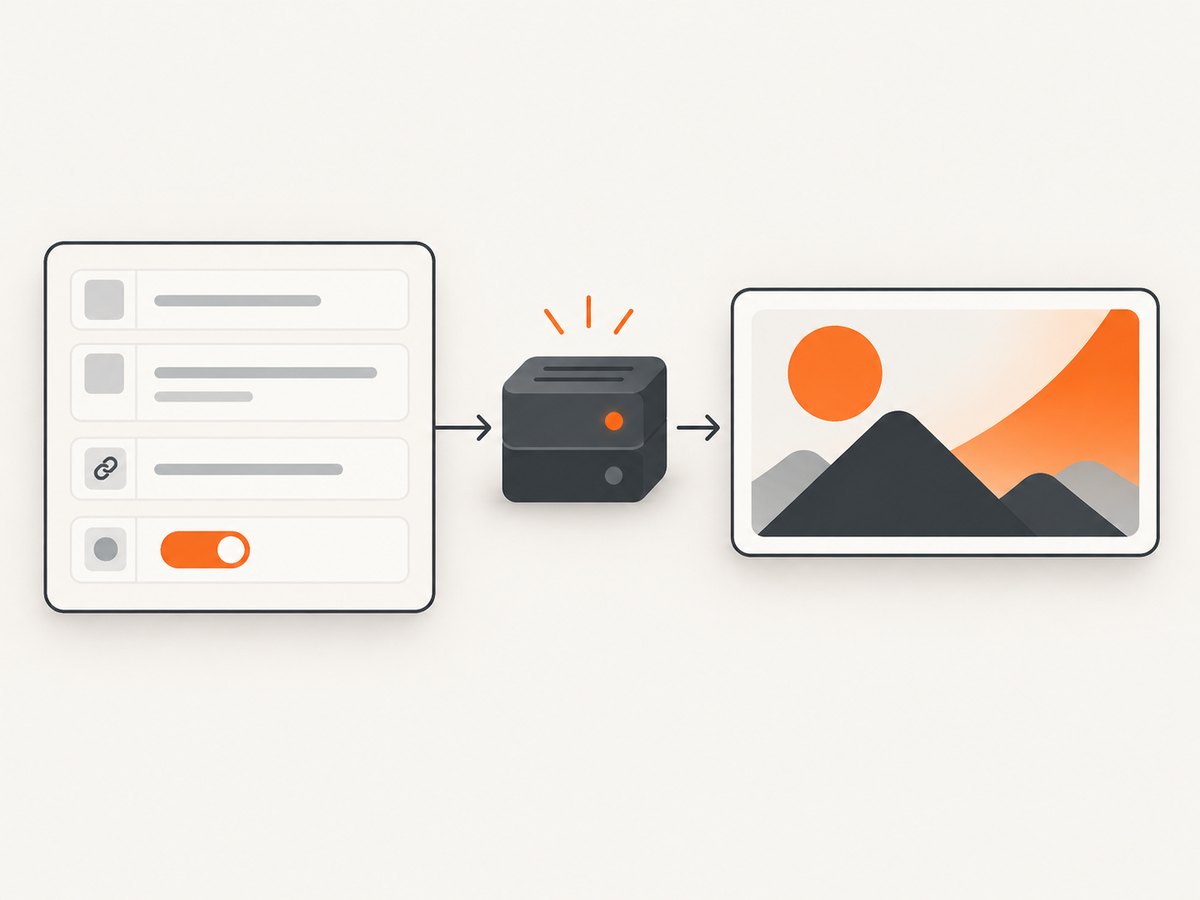
To create an Open Graph image with HTML and CSS, design a fixed-size card, render it in a browser to a PNG or JPEG, publish that image at a public URL, and point the page’s og:image metadata at the published file. Open Graph metadata does not contain your HTML or CSS; og:image is a URL to the finished image. A 1200 × 630 pixel canvas (about 1.91:1) is a practical starting size, though social platforms may crop, resize, cache, or apply their own requirements. The Open Graph Protocol defines the core tags; always preview on the destinations that matter to your site.
1. Design a reusable card
Start with one HTML document or component for the image. Set its canvas to 1200 × 630 and compose the background, heading, supporting text, and any artwork with CSS. Keep the most important content away from the edges and make text readable when the image is displayed smaller than its original size. Use a consistent template so page-specific images can share typography, spacing, and brand styling.
Use local or reliably hosted assets where possible. If the design depends on a web font, background image, or other external asset, make sure the renderer can fetch it and wait for it to load before capture. A missing font can change line breaks; a late image can leave an empty region in the output.
2. Render HTML and CSS with Puppeteer
Puppeteer drives Chromium, which renders the card as a browser page. Install it in a Node.js project, save the following files, and run the script. This example expects card.html beside render-og.mjs and writes og-image.png there.

npm install puppeteer<!-- card.html -->
<!doctype html>
<html lang="en">
<head>
<meta charset="utf-8">
<meta name="viewport" content="width=device-width, initial-scale=1">
<style>
* { box-sizing: border-box; }
html, body { width: 1200px; height: 630px; margin: 0; }
body {
display: grid;
place-items: center;
padding: 64px;
background: #101827;
color: #f8fafc;
font-family: Arial, sans-serif;
}
main {
width: 100%;
height: 100%;
display: flex;
flex-direction: column;
justify-content: center;
padding: 48px;
border: 1px solid #334155;
border-radius: 28px;
background: linear-gradient(135deg, #1e293b, #172554);
}
p { margin: 0 0 20px; color: #93c5fd; font-size: 22px; }
h1 { max-width: 920px; margin: 0; font-size: 64px; line-height: 1.08; }
.detail { margin-top: 24px; color: #cbd5e1; font-size: 25px; }
</style>
</head>
<body>
<main>
<p>ENGINEERING GUIDE</p>
<h1>Create a clear, shareable image</h1>
<div class="detail">A reusable card rendered from HTML and CSS</div>
</main>
</body>
</html>// render-og.mjs
import puppeteer from 'puppeteer';
import { fileURLToPath } from 'node:url';
import path from 'node:path';
const here = path.dirname(fileURLToPath(import.meta.url));
const browser = await puppeteer.launch({ headless: true });
try {
const page = await browser.newPage({
viewport: { width: 1200, height: 630 },
deviceScaleFactor: 1,
});
await page.goto(`file://${path.join(here, 'card.html')}`, {
waitUntil: 'networkidle0',
});
await page.evaluate(() => document.fonts.ready);
await page.screenshot({
path: path.join(here, 'og-image.png'),
type: 'png',
});
} finally {
await browser.close();
}Run it with node render-og.mjs. For a page with external assets, networkidle0 waits for network activity to settle, and document.fonts.ready waits for document fonts. These waits are useful but do not fix an inaccessible asset or a page that never settles; investigate failed requests if the result is incomplete. Use a known local template for a deterministic build when external dependencies are unnecessary.
3. Choose a generation approach
Puppeteer is a natural fit when your card uses ordinary browser HTML and CSS or you already have a component that can be opened in Chromium. It provides a familiar CSS environment, while your build must manage the browser, asset loading, and capture timing.
For data-driven images created in a runtime, another route is to render JSX through Satori to SVG and convert the SVG to PNG with Resvg. This can suit a design that fits the renderer’s supported styling, but check current CSS support, fonts, and deployment requirements before choosing it. If your project uses the Vercel and React ecosystem, Vercel’s OG ImageResponse API is another runtime option; check its current official API and runtime constraints. The available sources establish no universal performance, cost, or quality winner among these approaches.
| Approach | Useful when | Check before adopting |
|---|---|---|
| Puppeteer/Chromium | You want browser HTML/CSS rendering or can capture an existing component. | Browser execution, fonts and assets, readiness, and output dimensions. |
| Satori plus Resvg | Your runtime generates cards from data and the design fits the supported styling. | Current CSS support, font handling, and deployment needs. |
| Vercel OG ImageResponse | Your project already uses the relevant Vercel/React ecosystem. | Current official API details and runtime constraints. |
4. Publish the image at a public URL
Upload the generated PNG or JPEG to a stable location that social crawlers can fetch without signing in. Use an absolute HTTPS URL in metadata and avoid expiring links or access controls that block crawlers. Test the image URL from outside your authenticated development environment; being able to see a local file in a browser does not show that a platform can retrieve it.
Keep the source template and generated output together in your build workflow. When the card content changes, regenerate and publish the corresponding image. The image at the public URL should represent the same page named in the metadata. A 1200 × 630 image is a practical general-purpose choice, not a dimension mandated by the protocol, and destinations can present it differently.
5. Add Open Graph tags to the page
Put the tags in the page’s <head>. The protocol’s four core properties are og:title, og:type, og:image, and og:url. Add image dimensions and alternative text as structured properties when useful.
<html prefix="og: https://ogp.me/ns#">
<head>
  <title>Create a clear, shareable image</title>
  <meta property="og:title" content="Create a clear, shareable image">
  <meta property="og:type" content="website">
  <meta property="og:url" content="https://example.com/guides/og-images">
  <meta property="og:image" content="https://example.com/images/og-image.png">
  <meta property="og:image:width" content="1200">
  <meta property="og:image:height" content="630">
  <meta property="og:image:alt" content="A dark card about creating a shareable image">
</head>
<body>...</body>
</html>
Replace the example page and image URLs with the actual canonical page and published file. Make sure server-rendered pages or the initial HTML response include the metadata: a crawler that does not run your client-side JavaScript may never see tags inserted later. The og:image value must identify the final image, not the template file.
6. Validate the image and preview
- Open the published image URL directly and verify it loads without authentication.
- Inspect the file dimensions and look at the image at both full size and a small preview size. Check long titles, contrast, margins, and whether assets or fonts are missing.
- View the page’s initial HTML response and confirm the four core properties contain the intended values.
- Use preview inspectors for the social destinations that matter to your site. If a corrected image does not appear, account for platform caching and check whether the destination is showing a cached copy.
Platforms may cache metadata or images, so changing the source file does not guarantee every preview updates immediately. A changed image URL can help distinguish a new asset from a previously cached one, but follow each destination’s current preview and cache tools when available.
Or skip the browser setup
If your goal is to capture a page or card without installing and managing Chromium, ScreenshotNeo provides a website screenshot API. Its GET endpoint returns an image or PDF; the example below captures a public page. See the ScreenshotNeo API documentation for request details.
curl -G "https://api.screenshotneo.com/v1/shot" -d access_key=YOUR_API_KEY --data-urlencode url=https://example.com -o shot.webpScreenshotNeo accepts cookie or consent banners and removes more than 60 known consent platforms, newsletter popups, and chat widgets before capture; each step can be turned off. Bot checks, blank pages, timeouts, failed loads, and cache hits cost nothing, and response headers report the page verdict and billing status. Its MCP server offers take_screenshot, get_page_info, and capture_pdf tools for Claude, Cursor, and other MCP clients. The free plan includes 1,000 screenshots a month with no card; paid plans start at $5 for 3,000, and every feature is on every plan.
Sign up free for 1,000 screenshots a month, with no card required.
Options for a robust workflow
Static build or request-time generation
For content that changes only when a page is published, generate the image during the site build and deploy it with the page. That keeps the capture out of page requests and makes it easy to review the final asset. For page-specific images that must reflect frequently changing data, use a runtime route, but plan for renderer availability, input validation, and predictable output. The right choice depends on how often the data changes and what your deployment supports.
Fonts, images, and layout
Bundle fonts and artwork when practical. If using remote assets, wait for them explicitly and inspect browser console and network errors. Test the longest likely title and missing optional fields; dynamic text can overflow even when the sample card fits. Set wrapping, maximum widths, and line heights intentionally. Avoid assuming that a design sized for a desktop page will fit a social card without adjustment.
Output format and scale
PNG is a straightforward choice for crisp type and illustrations; JPEG can suit photographic artwork. Pick a format supported by your publishing host and the platforms you target, and validate the actual previews. The research establishes no comparative file-size, rendering-speed, or platform-support benchmark. At build time, limit unnecessary parallel browser launches and close each browser after use. For larger build queues, control concurrency according to the resources available in your environment.
Troubleshooting
| Symptom | Likely cause | Fix |
|---|---|---|
| Image is blank or missing artwork | An asset URL failed, access was denied, or capture happened before it loaded. | Check the URL from the renderer environment, inspect request errors, and wait for required assets before capture. |
| Text uses the wrong font or wraps differently | The font was unavailable or had not loaded when capture started. | Ensure the font can be fetched or bundle it, then wait for document.fonts.ready. |
| Output has unexpected dimensions | The browser viewport or device scale factor differs from the intended canvas. | Set the viewport to 1200 × 630 and use an explicit device scale factor; inspect the saved file itself. |
| Screenshot has clipped content | Text or layout exceeds the fixed card dimensions. | Test long content, constrain widths, choose wrapping or truncation deliberately, and inspect at preview size. |
| Social preview has no image | The URL is private, invalid, not absolute, or absent from the initial HTML. | Fetch the published URL anonymously and inspect the page’s initial HTML for og:image. |
| Preview still shows the previous card | The destination may be using cached metadata or an image. | Recheck the published asset and tags, then refresh the relevant platform preview using its current tools. |
| Puppeteer cannot launch Chromium | The runtime lacks required browser files or execution support. | Install Puppeteer and its browser as required by the current setup, and check the deployment environment’s browser constraints. |
Performance, reliability, and cost
There is no universal cost or speed figure for these rendering options in the available evidence. Puppeteer adds browser execution to your build or runtime and requires care around browser setup and concurrency. Static generation avoids doing that work for every page view; request-time rendering keeps output dynamic but places renderer availability on the request path. Satori/Resvg and Vercel’s route have their own current runtime and deployment requirements, which should be checked before adoption.
For reliability, make the output reproducible: pin your dependencies, keep templates and assets available, fail the build if required output is absent, and inspect the final image before publishing. A successful screenshot operation only proves that a file was written; it does not prove a crawler can fetch it or that a social preview displays it as intended. Validate the public URL and actual destination preview separately.
FAQ
Can I put HTML directly in og:image?
No. Render the HTML/CSS to a conventional image file and put that image’s public URL in the tag.
Does the Open Graph Protocol require 1200 × 630?
No. That is a practical general-purpose starting size from platform-oriented guidance, not a protocol requirement.
Why does my local preview work while a social preview does not?
Your browser may have access to local files, cookies, or authenticated assets that the social crawler does not. Check the initial page HTML and fetch the published image URL without authentication.
Should every page use a different image?
Use a page-specific image when it helps identify the page; a shared template can still give those images a consistent layout. The image should accurately represent the page named by its metadata.


