How to Create Photo Thumbnails Online
Create a clear, correctly sized photo thumbnail online: choose dimensions, crop the subject, add context, download, and check the final file.
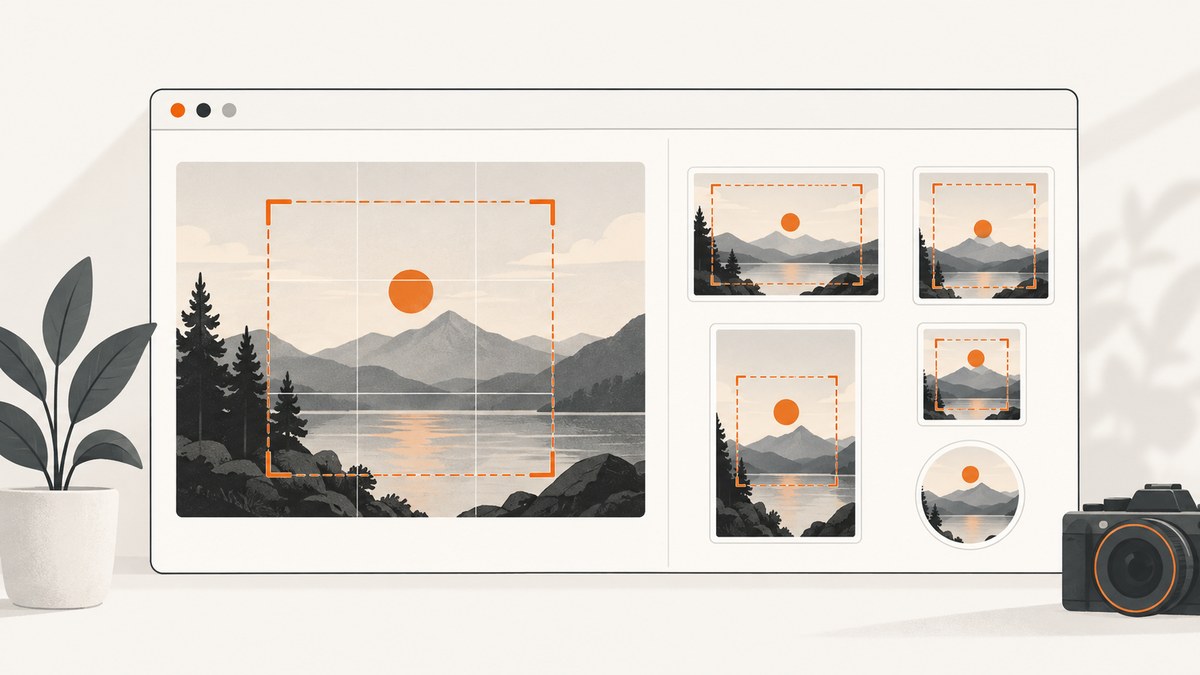
Quick answer: To create a photo thumbnail online, check the destination’s current size and file rules, upload a copy of your photo, choose a preset or enter custom dimensions, crop and position the subject, add only useful text or graphics, download the result, and inspect it at the size people will actually see. Thumbnail dimensions are destination-specific, so there is no universal pixel size.
1. Check the destination before editing
Start with the site, app, marketplace, newsletter, video platform, or document where the thumbnail will appear. Find its current requirements for:
- Width and height in pixels
- Aspect ratio, such as 1:1, 4:3, 16:9, or a custom ratio
- Accepted formats, commonly JPG or PNG
- Maximum file size
- Transparency support
- Whether the service crops, compresses, or adds borders after upload
Requirements change, so use the destination’s own documentation or upload screen as the final authority. If it offers a preset in your editor, compare the preset with the destination’s current specification before exporting.
2. Choose an online editor
You can make a thumbnail in any browser editor that supports resizing and cropping. Two documented options are:
| Editor | Useful when | Documented capabilities |
|---|---|---|
| Canva | You also need text, shapes, or other design elements. | Upload or drag in an image, choose a preset or custom dimensions, crop to an aspect ratio, add design elements, and download as JPG or PNG. (Canva, “Image Resizer: Instantly resize your photos online.”) |
| Adobe Express | You want a focused resize or crop quick action. | Resize and crop actions accept JPEG, JPG, PNG, WEBP, or HEIC files up to 40 MB. You can select a preset ratio or enter custom width and height, then download or continue editing. (Adobe Help, “Resize images in one click | Adobe Express”; “Crop images quick action in Adobe Express.”) |
These are vendor-documented workflows, not independent performance tests. Check the current interface and plan requirements before starting. Adobe’s help page notes that some broader resize-to-multiple-formats features are available on Premium plans; verify access for the specific quick action you intend to use.
3. Upload a copy of the photo
- Make a duplicate of the original photo so the original resolution and metadata remain available.
- Open the editor’s resize or design workflow.
- Upload the copy, or drag it into the browser window.
- Confirm that the editor recognized the complete image and did not rotate it unexpectedly.
Adobe Express documents JPEG, JPG, PNG, WEBP, and HEIC input with a 40 MB maximum for its resize and crop quick actions. If your file is larger, export a working copy locally first. For sensitive images, review the service’s current privacy terms and decide whether uploading is appropriate.
4. Set the thumbnail dimensions
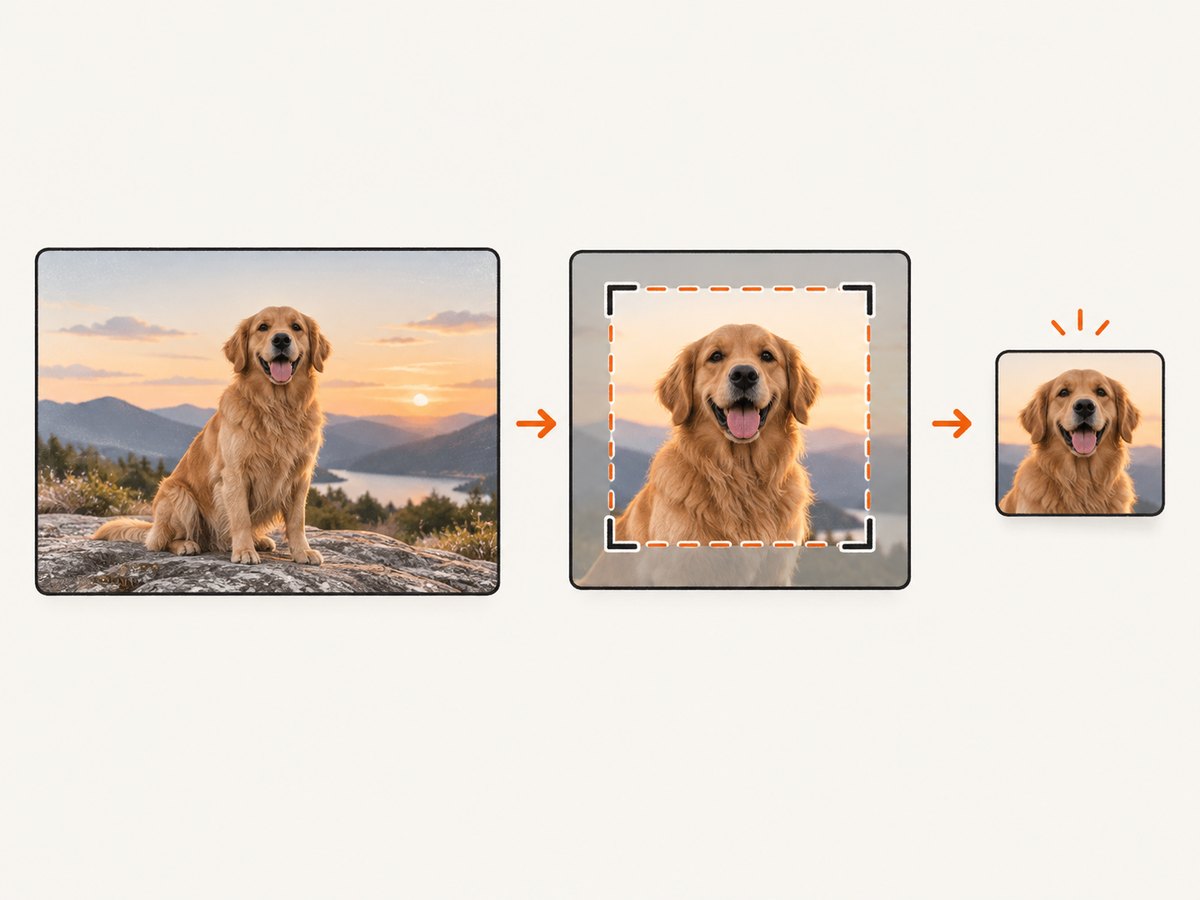
Use a destination preset when it exactly matches the requirement. Otherwise enter the required width and height manually. Keep the aspect ratio visible while editing.
- Matching ratio: The whole photo can usually fit without cropping, although the editor may scale it down.
- Different ratio: The editor may crop part of the image, add empty space, or stretch it. Cropping is usually preferable to stretching because stretching distorts faces and objects.
- Very small output: Fine details may disappear. Choose a photo with a clear subject and strong contrast.
- Large source, small target: Downscaling is normally cleaner than enlarging a small source.
Canva and Adobe Express both document preset and custom dimensions. Neither source establishes one universal thumbnail size, so do not copy a size from an unrelated platform.
5. Crop and position the subject
Set the crop ratio first, then adjust the image inside the frame. Adobe Express documents preset ratios and manual corner-handle cropping; Canva documents cropping to an aspect ratio.
- Choose the crop or frame that matches the output ratio.
- Move the photo until the main subject is fully visible.
- Leave enough space around faces, products, or important edges for the destination’s own UI.
- Check that the focal point is not hidden by likely overlays such as play buttons or badges.
- Preview the image at a small display size. If the subject is unclear there, revise the crop.
Do not assume that a centered crop is always best. Place the subject where it remains recognizable while preserving the direction of movement or the visual context that explains the photo.
6. Add text or graphic elements only when they help
A thumbnail can include a short label, border, logo, or shape when the destination and audience benefit from that context. Keep additions legible at the final display size.
- Use a short phrase that identifies the image rather than repeating a long title.
- Choose strong contrast against the photo.
- Keep text away from the edges, where automatic cropping can remove it.
- Do not cover the subject with decorative elements.
- Export a clean version without text as well when you may reuse the photo elsewhere.
The documented Canva workflow supports adding text and design elements. The cited sources do not establish a guaranteed engagement increase from adding text, so treat it as a clarity decision.
7. Download and inspect the output
- Download in a format accepted by the destination. Canva documents JPG and PNG downloads.
- Open the downloaded file outside the editor.
- Confirm the pixel dimensions, file extension, orientation, and transparency if relevant.
- View it at the approximate size used on the destination.
- Look for blurry text, clipped faces, halos, accidental borders, or an unexpected color shift.
- Upload a test copy when the destination provides a preview.
Keep the original and the exported thumbnail as separate files with descriptive names, such as product-photo-original.heic and product-photo-thumb-1200x675.jpg.
8. A repeatable thumbnail checklist
- Destination requirements checked today
- Original preserved and a copy uploaded
- Correct width, height, and aspect ratio selected
- Subject fully visible at small size
- No important content hidden under likely overlays
- Text remains readable, if used
- Accepted format and file-size limit confirmed
- Downloaded file reopened and inspected
9. Troubleshooting
| Problem | Likely cause | Fix |
|---|---|---|
| Upload is rejected | Unsupported format or file above the editor’s limit. | Export a copy as JPG or PNG, or use a supported WEBP/HEIC input. Adobe Express documents a 40 MB limit for its resize and crop quick actions. |
| Subject is cut off | The selected ratio is different from the source. | Reposition the image inside the crop, choose a wider or taller frame, or use padding if the destination allows it. |
| Image looks stretched | Width and height were changed independently. | Lock the aspect ratio while resizing, then crop instead of distorting. |
| Thumbnail is blurry | The source is too small, or the export was repeatedly recompressed. | Start from the highest-resolution original, export once at the required size, and avoid enlarging a small source. |
| Text cannot be read | Text is too small or low-contrast at display size. | Shorten it, increase contrast, add a simple background shape, and preview at the final size. |
| Colors look different | The editor or destination converted the color profile or compressed the file. | Reopen the downloaded file, compare it with the original, and use the destination’s recommended format and color settings. |
| Transparent background became solid | The chosen format or destination does not preserve transparency. | Use PNG only when the destination supports alpha transparency; otherwise place the subject on an intentional background. |
| Export button or feature is unavailable | The current account plan or editor interface may gate that feature. | Check the editor’s current plan details and help documentation, then use a basic resize-and-crop workflow if available. |
10. Performance, reliability, and privacy considerations
- Performance: Large uploads take longer and consume more browser memory. Work from a practical copy while keeping the original archived.
- Reliability: Download the file before closing the editor and keep a local copy. Browser sessions can expire.
- Compression: Export once at the target dimensions when possible. Repeated downloads and uploads can compound quality loss.
- Privacy: Online editors receive the file during processing. Review current retention and privacy terms before uploading confidential or regulated images.
- Cost: Basic resize and crop workflows may be free, while some design or multi-format features can depend on the editor’s plan. Confirm current pricing before committing to a workflow.
11. Or skip the browser setup
If your “thumbnail” is a screenshot of a webpage rather than an uploaded camera photo, ScreenshotNeo returns a PNG, JPEG, WebP, or PDF from one GET request. Its capture options include custom viewport sizes, device presets, retina scale, full-page capture, element capture by CSS selector, custom CSS and JavaScript, dark mode, image resizing, and more. See the ScreenshotNeo API documentation for the full parameter list.
curl -G "https://api.screenshotneo.com/v1/shot" -d access_key=YOUR_API_KEY --data-urlencode url=https://stripe.com -o shot.webpimport requests
r = requests.get("https://api.screenshotneo.com/v1/shot", params={"access_key": "YOUR_API_KEY", "url": "https://stripe.com"}, timeout=90)
open("shot.webp", "wb").write(r.content)const q = new URLSearchParams({ access_key: 'YOUR_API_KEY', url: 'https://stripe.com' });
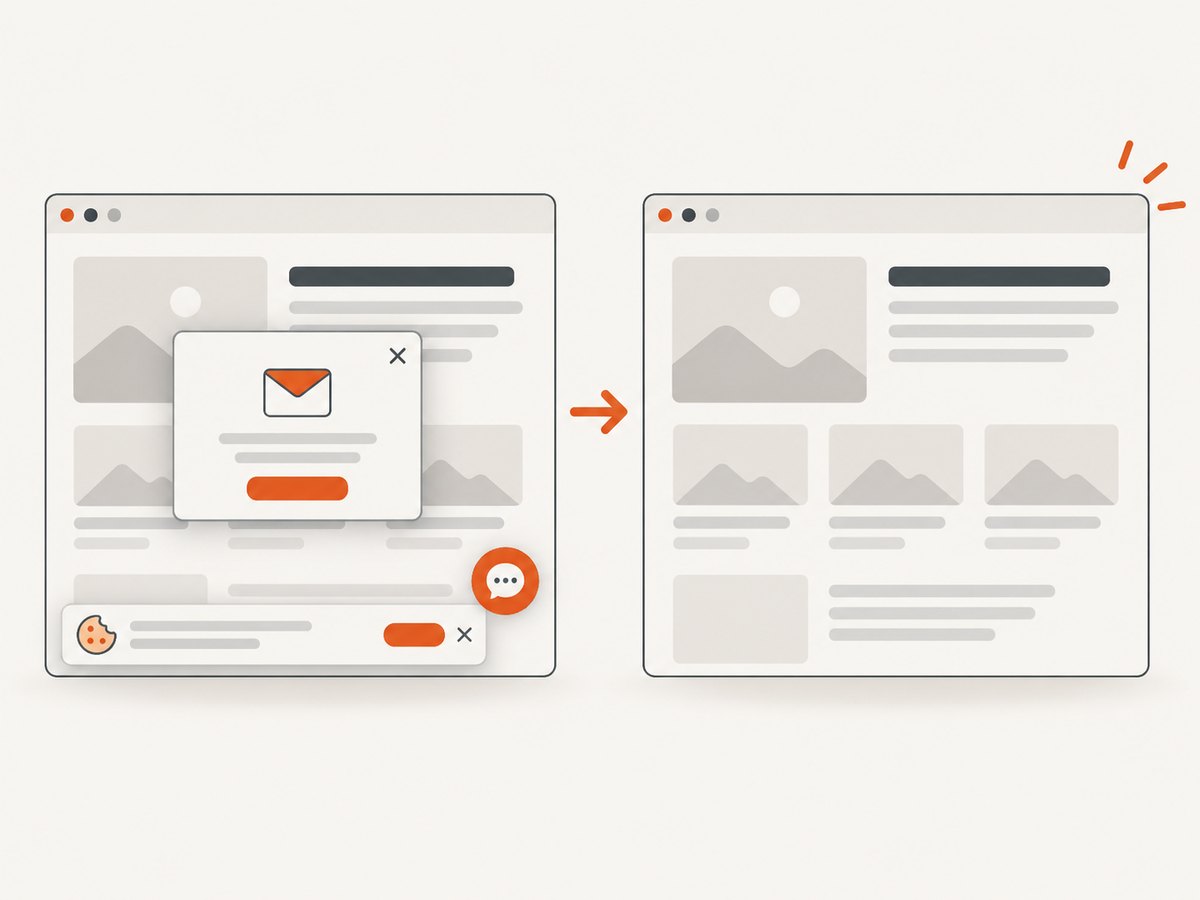
const res = await fetch(`https://api.screenshotneo.com/v1/shot?${q}`);Before capture, ScreenshotNeo accepts cookie and consent banners and removes more than 60 known consent platforms, newsletter popups, and chat widgets; each step can be turned off. Bot checks, blank pages, failed loads, timeouts, and cache hits are not billed, and response headers report the page verdict and billing status. An MCP server lets Claude, Cursor, and other MCP clients use take_screenshot, get_page_info, and capture_pdf. The Free plan includes 1,000 screenshots per month with no card; paid plans start at $5 for 3,000 shots. Create a free ScreenshotNeo account.
12. FAQ
What dimensions should every photo thumbnail use?
There is no universal size. Use the destination’s current width, height, aspect ratio, format, and file-size requirements.
Should I resize or crop first?
Choose the target ratio first, crop to keep the subject visible, then resize or export to the exact pixel dimensions.
Is JPG or PNG better?
Use the format the destination accepts. Canva documents both JPG and PNG downloads; PNG is useful when transparency or crisp graphics matter, while JPG is often suitable for photographic images.
Can I use a phone photo?
Yes. Upload a copy, check its format and size, then crop and export to the destination’s requirements.
How do I make a webpage thumbnail instead of a photo thumbnail?
Use a browser capture workflow such as ScreenshotNeo, where you can set the viewport, wait for page content, hide selectors, and capture the full page or one element.


