How to Create Thumbnails for a Website Blog
Learn how to design, crop, name, optimize, and publish blog thumbnails that stay clear, accessible, and reliable across your site.

Short answer: create a representative image for the article, design it around the place where it will appear, export it at the dimensions and quality your site needs, give it a descriptive filename and useful alternative text, then preview every crop. There is no universal blog-thumbnail size. Your theme or publishing system controls the rendered dimensions and cropping.
A good thumbnail remains recognizable when reduced, supports the article rather than distracting from it, and still works when an archive card crops the edges. The workflow below covers planning, design, WordPress publishing, accessibility, automation, troubleshooting, and a browser-free option with ScreenshotNeo.
1. Identify every placement before designing
The same source image may appear in an archive card, related-post module, article header, RSS feed, email, or social preview. Each placement can use a different aspect ratio and crop. Start by listing the places your image will appear:
- Blog index and category archives
- Inside the article above the headline or near the introduction
- Related-post and search-result cards
- Open Graph or social sharing previews
- Newsletters, feeds, and mobile layouts
Check the actual template or theme documentation. In WordPress, the featured-image control appears only when the active theme supports featured images. A theme can register custom image sizes and crop behavior, so its requirements take precedence over generic advice. See the WordPress Theme Handbook for how featured images and registered sizes work.
Make a placement checklist
- Record the rendered width and height for desktop and mobile.
- Record whether the template uses proportional resizing or a hard crop.
- Mark a safe area where the subject can remain visible after cropping.
- Check whether the image is reused in social metadata with a different ratio.
2. Choose a visual that represents the post
Select an image whose main subject can be understood without reading a caption. For a tutorial about database backups, a clear database or backup concept is more useful than a generic office photograph. For a product review, show the product or a distinctive detail. Keep the focal point away from edges that a card crop may remove.
Google recommends relevant, high-resolution images and avoiding extreme aspect ratios. Its Image SEO guidance does not prescribe one universal blog-thumbnail dimension. Treat dimensions as a layout decision, not a search-ranking formula.
Keep small images legible
- Use one dominant subject and a simple background.
- Prefer strong contrast between the subject and its surroundings.
- Use little or no text inside the image. If text is essential, make it short and test it at card size.
- Leave breathing room around the focal point so responsive crops do not cut it off.
- Do not depend on tiny labels, decorative lines, or fine detail to communicate the idea.
3. Set dimensions and crop deliberately
There is no site-wide pixel rule that applies to every blog. WordPress documents configurable defaults: thumbnail up to 150 × 150 pixels, medium up to 300 × 300, medium-large at 768 pixels wide, and large up to 1024 × 1024. Themes can change these values or add their own sizes, and WordPress may crop or resize proportionally. Those defaults are implementation settings, not universal recommendations.
Use the largest source that your layout and storage budget justify, then export derivatives for the placements your site actually serves. A practical process is:
- Design on a canvas that matches the primary placement’s ratio.
- Preview the image in the real archive and article templates.
- Move the focal point until desktop and mobile crops both work.
- Generate the sizes your CMS requests instead of forcing one large file everywhere.
- Check the result on a high-density screen and a small phone screen.
Do not promise a particular file-weight reduction or loading improvement without measuring your own pages. Export quality and format should follow your site’s performance constraints and visual requirements.
4. Create a thumbnail with a design tool or code
You can use an image editor, a design application, or a repeatable rendering script. Whatever you choose, establish a template with a fixed safe area, background treatment, and type scale. Save the source file separately from exported images so you can revise the crop later.
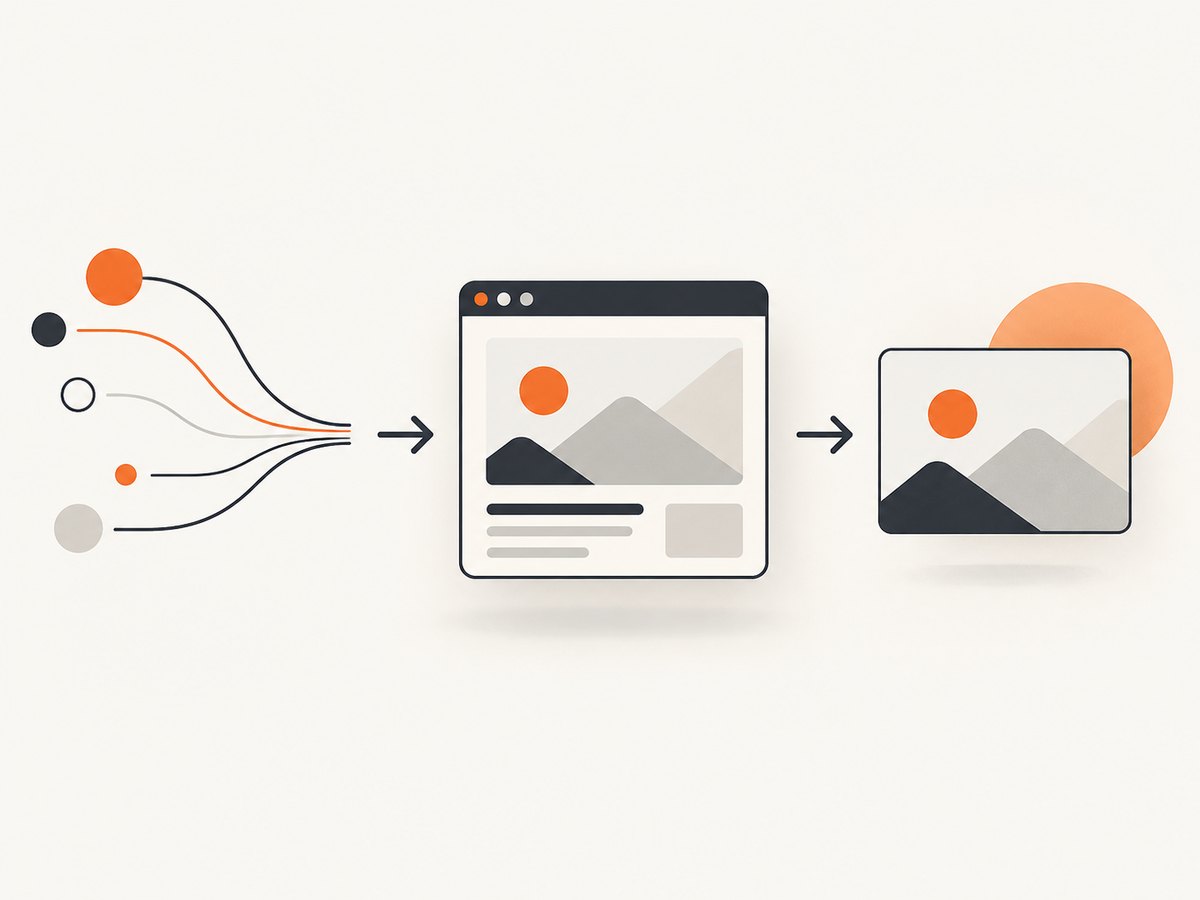
A simple HTML/CSS thumbnail template
The following file creates a 16:9 card you can open in a browser and capture or export. Replace the image URL and text with content for your post.
<!doctype html>
<html lang='en'>
<meta charset='utf-8'>
<style>
  body { margin: 0; background: #101522; }
  .thumb { width: 1600px; height: 900px; position: relative; overflow: hidden;
           display: grid; place-items: end start; color: white; font: 700 76px/1.05 system-ui; }
  .thumb img { position: absolute; inset: 0; width: 100%; height: 100%; object-fit: cover; }
  .thumb::after { content: ''; position: absolute; inset: 35% 0 0; background: linear-gradient(transparent, rgba(0,0,0,.8)); }
  h1 { position: relative; z-index: 1; max-width: 1100px; margin: 0 80px 70px; }
</style>
<div class='thumb'>
  <img src='https://example.com/representative-image.jpg' alt=''>
  <h1>How to Create Thumbnails for a Website Blog</h1>
</div>
</html>
Keep text out of the source image’s alt attribute when it is already represented by the nearby heading. The thumbnail’s accessibility text belongs to the published page, not necessarily to the design file.
5. Publish the image in WordPress
- Open the post editor and confirm that the theme exposes a Featured image panel.
- Upload the source image through the media picker.
- Set a short, descriptive filename before uploading, such as
website-blog-thumbnail-guide.webp. - Enter alternative text that describes the image’s purpose in this article.
- Set the image as the featured image and save the post.
- Preview the archive, article, and mobile views to inspect cropping.
If the Featured image panel is missing, the theme may not support featured images or the editor screen may have it disabled. Check the theme documentation and editor preferences before changing templates.
6. Write the right filename and alt text
Google says a short descriptive filename provides light clues about an image’s subject. Put the file near relevant text on a page that matches the image. Use lowercase words separated by hyphens and omit meaningless camera names or long keyword lists.
Alt text depends on the image’s function:
| Image role | Alt text approach | Example |
|---|---|---|
| Informative | Describe the relevant subject and context. | Editor preview showing a blog thumbnail cropped for an archive card |
| Decorative or redundant | Use empty alt text: alt=''. |
A gradient behind a heading already conveying the message |
| Linked image | Describe the link’s destination or purpose. | Read the guide to creating website blog thumbnails |
The WordPress media guidance and WordPress accessibility guidance recommend contextual descriptions and warn against stuffing keywords. If a nearby heading already gives the same information, repeating it in alt text adds noise.
7. Automate screenshots for repeatable thumbnails
When thumbnails come from a live article, a browser must load the page, apply its fonts and styles, wait for images, and capture the chosen viewport or element. A typical Playwright script looks like this:
import { chromium } from 'playwright';

const browser = await chromium.launch();
const page = await browser.newPage({ viewport: { width: 1600, height: 900 }, deviceScaleFactor: 1 });
await page.goto('https://example.com/blog/post', { waitUntil: 'networkidle' });
await page.screenshot({ path: 'thumbnail.webp', type: 'webp', quality: 85, fullPage: false });
await browser.close();
For an element rather than the whole viewport, replace the final call with await page.locator('.post-hero').screenshot({ path: 'thumbnail.webp', type: 'webp' });. Add an explicit wait for a selector or font when the page renders asynchronously. Avoid making a thumbnail from a loading state.
8. Or skip the browser setup
ScreenshotNeo is a website screenshot API and MCP server. It can capture a page as PNG, JPEG, WebP, or PDF, and its options cover full-page or CSS-selector captures, device presets, arbitrary viewports, retina scale, dark mode, custom CSS and JavaScript, click actions, waits, blocked resources, headers, cookies, user agents, timezone, geolocation, resizing, caching, signed links, asynchronous jobs, bulk capture, and usage reporting. See the ScreenshotNeo documentation for the parameter reference.
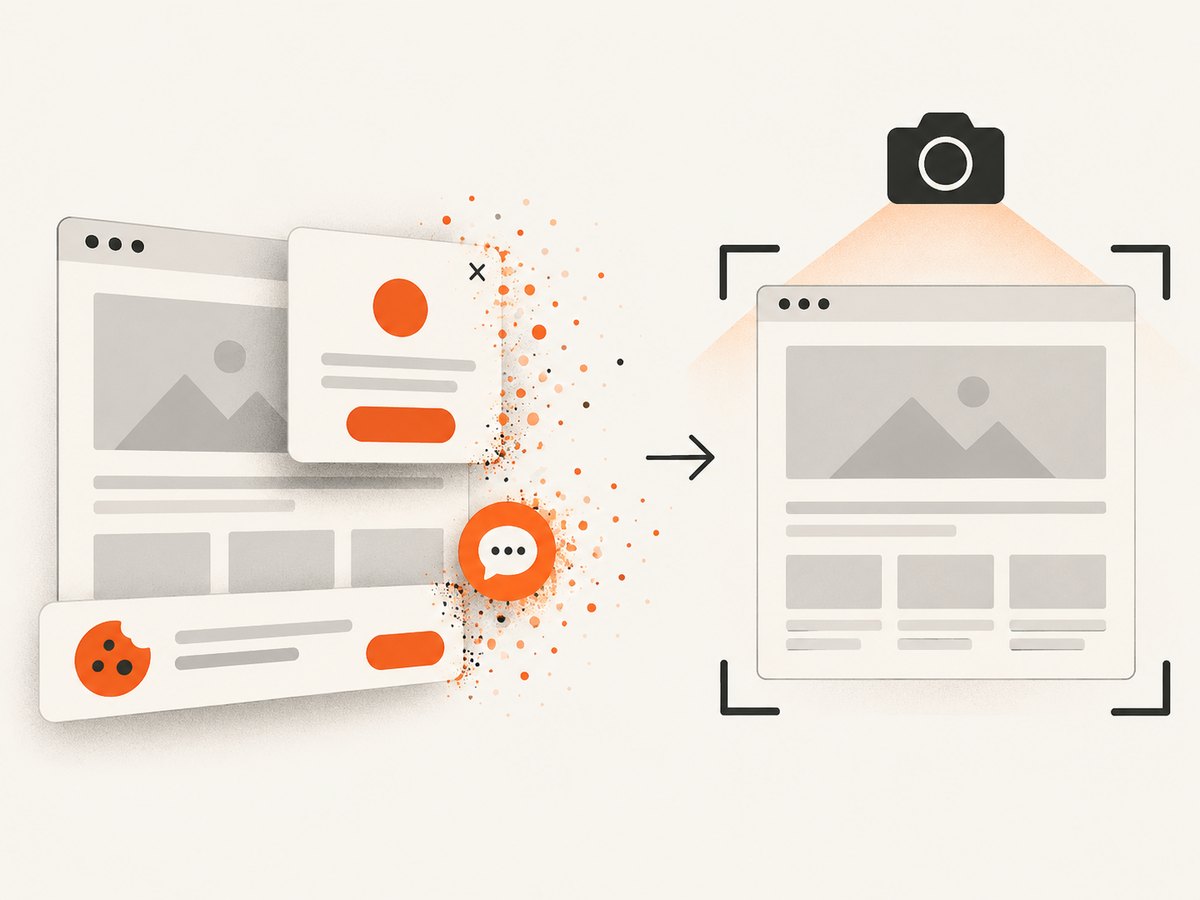
One request can produce a thumbnail from a published post:
cURL
curl -G "https://api.screenshotneo.com/v1/shot" -d access_key=YOUR_API_KEY --data-urlencode url=https://example.com/blog/post -o shot.webpPython
import requests
r = requests.get("https://api.screenshotneo.com/v1/shot", params={"access_key": "YOUR_API_KEY", "url": "https://example.com/blog/post"}, timeout=90)
open("shot.webp", "wb").write(r.content)
Node.js
const q = new URLSearchParams({ access_key: 'YOUR_API_KEY', url: 'https://example.com/blog/post' });
const res = await fetch(`https://api.screenshotneo.com/v1/shot?${q}`);
const bytes = new Uint8Array(await res.arrayBuffer());
await Bun.write('shot.webp', bytes);
ScreenshotNeo removes cookie and consent banners, newsletter popups, and chat widgets before capture. Bot checks, blank pages, timeouts, failed loads, and cache hits are not billed; each response reports the result with X-Page-Verdict and X-Billed headers. Its MCP server provides take_screenshot, get_page_info, and capture_pdf tools for Claude, Cursor, and other MCP clients. The Free plan includes 1,000 shots per month with no card; paid plans start at $5 for 3,000 shots. Create a free ScreenshotNeo account.
9. Troubleshoot common thumbnail problems
| Symptom | Likely cause | Fix |
|---|---|---|
| Subject is cut off | Template uses a hard crop. | Move the focal point into the safe area or change the image’s object position. |
| Image looks blurry | Source is smaller than the rendered size or overly compressed. | Start with a larger source and export at a suitable quality. |
| Featured image option is missing | Theme does not support featured images or the panel is hidden. | Check theme support and editor screen settings. |
| Text is unreadable on mobile | Type or contrast was chosen for the desktop canvas. | Reduce copy, increase contrast, and test the smallest card. |
| Automated capture shows a blank page | Navigation finished before client-side content loaded, or the page failed. | Wait for a stable selector, inspect response errors, and capture after content appears. |
| Consent dialog covers the shot | Browser automation did not handle the site’s consent flow. | Accept or remove the banner in your script, or use ScreenshotNeo’s consent cleanup. |
| API response is not an image | The request failed or returned an error payload. | Check HTTP status and X-Page-Verdict/X-Billed headers before saving bytes. |
10. Performance, reliability, and cost considerations
Performance
Serve the dimensions the visitor needs instead of sending one oversized source to every card. Use responsive image markup where your CMS supports it, select a modern format when browsers and your design allow it, and avoid loading a large thumbnail before the article’s main content when it is below the fold. Measure actual page behavior with your site’s analytics and performance tooling; no universal file-weight target is established by the cited guidance.
Reliability
For code-based capture, wait for the content that defines the thumbnail, use stable selectors, and keep a deterministic viewport and timezone. If the page depends on third-party fonts or images, decide whether to wait for them or use a fallback. Cache a generated thumbnail when the article has not changed, and regenerate after a deliberate design or content update.
Cost
A self-hosted browser consumes compute and maintenance time. A screenshot API charges according to its billing rules and options. ScreenshotNeo bills only clean shots; bot checks, blank pages, timeouts, failed loads, and cache hits cost nothing. Its plans are Free: 1,000 shots/month, Starter: $5 for 3,000, Growth: $15 for 15,000, Pro: $39 for 60,000, Scale: $99 for 250,000, and Business: $249 for 1,000,000. Yearly billing gives two months free, and every feature is on every plan.
11. Final publishing checklist
- The image clearly represents the article.
- The focal point survives archive, article, mobile, and social crops.
- The export is sharp at its rendered size and not needlessly large.
- The filename is short and descriptive.
- Alt text matches the image’s function and does not repeat nearby text unnecessarily.
- The featured image is set in the CMS and visible in every intended template.
- Automated captures wait for real content and handle consent or overlays.
- Regeneration and caching rules are documented for editors.
FAQ
What is the best size for a blog thumbnail?
The best size is the one your theme or template renders without enlarging or damaging the crop. Inspect the actual placement instead of assuming a universal number.
Should every thumbnail contain the post title?
No. A representative visual is often clearer. Add only short text that remains legible at the smallest placement and does not duplicate the page title unnecessarily.
Is a featured image the same as a post thumbnail?
In WordPress, “featured image” and “post thumbnail” refer to the image representing a post, page, or custom post type. The theme decides where it appears.
When should alt text be empty?
Use alt='' when the image is decorative or repeats information already available in nearby text. Informative and linked images need purpose-specific descriptions.
Can I generate thumbnails from pages that require cookies or authentication?
Use a browser workflow that supplies the required cookies or headers, or configure ScreenshotNeo with custom headers, cookies, user agents, or Authorization where appropriate. Keep credentials out of client-side code.


