How to Create Transparent Image Captures
Learn how to remove backgrounds from still images, preserve alpha transparency, and capture transparent game or 3D sources with OBS.
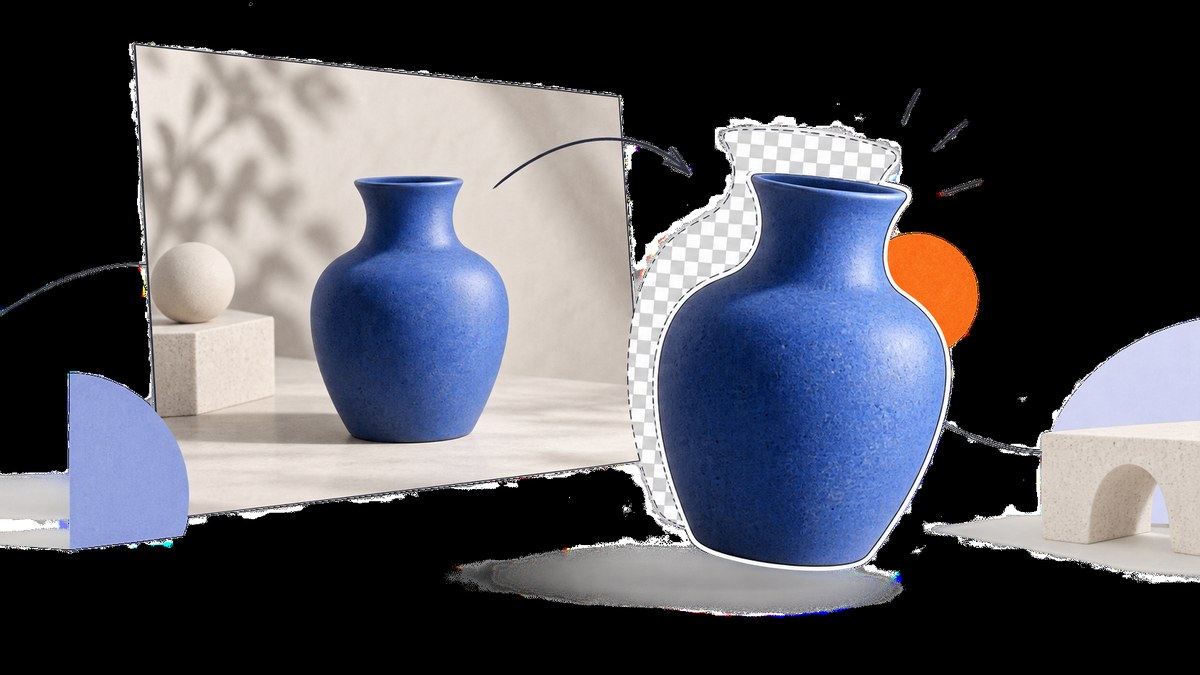
To create a transparent image capture, isolate the subject, make sure the image has an alpha channel, hide or remove the background, and export to a format that preserves alpha—usually PNG. The checkerboard pattern you see in an editor is only a preview. Transparency is stored as pixel data in the exported file, so you must verify the file after export.
This guide covers two different jobs that are often confused:
- Editing an existing still image: remove its background and export a transparent PNG.
- Capturing a live game or 3D source: configure the capture and compositing tools so the rendered source can retain transparency.
1. Understand what “transparent” means
A transparent image contains an alpha channel. Alpha values describe how much each pixel is visible: fully opaque pixels have full visibility, fully transparent pixels disappear, and intermediate values create soft edges such as hair, shadows, smoke, or antialiasing.
An editor may display transparent pixels as a gray checkerboard. That pattern is not part of the image. If you export incorrectly, the checkerboard can be replaced by a solid color, even though the document looked transparent while you were editing.
PNG supports alpha transparency. GIMP’s export documentation also describes PNG8 as having only two transparency states—transparent or opaque—so use a full PNG format when you need partial transparency around an edge.
2. Recommended workflow for an existing image
Step 1: Open the source in an alpha-capable editor
Use an editor that supports selections, masks, and alpha channels. GIMP and Photoshop both support this workflow. Keep the original project file so you can refine the edge later.
Step 2: Isolate the subject
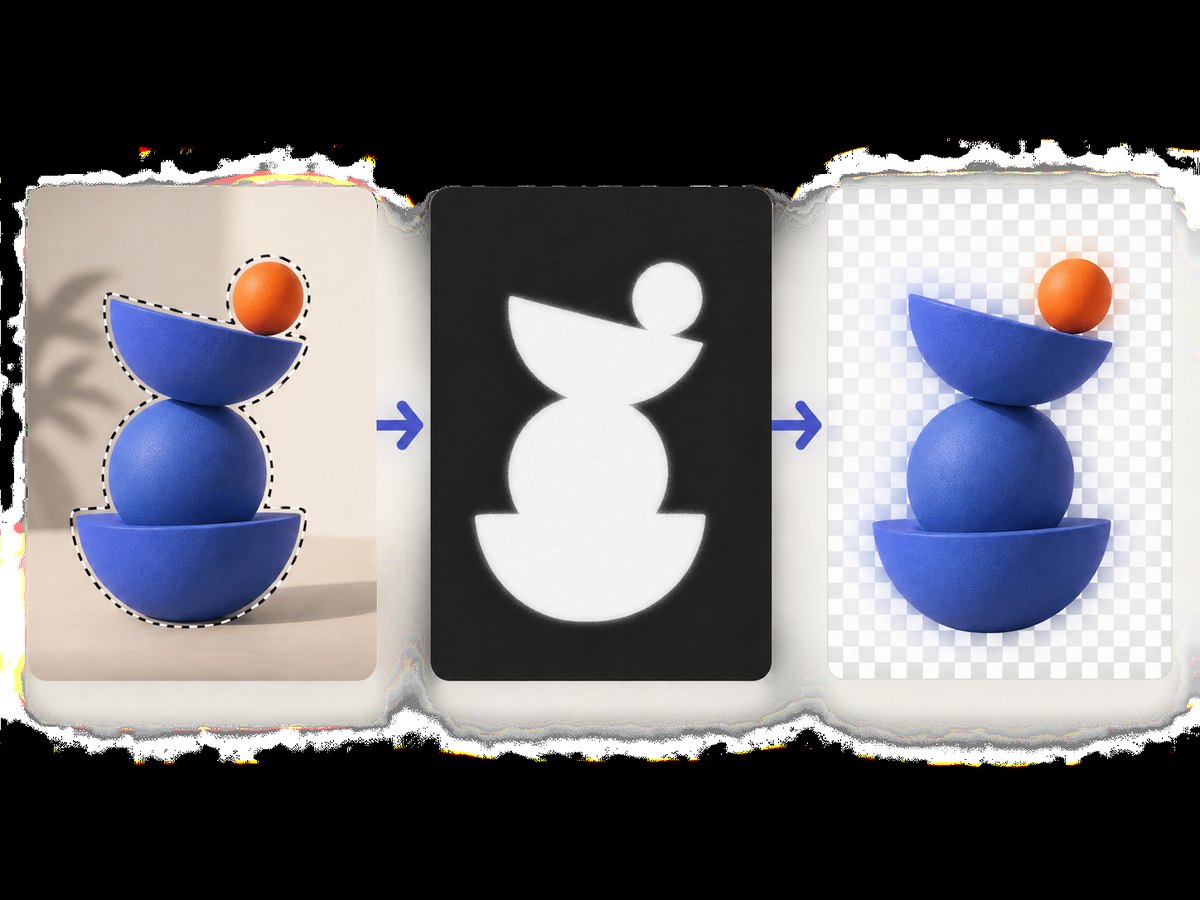
Create a selection around the object you want to keep. Depending on the image, you can use a foreground selection, paths, color-based selection, or a manually painted selection. Zoom in around hair, thin objects, and high-contrast edges. A rough selection often produces halos when placed on a different background.
When you expect revisions, convert the selection into a layer mask instead of permanently deleting pixels. A mask is editable: painting white reveals the subject, black hides it, and gray creates partial transparency.
Step 3: Confirm that an alpha channel exists
In GIMP, check the layer’s channels. The documentation says that “Alpha” should appear alongside Red, Green, and Blue. If it is missing, choose Layer → Transparency → Add Alpha Channel. Without an alpha channel, deleting the background normally fills the area with the layer’s existing background color.
Step 4: Hide or remove the background
Apply the selection as a mask, invert it if necessary, and hide the background. The editor should show its checkerboard transparency preview around the subject. Inspect the outline at high zoom and against both light and dark temporary backgrounds. Look for colored fringes, leftover pixels, holes inside the subject, and overly hard edges.
Step 5: Export with alpha enabled
Export as PNG and select a pixel format that includes alpha. Do not flatten the document onto a white or black layer before exporting. If your editor offers indexed or PNG8 output, avoid it for soft edges because its transparency is binary.
Step 6: Reopen and verify the exported file
Close the original project and reopen the exported PNG. Place it over a light background and then a dark background. If a rectangle or solid color appears, check three things: the background was actually removed, the layer had an alpha channel, and the export format included alpha.
3. GIMP: complete transparent PNG procedure
- Open the image with File → Open.
- In the Layers panel, select the layer containing the subject.
- Choose Layer → Transparency → Add Alpha Channel if Alpha is not already present.
- Create and refine a selection around the subject.
- Click the layer-mask button to create a mask from the selection, or invert the selection and press Delete if you accept a destructive edit.
- Hide any background layers that should not appear.
- Inspect the outline over light and dark temporary layers.
- Choose File → Export As, select a filename ending in
.png, and export. - Choose an RGB or grayscale format with alpha when the export dialog offers pixel-format choices. Avoid PNG8 when partial transparency matters.
Keep the .xcf project file. It preserves masks and layers so you can adjust the edge without starting over. GIMP’s transparency guidance and PNG export notes are the references for the alpha-channel and PNG8 details.
4. Photoshop: use masks and saved selections
Photoshop treats masks as editable grayscale data stored in alpha channels. A white area of a mask reveals the layer, black hides it, and gray partially reveals it. Add a layer mask from your selection, then paint on the mask to refine the boundary.
Save a difficult selection through the Channels panel. Photoshop can save selections to channels and load them again later, which is useful when you need separate versions for hair, shadows, or internal cutouts. Keep the mask editable until the image has been checked at its final display size.
For export, use a PNG workflow that retains transparency and avoid flattening onto a background color. Reopen the exported file and test it over contrasting backgrounds.
5. Capturing a live transparent game or 3D source with OBS
A desktop screenshot does not automatically preserve transparent pixels just because an application window has a transparent interface. Live transparency depends on the source, capture method, and compositor.

Game Capture on Windows
OBS Project’s Game Capture documentation includes an Allow Transparency option for games and 3D programs with transparency. It prevents the source from showing an opaque black background when the application provides transparent rendering. Add a Game Capture source, select the target application, and enable the transparency option when the source supports it.
Image Mask/Blend for compositing
OBS’s Image Mask/Blend filter is a separate compositing tool. In Alpha Mask (Alpha Channel) mode, transparent pixels in the mask remove the corresponding area of the source while opaque pixels preserve it. This is useful when you have a prepared mask image and want to apply it to a camera, game, or window source.
Platform considerations
- Windows: Game Capture is the documented route for games and 3D programs.
- macOS: OBS documents macOS Screen Capture for macOS 13 and newer. Older Display Capture guidance is marked deprecated on macOS 13 and newer.
- Linux: OBS documents Window Capture as a route for capturing application windows.
Capture-source availability and behavior vary by operating system and application. Check the current OBS help for your platform before building a production workflow.
6. Choosing between a mask and destructive deletion
| Approach | Best for | Trade-off |
|---|---|---|
| Layer mask | Product images, portraits, hair, shadows, repeated revisions | Requires a layered project but remains editable |
| Destructive deletion | Quick one-off cutouts with a simple edge | Harder to repair missed or removed pixels |
| OBS alpha mask | Applying a prepared transparency shape to a live source | Needs a correctly authored mask and configured filter |
| Game Capture transparency | Games or 3D programs that render transparency | Depends on application and platform support |
7. Edge quality and difficult subjects
- Hair and fur: refine the mask with a soft brush and inspect at 100% zoom. Avoid a hard binary edge.
- Glass and smoke: preserve partial alpha; PNG8 cannot represent the full range of translucency.
- Color halos: the subject may have been photographed against a colored background. Contract or defringe the mask carefully rather than erasing too far.
- Internal holes: add transparent regions inside letters, handles, or loops to the mask.
- Shadows: decide whether the shadow belongs in the cutout. If it does, keep it as a separate masked layer when possible.
- Large canvases: crop unused transparent margins when the destination does not need them. This reduces file size and simplifies placement.
8. Or skip the browser setup
If your source is a live webpage rather than a local image or game, ScreenshotNeo provides a website screenshot API and MCP server. It supports transparent backgrounds, full-page captures, element captures, custom CSS and JavaScript, device presets, retina scale, waits, request blocking, cookies, headers, geolocation, caching, signed links, asynchronous jobs, bulk capture, and PDF output. See the ScreenshotNeo documentation for the available options and parameter names.
cURL
curl -G "https://api.screenshotneo.com/v1/shot" -d access_key=YOUR_API_KEY --data-urlencode url=https://stripe.com -o shot.webpPython
import requests
r = requests.get("https://api.screenshotneo.com/v1/shot", params={"access_key": "YOUR_API_KEY", "url": "https://stripe.com"}, timeout=90)
open("shot.webp", "wb").write(r.content)
Node.js
const q = new URLSearchParams({ access_key: 'YOUR_API_KEY', url: 'https://stripe.com' });
const res = await fetch(`https://api.screenshotneo.com/v1/shot?${q}`);
ScreenshotNeo removes cookie and consent banners, newsletter popups, and chat widgets before capture. Bot checks, blank pages, timeouts, failed loads, and cache hits are not billed; response headers identify the page verdict and whether the shot was billed. Its MCP server exposes take_screenshot, get_page_info, and capture_pdf tools for Claude, Cursor, and other MCP clients. The free plan includes 1,000 shots per month without a card, and paid plans start at $5 for 3,000 shots. Create a free ScreenshotNeo account.
9. Troubleshooting
| Symptom | Likely cause | Fix |
|---|---|---|
| White or black rectangle around the subject | No alpha channel, or the background layer is still visible | Add an alpha channel, hide the background, and export PNG with alpha |
| Checkerboard appears in the editor but not after export | Export was flattened or used a format without alpha | Reopen the exported file and choose a PNG pixel format that includes alpha |
| Jagged or haloed edge | Selection was too hard, too loose, or contaminated by the original background | Refine the mask at high zoom and test against contrasting backgrounds |
| Soft areas look fully cut out | PNG8 or another binary transparency mode was used | Export a full PNG format that supports partial alpha |
| OBS source has an opaque black background | Transparency is disabled or the application does not provide transparent rendering | Enable Allow Transparency in Game Capture when supported, or use an Image Mask/Blend filter |
| OBS capture option is unavailable | Capture-source support differs by operating system | Use the documented source for your platform and verify current OBS requirements |
| Screenshot API output contains a popup | The page changed after capture or the relevant cleanup option was disabled | Review ScreenshotNeo cleanup and wait settings in the documentation |
10. Performance, reliability, and cost notes
For local editing, keep a layered working file and export only delivery copies. Large transparent canvases consume more memory because alpha is an additional channel. Cropping unused margins and choosing an appropriate pixel dimensions reduces transfer and storage costs.
For OBS, capture performance depends on the game, renderer, output resolution, and encoder. Test the source at the resolution you will actually record or stream. A transparent source still requires the same underlying application to render each frame.
For ScreenshotNeo, full-page captures can require more loading time than viewport shots, especially on pages with lazy-loaded images. Use selector waits, network-idle waits, or a delay when content appears after navigation. Caching with a chosen TTL can reduce repeated work. Bulk capture supports up to 100 URLs per call, and asynchronous jobs with signed webhooks are suited to longer batches.
11. Checklist before delivery
- The subject is isolated with a refined selection or editable mask.
- The layer has an alpha channel.
- All unwanted background pixels are hidden or removed.
- The export format preserves alpha.
- Soft edges remain partially transparent where required.
- The exported file was reopened and checked on light and dark backgrounds.
- For OBS, the selected source and transparency filter match the operating system and application.
FAQ
Does a checkerboard background prove the PNG is transparent?
No. It proves only that the editor is previewing transparent regions. Reopen the exported file and inspect it over contrasting backgrounds.
Can JPEG store transparency?
No. Use PNG or another format that supports an alpha channel for a transparent still image.
Should I flatten a masked image before exporting?
No. Flattening onto a color removes the transparent pixels. Export from the masked document while retaining alpha.
Can OBS make any window transparent?
No. The reviewed OBS documentation describes transparency controls for supported game or 3D sources and alpha-mask compositing. Ordinary desktop screenshots do not automatically gain transparent pixels.
When should I use an alpha mask in OBS?
Use it when you have a separate image whose alpha channel defines which parts of a live source should remain visible.


