How to Create a Transparent Logo PNG
Remove a logo background, preserve alpha transparency, and export a clean PNG with workflows for Canva, GIMP, Inkscape, and Photoshop.

Direct answer
To create a transparent logo PNG, remove or hide every background object, keep the logo artwork, and export in PNG format with alpha transparency enabled. A PNG export by itself does not erase a white or colored background that is already part of the image. If your source is a flattened image, remove the background and refine the edges first. If it is editable vector artwork, omit the background object and export the logo bounds.
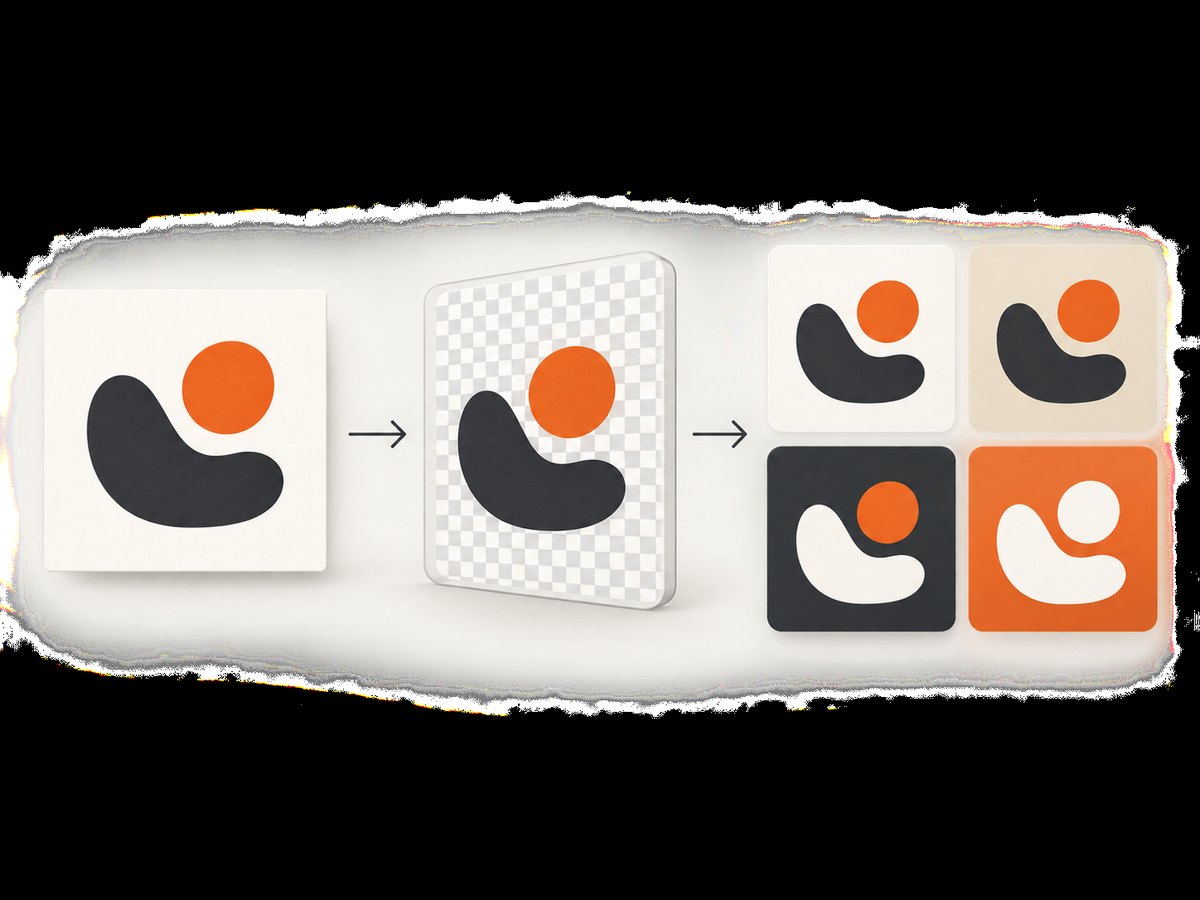
Use this quick check: place the exported file over both a light and a dark color. You should see the background color through empty areas, with no white rectangle, halo, missed pixels, or clipped artwork.
Choose the workflow that matches your source
| Starting asset | Best route | What to watch |
|---|---|---|
| JPG, screenshot, or flattened logo | Background-removal tool or raster editor | Small counters, holes, and anti-aliased edges often need manual cleanup. |
| Editable Canva design | Delete or hide background elements, then PNG export | Transparent-background download depends on Canva plan and file type. |
| SVG or other vector artwork | Inkscape or the original vector editor | Choose drawing or selection bounds and add margins deliberately. |
| Photoshop document | Keep the background absent, then export PNG with transparency | Confirm the chosen export format supports transparency. |
Method 1: Canva
Remove a background from an existing logo
- Open a new or existing Canva design and upload the logo image.
- Select the logo and choose BG Remover.
- Inspect letter counters, thin strokes, and gaps inside the mark. Use Erase to remove leftover pixels and Restore to bring back logo details.
- Place a temporary dark rectangle behind the logo, then a light rectangle, to reveal halos and missed background pixels. Delete those test rectangles before export.
- Choose Share → Download, select PNG, enable Transparent background, and download.
Canva’s logo instructions document the BG Remover, Erase, and Restore sequence. Canva Help states that transparent-background downloads require PNG and the transparent-background toggle; the page lists Pro, Teams, Business, Education, and Nonprofits plans as eligible. Availability can also be affected by the file type, Canva Docs, or a background that was not cleared. Plan terms can change, so check the option shown in your account.
Export a new logo design
- Build the mark without adding a full-page color or rectangle behind it.
- Hide or delete decorative background objects that are not part of the logo.
- Check the page at high zoom for shadows or white shapes that may have been added as effects.
- Download as PNG with Transparent background enabled, then perform the light/dark background check.
Method 2: GIMP (desktop, raster)
GIMP requires an alpha channel for transparent pixels. Open the image, then use Layer → Transparency → Add Alpha Channel. Select the background with the color-select, fuzzy-select, paths, or foreground-select tools, and delete it. For a logo with a solid color, color-select is quick; for anti-aliased edges, paths or a layer mask usually gives more control.
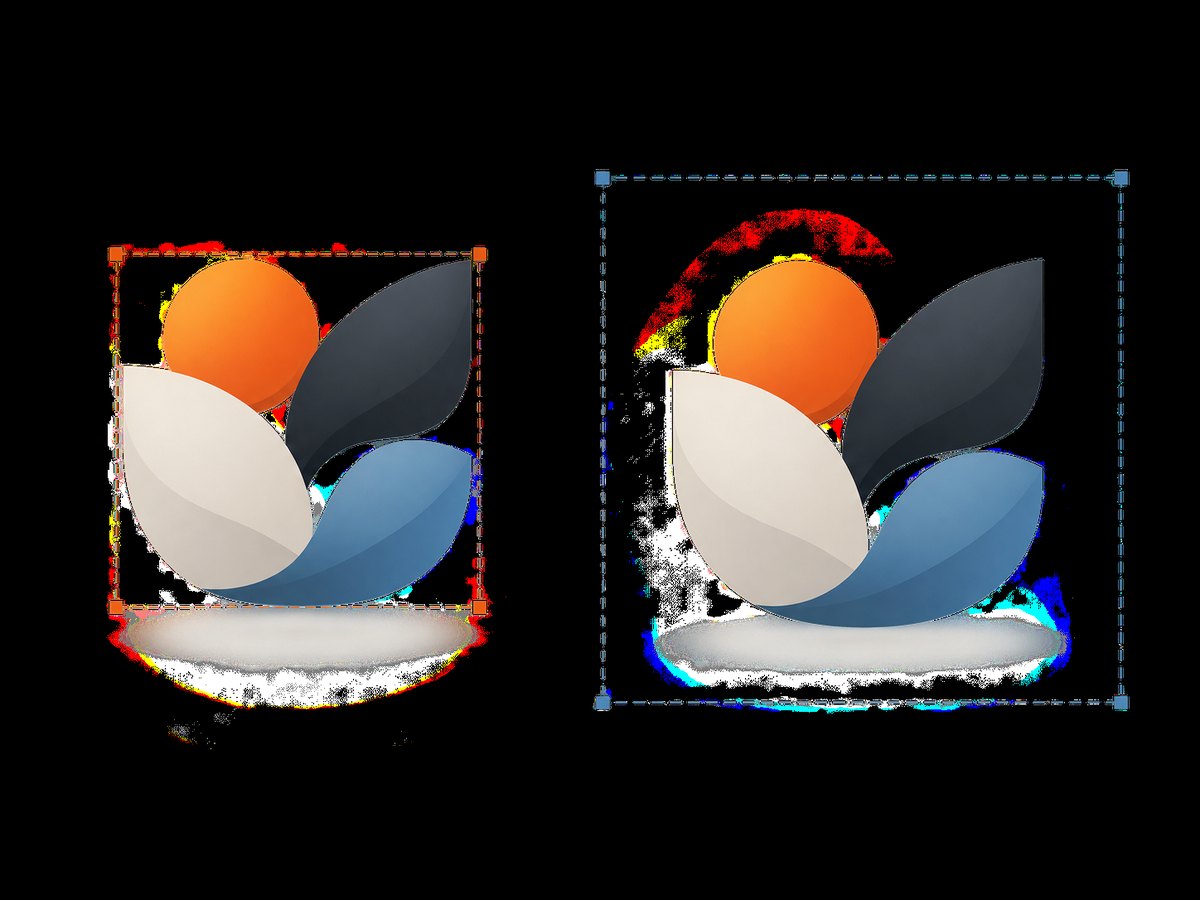
- Duplicate the source layer so you can recover the original.
- Add the alpha channel before deleting anything.
- Remove the background in small passes. Zoom in around letter counters and narrow gaps.
- Use a layer mask when you need reversible edits. Paint white to restore and black to conceal.
- Crop or keep a deliberate margin around the artwork.
- Export with File → Export As, choose a filename ending in
.png, and confirm PNG export. Do not flatten the image onto a solid background first.
GIMP’s transparency documentation establishes the alpha-channel prerequisite and PNG export workflow. If deleted areas appear as a checkerboard, that is the editor’s transparency preview; it is not printed into the PNG.
Method 3: Inkscape (vector)
Vector artwork is usually the cleanest source because edges are mathematical paths rather than pixels. Remove or hide any background rectangle, select the logo if you want only that mark, and open File → Export PNG Image. In the export area, choose Selection for the selected logo, Drawing for all visible artwork, or Page for the document page. Use custom bounds when you need exact padding.
Inkscape can export transparency by default. Its guide warns that tight bounds have no margin, so a logo can look cut off when a stroke or shadow reaches the edge. Add padding by resizing the page to content with a margin or by setting custom export bounds. Export at the pixel dimensions your destination needs; you can export a larger master and resize a copy later.
Method 4: Photoshop
- Hide or delete the background layer. If the logo is flattened, select the background and add a layer mask rather than erasing destructively.
- Inspect edges against contrasting temporary layers. Refine the mask where anti-aliased pixels retain the old background color.
- Open the export settings, choose PNG, and enable the Transparency option when available. Photoshop’s export documentation lists PNG and transparency controls for formats that support them.
- Export a copy and retain the layered PSD for future edits.
The Photoshop export reference covers export controls; it does not prescribe a particular background-isolation technique. Use the selection or masking method that fits your artwork.
Edges, halos, and small logo details
Why a white fringe appears
Anti-aliased edge pixels blend the logo with the original background. Removing only fully white pixels leaves a pale fringe that becomes obvious on dark colors. Defringe, contract, or repaint the mask carefully, but avoid eating into thin strokes. A path-based selection from vector artwork avoids this problem.
Internal holes and counters
The empty center of an “O”, the gaps in an “A”, and enclosed areas in an icon must also be transparent. Check these areas at 200–400% zoom and then at normal display size. Automated removers can mistake a small dark counter for part of the background.
Shadows and glows
Decide whether a drop shadow is part of the logo. If it is, keep it on its own layer and verify that the shadow itself has transparency. If the logo must work on any background, remove a baked-in white glow or recreate the effect after placement.
Export settings and file variants
- Color: Keep the source color profile when your brand workflow requires it; do not convert colors blindly while removing the background.
- Dimensions: Export enough pixels for the largest expected use. Keep an original-size transparent master and make smaller derivatives.
- Padding: Include intentional breathing room for social cards or headers. Use tight bounds for UI icons only when the consuming layout supplies its own spacing.
- File naming: Use a stable name such as
brand-mark-transparent.pngand record the source version. - Metadata: Remove sensitive metadata when distributing files outside your team.
PNG is the practical choice when you need lossless edges and alpha transparency. Keep the editable vector or layered source alongside the PNG; repeatedly editing a flattened export reduces quality and makes revisions harder.
Validation checklist
- Open the PNG in an editor that shows transparency, not only a viewer that places white behind it.
- Test on near-black, white, and a mid-tone brand color.
- Inspect counters, narrow gaps, rounded corners, and diagonal edges.
- Confirm no artwork is clipped by the export bounds.
- Check that the file opens as PNG and that empty areas are transparent rather than white pixels.
- Compare the result with the editable source and archive both files.
Troubleshooting
| Symptom | Likely cause | Fix |
|---|---|---|
| A white rectangle remains | The source background is still present, or transparency was not enabled. | Hide/delete the background object. In Canva select PNG and Transparent background; verify plan and file-type eligibility. |
| GIMP exports a solid background | No alpha channel was added. | Use Layer → Transparency → Add Alpha Channel, remove the background, and export PNG again. |
| Logo has a pale halo | Anti-aliased pixels still contain the old background color. | Refine the mask or use vector paths; inspect on a dark test layer. |
| Letters look hollow or broken | Background removal deleted counters or thin strokes. | Restore those regions manually and test at normal size. |
| Inkscape output is cut off | Selection or drawing bounds are too tight, especially with strokes or shadows. | Add margin by changing page bounds or use custom export bounds. |
| Canva’s toggle is missing | Plan, file type, or Canva Docs restrictions apply, or a background remains. | Check the Help requirements and export from a supported design type, or use a desktop editor. |
| File looks white in a browser | The browser page itself has a white background. | Preview over a colored CSS background or in an image editor; white display does not prove the PNG contains white pixels. |
Or skip the browser setup
If your next step is documenting a logo on a live site, checking how a transparent asset renders, or generating page images for a design pipeline, ScreenshotNeo can capture the page through one API request. The service accepts a URL and returns PNG, JPEG, WebP, or PDF. Its consent step accepts cookie banners and removes more than 60 known consent platforms, newsletter popups, and chat widgets before capture; each step can be turned off. Bot checks, blank pages, timeouts, failed loads, and cache hits are not billed, and the response identifies the result with X-Page-Verdict and X-Billed headers.
See the ScreenshotNeo API documentation for all options. A minimal request is:
curl -G "https://api.screenshotneo.com/v1/shot" -d access_key=YOUR_API_KEY --data-urlencode url=https://stripe.com -o shot.webpimport requests
r = requests.get("https://api.screenshotneo.com/v1/shot", params={"access_key": "YOUR_API_KEY", "url": "https://stripe.com"}, timeout=90)
open("shot.webp", "wb").write(r.content)const q = new URLSearchParams({ access_key: 'YOUR_API_KEY', url: 'https://stripe.com' });
const res = await fetch(`https://api.screenshotneo.com/v1/shot?${q}`);For capture workflows, options include full-page screenshots with lazy images loaded, element selection by CSS, dark mode, 12 device presets or any viewport, retina scale, custom CSS and JavaScript, clicks, selector or network-idle waits, request and resource blocking, headers, cookies, user agents, authorization, timezone, geolocation, transparent backgrounds, resizing, chosen-TTL caching, signed links, asynchronous jobs with signed webhooks, bulk capture for up to 100 URLs, usage reporting, and an OpenAPI specification. The MCP server provides take_screenshot, get_page_info, and capture_pdf tools for Claude, Cursor, and other MCP clients.
There are 1,000 free screenshots each month with no card. Paid plans start at $5 for 3,000; every feature is included on every plan. Create a free ScreenshotNeo account.
Performance, reliability, and cost notes
For local editing, work from the highest-quality source and keep masks or vectors editable so corrections do not require repeated lossy conversions. For automated page captures, wait only for the selector or network condition that proves the logo is ready; long fixed delays slow batches. Cache stable pages with a TTL you choose, block irrelevant ads or trackers, and use bulk capture for up to 100 URLs per call. Inspect verdict and billing headers so a failed load does not enter downstream asset processing. Use asynchronous jobs and signed webhooks when captures exceed a request’s practical duration.
FAQ
Can I make a JPG transparent?
You can remove its background in an editor, then export a new PNG. JPG itself does not preserve alpha transparency.
Does a checkerboard pattern get saved?
No. It is an editor preview for transparent pixels. The exported PNG stores alpha values.
Should I export the logo as SVG instead?
Keep SVG as the editable, scalable master when your destination supports it, and provide a transparent PNG for systems that require raster images.
Why does transparency matter for logos?
It lets the same mark sit on changing page, product, or presentation colors without a visible box.
What should I archive?
Keep the original vector or layered file, the cleaned transparent PNG, export dimensions, and a short note describing any manual edge corrections.


