How to Create a Transparent PNG Icon
Remove an icon’s background, preserve alpha transparency, and export a clean PNG using Canva, GIMP, Photoshop, or code.
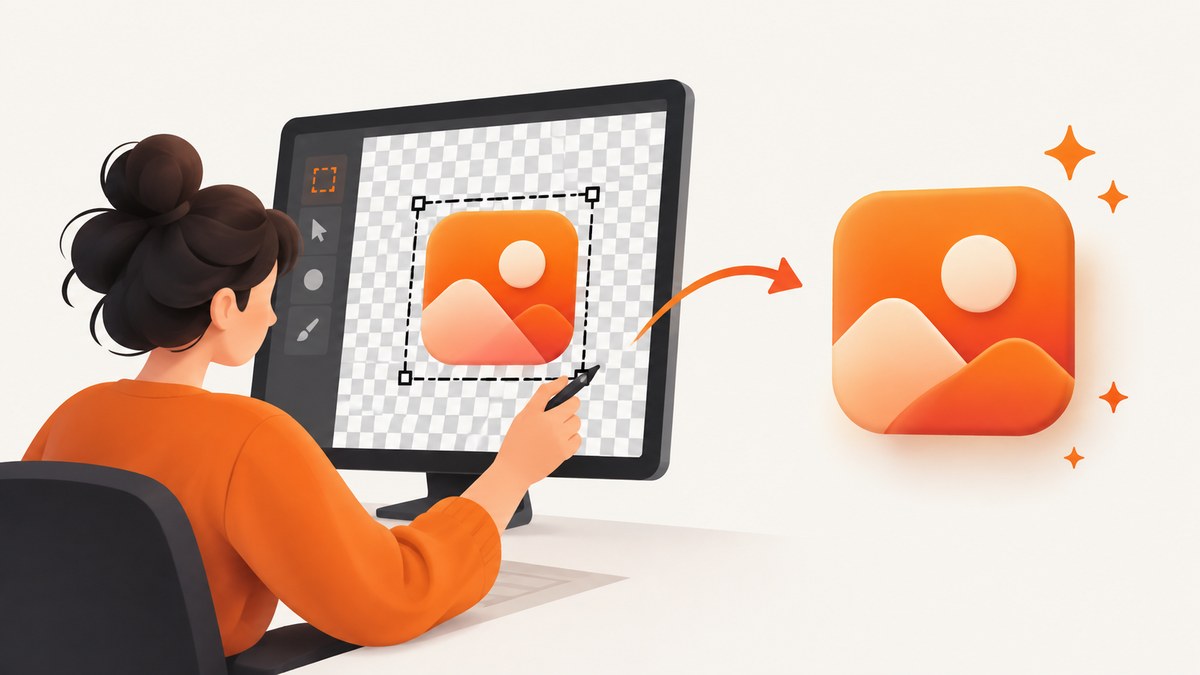
A transparent PNG icon has visible artwork and transparent pixels around it. The reliable process is simple: remove or omit the background, confirm that the document still contains an alpha channel, export as PNG, and inspect the exported file against both light and dark backgrounds.
PNG supports alpha transparency, but exporting to PNG does not automatically remove a white or colored background. The background must be deleted first, and the editor must preserve transparency during export. GIMP documents the alpha-channel requirement explicitly, while Canva and Photoshop provide browser and desktop export workflows for transparent PNG files.
1. What “transparent PNG” means
A PNG can store partial or fully transparent pixels. Fully transparent pixels show whatever is behind the image when it is placed on a webpage, slide, document, or app interface. Semi-transparent pixels are useful around antialiased edges, shadows, and soft effects.
Transparency is different from a white background. A white rectangle can look transparent on a white canvas, but it remains opaque when placed on a dark page. To check the difference, preview the icon over a checkerboard or switch between light and dark backgrounds before exporting.
| Result | What it means | What to do |
|---|---|---|
| Checkerboard around the icon | Those pixels are transparent in the editor | Export as PNG and verify the file |
| White rectangle around the icon | The background is still an image or layer | Delete, hide, or remove the background |
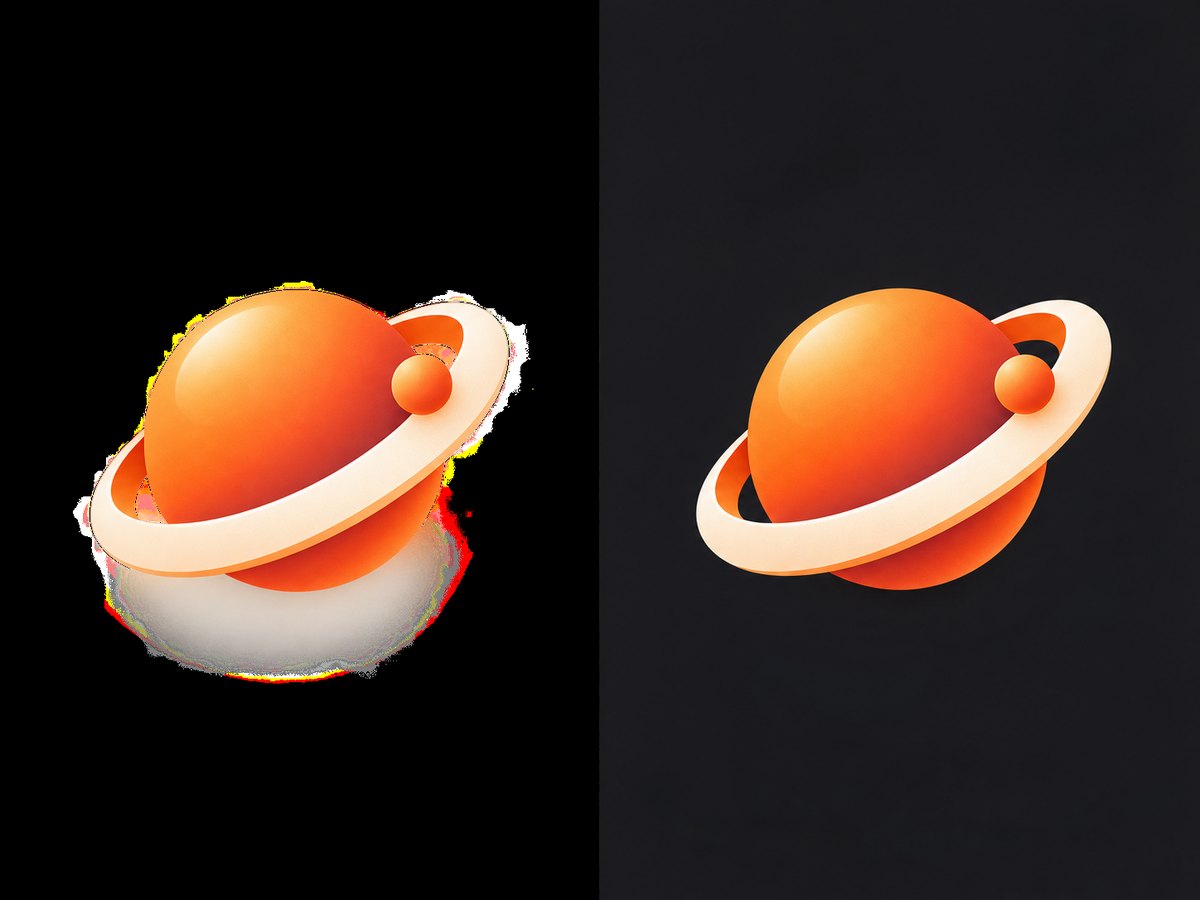
| Jagged or pale edge | Background color was blended into the edge | Refine the selection or remove the matte before export |
| Black box after export | The consuming app does not display alpha correctly, or the file was flattened | Reopen the PNG in an editor and test it over another background |
2. Prepare the icon before removing its background
- Open the source image or create the icon in your editor.
- Duplicate the original layer so you can recover the unedited artwork.
- Decide whether the background is a separate layer, a flat color, or part of a photograph.
- Zoom in around the icon’s edge. Hairline gaps, shadows, and antialiasing often determine whether the final PNG looks clean.
- Choose the final pixel dimensions before export. Scaling a small icon up later can soften its edges.
If the icon already has a transparent background, do not add a white layer underneath it for convenience. That layer will become part of the exported image unless you hide or delete it before export.
3. Browser workflow: Canva
Canva’s PNG maker describes a browser workflow: upload the image, use BG Remover to remove its background (or Magic Grab to separate the subject), refine the result, choose PNG, and download. The maker page describes one free background-removal and download use; access can vary by workflow and region.

Step-by-step
- Open the Canva PNG maker and upload the icon.
- Apply BG Remover. If the icon is part of a larger composition, use Magic Grab to separate the subject first.
- Inspect the outline at high zoom. Restore missing parts or erase leftover background pixels.
- Choose PNG as the output format.
- For a Canva design-download workflow, remove or delete background elements, enable Transparent background, and download as PNG. Canva’s Help Center says this option is available to listed Pro, Teams, Business, Education, or Nonprofits plans, and Canva Docs do not support that transparent-background download.
Canva’s maker page and Help Center describe different workflows and access conditions. Check the controls shown in your account instead of assuming that every Canva export path has the same plan requirements.
4. Desktop workflow: GIMP
GIMP’s transparency guide states that PNG supports alpha transparency and that the image must have an alpha channel for transparent export. The checker pattern in the canvas represents transparent areas.
Remove the background
- Open the image in GIMP.
- Choose Layer → Transparency → Add Alpha Channel. If the option is disabled, the layer already has one.
- Select the background with the tool that matches the image: a color-selection tool for a uniform background, or a path/foreground-selection workflow for a detailed subject.
- Delete the selected background. You should see the checker pattern, not white paint.
- Refine the edge with a layer mask or eraser. Keep a copy of the original layer hidden beneath the working layer.
- Use File → Export As, choose a filename ending in
.png, and export.
GIMP export check
Reopen the exported PNG in GIMP or another editor and place a dark layer beneath it. Then test it on a light layer. If the background changes with the canvas, transparency was preserved. If a rectangle remains, the background was not removed or the layer was flattened before export. See the GIMP transparency guide for the alpha-channel behavior.
5. Desktop workflow: Photoshop
Photoshop’s export settings include PNG and a Transparency option when the image has no background and the selected format supports it. Interface labels can vary between versions.
- Hide or delete the background layer.
- Confirm that the canvas displays transparency rather than a painted white layer.
- Use Photoshop’s export command and select PNG.
- Keep the transparency setting enabled when it is available.
- Open the resulting PNG over light and dark backgrounds before distributing it.
The Adobe export documentation describes PNG export and the transparency control for compatible images.
6. A code-based icon you can export as PNG
For a simple geometric icon, SVG is a practical source because it can omit a background rectangle. The following standalone HTML draws an icon on a transparent canvas and downloads a PNG. The canvas itself is transparent because no background fill is painted.
<!doctype html>
<meta charset="utf-8">
<button id="download">Download transparent PNG</button>
<canvas id="icon" width="512" height="512"></canvas>
<script>
const canvas = document.querySelector('#icon');
const ctx = canvas.getContext('2d');

// No fill is applied to the canvas background.
ctx.fillStyle = '#2563eb';
ctx.beginPath();
ctx.roundRect(96, 96, 320, 320, 64);
ctx.fill();

ctx.fillStyle = '#ffffff';
ctx.beginPath();
ctx.arc(208, 240, 32, 0, Math.PI * 2);
ctx.arc(304, 240, 32, 0, Math.PI * 2);
ctx.fill();

ctx.strokeStyle = '#ffffff';
ctx.lineWidth = 24;
ctx.lineCap = 'round';
ctx.beginPath();
ctx.moveTo(192, 320);
ctx.quadraticCurveTo(256, 368, 320, 320);
ctx.stroke();

document.querySelector('#download').addEventListener('click', () => {
  const link = document.createElement('a');
  link.download = 'icon-transparent.png';
  link.href = canvas.toDataURL('image/png');
  link.click();
});
</script>
Open the file in a browser, click the button, and inspect icon-transparent.png over a non-white background. If you add a line such as ctx.fillStyle = '#fff'; ctx.fillRect(0, 0, canvas.width, canvas.height);, the exported PNG will contain an opaque white background.
7. Removing a background cleanly
Uniform-color backgrounds
Use a color-selection tool, then expand or contract the selection slightly to avoid a halo. Delete the selection only after confirming that the layer has an alpha channel. A tolerance that is too low leaves colored flecks; a tolerance that is too high removes parts of the icon.
Photographic or irregular backgrounds
Use a path, mask, or foreground-selection method and refine the edge manually. Keep shadows only when they belong to the icon. A shadow baked into the original background may carry a rectangle or unwanted color into the PNG.
Antialiased edges
Soft edge pixels can contain a trace of the old background color. Inspect the icon on both light and dark backgrounds. If a halo is visible, refine the mask, contract the selection slightly, or remove the matte color with the editor’s edge-refinement controls.
8. Export settings checklist
- Format is PNG, not JPEG.
- The background layer is hidden or deleted.
- The document has an alpha channel when your editor requires one.
- Transparency is enabled in the export dialog when that control exists.
- The image is exported at the intended dimensions.
- Color and edge quality are checked on light and dark backgrounds.
- The exported file is reopened independently; do not rely only on the editor’s canvas preview.
9. Troubleshooting common failures
| Symptom | Likely cause | Fix |
|---|---|---|
| PNG looks white | White background was never removed | Delete or hide that layer, then export again. |
| GIMP exports an opaque image | No alpha channel | Add an alpha channel before deleting the background. |
| Canva download has a background | Background elements remain, or Transparent background was not enabled | Remove background elements, select PNG, and enable the transparent-background control where available. |
| Colored fringe around edges | Antialiasing blended with the old background | Refine the mask or selection and inspect at 200–400% zoom. |
| Icon is blurry | Source was too small or was enlarged | Return to the largest source or redraw the icon as vector artwork. |
| Transparency appears black | The viewer renders alpha incorrectly or the file was flattened | Open the PNG in a second editor and place it over a known background. |
| File is unexpectedly large | Large canvas, embedded metadata, or complex pixels | Crop unused transparent margins and export at the required dimensions. |
10. Performance, reliability, and cost considerations
For a single icon, the editor workflow is usually the shortest path. For many icons, keep a layered source file or SVG and export consistently from that source. Batch work is easier to audit when every output uses the same dimensions, naming pattern, and background check.
Transparency itself does not guarantee a small file. A large canvas with mostly empty pixels can still be inconvenient to store and deliver. Crop excess margins when the icon’s placement rules allow it, but retain deliberate padding when the icon is designed for a fixed box.
Do not compare Canva, GIMP, and Photoshop by unsupported speed or quality claims. Their documented capabilities differ: Canva emphasizes browser background removal and PNG download, GIMP documents alpha-channel handling, and Photoshop documents PNG export settings. Choose based on whether you need automated removal, manual control, or desktop export options.
11. Or skip the browser setup
ScreenshotNeo is useful when you need a clean image of an icon preview page, documentation example, or generated design rather than a manual browser capture. Its API accepts one GET request and returns a PNG, JPEG, WebP, or PDF. Before capture, it can accept cookie and consent banners and remove more than 60 known consent platforms, newsletter popups, and chat widgets; each step can be turned off. Bot checks, CAPTCHAs, blank pages, timeouts, failed loads, and cache hits are not billed, and responses identify the result with X-Page-Verdict and X-Billed headers.
See the ScreenshotNeo documentation for all options. A basic call is:
curl -G "https://api.screenshotneo.com/v1/shot" -d access_key=YOUR_API_KEY --data-urlencode url=https://stripe.com -o shot.webpimport requests
r = requests.get("https://api.screenshotneo.com/v1/shot", params={"access_key": "YOUR_API_KEY", "url": "https://stripe.com"}, timeout=90)
open("shot.webp", "wb").write(r.content)const q = new URLSearchParams({ access_key: 'YOUR_API_KEY', url: 'https://stripe.com' });
const res = await fetch(`https://api.screenshotneo.com/v1/shot?${q}`);You can configure full-page capture, an element selected by CSS, dark mode, device presets, arbitrary viewports, retina scale, custom CSS and JavaScript, clicks, waits, hidden selectors, blocked resources, headers, cookies, user agents, authorization, timezone, geolocation, transparent backgrounds, resizing, caching TTLs, signed links, asynchronous jobs, webhooks, bulk capture, usage reporting, and PDF output. An MCP server provides take_screenshot, get_page_info, and capture_pdf tools for Claude, Cursor, and other MCP clients.
The Free plan includes 1,000 shots per month with no card. Paid plans start at $5 for 3,000 shots; yearly billing provides two months free. Create a free ScreenshotNeo account and use the included monthly shots to capture your icon pages without setting up a browser.
12. FAQ
Can JPEG contain transparent pixels?
No. Use PNG for a raster image that needs transparency. JPEG encodes an opaque image.
Should I keep the original layered file?
Yes. A layered or vector source makes future color, size, and edge corrections possible without repeatedly removing the background from a flattened PNG.
Why does a transparent icon look different on two websites?
The transparent pixels reveal each page’s background. Semi-transparent edge pixels can also blend differently with light and dark colors, so test the exported file in the contexts where it will appear.
Can I use Canva Docs for a transparent-background download?
Canva’s Help Center says Canva Docs do not support that transparent-background download workflow. Use a supported design workflow or another editor with alpha-channel export.
What is the fastest way to verify a PNG?
Open it in an editor, place a dark layer beneath it, then switch to a light layer. A true transparent PNG will show both backgrounds through the empty areas.


