Create a Tutorial with Screenshots
Learn a repeatable workflow for clear, accessible tutorials with screenshots, runnable capture code, troubleshooting, and automation options.
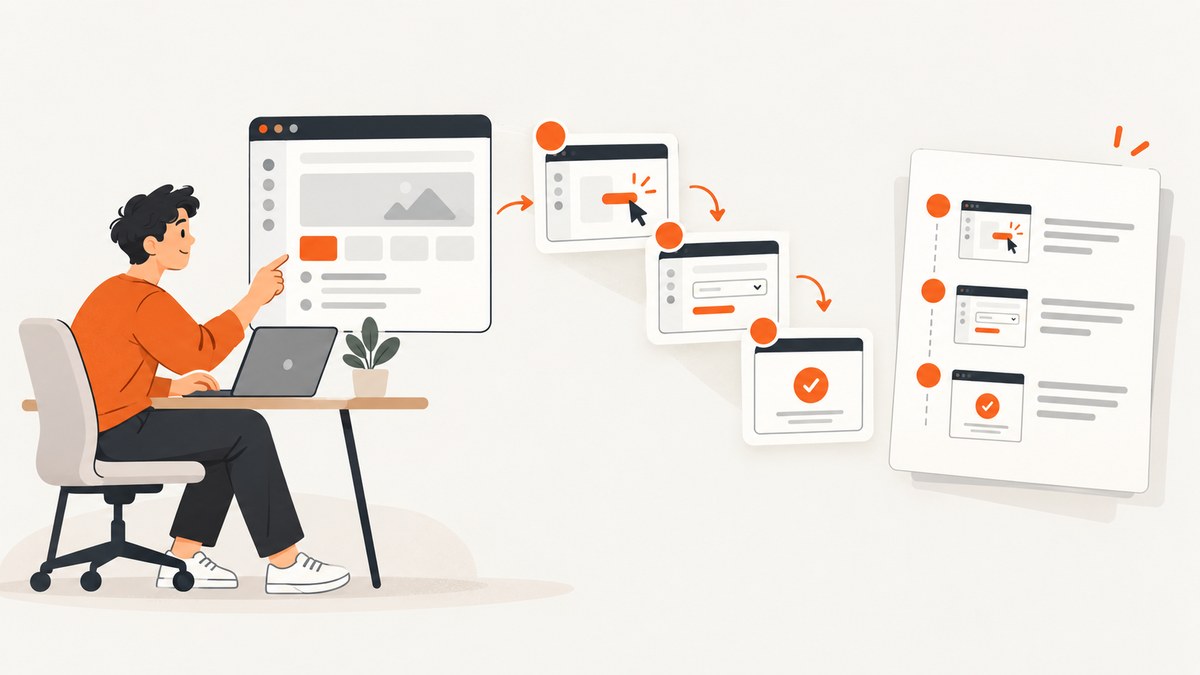
A useful screenshot tutorial helps a reader finish a task without guessing. The reliable method is to define the finished outcome, start from the correct page, perform one action per step, capture only the UI that helps recognition, and repeat every visual instruction in text. This guide shows that workflow, a Windows Snipping Tool path, an automated Playwright path, accessibility checks, and a managed API option.
1. Define the finished task before capturing anything
Write the outcome in one sentence: “After this tutorial, the reader will export a CSV from the Reports page,” for example. That sentence controls which screens belong in the article and which are noise.
- Identify the starting location. Name the application, website, account area, and page where the reader should begin. If a sign-in or workspace selection is required, state it before step 1.
- Describe the completion state. Say what the reader should see after the final action, such as a download notification, a saved status, or a new row in a table.
- Record the environment. Note the operating system, browser, application version, viewport size, and theme. A UI can move between versions.
- List prerequisites. Include permissions, sample data, a test account, or an installed command-line tool.
Microsoft’s procedural-writing guidance recommends scannable headings, an introductory location step, imperative sentences, and one action per numbered step. See Writing step-by-step instructions and the procedures and instructions checklist.
2. Plan the procedure as numbered actions
Draft the procedure before making images. Each step should answer three questions: where is the reader, what do they do, and what confirms success?
- Open the starting page. Include the URL or navigation path and wait until the page is ready.
- Locate the named control. Refer to the visible label, such as Settings, Export, or Apply. Explain the panel or section containing it when location matters.
- Perform one action. Click, type, choose, drag, or press the key combination. Combine actions only when they happen in the same small UI area and cannot be confused.
- Save or apply the change. Do not end a procedure immediately after editing a field if an Apply, Save, or Publish action is required.
- Verify the result. State the expected message, changed value, downloaded file, or updated page.
Write keyboard alternatives where possible. For example, “Press Ctrl + F, type Export, then press Enter.” This keeps the tutorial usable for readers who cannot use a pointer. Keep the control label in the sentence instead of relying on position or color.
3. Decide where a screenshot adds information
A screenshot earns its place when appearance or spatial orientation is difficult to express in words. Capture the first view where a reader might hesitate: a crowded toolbar, a dialog with similarly named buttons, a selector in a settings panel, or a confirmation state.

| Use an image when | Use text alone when |
|---|---|
| The control is hard to locate or several controls look similar. | The action is a simple keyboard shortcut or a clearly labeled link. |
| The UI state, selected tab, or dialog layout determines the next action. | The instruction is a short, linear command with no visual ambiguity. |
| A before-and-after state proves that a setting changed. | The image would merely repeat a sentence and add page weight. |
Crop to the relevant feature and keep enough surrounding context to identify its location. Avoid explanatory arrows or paragraphs baked into the bitmap; put that information in editable HTML. Google’s guidance covers accessible images and consistent diagrams and screenshots.
4. Capture screenshots manually on Windows
For a Windows-specific tutorial, Microsoft Support documents Snipping Tool. Prepare the exact screen first, then press Windows + Shift + S.
- Open the application and navigate to the starting state for the step.
- Press Windows + Shift + S to open the capture overlay.
- Choose rectangular, window, or full-screen mode. Rectangular mode is usually best for a focused UI control.
- Drag around the relevant area without cutting off the label, dialog title, or result state.
- Select the Snipping Tool notification to annotate, copy, or save the image. Use a predictable filename such as
03-select-export.png. - Return to the article and place the image immediately after the step it illustrates. Add descriptive alt text and repeat the action in prose.
For a pointer-free workflow, use the keyboard shortcut, navigate controls with Tab and arrow keys, and capture the resulting state. Microsoft’s Snipping Tool instructions describe the available capture modes.
5. Automate repeatable captures with Playwright
Browser automation is useful when you need the same viewport, logged-in state, or sequence for many pages. The example below captures a page after a visible action. Replace selectors with the labels and attributes in your application.

import { chromium } from 'playwright';

const browser = await chromium.launch();
const page = await browser.newPage({
  viewport: { width: 1440, height: 900 },
  deviceScaleFactor: 1
});

await page.goto('https://example.com/settings', { waitUntil: 'networkidle' });
await page.getByRole('button', { name: 'Notifications' }).click();
await page.screenshot({ path: '03-notifications-panel.png', fullPage: false });
await browser.close();
Install Playwright with npm install -D playwright and run the file with Node.js. Prefer role, label, or test-id locators over brittle CSS paths. If authentication is needed, create a separate storage state file and keep credentials out of source control.
Full-page and element captures
await page.screenshot({ path: 'full-page.png', fullPage: true });
await page.locator('[data-testid="export-dialog"]').screenshot({
  path: 'export-dialog.png'
});
Full-page captures can become extremely tall. Element captures are easier to read, but include enough context in nearby prose to show where the element belongs. Lazy-loaded images may require scrolling or an explicit wait before capture.
Make the state deterministic
- Set a fixed viewport and device scale factor.
- Disable animations with an injected stylesheet.
- Wait for a selector that proves the state is ready instead of using a random delay.
- Freeze test data or use a stable fixture account.
- Mask personal data before saving files.
await page.addStyleTag({ content: `* {
  animation: none !important;
  transition: none !important;
  caret-color: transparent !important;
}` });
await page.locator('.report-table').waitFor();
6. Add accessible descriptions and equivalent text
Informative screenshots need alt text that states what matters for the task. “Settings dialog with Notifications tab selected and the Save button at lower right” is useful; “screenshot” is not. If the image contains a result, include that result in the surrounding step as well.
- Use empty alt text (
alt='') for decorative separators. - Do not use color, position, or an arrow as the only instruction.
- Keep the same platform presentation throughout a tutorial.
- Describe keyboard steps alongside pointer steps.
- Check that text remains readable at normal zoom and on a narrow screen.
Readers should be able to complete the task if every image fails to load. This is also a useful editorial test: hide the images and follow the numbered text from start to finish.
7. Organize files and embed them safely
Use a stable naming scheme that preserves procedure order: 01-open-reports.webp, 02-filter-date.webp, and 03-export-confirmation.webp. Keep originals in a separate folder and export web-ready copies at the display dimensions needed by the article.
In HTML, place each image after its step and provide a caption only when it adds context:
<figure>
  <img src='/images/03-export-dialog.webp'
       alt='Export dialog with CSV selected and the Apply button ready'>
  <figcaption>Choose CSV, then select Apply.</figcaption>
</figure>
Use descriptive filenames, responsive sizing, and modern formats where your publishing system supports them. Never put API keys, email addresses, tokens, or customer records in a screenshot.
8. Or skip the browser setup
ScreenshotNeo provides a website screenshot API and MCP server. One GET request returns a PNG, JPEG, WebP, or PDF. It accepts consent banners like a visitor and removes more than 60 known consent platforms, newsletter popups, and chat widgets before capture; each step can be disabled. Bot checks or CAPTCHAs, blank pages, timeouts, failed loads, and cache hits are not billed, and the response identifies the result with X-Page-Verdict and X-Billed headers.
Read the complete option list and parameter reference in the ScreenshotNeo documentation. The API supports full-page captures with lazy images loaded, CSS-selector element captures, dark mode, 12 device presets or any viewport, retina scale, PDF paper sizes and margins, landscape mode and page ranges, HTML/CSS to image, custom CSS and JavaScript, pre-capture clicks, hidden selectors, selector/delay/network-idle waits, blocked ads/trackers/requests/resource types, custom headers/cookies/user agents/Authorization, timezone and geolocation, transparent backgrounds, image resizing, configurable-TTL caching, signed links, async jobs with signed webhooks, bulk capture for 100 URLs per call, a usage API, and an OpenAPI specification. Common parameter names used by other screenshot APIs also work when switching.
cURL
curl -G 'https://api.screenshotneo.com/v1/shot' \
  -d access_key=YOUR_API_KEY \
  --data-urlencode url=https://stripe.com \
  -o shot.webp
Python
import requests

r = requests.get(
    'https://api.screenshotneo.com/v1/shot',
    params={'access_key': 'YOUR_API_KEY', 'url': 'https://stripe.com'},
    timeout=90,
)
r.raise_for_status()
open('shot.webp', 'wb').write(r.content)
Node.js
const q = new URLSearchParams({ access_key: 'YOUR_API_KEY', url: 'https://stripe.com' });
const res = await fetch(`https://api.screenshotneo.com/v1/shot?${q}`);
if (!res.ok) throw new Error(`HTTP ${res.status}`);
const fs = await import('node:fs/promises');
await fs.writeFile('shot.webp', Buffer.from(await res.arrayBuffer()));
Use a selector capture when the tutorial needs one dialog or control, and full-page mode when the complete document is the subject. Use a wait-for-selector or network-idle condition for dynamic interfaces; a fixed delay is a fallback for applications with no reliable readiness signal. Custom CSS can hide timestamps or personal data, while custom JavaScript can open a menu before capture.
ScreenshotNeo includes an MCP server with take_screenshot, get_page_info, and capture_pdf tools for Claude, Cursor, and other MCP clients. The Free plan includes 1,000 screenshots per month without a card; Starter is $5 for 3,000, Growth $15 for 15,000, Pro $39 for 60,000, Scale $99 for 250,000, and Business $249 for 1,000,000. Yearly billing provides two months free, and every feature is available on every plan. Create a free ScreenshotNeo account.
9. Troubleshoot common capture problems
| Symptom | Likely cause | Fix |
|---|---|---|
| The screenshot shows a cookie dialog. | The consent platform loaded after the capture. | Wait for the banner to disappear, accept it in automation, or use ScreenshotNeo’s consent handling and disable individual cleanup steps only when needed. |
| A menu is closed. | The capture ran before the click completed. | Await the click, then wait for the menu selector or a visible state change. |
| Text is blurry. | Display scale is too low or the image is enlarged in the article. | Capture at a suitable retina scale, export at display width, and avoid enlarging. |
| The page is blank. | JavaScript failed, a bot check appeared, or the timeout expired. | Inspect the response and browser console, increase the readiness wait, use a realistic user agent, or check X-Page-Verdict and X-Billed with ScreenshotNeo. |
| Full-page output cuts off content. | Lazy content was never triggered or the app uses nested scrolling. | Scroll the page before capture, wait for the final element, or capture the relevant container. |
| Selectors fail after a redesign. | The locator depends on generated classes or position. | Use accessible names, labels, stable data attributes, or ScreenshotNeo’s element selector option. |
| Automation is slow. | Every request launches a new browser or waits for an unnecessarily long delay. | Reuse a browser process, use selector or network-idle waits, block unnecessary resources, and cache stable pages. |
10. Performance, reliability, and cost choices
- Performance: Element screenshots are smaller and faster than full-page images. Block analytics, ads, and video when they do not affect the documented task. Reuse a browser context for batches.
- Reliability: Prefer explicit readiness signals, deterministic test data, and retries for transient network failures. Store the URL, viewport, timestamp, and version beside each image.
- Privacy: Use test accounts, mask identifiers, and review every crop at 200% zoom for secrets or personal data.
- Cost: Cache unchanged pages and capture only states that teach something. ScreenshotNeo’s configurable TTL cache avoids repeat work, and failed loads, bot checks, blank pages, timeouts, and cache hits are not billed.
- Consistency: Fix viewport, theme, timezone, locale, and user agent. A screenshot that changes between runs is difficult to maintain.
11. Final review checklist
- The title states the reader’s task and the introduction states the starting location.
- Prerequisites and permissions appear before step 1.
- Every numbered step uses an imperative verb and names the control label.
- The procedure includes the final Save, Apply, Export, or Publish action.
- Each screenshot solves a recognition or orientation problem.
- Images use descriptive alt text and the prose still works without images.
- Keyboard alternatives are included for pointer actions where practical.
- Captures use one consistent platform, viewport, theme, and application version.
- Files contain no secrets or personal information.
- A second person can complete the task from a clean starting state.
FAQ
How many screenshots should a tutorial contain?
Use enough to resolve genuine visual uncertainty. A short workflow may need two or three; a complex interface may need one per major state. Remove images that only repeat nearby text.
Should screenshots show the whole screen?
Usually no. Crop to the relevant control while retaining enough context to identify its panel or page. Use a full-screen image when orientation across the application is itself the lesson.
How do I keep screenshots current after a UI redesign?
Store the capture script, selectors, viewport, and source URL with the images. Re-run the script after releases and update the step text and alt text together.
Can I document a private or authenticated page?
Yes, with a test account and an isolated browser context. Never place credentials in code or screenshots. For API capture, use custom headers or cookies through a secret manager.
When is an API better than manual capture?
Use an API when you need repeatable dimensions, many URLs, scheduled updates, PDFs, or AI-agent workflows. Manual capture remains practical for a one-off desktop procedure where the local UI is the subject.


