How to Create a Web Scraping Actor from a Git Repository
Connect a Git repository to Apify, configure branches and private access, automate builds, and deploy a reliable web scraping Actor.

Direct answer: In Apify Console, open Actors → Develop new → Import from Git → GitHub, authorize the relevant GitHub account or organization, and select your repository. Apify creates an Actor linked to that repository. It uses the repository’s default branch unless you change the branch in Source settings. Private repositories require an Apify deployment key and an SSH Git URL. A push starts a build only when automated builds are enabled for that Actor version.
This guide covers repository preparation, branches, private access, monorepos, build behavior, CLI and CI deployment, troubleshooting, reliability, performance, and an alternative for screenshot workloads.
1. Prepare the repository
- Create or sign in to an Apify account and confirm you can read the Git repository.
- Make the scraper run from a clean checkout. Commit its dependency manifest, lockfile, entry point, Dockerfile, and configuration.
- Keep API keys, cookies, and passwords out of Git. Pass them as Actor input, environment variables, or secrets.
Apify stores the repository URL and clones it when building the Actor; it does not require copying the source into the Web IDE. See Apify’s Actor deployment documentation.
Minimum project shape
my-scraper/
├── Dockerfile
├── package.json
├── main.js
└── README.md
A Dockerfile is mandatory for the Git source workflow. The default Node.js setup commonly uses main.js and package.json; use the equivalent files for another runtime.
FROM apify/actor-node:20
COPY package*.json ./
RUN npm ci --omit=dev
COPY . ./
CMD ["node", "main.js"]
A minimal Node.js Actor can read input, fetch a permitted URL, and push structured data:
import { Actor } from 'apify';
import fetch from 'node-fetch';

await Actor.init();
const input = await Actor.getInput() ?? { url: 'https://example.com' };
const response = await fetch(input.url, {
  headers: { 'user-agent': 'my-apify-actor/1.0' }
});
if (!response.ok) throw new Error(`HTTP ${response.status}`);
const html = await response.text();
await Actor.pushData({ url: input.url, bytes: html.length });
await Actor.exit();
For Playwright or Puppeteer, add the dependency and browser installation to the image. The Git integration changes where Apify obtains the code; it does not change the scraper runtime.
2. Import from GitHub
- Open Actors in Apify Console and choose Develop new.
- Select Import from Git, then GitHub.
- Authorize Apify for the account, organization, or repositories that contain the scraper.
- Select the repository. The Actor is created when the repository is selected.
If the repository is missing, update the GitHub App installation so the organization or repository is included, then reopen the import dialog.
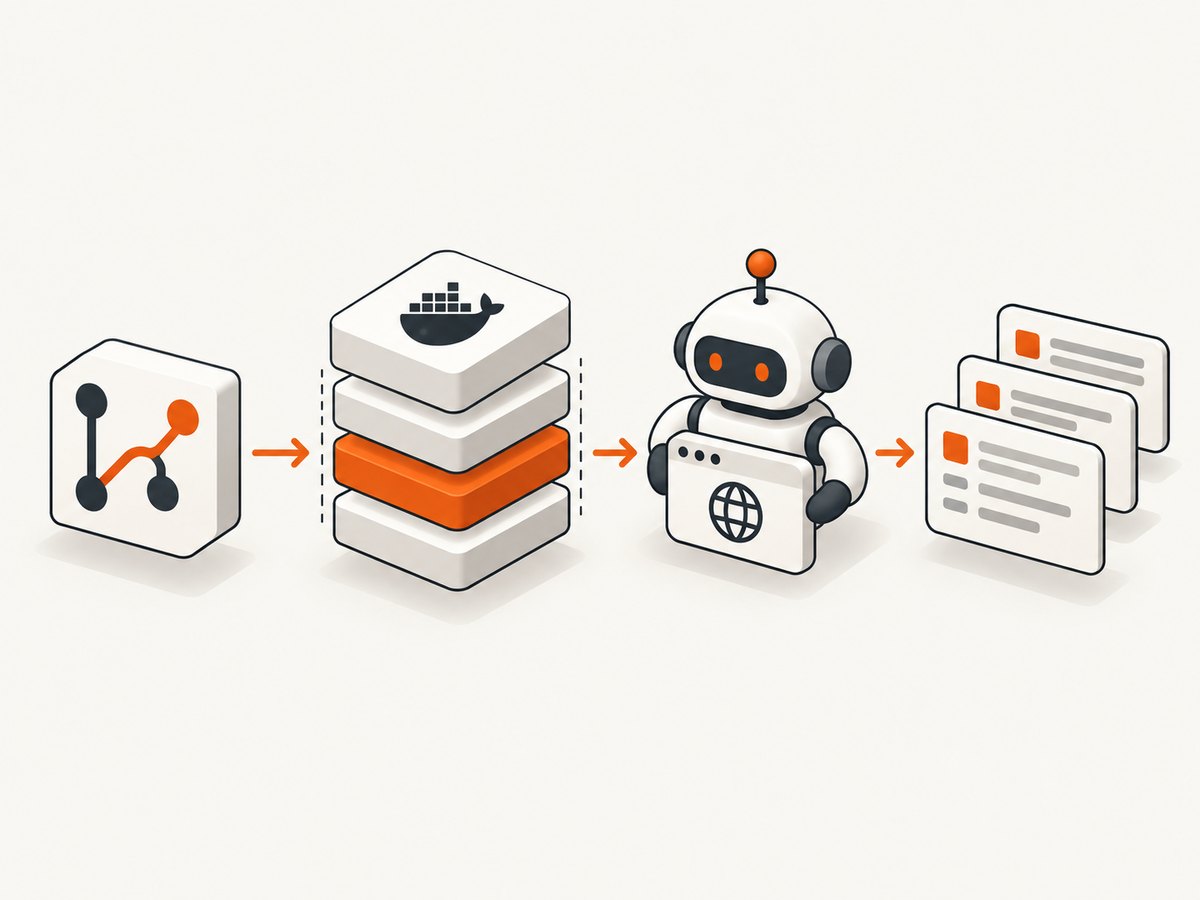
3. Configure the branch and source directory
The imported Actor initially uses the repository’s default branch. Change it in Source settings when the scraper lives on another branch. A tag or commit gives reproducible releases; a moving branch is convenient for continuous delivery but may change the next build.
For a general Git source, the source URL can identify a branch or tag and a subdirectory using a fragment:
git@github.com:org/repo.git#develop:some/dirIn a monorepo, select the directory containing the Actor and configure the matching Docker context, often through dockerContextDir. Keep the Dockerfile and lockfile available inside that context.
4. Connect a private repository
- In Source settings, choose the Git repository source and create or select an Apify deployment key.
- Copy the public SSH key into the repository’s GitHub Deploy keys settings and grant read-only access.
- Use the SSH source URL, such as
git@github.com:org/private-scraper.git. - Save and run a build. Apify uses the key to clone the repository.
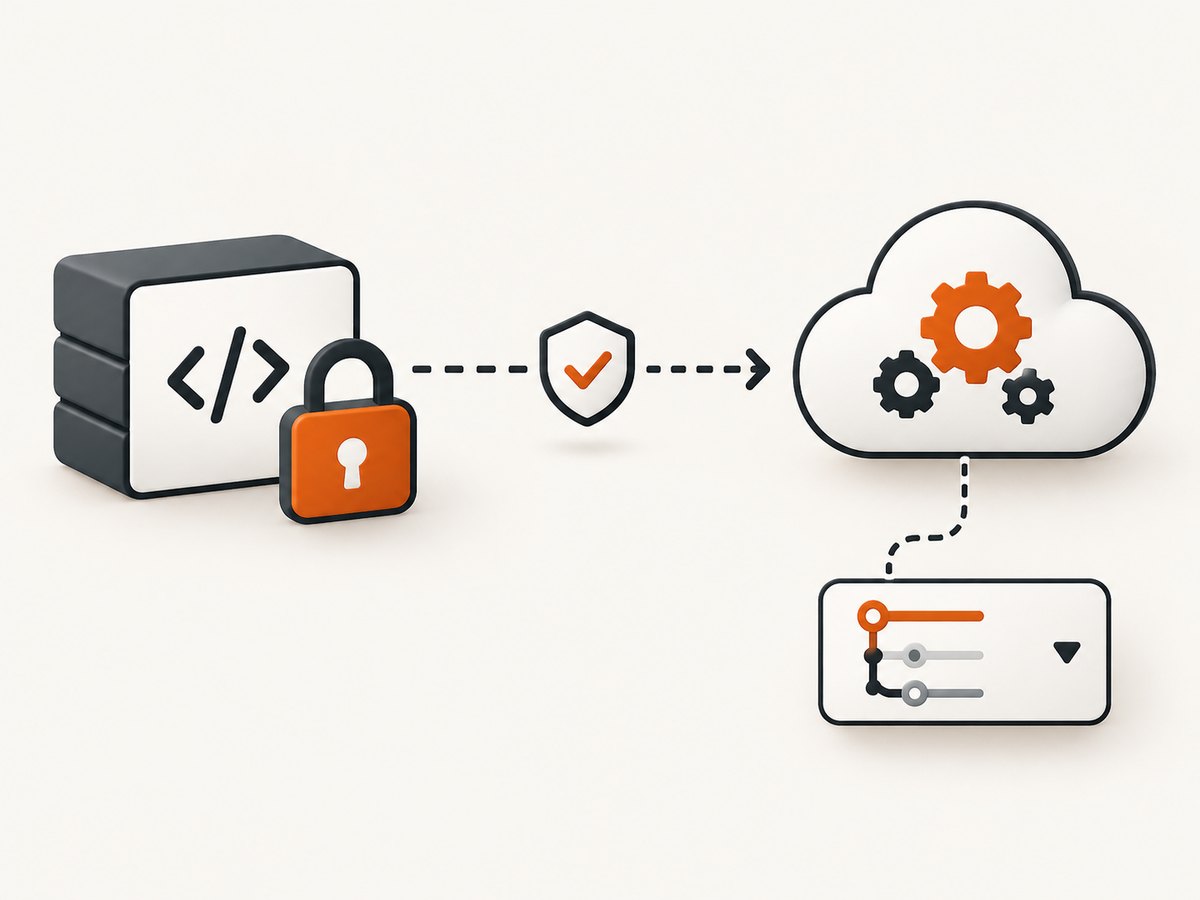
The deployment key is only for cloning. Do not commit its private half, personal access tokens, production cookies, or other credentials.
5. Understand build behavior
With automated builds enabled, a repository push starts a build. With automated builds disabled, the push updates Git but does not build the Actor; trigger a build manually in Console, through the Build Actor operation, or with apify actors build. Check the setting for the specific Actor version.
| Mode | After git push |
Good fit |
|---|---|---|
| Automated build | Apify clones the selected ref and starts a build. | Trusted continuous delivery. |
| Manual build | No build starts until an operator triggers one. | Approvals and release windows. |
| Tag or commit | The Actor builds a fixed ref. | Reproducible releases and rollback. |
Git-sourced deployment and apify push are distinct. Git source stores a repository URL and clones it at build time. apify push uploads source to an Actor version and starts a build. Choose one release model per Actor.
6. Build and run the first version
- Commit and push the Dockerfile, lockfile, and entry point.
- Trigger a build or wait for the automated build.
- Read the log. Confirm the clone ref, Docker context, dependency installation, and command.
- Run one small, permitted URL.
- Inspect logs, run status, and dataset output before increasing concurrency.
Use an explicit input contract:
{
  "url": "https://example.com",
  "maxPages": 10,
  "requestTimeoutSecs": 30
}
Validate input, bound pagination, stop on non-retryable responses, and emit structured records. Follow robots rules, terms, rate limits, authentication requirements, and applicable law.
7. CLI and CI alternatives
Apify CLI
The CLI quick start supports creating an Actor with apify create and connecting a Git host:
npm install -g apify-cli
apify login
apify create my-git-scraper
# Follow the prompts to connect the Git host and Actor
apify actors build
Use apify help for the installed CLI’s exact flags.
Continuous integration
CI is useful when tests, linting, schema checks, or approvals must run before deployment. Apify documents a .actor/actor.json configuration, a protected API token, and the official apify/push-actor-action:
steps:
  - uses: actions/checkout@v4
  - run: npm ci
  - run: npm test
  - uses: apify/push-actor-action@v1
    with:
      actor-id: ${{ secrets.APIFY_ACTOR_ID }}
      apify-token: ${{ secrets.APIFY_TOKEN }}
Use the action documentation for supported inputs and store the token as a masked CI secret.
8. Troubleshooting
| Symptom | Cause | Fix |
|---|---|---|
| Repository is missing | GitHub authorization excludes it. | Update the App installation and reopen import. |
| Clone permission denied | Missing deployment key, wrong URL, or insufficient key access. | Add the public key as read-only and use SSH. |
| Old code is built | Actor points at the default branch or stale tag. | Check Source settings and the commit in build logs. |
| Push does nothing | Automated builds are disabled. | Enable them or trigger a manual build. |
| Dockerfile not found | Wrong monorepo directory or Docker context. | Set the source subdirectory and context correctly. |
npm ci fails |
Lockfile mismatch or incompatible Node version. | Regenerate the lockfile and use a compatible image. |
| Browser works locally only | Browser binary or OS packages are absent. | Use a browser-ready image or install dependencies. |
| Run times out or is blocked | Target latency, concurrency, consent, or anti-bot controls. | Use bounded retries, lower concurrency, and log response classes. |
9. Reliability, performance, and cost
- Reproducibility: lock dependencies and prefer tags or commits for production.
- Build speed: copy manifests and install dependencies before frequently changing source.
- Runtime speed: reuse browser contexts where safe, cap concurrency, and avoid downloading unused resources.
- Retries: retry transient network and 5xx failures with backoff. Do not blindly retry authentication, 404, CAPTCHA, or policy responses.
- Observability: log URL, attempt, status, elapsed time, and parser version without leaking page data or secrets.
- Cost control: start with one URL, cap pagination, and stop runaway jobs. Browser memory and duration rise with concurrency and full-page rendering.
- Release safety: test a candidate version with fixtures, then promote it and retain the previous ref for rollback.
10. Or skip the browser setup
For page images or PDFs, ScreenshotNeo returns a capture through one request. It removes cookie and consent banners, newsletter popups, and chat widgets before capture. Bot checks, blank pages, timeouts, failed loads, and cache hits are not billed; responses identify the result with X-Page-Verdict and X-Billed headers. Its MCP server provides take_screenshot, get_page_info, and capture_pdf for Claude, Cursor, and other MCP clients.
See the ScreenshotNeo API documentation. A WebP capture:
curl -G "https://api.screenshotneo.com/v1/shot" -d access_key=YOUR_API_KEY --data-urlencode url=https://stripe.com -o shot.webpimport requests
r = requests.get("https://api.screenshotneo.com/v1/shot", params={"access_key": "YOUR_API_KEY", "url": "https://stripe.com"}, timeout=90)
open("shot.webp", "wb").write(r.content)const q = new URLSearchParams({ access_key: 'YOUR_API_KEY', url: 'https://stripe.com' });
const res = await fetch(`https://api.screenshotneo.com/v1/shot?${q}`);Available options include full-page capture with lazy images loaded, CSS selector element capture, dark mode, device presets or custom viewports, retina scale, PDF paper and page options, custom CSS and JavaScript, clicks, selector or network-idle waits, request blocking, custom headers and cookies, user agents, authorization, timezone, geolocation, transparent backgrounds, resizing, selectable cache TTLs, signed image links, asynchronous signed webhooks, bulk capture for 100 URLs per call, a usage API, and an OpenAPI specification.
There are 1,000 free screenshots each month with no card. Paid plans start at $5 for 3,000 shots. Create a free ScreenshotNeo account.
11. Frequently asked questions
Does importing upload my code?
The Git source path stores the repository URL and clones it at build time. That differs from uploading source with apify push.
Can I use a non-default branch?
Yes. Change Source settings or use the documented branch or tag fragment.
Does every push rebuild?
Only when automated builds are enabled for that Actor version.
How do I deploy a monorepo?
Select the Actor’s subdirectory and configure its Docker context.
Should production use a moving branch?
Use one for continuous delivery; use a tag or commit for reproducibility and rollback.


