How to Create an Image of a Website with JavaScript
Capture an element in the browser with html2canvas, or take a browser-rendered screenshot of a URL with Puppeteer. Learn the code, tradeoffs, and fixes for common problems.
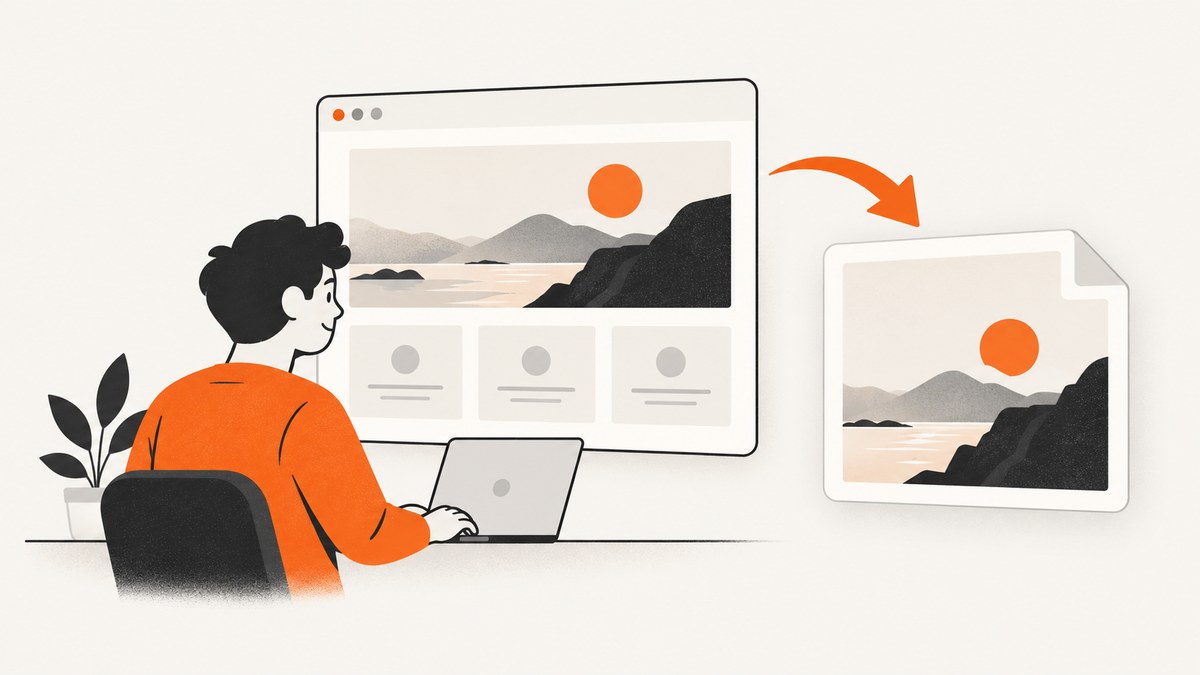
To create an image of a website with JavaScript, first decide whether you need to capture content already open in the browser or render a URL in a browser you control. For an element or the current page, html2canvas builds a canvas from the DOM and styles. For a browser-rendered screenshot of a URL—especially in a server-side workflow—use browser automation such as Puppeteer and its page.screenshot() API. The distinction matters: html2canvas reconstructs the page and may not reproduce every CSS feature exactly; Puppeteer captures a page through a browser.
This guide shows both approaches, explains their constraints, and covers exporting, sizing, cross-origin resources, troubleshooting, and when a hosted screenshot API can save you from managing browser infrastructure.
1. Choose the right capture method
| What you need | Use | What to keep in mind |
|---|---|---|
| Capture a specific element in the page the visitor already opened | html2canvas(element) |
Runs in the browser and reconstructs DOM and styles. Support depends on implemented CSS features. |
| Capture the current page body | html2canvas(document.body) |
Convenient for a client-side download, but large canvases and external resources can cause problems. |
| Render a URL and take a browser screenshot | Puppeteer page.screenshot() |
Runs a browser automation process; suitable for server workflows and browser-rendered output. |
| Capture URLs without operating browser infrastructure | A hosted screenshot API | Check its supported options, billing rules, and behavior for failed or blocked pages. |
These methods solve related but different jobs. The html2canvas documentation describes its DOM-based rendering approach and limitations. Puppeteer documents screenshots through its Page API.
2. Capture an element or page with html2canvas
html2canvas runs in a browser because it depends on browser APIs such as window and document. It returns a Promise that resolves to a canvas. Install the package in your frontend project, then call it after the content you want is present in the DOM.
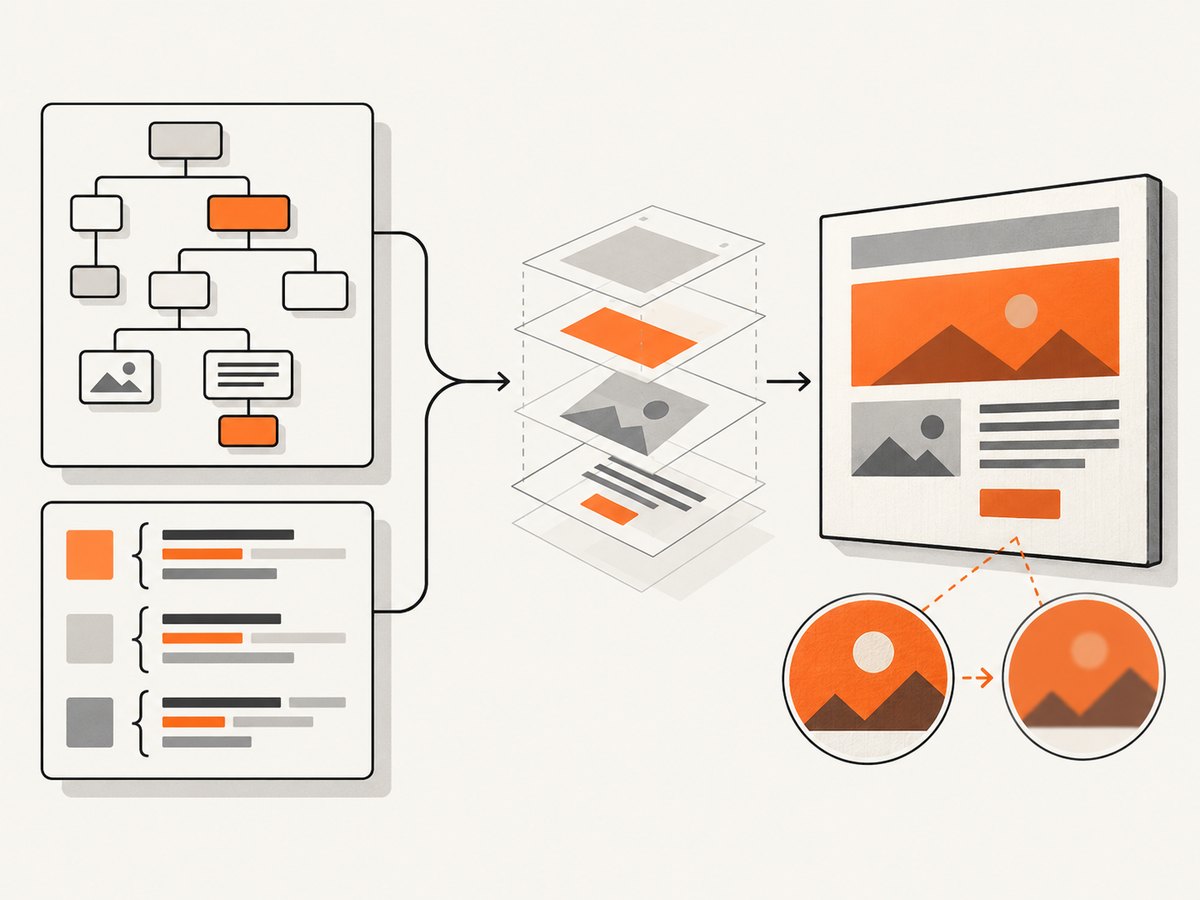
npm install html2canvasHere is a complete browser-side example for capturing an element and downloading it as a PNG:
import html2canvas from '@html2canvas/html2canvas';

const element = document.querySelector('#capture');
if (!element) {
  throw new Error('Capture element not found');
}

const canvas = await html2canvas(element);
const link = document.createElement('a');
link.download = 'website.png';
link.href = canvas.toDataURL('image/png');
link.click();
Put an element with the matching selector on the page, and run this code from a module or function that supports await. The selector check prevents a confusing failure when the target is missing. The library’s Getting Started guide covers installation, the Promise-based call, browser support, and browser-only execution. Package and API details can change, so consult the current documentation when setting up a project.
Capture the whole document
To capture the current page body instead, pass document.body. The rest of the export code remains the same:
const canvas = await html2canvas(document.body);
const link = document.createElement('a');
link.download = 'page.png';
link.href = canvas.toDataURL('image/png');
link.click();
A very long page can produce an extremely large canvas. Canvas dimensions are subject to browser and device limits, which vary; do not assume a page of arbitrary height will export successfully. For long content, capture a bounded element or divide it into sections.
Useful html2canvas options
The library’s examples and documentation describe options for selecting a region, adjusting scale, and ignoring elements. An options object can be passed as the second argument:
const canvas = await html2canvas(element, {
  useCORS: true,
  scale: window.devicePixelRatio,
  ignoreElements: (node) => node.matches?.('[data-skip-capture]') ?? false,
});useCORSasks the renderer to load eligible cross-origin images using CORS. The remote server still has to grant access; this option cannot override browser security policy.scalecontrols output resolution. Usingwindow.devicePixelRatiocan make the output sharper on high-density screens, while increasing pixel dimensions and memory use.ignoreElementscan skip elements you do not want in the output, such as an export button. Add the selector or condition that fits your page.
See the project’s examples for documented region, scale, and ignore controls. The exact output still depends on the DOM, styles, browser, and supported CSS. This is a rendered reconstruction, not a pixel-identical browser screenshot.
Display the canvas instead of downloading it
A canvas can also be placed in the page for preview. For example, append it to a preview container after capture:
const canvas = await html2canvas(element);
const preview = document.querySelector('#preview');
if (!preview) throw new Error('Preview container not found');
preview.replaceChildren(canvas);
For a PNG download, a data URL and an anchor with a download filename are a straightforward option. Data URLs hold the encoded image in memory, so for large captures consider the browser’s Blob-based export flow instead of retaining a large data URL.
3. Capture a URL with Puppeteer
When the task is “open this URL in a browser and save what it renders,” Puppeteer is a better conceptual fit. Its Page.screenshot() API returns screenshot image data. The following Node.js example launches Chromium, loads a URL, waits for the page’s load event, saves a PNG, and closes the browser even if an error occurs:
import puppeteer from 'puppeteer';

const url = process.argv[2] ?? 'https://example.com';
const browser = await puppeteer.launch({ headless: true });

try {
  const page = await browser.newPage();
  await page.setViewport({ width: 1440, height: 900 });
  await page.goto(url, { waitUntil: 'load', timeout: 30000 });
  const image = await page.screenshot({
    path: 'website.png',
    type: 'png',
    fullPage: true,
  });
  console.log(`Saved ${image.length} bytes to website.png`);
} finally {
  await browser.close();
}
Install Puppeteer in a Node.js project and run the file in an environment where it can launch its browser. The example uses a 30-second navigation timeout, a 1440×900 viewport, and a full-page capture. Adjust these choices for the target page and deployment environment. Puppeteer’s Page.screenshot() API reference documents the screenshot behavior and options.
Wait for the content you actually need
A page’s initial load event does not guarantee that all application data, animations, or images have finished appearing. If a known element indicates that the page is ready, wait for it before taking the screenshot:
await page.goto(url, { waitUntil: 'domcontentloaded', timeout: 30000 });
await page.waitForSelector('#report-ready', { timeout: 15000 });
await page.screenshot({ path: 'report.png', fullPage: true });
Choose a readiness signal that represents the content you need. A fixed delay can be useful for a known animation, but it adds time to every capture and can still be too short when a page is slow. If you use a delay, make it explicit and bounded.
4. Or skip the browser setup
If you need URL screenshots without installing and maintaining browser automation, ScreenshotNeo provides a website screenshot API and MCP server. The direct API request returns an image or PDF. Read the ScreenshotNeo API documentation for the available parameters and response details.
curl -G "https://api.screenshotneo.com/v1/shot" \
  -d access_key=YOUR_API_KEY \
  --data-urlencode url=https://stripe.com \
  -o shot.webp
import requests
r = requests.get(
"https://api.screenshotneo.com/v1/shot",
params={"access_key": "YOUR_API_KEY", "url": "https://stripe.com"},
timeout=90,
)
r.raise_for_status()
open("shot.webp", "wb").write(r.content)const q = new URLSearchParams({
access_key: 'YOUR_API_KEY',
url: 'https://stripe.com',
});
const res = await fetch(`https://api.screenshotneo.com/v1/shot?${q}`);
if (!res.ok) throw new Error(`Screenshot request failed: ${res.status}`);
const image = Buffer.from(await res.arrayBuffer());
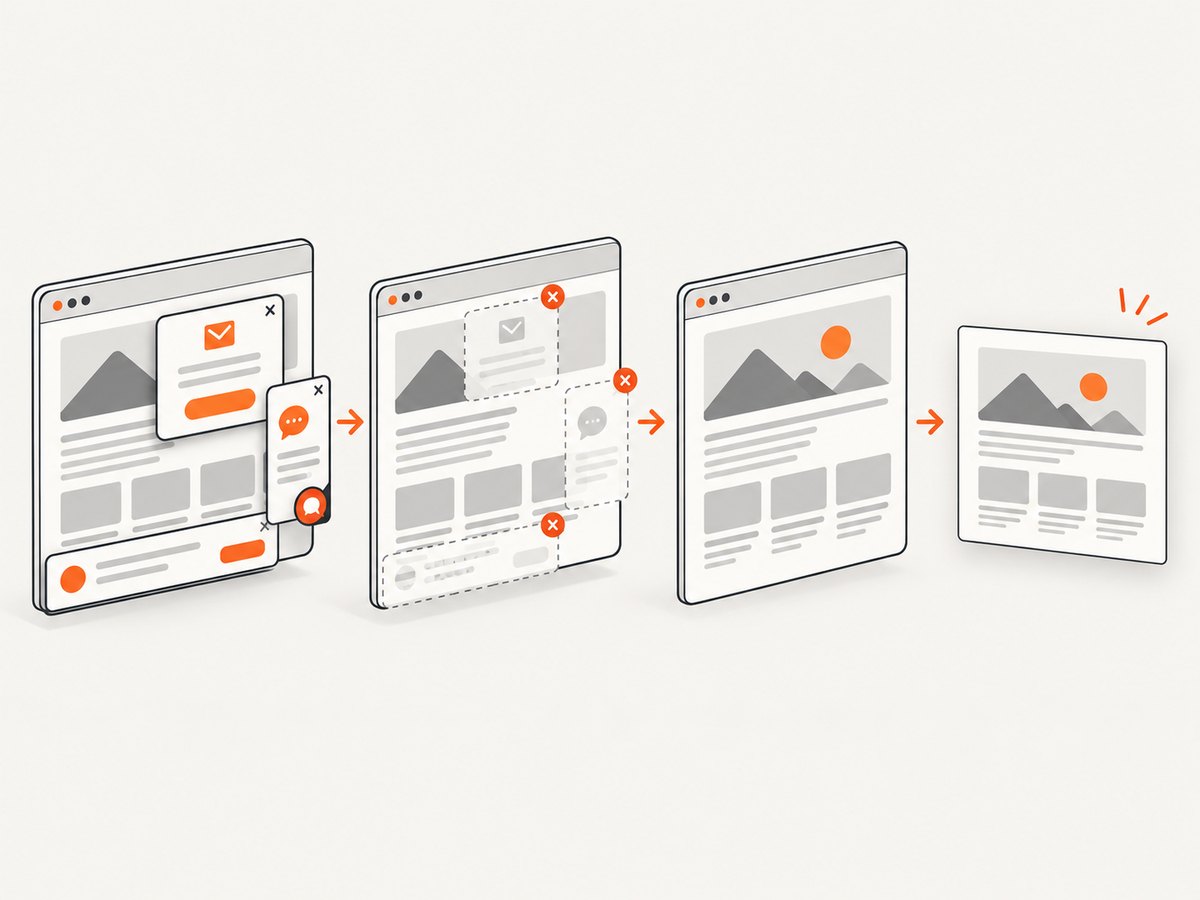
await import('node:fs/promises').then(fs => fs.writeFile('shot.webp', image));Before capture, ScreenshotNeo accepts cookie or consent banners like a visitor and removes more than 60 known consent platforms, newsletter popups, and chat widgets; each cleanup step can be turned off. Bot checks or CAPTCHAs, blank pages, timeouts, failed loads, and cache hits are not billed, and responses identify the page verdict and billing status in headers. Its MCP server offers take_screenshot, get_page_info, and capture_pdf tools for Claude, Cursor, and other MCP clients.
The free plan includes 1,000 shots per month with no card. Paid plans start at $5 for 3,000 shots; yearly billing gives two months free. Every feature is available on every plan. Sign up for free and get 1,000 screenshots a month with no card.
5. Handle output size, quality, and reliability
Resolution and memory
A canvas’s memory use grows with its pixel area: increasing both width and height by a factor of two creates four times as many pixels. Higher scale can improve sharpness, but it can also make capture slower and use more memory. Start with the output dimensions you need, and avoid scaling a full long page to a very high device pixel ratio without checking its size.
Browser canvas limits vary by browser, operating system, and hardware. Oversized canvases may be blank or only partly rendered. If that happens, reduce the capture area or split a long page into sections rather than relying on a universal maximum dimension.
External images and iframes
Cross-origin images are governed by browser security rules. With useCORS: true, an image can be included only when its server supplies the required CORS permission. If it does not, the image may be omitted or the canvas may become tainted, preventing export. A properly designed proxy may be needed when you control the application and have a legitimate reason to retrieve the resource; the renderer cannot grant permission on the remote server’s behalf.
Cross-origin iframe content is not available to the renderer because the browser blocks access to that frame’s document. Same-origin frames are documented as supported. If an important section is embedded from another origin, capture it through that service’s own supported route or capture the page in a browser automation workflow. Review the project’s guidance on CORS and canvas size limits before designing around a problematic resource.
Reliability choices
- Check that the selected element exists before starting the capture.
- Wait for application-specific content to be ready rather than assuming the first paint contains everything.
- Use bounded timeouts for navigation and selector waits in automated jobs.
- Close browser instances in a
finallyblock so a failed navigation does not leave processes running. - For repeated server captures, manage browser startup and cleanup deliberately; browser processes consume memory and compute even when no image is ultimately saved.
- For user-facing downloads, handle capture and export errors and show a useful message rather than leaving the UI in a loading state.
6. Troubleshooting
| Symptom | Likely cause | What to try |
|---|---|---|
| “Capture element not found” or a null selector result | The selector does not match, or capture runs before the element is rendered. | Check the selector and call capture after the component mounts or the content is ready. |
| An external image is missing or export raises a security error | The image server does not grant CORS access, or the canvas is tainted. | Use useCORS: true only when the remote server permits it. Otherwise use an authorized proxy or omit that resource. |
| Content inside an iframe is absent | The iframe is cross-origin and browser policy prevents reading its document. | Capture the frame through an allowed same-origin or service-supported method; client-side DOM reconstruction cannot bypass the restriction. |
| Some CSS looks different from the live page | html2canvas reconstructs the page and supports implemented CSS properties rather than taking a literal screenshot. | Check the library’s documented support, simplify the captured styling, or use browser automation for a browser-rendered capture. |
| A long-page canvas is blank or cut off | The output exceeds a browser or device canvas limit. | Capture a smaller region or split the page into sections. Limits are not uniform across platforms. |
| Puppeteer times out waiting for navigation | The page is slow, keeps connections open, or does not reach the selected wait condition. | Set a deliberate timeout and choose a load/readiness condition suited to the page. Wait for a meaningful selector when possible. |
| The saved screenshot misses late-loaded content | The screenshot ran before the application rendered the required data or images. | Wait for a page-specific selector or other explicit readiness signal before calling screenshot(). |
7. Performance and cost considerations
For client-side html2canvas, the user’s device does the rendering and holds the output in memory. Capturing a smaller element is generally more manageable than converting an entire long document, and a high scale increases both pixel count and memory needs. The capture may also have to load or reproduce resources from the page.
Puppeteer adds the operational cost of running a browser process, including startup, memory, and CPU. For a few internal captures, that may be a reasonable tradeoff for browser rendering and control. For a production service, account for concurrency, timeouts, browser cleanup, and retries; retries should be bounded so a persistently failing URL does not consume resources indefinitely.
A hosted API moves browser operations to a service and charges according to its own plan and billing rules. With ScreenshotNeo, the listed plans range from free for 1,000 shots per month to $5 for 3,000, $15 for 15,000, $39 for 60,000, $99 for 250,000, and $249 for 1,000,000; annual billing gives two months free. Its response headers report page verdict and billing status, and only clean shots are billed. Check the current product documentation for request parameters and response handling before integrating.
8. Frequently asked questions
How do I save a webpage as an image?
For the page already open in a browser, pass document.body to html2canvas and export the returned canvas as PNG. For a URL you need to load in an automated browser, navigate with Puppeteer and save the result of page.screenshot().
Can html2canvas take a screenshot of a website?
It can create an image representation of accessible DOM content and styles, but it does not take a literal screenshot. For browser-rendered capture of a URL, use browser automation such as Puppeteer.
Can I run html2canvas in Node.js?
The library depends on browser APIs such as window and document, so it is not suitable for Node.js server rendering. Use browser automation for a server-side URL capture.
Can I make an image of an arbitrary public URL from a visitor’s browser?
Not by simply passing that URL to html2canvas: it renders the current page’s DOM and browser security limits access to cross-origin content. Load and capture the URL with browser automation or use a screenshot API.
Does useCORS bypass image restrictions?
No. It can request CORS-enabled loading, but the image server must grant access. The browser’s content security rules still apply.


