How to Create Website Thumbnails in Figma
Create a sharp Figma website thumbnail, set it as a file cover, export PNG or JPG, and automate clean captures with ScreenshotNeo.
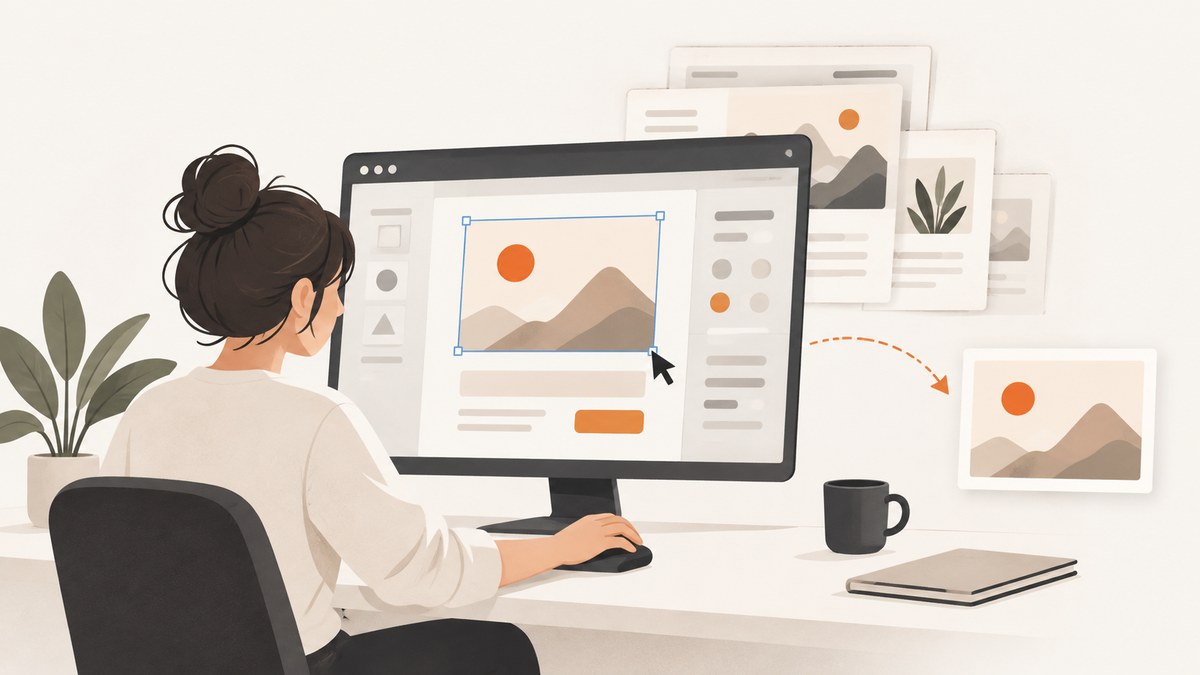
A website thumbnail in Figma is a dedicated frame that represents a design file, website concept, or exported page image. For a Figma file cover, start with a 1920 × 1080 pixel frame (16:9), design the artwork inside it, then select the frame and choose Set as thumbnail. If you need a separate asset for a website, export that frame or a slice as PNG, JPG, or another supported format.
This guide covers both workflows: assigning a thumbnail inside Figma and exporting a reusable website image. It also explains sizing, composition, responsive crops, export settings, troubleshooting, and an automated option when the source is a live webpage.
What size should a Figma website thumbnail be?
Figma recommends 1920 × 1080 pixels for file thumbnails. That is a 16:9 aspect ratio and gives you enough detail for large previews while remaining safe for smaller cards. Figma also provides a Plugin / file cover frame preset in the frame presets, which is a convenient starting point.
| Use case | Recommended setup | Why |
|---|---|---|
| Figma file thumbnail | 1920 × 1080 px frame | Matches Figma’s documented recommendation |
| Website card image | Keep the source at 16:9; export at the site’s display size or larger | Reduces unexpected cropping across cards |
| Social preview | Use the destination platform’s required dimensions, while keeping the main subject inside the 16:9 safe area | Protects important content if the platform crops |
| Retina display | Export at 2× when the image will be displayed at half its pixel dimensions | Produces a sharper image on high-density screens |
The 1920 × 1080 figure is Figma’s documented file-thumbnail recommendation, not a requirement for every external website. Check the consuming site’s image specification before exporting a production asset.
How to create a website thumbnail in Figma
- Open the design file. Go to the page containing the artwork you want to represent, or create a new page for thumbnail artwork.
- Create a frame. Press
F, then choose a frame preset or draw a frame. Set its width to1920and height to1080. If available, choose the Plugin / file cover preset. - Build the composition inside the frame. Add the website screenshot, a short title, a product mark, or a visual summary. Keep the most important subject away from all four edges.
- Check the thumbnail at small size. Zoom out until the frame is roughly the size it will appear in a file browser or card. Remove details that turn into noise and increase contrast where text becomes hard to read.
- Select the frame. Click the frame name in the Layers panel or click its boundary on the canvas. The selection must be the frame itself, not a child layer.
- Assign it as the thumbnail. Right-click the selected frame and choose Set as thumbnail. Figma uses the first page’s contents by default, so this step overrides that default with your chosen frame.
- Confirm the result. Return to the file browser, team project, or share view where the thumbnail appears. Changes can take a short moment to propagate.
Only frames can be assigned as custom thumbnails. If the command is missing, select the artwork and use Frame selection (or place the artwork inside a new frame), then try again. Figma’s current guidance is documented in Set custom thumbnails for files and its walkthrough on designing a file thumbnail.
Thumbnail composition that remains readable
A thumbnail is usually viewed much smaller than the original design. Design for recognition first and detail second.
Use one clear subject
Choose one dominant webpage screen, product view, or illustration. If you show several screens, make one the clear focal point and reduce the others to supporting tiles. A busy collage can look impressive at full size but become an indistinct block in a file browser.
Keep copy short
Use a title or label that can be understood in one glance. Two or three words usually survive reduction better than a paragraph. Put supporting details in the file name or description instead of forcing them into the image.
Protect the safe area
Leave generous margins around titles, logos, and important interface controls. Cards, social feeds, and embeds may crop the edges. Keeping the focal content inside the central region also helps when the thumbnail is shown in a different aspect ratio.
Check contrast and type scale
Place light text on a dark area or dark text on a light area. Avoid thin weights and low-contrast gray text. At 1920 × 1080, start with a type size that remains legible when the frame is reduced to roughly 320 pixels wide, then verify visually rather than relying on a fixed point size.
Use a restrained background
A flat color, soft gradient, or lightly textured background gives the subject room to read. Detailed photographs and dense patterns compete with small interface screenshots.
How to export a Figma thumbnail as PNG or JPG
- Select the frame. Click the frame, not an individual text or image layer.
- Open Export. In the right sidebar, scroll to Export and click the plus button.
- Choose a format. Select PNG for lossless UI edges and transparency, JPG for smaller photographic files, or another format available in your Figma workspace.
- Choose the scale. Use
1×for a 1920 × 1080 output,2×for 3840 × 2160, or enter a width/height scale appropriate for the consuming site. - Export. Click the export button and save the file with a versioned name such as
homepage-thumb-v3.webporhomepage-thumb-v3.png.
You can also draw a slice around only the region you need, then configure that slice in the Export section. A slice is useful when the frame includes guides, staging elements, or other artwork that should not be included in the website asset. Figma describes frames and slices in its export documentation.
PNG or JPG?
| Format | Choose it when | Trade-off |
|---|---|---|
| PNG | The image contains interface text, sharp lines, flat colors, or transparency | Usually larger than JPG for photographs |
| JPG | The thumbnail is photographic or must be very small | Lossy compression can soften text and introduce artifacts |
| WebP | Your website pipeline accepts it and you want a smaller modern image | Confirm support in every delivery channel before replacing PNG/JPG |
Designing for different thumbnail placements
The same source frame may appear in a Figma file browser, a project card, an email, and a website grid. Before publishing, preview the image at each target width.
- File browser: prioritize the central subject and a short title.
- Website card: reserve space for the card title and metadata outside the image; do not duplicate long labels inside the thumbnail.
- Dark and light themes: test the thumbnail against both backgrounds. A transparent PNG can disappear on one of them, while a solid background remains stable.
- Responsive layouts: keep the focal point near the center so a narrow crop does not remove it.
- Version updates: update the source frame first, then reassign it as the file thumbnail and re-export any external asset.
Capturing a live website for a thumbnail
If the thumbnail should show a live URL rather than a Figma mockup, you can capture the page in a browser and import the resulting image into Figma. A do-it-yourself workflow is:
- Open the page in a browser at the viewport size you want to represent.
- Wait for fonts, images, and dynamic content to finish loading.
- Capture the visible viewport or the full page with a browser tool.
- Crop or resize the capture to your 16:9 thumbnail frame.
- Place the image in Figma, add the title treatment, and set the containing frame as the file thumbnail.
For a consistent result, record the viewport width, device pixel ratio, color scheme, timezone, and any authentication or cookie state used for the capture. Repeat those settings whenever you refresh the thumbnail.
Or skip the browser setup
ScreenshotNeo captures a URL through one request and returns a PNG, JPEG, WebP, or PDF. It accepts the cookie or consent banner like a visitor and removes more than 60 known consent platforms, newsletter popups, and chat widgets before the capture. Each step can be turned off when you need the original page state.

Only clean shots are billed. Bot checks and CAPTCHAs, blank pages, timeouts, failed loads, and cache hits cost nothing, and the response reports the result through the X-Page-Verdict and X-Billed headers. The service also provides an MCP server for Claude, Cursor, and other MCP clients, with take_screenshot, get_page_info, and capture_pdf tools.
See the full parameter list and request behavior in the ScreenshotNeo documentation. This basic request captures a live page as an image you can place in Figma:
cURL
curl -G "https://api.screenshotneo.com/v1/shot" \
  -d access_key=YOUR_API_KEY \
  --data-urlencode url=https://stripe.com \
  -o shot.webp
Python
import requests

r = requests.get(
    "https://api.screenshotneo.com/v1/shot",
    params={"access_key": "YOUR_API_KEY", "url": "https://stripe.com"},
    timeout=90,
)
r.raise_for_status()
open("shot.webp", "wb").write(r.content)
Node.js
const q = new URLSearchParams({
  access_key: 'YOUR_API_KEY',
  url: 'https://stripe.com'
});
const res = await fetch(`https://api.screenshotneo.com/v1/shot?${q}`);
if (!res.ok) throw new Error(`HTTP ${res.status}`);
const fs = await import('node:fs/promises');
await fs.writeFile('shot.webp', Buffer.from(await res.arrayBuffer()));
After downloading the image, import it into Figma, place it inside the 1920 × 1080 frame, and set that frame as the thumbnail. ScreenshotNeo also supports full-page capture with lazy images loaded, CSS-selector element capture, dark mode, device presets, custom viewport and retina scale, custom CSS and JavaScript, clicks, selector or network-idle waits, request blocking, headers, cookies, user agents, authorization, timezone, geolocation, transparent backgrounds, resizing, caching with a chosen TTL, signed links, asynchronous jobs with signed webhooks, bulk capture of up to 100 URLs per call, a usage API, and an OpenAPI specification.
There are 1,000 free shots per month with no card. Paid plans start at $5 for 3,000 shots; higher plans are $15 for 15,000, $39 for 60,000, $99 for 250,000, and $249 for 1,000,000. Yearly billing gives two months free, and every feature is included on every plan. Create a free ScreenshotNeo account and start with the monthly free allowance.
Troubleshooting
“Set as thumbnail” is not visible
Cause: You selected a group, component, section, or child layer. Fix: Put the artwork inside a frame and select the frame boundary or frame name in Layers. Only frames can be assigned as custom thumbnails.
The thumbnail is cropped strangely
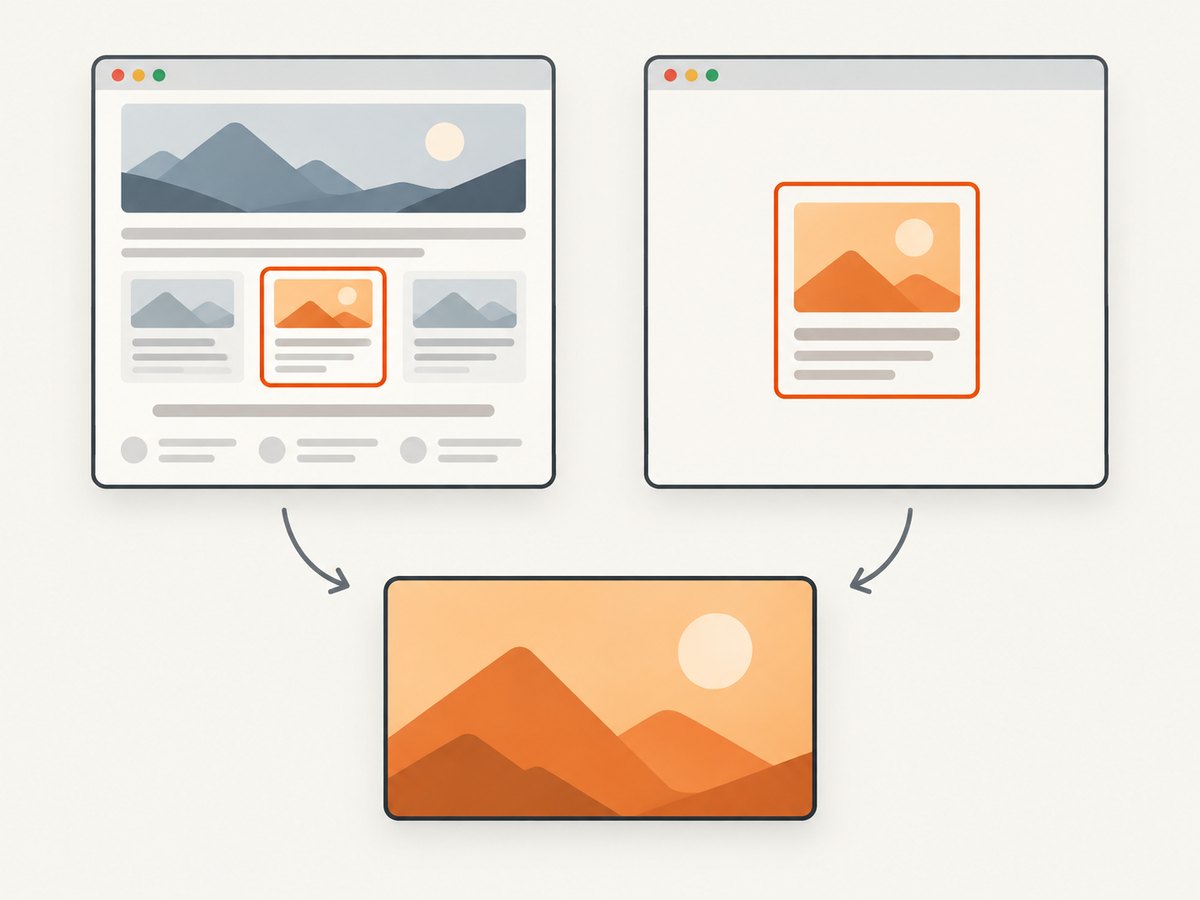
Cause: The receiving surface uses a different aspect ratio or crops edge pixels. Fix: Keep the source at 16:9, move critical content inward, and preview the exported image at the target card width.
Text is unreadable after export
Cause: The type is too small, low contrast, or being viewed at a much smaller size. Fix: shorten the copy, increase contrast, use a heavier weight, and test a 2× export if the image is displayed on a high-density screen.
The exported image includes unwanted objects
Cause: You exported a larger frame or selected the wrong layer. Fix: Select the intended frame or create a slice around the exact region, then export again.
The live webpage capture is blank or incomplete
Cause: The page timed out, required interaction, returned a bot check, or had not finished loading. Fix: Use a selector, delay, or network-idle wait; provide required headers or cookies; capture after the relevant interaction; and inspect the verdict headers when using ScreenshotNeo.
The capture contains a consent banner or chat bubble
Cause: The browser captured the page before cleanup. Fix: Remove those elements before capture with your browser automation, hide their selectors, or use ScreenshotNeo’s consent and overlay cleanup.
Performance, reliability, and cost notes
- Keep the design source separate from the exported asset. The frame remains editable, while the exported PNG/JPG/WebP is a deployable snapshot.
- Use the smallest sufficient output. A 2× image improves sharpness but increases transfer size and storage.
- Cache stable pages. A chosen cache TTL can reduce repeated capture work. Remember that cache hits are not billed by ScreenshotNeo.
- Batch recurring updates. ScreenshotNeo can capture up to 100 URLs per call and supports asynchronous jobs with signed webhooks for larger workflows.
- Track verdicts. Store
X-Page-VerdictandX-Billedwith your job record so a failed or blocked page is distinguishable from a clean capture. - Protect credentials. Keep the ScreenshotNeo access key on the server or in a secret manager; do not embed it in public browser code.
- Choose the right Figma workflow. Use Set as thumbnail when the image represents the file itself. Export when another system needs an independent image URL or file.
FAQ
Can I use an image layer as a Figma file thumbnail?
Place the image inside a frame first. Figma assigns custom thumbnails to frames, not standalone image layers.
Does changing the frame automatically update an exported website image?
No. The file thumbnail uses the selected frame, but an exported PNG, JPG, or WebP is a separate file. Re-export it when the design changes.
Is 1920 × 1080 mandatory?
No. It is Figma’s recommended file-thumbnail size. External websites may require different dimensions, so follow the destination specification while preserving a safe 16:9 composition when possible.
Should I export at 1× or 2×?
Use 1× when the image is already large enough for its display size. Use 2× when it will be displayed at half its pixel dimensions on high-density screens and the larger file is acceptable.
Can I automate a thumbnail from a page that needs cookies or authentication?
Yes. A browser workflow can establish that state before capture. ScreenshotNeo supports custom headers, cookies, user agents, and Authorization parameters for authenticated pages.
What is the fastest repeatable workflow?
Keep a 1920 × 1080 thumbnail frame as a template, replace the captured webpage image, update the short title, export the required format, and reassign the frame as the file thumbnail. For live URLs, use a consistent ScreenshotNeo request with a cache policy and explicit wait settings.


