How to Create a White Logo PNG
Turn a logo white, remove its background, export transparent PNG, and verify edges across light and dark designs.
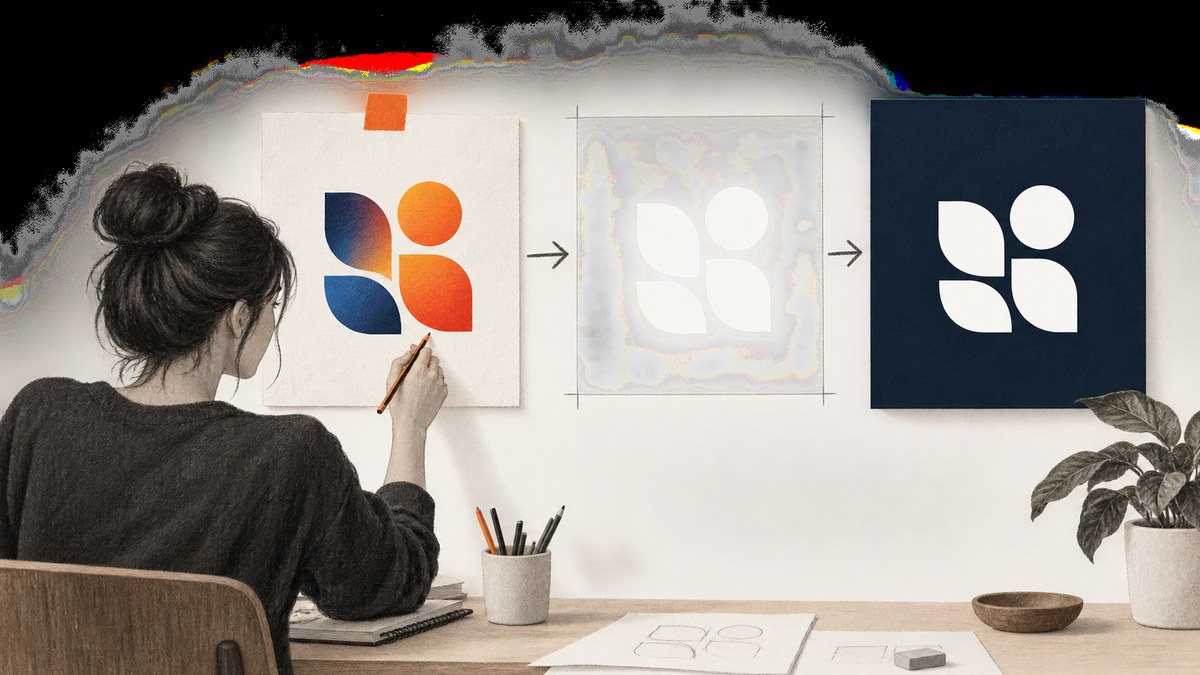
To create a white logo PNG, perform two separate edits: recolor the logo artwork to white, then remove or hide the background so the transparent pixels surround the mark. Export with a transparency setting enabled, reopen the file, and inspect it over both light and dark backgrounds.
1. Understand what “white logo PNG” means
A useful white logo file normally has:

- Logo shapes filled with white (or a deliberate near-white such as
#FFFFFF). - No solid rectangle behind the artwork.
- Transparent pixels around and between the shapes.
- Edges that remain clean at the intended display size.
Changing color and removing a background are different operations. A white JPG still has an opaque background. A transparent PNG can still contain a logo in its original color. Complete both jobs and verify each result.
PNG is an appropriate delivery format when transparency is required. Canva documents downloading a logo after background removal as a PNG, and Adobe documents PNG as a supported Photoshop save/export format (Canva documentation; Adobe Photoshop documentation).
2. Choose the best source file
Start with the highest-quality source available. An editable vector logo or layered artwork lets you recolor each element precisely and avoids enlarging already softened pixels. A raster source can work, but small text, thin strokes and antialiased edges need closer inspection. This is production guidance rather than a claim of a controlled quality comparison.
| Source | Best use | Watch for |
|---|---|---|
| Vector (SVG, AI, EPS, editable PDF) | Precise recoloring and any output size | Some exports flatten layers or substitute fonts |
| Layered raster (PSD, TIFF) | Editing separate mark and background layers | Hidden layers and blend modes can affect export |
| Flat raster (PNG, JPG) | Quick conversion when no source artwork exists | Background and white logo pixels may be indistinguishable |
Keep an untouched copy of the original. Work on a duplicate so you can recover details if an automatic remover deletes part of a white letter or icon.
3. Recolor the artwork to white
Editable or vector artwork
- Open the source and identify every logo element that should become white.
- Select those elements individually or as a group.
- Set their fill to white. Set strokes to white too; a white fill with a dark outline is not a fully white mark.
- Check gradients, shadows and opacity. Decide whether they should be removed, converted to white with varying opacity, or preserved as intentional brand effects.
- Temporarily place a dark rectangle behind the logo. This makes white shapes visible while you work.
Multicolored logos require element-by-element decisions. A global color replacement can turn a colored accent white when it should be removed, and it can miss colors inside rasterized effects.
Raster artwork
- Duplicate the source layer.
- Separate the logo from its background with a selection, mask or background-removal tool.
- Lock the resulting transparency or use the selection to fill the mark with white.
- Inspect antialiased edges at 100% and at the final display size.
- Paint or mask individual pixels where the old color remains in a fringe.
Do not assume one automatic command works for every logo. If the backdrop and artwork both contain white, the remover may erase legitimate logo details. Use a mask and manual cleanup around those areas.
4. Remove the background without damaging the mark
If the source already has a separate background layer, hide or delete that layer. If the background is baked into a flat image, create a mask around the logo. Preserve holes inside letters such as “A”, “O” or “R”; those interior areas must also be transparent unless the brand artwork intentionally fills them.
Canva’s official workflow describes uploading a logo, using its background remover and downloading the result as a PNG. Canva also describes logo color customization. Interface names and plan availability can change, so confirm the current controls in the editor you use.
For a solid background that shares white with the mark, automatic color selection is risky. Zoom in, add a contrasting temporary background, and inspect every white area. A one-pixel halo from the old background can become visible when the logo is placed over a saturated color.
5. Export a transparent PNG
- Hide or remove the temporary contrast layer.
- Confirm the canvas shows a checkerboard or another editor indication of transparency.
- Choose Export or Download and select PNG.
- Enable “transparent background” when the exporter offers that option.
- Use the required pixel dimensions or export at a larger size for later scaling.
- Save with a descriptive filename such as
brand-mark-white-transparent.png.
A .png extension alone does not prove transparency. Some applications export a white or colored matte into the file. Reopen the exported file in an editor that displays transparency, or place it over a contrasting layer and verify that the background shows through.
6. Validate the delivered file
Use this checklist before handing the asset to a developer or designer:
- Artwork is visibly white, including small marks and strokes.
- There is no opaque rectangle around the logo.
- Interior cutouts are transparent where intended.
- No dark, colored or white halo remains around edges.
- Thin details survive at the actual display size.
- The PNG opens correctly in a second application.
- The logo works on both a dark background and a light background.
Previewing on white is especially misleading: a white logo disappears, and a white matte is impossible to spot. Test with at least one dark color and one medium-bright color. Also test the smallest size at which the logo will appear; antialiasing that looks fine at 800% may look muddy at 24 pixels.
7. Practical workflows in common editors
Canva
Upload the logo, use the background-removal workflow, adjust the logo’s colors, and download as PNG with transparency when that option is available. Use a temporary dark design background while editing. Inspect the downloaded file independently because the reviewed Canva page documents the workflow but does not provide a comparative accuracy test or a guarantee for every plan.
Adobe Photoshop
Open the source, isolate the mark with layers or a mask, fill the selected artwork with white, hide the background, and export as PNG. Adobe’s documentation confirms PNG saving/export support. Exact menu labels vary by Photoshop version, so rely on the current Export or Save a Copy dialog and confirm transparency in the output.
Any other editor
Look for four capabilities: separate color/fill controls, a mask or selection for the background, a visible transparency indicator, and PNG export with transparency. If one is missing, finish the operation in an editor that supports it rather than flattening the logo onto a colored canvas.
8. Troubleshooting
| Symptom | Likely cause | Fix |
|---|---|---|
| Logo disappears on the canvas | White artwork on a white editing background | Add a temporary dark background layer; remove it before export. |
| PNG has a white rectangle | Background was hidden visually but exported, or transparency was not enabled | Reopen the file, verify alpha/transparency, and export with the transparent-background setting. |
| Parts of letters are missing | Automatic remover confused white artwork with a white backdrop | Restore those regions with a mask or manual selection; inspect all white details. |
| Colored fringe surrounds the mark | Antialiased pixels still contain the old background color | Zoom in, refine the mask, and clean edge pixels against a contrasting preview. |
| Interior holes are filled | Selection treated the logo as one solid shape | Subtract the counters from the mask and verify letters such as A, O and R. |
| Logo looks gray | Layer opacity, blend mode or a semi-transparent white fill | Set the intended opacity and blend mode; use solid white for a flat mark. |
| Edges look jagged | Low-resolution raster source or overly aggressive selection | Return to vector/layered artwork if possible; otherwise refine the mask and export at a suitable size. |
| File works in one app but not another | Color profile, indexed mode or application-specific transparency handling | Export a standard RGB/RGBA PNG and test it in the destination workflow. |
9. Automation and preview checks
For a one-off logo, an editor is usually fastest. For a design system or documentation site, automate the surrounding checks: keep the source and exported PNG in version control, name variants consistently, and render the asset over representative backgrounds in a preview page. Do not overwrite the source when generating a white variant.
If the preview page is public, you can capture it for review with a screenshot service. A screenshot is a verification artifact; it does not replace checking the PNG’s alpha channel.
10. Or skip the browser setup
If your goal is to capture a page that displays the finished white logo, ScreenshotNeo can return a screenshot with one GET request. Its clean-shot workflow accepts cookie or consent banners and removes more than 60 known consent platforms, newsletter popups and chat widgets before capture; each step can be turned off. Bot checks, blank pages, timeouts, failed loads and cache hits are not billed, and the response identifies the result with X-Page-Verdict and X-Billed headers. An MCP server provides take_screenshot, get_page_info and capture_pdf tools for Claude, Cursor and other MCP clients.
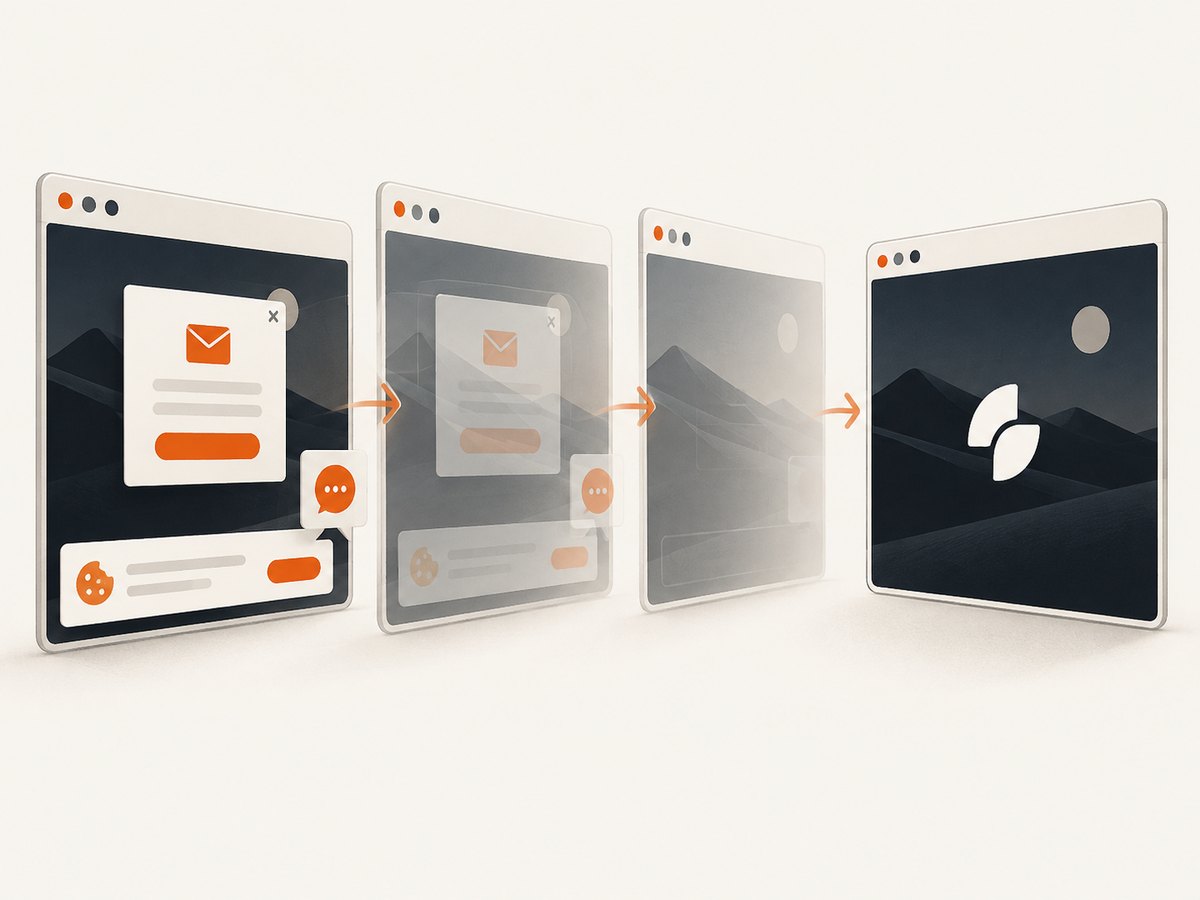
See the ScreenshotNeo documentation for the complete option list, including full-page capture, element selectors, custom CSS and JavaScript, waits, blocking rules, headers, cookies, device presets, retina scale, caching, signed links, asynchronous jobs, bulk capture and PDF output.
cURL
curl -G "https://api.screenshotneo.com/v1/shot" -d access_key=YOUR_API_KEY --data-urlencode url=https://stripe.com -o shot.webpPython
import requests
r = requests.get("https://api.screenshotneo.com/v1/shot", params={"access_key": "YOUR_API_KEY", "url": "https://stripe.com"}, timeout=90)
open("shot.webp", "wb").write(r.content)
Node.js
const q = new URLSearchParams({ access_key: 'YOUR_API_KEY', url: 'https://stripe.com' });
const res = await fetch(`https://api.screenshotneo.com/v1/shot?${q}`);
The free plan includes 1,000 screenshots per month with no card. Paid plans start at $5 for 3,000 shots, and every feature is available on every plan. Create a free ScreenshotNeo account.
11. Performance, reliability and cost notes
- Performance: Use the smallest capture area that answers your review question. Full-page captures and lazy-loaded pages take longer than a single element; use a selector when you only need the logo.
- Reliability: Wait for a logo selector or network idle when fonts and images load asynchronously. A fixed delay is useful for known animations but is less predictable than waiting for a specific condition.
- Cost: Cache stable previews with a TTL you choose. ScreenshotNeo does not bill cache hits, failed loads, timeouts, blank pages or bot checks; inspect the verdict and billing headers when diagnosing usage.
- Security: Keep the access key on your server. Use signed links for public image tags and restrict custom headers or cookies to the minimum required.
12. FAQ
Is a white JPG equivalent to a white logo PNG?
No. JPG cannot preserve transparent pixels. Use PNG when the logo must sit over changing backgrounds.
Can I make a multicolor logo entirely white in one click?
Sometimes, but it depends on the artwork and editor. Inspect each element, gradient and edge; automatic replacement can miss or erase details.
Why does my transparent PNG look white in a file browser?
Many file browsers display transparency against white. Open it over a dark layer to confirm whether the pixels are actually transparent.
Should I export at a larger size?
Exporting from vector or layered artwork at the required or larger size gives you more flexibility. A larger export cannot restore detail already lost in a tiny raster source.
Can a screenshot prove that the PNG has transparency?
No. A screenshot proves how a page rendered the logo. Inspect the PNG’s alpha channel separately, then use a screenshot to review placement and contrast.


