How to Crop an html2canvas Screenshot on Click
Capture a page region when a user clicks a button, crop it with html2canvas, download the image, and avoid common CORS and canvas-limit failures.
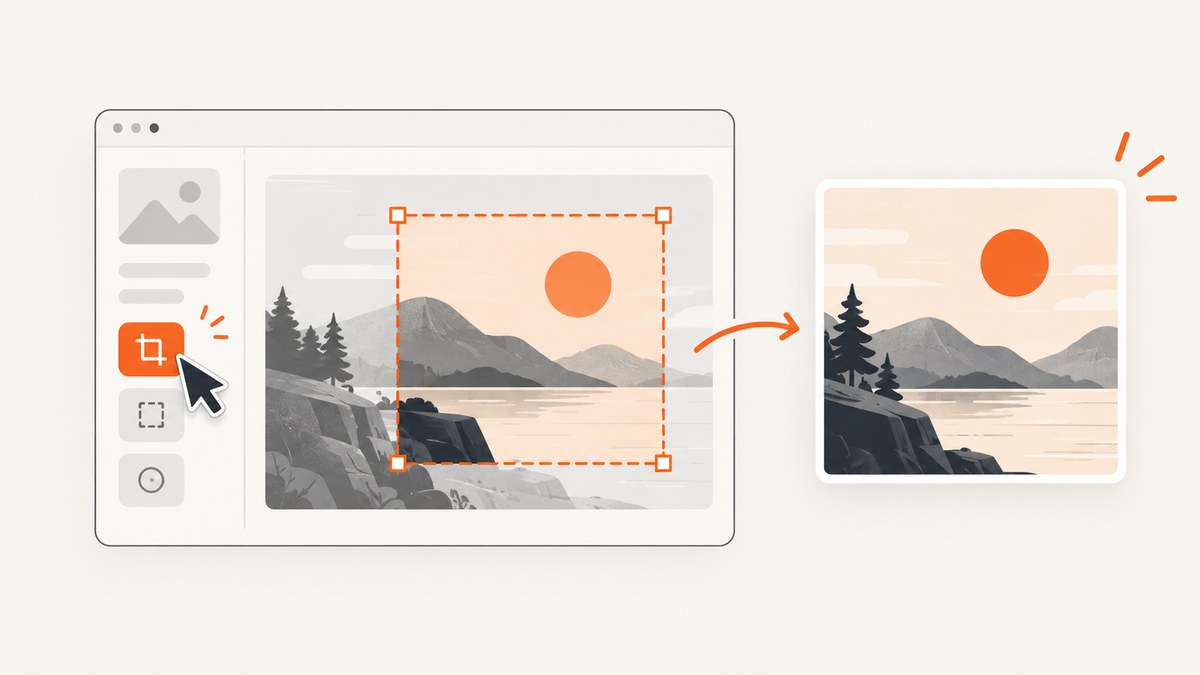
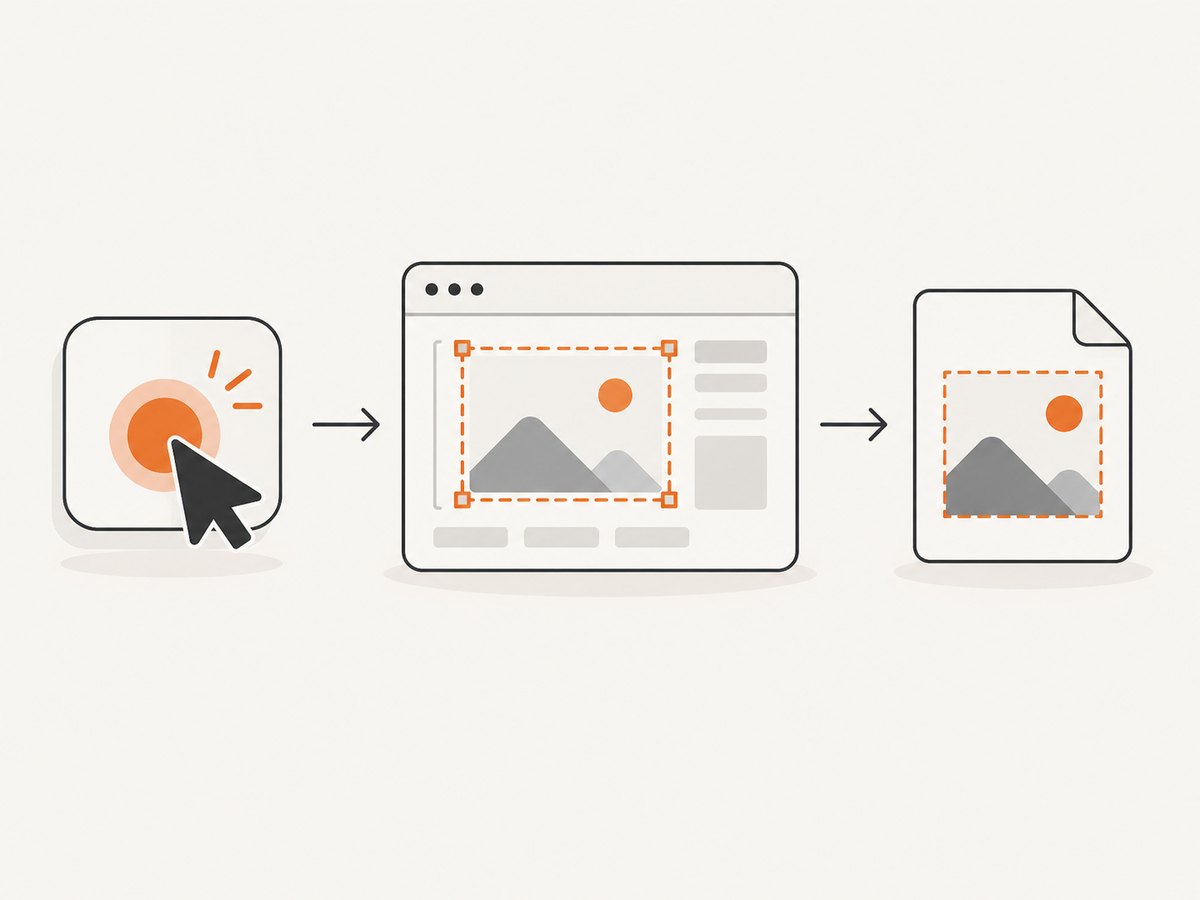
Direct answer: attach a click handler, choose the element or document region to render, call html2canvas() with x, y, width, and height, then export the returned canvas through a temporary download link. For a button that captures a known panel, capturing the panel itself is usually simpler than rendering the whole document and calculating a crop rectangle.
html2canvas reconstructs a picture from the page’s DOM and CSS. It does not ask the browser for a native screenshot, so unsupported CSS, cross-origin images, iframes, fonts, animations, and browser canvas limits can affect the result. The project’s documentation describes the result as based on information available in the DOM rather than guaranteed to match the browser’s real pixels (About html2canvas).
1. A complete click-to-crop example
This example captures a rectangular crop from a dashboard when the user clicks Save crop. The crop coordinates are relative to the element passed to html2canvas. The official examples document x, y, width, and height for this purpose (Examples).
<!doctype html>
<html lang="en">
<head>
  <meta charset="utf-8">
  <meta name="viewport" content="width=device-width, initial-scale=1">
  <title>Crop on click with html2canvas</title>
  <script src="https://cdn.jsdelivr.net/npm/html2canvas@1.4.1/dist/html2canvas.min.js" defer></script>
  <style>
    body { font-family: system-ui, sans-serif; margin: 2rem; }
    #report { width: 720px; padding: 24px; background: white; border: 1px solid #ddd; }
    #chart { height: 180px; background: linear-gradient(135deg, #dbeafe, #bfdbfe); }
    .actions { margin-top: 1rem; }
  </style>
</head>
<body>
  <section id="report">
    <h1>Weekly report</h1>
    <p>Revenue and conversion summary.</p>
    <div id="chart" aria-label="Revenue chart"></div>
    <p>The chart and summary are the region we want to save.</p>
  </section>

  <div class="actions">
    <button id="save-crop" type="button">Save crop</button>
  </div>

  <script>
    const button = document.querySelector('#save-crop');
    const target = document.querySelector('#report');

    button.addEventListener('click', async () => {
      button.disabled = true;
      try {
        const canvas = await html2canvas(target, {
          // Coordinates are CSS pixels inside #report.
          x: 0,
          y: 0,
          width: target.clientWidth,
          height: target.clientHeight,
          scale: window.devicePixelRatio,
          backgroundColor: '#ffffff',
          useCORS: true
        });

        const link = document.createElement('a');
        link.download = 'weekly-report.png';
        link.href = canvas.toDataURL('image/png');
        link.click();
      } catch (error) {
        console.error('Could not create screenshot', error);
        alert('The capture failed. Check the browser console for details.');
      } finally {
        button.disabled = false;
      }
    });
  </script>
</body>
</html>
The temporary anchor uses the browser’s normal download flow. If you need JPEG instead, call canvas.toDataURL('image/jpeg', 0.9) and use a .jpg filename. PNG preserves sharp text and transparency; JPEG is smaller for photographic content but has lossy compression.
2. Capture an element or crop a larger render?
Capture the target element directly
Pass the element that represents the desired output:
const card = document.querySelector('.invoice-card');
const canvas = await html2canvas(card, {
  scale: 2,
  backgroundColor: '#fff'
});
This approach avoids most coordinate mistakes. The output includes the element’s rendered box and descendants. It is a good fit for cards, receipts, charts, profile panels, and components in a single-page application.
Render a root and specify a crop rectangle
Use a larger root when the crop crosses several sibling elements or when you need coordinates in a shared layout:
const root = document.documentElement;
const canvas = await html2canvas(root, {
  x: 120,
  y: 240,
  width: 640,
  height: 360,
  windowWidth: document.documentElement.scrollWidth,
  windowHeight: document.documentElement.scrollHeight,
  scrollX: window.scrollX,
  scrollY: window.scrollY,
  scale: 1
});
Here x and y are offsets in the capture context, while width and height define the output area. Keep the coordinate system explicit: getBoundingClientRect() returns viewport-relative values, so add window.scrollX and window.scrollY when converting a document position to document coordinates.
const element = document.querySelector('#chart');
const rect = element.getBoundingClientRect();
const crop = {
  x: rect.left + window.scrollX,
  y: rect.top + window.scrollY,
  width: rect.width,
  height: rect.height
};

const canvas = await html2canvas(document.body, {
  ...crop,
  windowWidth: document.documentElement.scrollWidth,
  windowHeight: document.documentElement.scrollHeight,
  scrollX: window.scrollX,
  scrollY: window.scrollY,
  scale: window.devicePixelRatio
});
For a fixed crop around the clicked control, read the button or target’s rectangle inside the click handler. Do not cache the rectangle if the layout can move after resizing, font loading, expansion, or scrolling.
3. Make the crop match what the user sees
CSS pixels versus output pixels
width and height describe the rendered CSS-pixel area. scale controls how many canvas pixels are produced per CSS pixel and defaults to window.devicePixelRatio (configuration options). A 400 CSS-pixel-wide crop at scale 2 normally produces a canvas about 800 pixels wide. If another system requires exact dimensions, set scale: 1 or calculate the desired scale deliberately, then inspect canvas.width and canvas.height.
Scrolling and sticky elements
A viewport-relative rectangle changes when the page scrolls. Add the scroll offsets for a document-level capture. Sticky headers can appear at a different position in a full-document render than they do on screen. If the goal is the visible viewport, capture the visible component and avoid changing scrollY. If the goal is the document, set windowWidth and windowHeight to the page’s scroll dimensions as recommended in the FAQ.
Wait for layout and images
Run the capture after fonts, images, and asynchronous chart data are ready. A reliable pattern is to wait for images in the target:
async function waitForImages(root) {
  const images = [...root.querySelectorAll('img')];
  await Promise.all(images.map(img => {
    if (img.complete) return img.decode?.().catch(() => {});
    return new Promise(resolve => {
      img.addEventListener('load', resolve, { once: true });
      img.addEventListener('error', resolve, { once: true });
    });
  }));
}

button.addEventListener('click', async () => {
  await document.fonts?.ready;
  await waitForImages(target);
  const canvas = await html2canvas(target, { scale: 2 });
  // export canvas here
});
For animated content, pause the animation or add a temporary class before rendering. Remove that class in a finally block so a failed capture does not leave the page in a modified state.
4. Useful html2canvas options
| Option | Use | Practical note |
|---|---|---|
x, y |
Crop offsets | Relative to the element or root being rendered. |
width, height |
Crop dimensions | Use CSS-pixel dimensions; verify output pixels after scaling. |
scale |
Resolution | Defaults to device pixel ratio; lower it for memory and speed. |
backgroundColor |
Canvas background | Set a color for formats or consumers that do not support transparency; use null for transparent output where supported. |
useCORS |
Request CORS-enabled images | The image server must send the correct CORS headers. |
proxy |
Load remote images through a proxy | The proxy must be configured to fetch and return the image with appropriate headers. |
allowTaint |
Permit tainted images | A tainted canvas cannot safely be exported with toDataURL(); use only when export restrictions are understood. |
ignoreElements |
Skip selected nodes programmatically | Return true for controls, ads, or private content that should not appear. |
data-html2canvas-ignore |
Skip an element declaratively | Add the attribute to a node you never want rendered. |
scrollX, scrollY |
Control the virtual scroll position | Important when capturing fixed or sticky elements. |
windowWidth, windowHeight |
Set the virtual viewport | For full-page work, use the document’s scroll dimensions carefully. |
removeContainer |
Remove the temporary clone | Leave the default unless debugging cloned DOM behavior. |
clearImageCache |
Clear the shared image cache after rendering | Useful for long-running pages where image-cache memory must be released; consider repeated captures and concurrency. |
5. Export formats and post-processing
Use toBlob() for larger images so the browser does not create a large base64 string:
const blob = await new Promise(resolve => canvas.toBlob(resolve, 'image/png'));
if (!blob) throw new Error('The browser could not encode the canvas');
const url = URL.createObjectURL(blob);
const link = document.createElement('a');
link.href = url;
link.download = 'crop.png';
link.click();
URL.revokeObjectURL(url);
To show a preview, assign the object URL to an <img> and revoke it after the image loads. To send the result to a server, use fetch('/upload', { method: 'POST', body: blob }) with authentication and content-type handling appropriate for your application.
6. Cross-origin images, canvases, and iframes
Same-origin images generally work. A remote image must opt in to CORS, and the request must be made in a way compatible with the server’s headers. Setting useCORS: true only asks the browser to use CORS; it cannot grant permission that the image host did not provide. The html2canvas FAQ explains this browser security boundary and the proxy option (FAQ).
Cross-origin iframes cannot be read because the browser does not expose their contentDocument to the parent page. You can capture a placeholder, ask the iframe application to capture itself, or use a browser-level screenshot API in an environment that has access to the frame. An existing canvas containing cross-origin pixels can also taint the output and cause toDataURL() or toBlob() to fail.
7. Troubleshooting checklist
| Symptom | Likely cause | Fix |
|---|---|---|
| Download is blank | Capture ran before layout or images were ready, or the crop is outside the root. | Await fonts and images, log the rectangle, and verify x + width and y + height are inside the capture context. |
tainted canvas or security exception |
A remote image or nested canvas lacks CORS permission. | Serve the asset with CORS headers, use a documented proxy, or remove the asset from the crop. |
| Images are missing | Image loading failed or CORS was not enabled. | Check the Network panel, use absolute reachable URLs, set useCORS: true, and configure the image server. |
| Cross-origin iframe is empty | Same-origin policy blocks access. | Capture inside the iframe’s own origin or use a browser-level capture service. |
| Text or shadows differ | html2canvas reconstructs DOM and CSS; some CSS is unsupported or rendered differently. | Simplify the capture styles, provide fallback CSS, or use a native browser screenshot when pixel fidelity is required. |
| Crop is shifted after scrolling | getBoundingClientRect() is viewport-relative. |
Add scrollX/scrollY for document captures, or capture the element directly. |
| Large capture is partial or blank | Browser canvas dimensions or memory limits were exceeded. | Capture a smaller element, lower scale, split the page into tiles, and size the virtual window to the target’s scroll dimensions. Limits vary by browser and platform. |
| Button appears in the image | The control is inside the target. | Add data-html2canvas-ignore or use ignoreElements for the button and other controls. |
8. Performance and reliability
- Capture the smallest useful element. Rendering
document.bodycosts more memory and makes coordinates harder to reason about. - Use
scale: 1for thumbnails and previews; use 2 only when high-density output is needed. - Prevent double clicks by disabling the button while the promise is pending.
- Keep a timeout around your own image-readiness logic and report a useful error instead of leaving the UI disabled.
- For repeated captures, remove object URLs, avoid retaining canvas references, and consider
clearImageCachewhen the page captures many changing images. - Do not treat html2canvas output as a security proof or archival browser record. It is a DOM reconstruction and can omit content blocked by browser policy.
9. Or skip the browser setup
If you need a server-side screenshot rather than a browser-side DOM reconstruction, ScreenshotNeo accepts one GET request and returns PNG, JPEG, WebP, or PDF. It can capture a full page or one CSS-selected element, and its options cover custom CSS and JavaScript, click actions, waits, hidden selectors, device presets, dark mode, retina scale, headers, cookies, user agents, authorization, timezone, geolocation, transparent backgrounds, resizing, caching, signed links, asynchronous jobs, bulk capture, and PDF settings.
See the ScreenshotNeo API documentation for the complete option list. A minimal request is:
curl -G "https://api.screenshotneo.com/v1/shot" -d access_key=YOUR_API_KEY --data-urlencode url=https://stripe.com -o shot.webpimport requests
r = requests.get(
"https://api.screenshotneo.com/v1/shot",
params={"access_key": "YOUR_API_KEY", "url": "https://stripe.com"},
timeout=90,
)
r.raise_for_status()
open("shot.webp", "wb").write(r.content)const q = new URLSearchParams({ access_key: 'YOUR_API_KEY', url: 'https://stripe.com' });
const res = await fetch(`https://api.screenshotneo.com/v1/shot?${q}`);
if (!res.ok) throw new Error(`Screenshot failed: ${res.status}`);
const bytes = Buffer.from(await res.arrayBuffer());
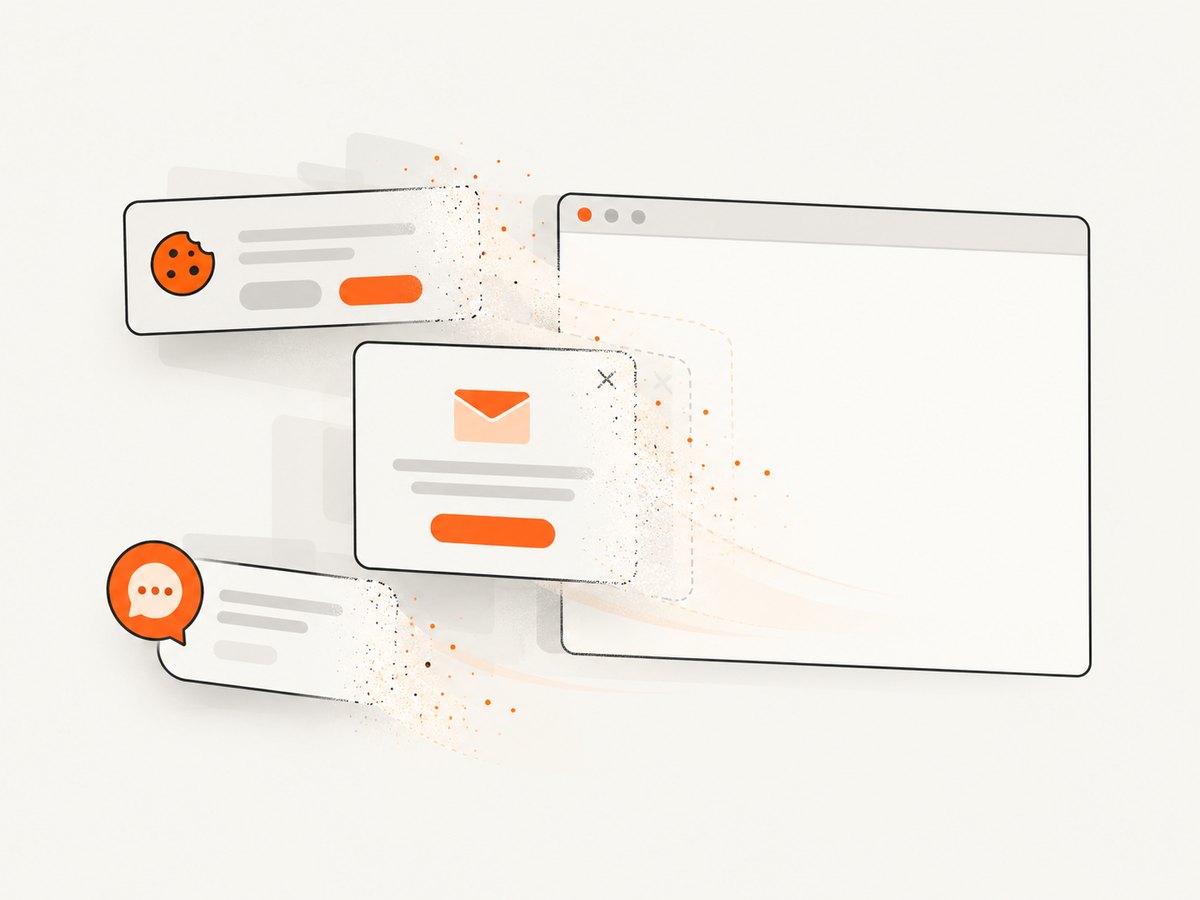
require('fs').writeFileSync('shot.webp', bytes);ScreenshotNeo accepts cookie and consent banners before capture and removes more than 60 known consent platforms, newsletter popups, and chat widgets; each step can be turned off. Bot checks and CAPTCHAs, blank pages, timeouts, failed loads, and cache hits cost nothing, and the response identifies the result with X-Page-Verdict and X-Billed headers. Its MCP server provides take_screenshot, get_page_info, and capture_pdf tools for Claude, Cursor, and other MCP clients.
The Free plan includes 1,000 screenshots per month with no card. Paid plans start at $5 for 3,000 shots; yearly billing gives two months free, and every feature is available on every plan. Create a free ScreenshotNeo account and try the API with no card.
10. FAQ
Can I crop only the button that was clicked?
Yes. Pass that button to html2canvas, or use its bounding rectangle as the crop when rendering a larger root. If the button should trigger the capture but not appear in it, add data-html2canvas-ignore to the button.
Why does my crop have the wrong size on a Retina display?
The default scale follows window.devicePixelRatio. CSS dimensions and canvas pixel dimensions therefore differ. Set scale explicitly when a downstream system requires a known pixel size.
Does html2canvas capture a cross-origin website?
It can render a page you control when its assets permit CORS, but browser security still blocks unreadable images and cross-origin iframe documents. It is not a way to bypass those restrictions.
When should I use a native screenshot instead?
Use a browser or screenshot API when you need the browser’s actual pixels, cross-origin frame access, or a server-side workflow. Use html2canvas when the page itself can render the required DOM and you want an in-browser, click-driven export.


