How to Send Custom HTTP Headers in Node.js Browser Requests
Learn to send custom headers with browser fetch and XMLHttpRequest, handle CORS and forbidden fields, and choose the right Node.js runtime.

Custom headers let a browser identify a client, carry an API token, attach a request ID, or describe a JSON payload. In a web page, add them to the headers option passed to fetch():
const response = await fetch('https://api.example.com/items', {
  method: 'GET',
  headers: {
    'X-Client-Version': '1.2.3',
    'Authorization': 'Bearer YOUR_TOKEN'
  }
});

if (!response.ok) {
  throw new Error(`HTTP ${response.status}`);
}

const data = await response.json();
This article separates browser JavaScript from a Node.js process. Browser code is controlled by CORS and a list of browser-managed headers. Server-side Node.js has different networking APIs and is not subject to the browser’s page security model.
1. Decide which runtime owns the request
“Node.js browser requests” can mean two different things:
- Browser page: JavaScript loaded by a web page calls
fetch()orXMLHttpRequest. The browser applies CORS, preflight, credential policy, and forbidden-header rules. - Node.js process: JavaScript runs on a server, script, worker, or CLI. Current Node.js releases document global
fetchandHeaders; globalfetchwas added in Node.js v18.0.0 andHeadersbecame non-experimental in v21.0.0. See the Node.js global objects documentation.
The examples below begin with browser code because that is where custom headers have the most restrictions. If your request runs only in Node.js, use the Node example later and keep secrets on the server.
2. Add headers with browser fetch
GET with authentication and application metadata
async function loadItems() {
  const response = await fetch('https://api.example.com/items', {
    method: 'GET',
    headers: {
      'Accept': 'application/json',
      'X-Client-Version': '1.2.3',
      'Authorization': 'Bearer YOUR_TOKEN'
    }
  });

  if (!response.ok) {
    throw new Error(`Request failed: ${response.status} ${response.statusText}`);
  }

  return response.json();
}

loadItems().then(console.log).catch(console.error);
fetch() accepts either a plain object or a Headers instance in its headers option. Names are normalized and surrounding whitespace in values is trimmed by the Fetch API.
POST JSON with a request ID
const payload = { name: 'Example' };

const response = await fetch('https://api.example.com/items', {
  method: 'POST',
  headers: {
    'Content-Type': 'application/json',
    'X-Request-Id': crypto.randomUUID()
  },
  body: JSON.stringify(payload)
});

if (!response.ok) {
  const message = await response.text();
  throw new Error(`HTTP ${response.status}: ${message}`);
}

const created = await response.json();
Only set Content-Type: application/json when you actually send JSON. For FormData, let the browser generate the multipart boundary:
const form = new FormData();
form.append('avatar', fileInput.files[0]);

await fetch('https://api.example.com/profile/avatar', {
  method: 'POST',
  headers: { 'X-Request-Id': crypto.randomUUID() },
  body: form
});
Build and update a Headers object
const headers = new Headers({
  'X-Client-Version': '1.2.3',
  'Authorization': 'Bearer YOUR_TOKEN'
});

headers.set('Accept', 'application/json');
headers.append('X-Trace-Tag', 'checkout');

const response = await fetch('https://api.example.com/items', { headers });
Use set() when a header should have one value. append() adds another value and is appropriate only when the server defines repeated values for that field.
3. Send headers with XMLHttpRequest
XHR uses an ordered sequence: call open(), then setRequestHeader(), then send(). Calling the method before open() or after send() fails. Repeated calls with the same name append values. The MDN setRequestHeader reference documents these rules.
const xhr = new XMLHttpRequest();
xhr.open('GET', 'https://api.example.com/items');
xhr.setRequestHeader('X-Client-Version', '1.2.3');
xhr.setRequestHeader('Authorization', 'Bearer YOUR_TOKEN');

xhr.addEventListener('load', () => {
  if (xhr.status >= 200 && xhr.status < 300) {
    console.log(JSON.parse(xhr.responseText));
  } else {
    console.error(`HTTP ${xhr.status}`, xhr.responseText);
  }
});
xhr.addEventListener('error', () => console.error('Network error'));
xhr.send();
For JSON, set the content type before sending:
const xhr = new XMLHttpRequest();
xhr.open('POST', 'https://api.example.com/items');
xhr.setRequestHeader('Content-Type', 'application/json');
xhr.setRequestHeader('X-Request-Id', crypto.randomUUID());
xhr.send(JSON.stringify({ name: 'Example' }));
4. Browser-controlled and forbidden headers
Frontend JavaScript cannot take over every HTTP field. Browsers protect transport and identity headers. The forbidden request header list includes examples such as Cookie, Host, Origin, Content-Length, Connection, and names beginning with Sec-.
If code appears to accept one of these assignments, the browser may ignore it or prevent it. Changing capitalization, using Headers.set(), or switching to XHR does not grant control. Cookies are sent according to cookie policy and request credentials; Origin is generated by the browser; connection framing is owned by the networking stack.
Authorization is normally settable, but protect tokens carefully. Do not place long-lived secrets in public source when a server-side session or backend proxy can perform the privileged call. XHR documentation also notes that an Authorization header can be removed after a cross-origin redirect.
5. CORS and the OPTIONS preflight
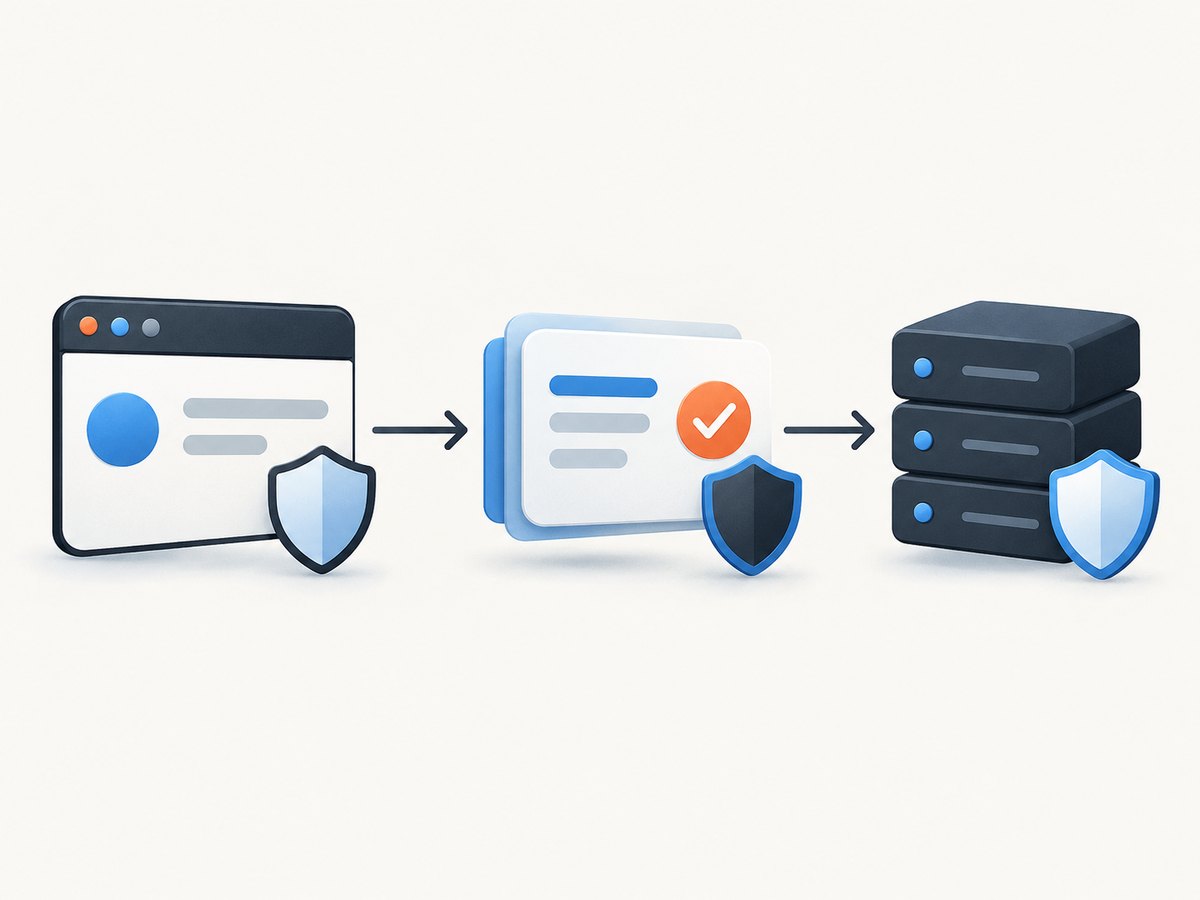
A request from one origin to another is cross-origin. A custom header such as X-Client-Version, or a JSON Content-Type, can make the request non-simple. Before sending it, the browser sends an OPTIONS preflight describing the intended method and headers. The target server must allow the origin, method, and headers. The MDN CORS guide describes this exchange.
A typical preflight request contains:
OPTIONS /items HTTP/1.1
Origin: https://app.example.com
Access-Control-Request-Method: POST
Access-Control-Request-Headers: authorization, content-type, x-request-id
The API should answer with matching permissions, for example:
HTTP/1.1 204 No Content
Access-Control-Allow-Origin: https://app.example.com
Access-Control-Allow-Methods: GET, POST, OPTIONS
Access-Control-Allow-Headers: Authorization, Content-Type, X-Request-Id
When credentials such as cookies are included, the server must explicitly return the requesting origin and Access-Control-Allow-Credentials: true; a wildcard origin is not valid for credentialed requests. Client code cannot repair a server that omits these permissions.
Credentials and cookies
const response = await fetch('https://api.example.com/me', {
  credentials: 'include',
  headers: { 'X-Client-Version': '1.2.3' }
});
Cookies still obey SameSite, secure transport, domain, and browser privacy rules. You cannot replace them with a manually supplied Cookie header.
Why no-cors is not a fix
mode: 'no-cors' does not bypass CORS. It restricts methods and headers and returns an opaque response whose body and headers are unavailable to JavaScript. It is unsuitable when your code needs a custom authorization header or needs to read JSON.
6. Server-side Node.js examples
In a Node.js process, use the runtime’s global Fetch API when available:
const response = await fetch('https://api.example.com/items', {
  method: 'GET',
  headers: {
    'Accept': 'application/json',
    'X-Client-Version': '1.2.3',
    'Authorization': `Bearer ${process.env.API_TOKEN}`
  }
});

if (!response.ok) {
  throw new Error(`HTTP ${response.status}`);
}

const data = await response.json();
console.log(data);
Node code is not a browser page, so browser CORS enforcement and forbidden-header behavior should not be assumed to be identical. Follow the current documentation for the Node.js version and HTTP client you deploy. Keep API keys in environment variables or a secret manager, set explicit timeouts where your client supports them, and validate response status before parsing.
7. Debugging checklist
| Symptom | Likely cause | Fix |
|---|---|---|
| Header is absent in DevTools | It is forbidden or browser-managed | Remove fields such as Cookie, Origin, Host, Content-Length, Connection, and Sec-*; use cookies or server configuration. |
| CORS error before the request | Preflight rejected or missing allowed header | Inspect the OPTIONS response and add the exact origin, method, and header to server CORS configuration. |
| Request works in curl but not in a page | curl is not subject to browser CORS | Configure CORS or call the API through your backend. |
| OPTIONS returns 404/405 | Server or proxy does not handle preflight | Route OPTIONS before authentication and return a 2xx response with CORS headers. |
| Authorization disappears after redirect | Cross-origin redirect protection | Call the final origin directly or exchange credentials on your server. |
| JSON body rejected | Missing or incorrect content type | Set Content-Type: application/json and serialize with JSON.stringify(). |
| Opaque response | no-cors mode |
Remove no-cors and configure the API for CORS. |
| Duplicate header values | Repeated append() or XHR setter calls |
Use set() or set the field once. |
8. Performance, reliability, and security
- Preflight cost: OPTIONS adds a round trip. Server-side preflight caching can reduce repeats, subject to the browser’s cache rules.
- Connection reuse: Keep requests on stable origins and use a modern HTTP client. Avoid redirect chains when authentication headers matter.
- Retries: Retry idempotent reads selectively. Do not blindly retry POST requests unless the API supports idempotency keys.
- Timeouts: Browser fetch has no simple timeout option; combine it with
AbortController. Node clients should set a deadline supported by their HTTP library.
const controller = new AbortController();
const timer = setTimeout(() => controller.abort(), 10_000);

try {
  const response = await fetch('https://api.example.com/items', {
    headers: { 'X-Client-Version': '1.2.3' },
    signal: controller.signal
  });
  if (!response.ok) throw new Error(`HTTP ${response.status}`);
} finally {
  clearTimeout(timer);
}
Never log bearer tokens or sensitive cookie values. Log a request ID, URL origin, method, status, and timing instead. Validate user-controlled header values before forwarding them through a backend proxy.
9. Or skip the browser setup
If your goal is to capture a page rather than build a browser networking stack, ScreenshotNeo accepts custom headers and other request settings through one API call. The service can send custom headers, cookies, a user agent, and an Authorization value while rendering the target page.

See the ScreenshotNeo API documentation for all options. A direct request looks like this:
curl -G 'https://api.screenshotneo.com/v1/shot' \
  -d access_key=YOUR_API_KEY \
  --data-urlencode url=https://stripe.com \
  -d 'headers[Authorization]=Bearer YOUR_TOKEN' \
  -d 'headers[X-Client-Version]=1.2.3' \
  -o shot.webp
Python:
import requests

r = requests.get(
    'https://api.screenshotneo.com/v1/shot',
    params={
        'access_key': 'YOUR_API_KEY',
        'url': 'https://stripe.com',
        'headers[Authorization]': 'Bearer YOUR_TOKEN',
        'headers[X-Client-Version]': '1.2.3'
    },
    timeout=90,
)
r.raise_for_status()
open('shot.webp', 'wb').write(r.content)
Node.js:
const q = new URLSearchParams({
  access_key: 'YOUR_API_KEY',
  url: 'https://stripe.com',
  'headers[Authorization]': 'Bearer YOUR_TOKEN',
  'headers[X-Client-Version]': '1.2.3'
});
const res = await fetch(`https://api.screenshotneo.com/v1/shot?${q}`);
if (!res.ok) throw new Error(`HTTP ${res.status}`);
require('fs').writeFileSync('shot.webp', Buffer.from(await res.arrayBuffer()));
ScreenshotNeo removes cookie and consent banners, newsletter popups, and chat widgets before capture. Bot checks, blank pages, timeouts, failed loads, and cache hits are not billed, and response headers report the page verdict and billing result. Its MCP server provides take_screenshot, get_page_info, and capture_pdf for Claude, Cursor, and other MCP clients. The Free plan includes 1,000 screenshots per month with no card; paid plans start at $5 for 3,000 shots.
Create a free ScreenshotNeo account and start with the 1,000 included monthly screenshots.
10. FAQ
Can browser JavaScript set User-Agent?
No. User-Agent is controlled by the browser. Configure it in a server-side request or a browser automation tool that explicitly supports user-agent emulation.
Does every custom header cause preflight?
No. The browser may send a simple request without preflight when method, headers, and content type meet the Fetch safelist. Many application headers and JSON requests do trigger OPTIONS.
Should I use fetch or XMLHttpRequest?
Use fetch for new Promise-based code. Keep XHR when existing code depends on its event model or upload progress interface. Both share browser CORS and forbidden-header restrictions.
Where should an API token live?
Use a short-lived browser credential only when the API is designed for public clients. Keep privileged or long-lived tokens in a backend service and have the browser call that service.
Can a service worker bypass these rules?
No. A service worker participates in the browser security model; it cannot grant page code control over forbidden headers or bypass the target server’s CORS policy.


