How to Add Failed-Step Screenshots to a Cypress BDD HTML Report
Configure Cypress and the Cucumber preprocessor so failed-run screenshots appear as attachments in your BDD HTML report.

Short answer: run your Cypress BDD suite with cypress run, keep Cypress failure screenshots enabled, configure @badeball/cypress-cucumber-preprocessor to generate an HTML report, and enable attachments.addScreenshots. Cypress writes the failure image to its screenshots folder, while the preprocessor adds the image as a report attachment. Verify the generated HTML with the exact Cypress and preprocessor versions in your lockfile.
Cypress captures failure screenshots automatically in run mode. It does not do this automatically in cypress open. Also, the preprocessor’s AfterStep() hook does not run when that step itself fails, so a generic Cucumber “capture in AfterStep” recipe is not reliable here.
1. What you are configuring
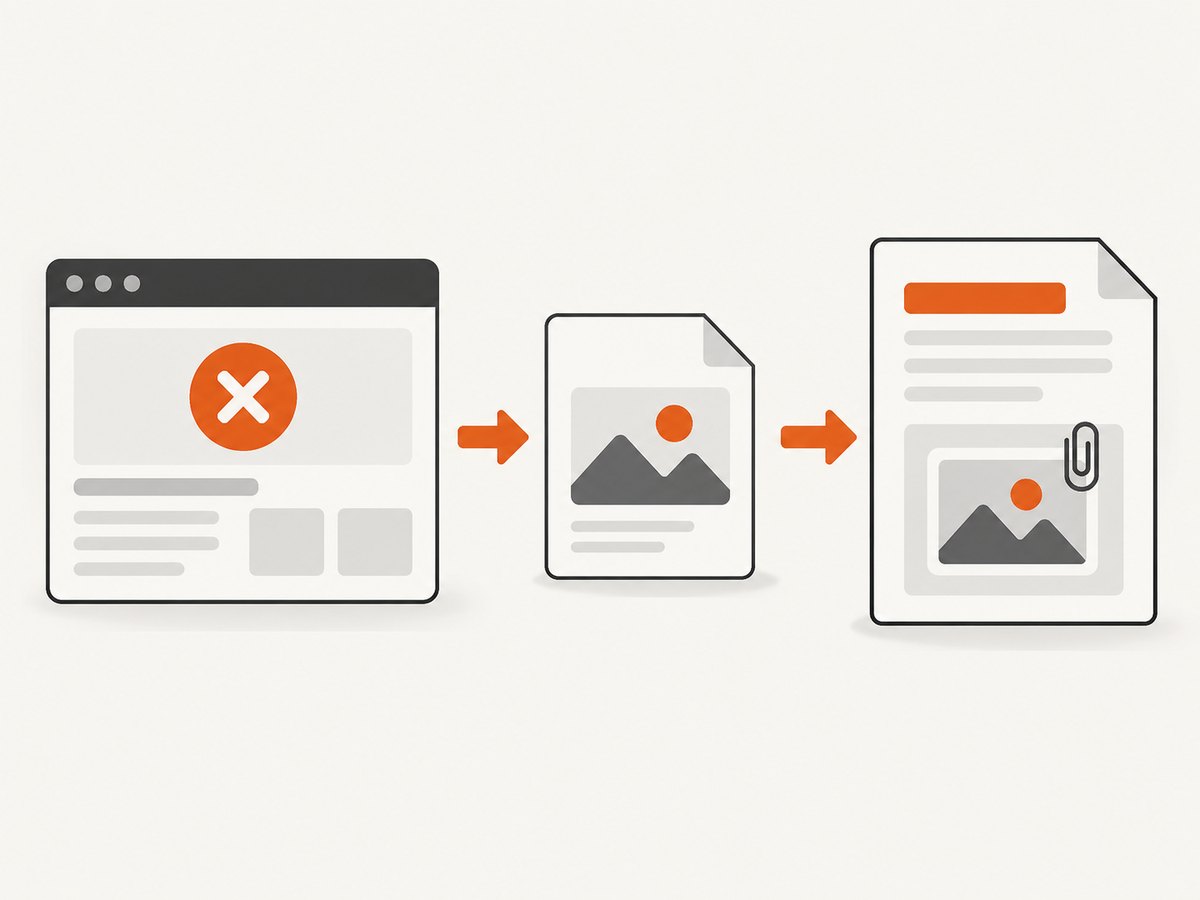
There are two related outputs:
| Output | Owner | Purpose |
|---|---|---|
| Failure image file | Cypress | Saved under screenshotsFolder, which defaults to cypress/screenshots. |
| BDD report attachment | @badeball/cypress-cucumber-preprocessor |
Associates the image with the failed test so the generated report can display it. |
| HTML report | Cucumber preprocessor | Human-readable report written to the configured HTML output path. |
A screenshot existing on disk does not prove that it is visible in the HTML report. Check both artifacts.
2. Install the BDD integration
Use the current package names documented by the project and pin versions in your lockfile:
npm install --save-dev cypress @badeball/cypress-cucumber-preprocessor @bahmutov/cypress-esbuild-preprocessorYour project should have feature files matched by specPattern, plus a Cypress configuration that registers the preprocessor in setupNodeEvents.
3. Register Cypress and the Cucumber preprocessor
This is a complete CommonJS configuration shape. Keep the integration code, then add the report settings supported by the preprocessor version installed in your project.
// cypress.config.js
const { defineConfig } = require("cypress");
const {
  addCucumberPreprocessorPlugin,
} = require("@badeball/cypress-cucumber-preprocessor");
const { createBundler } = require("@bahmutov/cypress-esbuild-preprocessor");
const {
  createEsbuildPlugin,
} = require("@badeball/cypress-cucumber-preprocessor/esbuild");

module.exports = defineConfig({
  e2e: {
    specPattern: "cypress/e2e/**/*.feature",
    screenshotOnRunFailure: true,
    screenshotsFolder: "cypress/screenshots",

    async setupNodeEvents(on, config) {
      await addCucumberPreprocessorPlugin(on, config);

      on(
        "file:preprocessor",
        createBundler({
          plugins: [createEsbuildPlugin(config)],
        })
      );

      return config;
    },
  },
});
The Cypress integration shown above is the documented registration pattern. The report keys below are the important part for screenshot attachments.
4. Enable HTML output and screenshot attachments
The preprocessor exposes HTML and JSON report settings. Depending on your installed version, configure these keys in the preprocessor configuration file or the equivalent environment variables:
| Purpose | Configuration key | Environment override |
|---|---|---|
| HTML report enabled | html.enabled |
htmlEnabled |
| HTML destination | html.output |
htmlOutput |
| JSON report enabled | json.enabled |
jsonEnabled |
| JSON destination | json.output |
jsonOutput |
| Add screenshots to reports | attachments.addScreenshots |
attachmentsAddScreenshots |
A representative configuration looks like this; adapt the file location and exact syntax to the version in your lockfile:
// cucumber.config.js (illustrative)
module.exports = {
  html: {
    enabled: true,
    output: "reports/cypress-bdd.html",
  },
  json: {
    enabled: true,
    output: "reports/cypress-bdd.json",
  },
  attachments: {
    addScreenshots: true,
  },
};
If your project uses Cypress environment values instead, the equivalent intent is:
// cypress.config.js — equivalent environment shape
const { defineConfig } = require("cypress");

module.exports = defineConfig({
  e2e: {
    env: {
      htmlEnabled: true,
      htmlOutput: "reports/cypress-bdd.html",
      jsonEnabled: true,
      jsonOutput: "reports/cypress-bdd.json",
      attachmentsAddScreenshots: true,
    },
  },
});
Do not blindly combine both forms if your installed release expects one configuration path. Check the package configuration reference and your lockfile version.
5. Add a feature that can fail
# cypress/e2e/login.feature
Feature: Login

  Scenario: Invalid login shows an error
    Given I open the login page
    When I submit invalid credentials
    Then I should see the login error
Run the suite in CI or locally with run mode:
npx cypress runAfter a failure, inspect:
- The configured HTML report path.
- The configured JSON report path, if enabled.
cypress/screenshots, or your customscreenshotsFolder.
6. Understand screenshot names, retries, and failed steps
Cypress bases a failure filename on the test name and adds a (failed) suffix. When retries are enabled, failed attempts receive an attempt suffix such as (attempt 2). A test that fails more than once can therefore produce multiple screenshots.
The screenshot represents the failed test state. It does not require a custom failed-step hook. In this preprocessor, AfterStep() does not run after the step that fails, so code placed there cannot reliably capture that exact failure. Scenario-level cleanup and attachment behavior also differs from cucumber-js; use the preprocessor’s own documented semantics.
7. Verify that the image is embedded in the HTML
- Open the generated HTML report in a browser.
- Find the failed scenario and expand its step or attachment area.
- Confirm that the image is visible, rather than only seeing a path or filename.
- If the HTML is missing the image, open the JSON report and check whether the failed test contains an image attachment.
The preprocessor’s feature tests expect an image attachment in JSON for a failed test. HTML rendering can change between releases, so validate the result against the version installed in your project.
8. Run the same workflow in CI
# package.json
{
  "scripts": {
    "e2e:report": "cypress run"
  }
}
# Shell
npm run e2e:report
# Preserve these paths as CI artifacts:
# reports/cypress-bdd.html
# reports/cypress-bdd.json
# cypress/screenshots/Keep the HTML and image directory together when uploading artifacts. If your report references external image files instead of embedding them, moving only the HTML file can make attachments appear broken.
9. Troubleshooting
No screenshot is created
- Cause: The suite ran with
cypress open. Fix: runnpx cypress run; automatic failure screenshots are a run-mode feature. - Cause:
screenshotOnRunFailurewas set tofalse. Fix: remove the override or set it totrue. - Cause: You are looking in the wrong directory. Fix: check
screenshotsFolder; the default iscypress/screenshots. - Cause: The test did not fail. Fix: reproduce a real assertion or command failure; Cypress does not create a failure image for a passing test.
The image exists, but the HTML report has no attachment
- Confirm
addCucumberPreprocessorPlugin(on, config)runs insidesetupNodeEvents. - Confirm HTML output is enabled and points to the file you opened.
- Confirm
attachments.addScreenshots(orattachmentsAddScreenshots) is enabled. - Check the JSON report. If JSON has no image attachment, the attachment setting or plugin registration is wrong. If JSON has one but HTML does not, check HTML rendering support for your installed release.
The report file is empty or missing
- Check that the output directory exists or that the reporter can create it.
- Check the exact configuration key spelling for your package version.
- Run with the same configuration file in CI and locally; environment-specific overrides can disable the reporter.
An AfterStep() capture never runs
This is expected when the step itself fails. Move critical reporting configuration to the preprocessor’s supported attachment path instead of relying on a generic Cucumber hook copied from another runner.
Retries produce confusing files
Each failed attempt can create an image. Use the attempt suffix in filenames to match a screenshot to the corresponding retry, and retain the JSON report when you need an unambiguous mapping.
HTML loads but images are broken
Keep the report and its referenced screenshot assets in their original relative layout. Upload the screenshot directory as a CI artifact and open the report from that preserved directory.
10. Choosing an integration strategy
| Strategy | Best for | Trade-offs |
|---|---|---|
| Cypress failure screenshot + preprocessor attachments | Standard BDD HTML and JSON reports | Requires correct plugin registration and version-aware configuration. |
| Custom hook or attachment code | Special metadata or nonstandard report formats | A failed-step hook may not run after the failing step in this preprocessor. |
| External reporter | Centralized reporting across test runners | Compatibility, artifact paths, retry mapping, and attachment size need separate validation. |
For most Cypress BDD projects, start with Cypress’s built-in run-failure screenshot and the preprocessor’s attachment option. Add custom code only when the generated report cannot represent the metadata you need.
11. Performance, reliability, and artifact size
- Run mode: Use
cypress runin CI so failure capture is deterministic. - Retries: More retries can create more images and increase artifact storage.
- HTML size: The preprocessor describes screenshot and video attachments as base64-encoded inline report attachments. Large artifacts can make reports slow to transfer or render.
- Retention: Keep HTML, JSON, and screenshots for the same test run together so failures remain traceable.
- Version drift: Pin Cypress and the preprocessor, then recheck attachment rendering after upgrades.

Or skip the browser setup
ScreenshotNeo provides a website screenshot API when you need a capture without maintaining browser setup. It removes cookie banners, newsletter popups, and chat widgets before the shot. Bot checks, blank pages, failed loads, timeouts, and cache hits are not billed, and the response identifies the result with X-Page-Verdict and X-Billed headers. Its MCP server lets Claude, Cursor, and other MCP clients call take_screenshot, get_page_info, and capture_pdf.
See the ScreenshotNeo API documentation for the available options.
curl -G "https://api.screenshotneo.com/v1/shot" -d access_key=YOUR_API_KEY --data-urlencode url=https://stripe.com -o shot.webpimport requests
r = requests.get("https://api.screenshotneo.com/v1/shot", params={"access_key": "YOUR_API_KEY", "url": "https://stripe.com"}, timeout=90)
open("shot.webp", "wb").write(r.content)const q = new URLSearchParams({ access_key: 'YOUR_API_KEY', url: 'https://stripe.com' });
const res = await fetch(`https://api.screenshotneo.com/v1/shot?${q}`);The free plan includes 1,000 screenshots each month with no card. Paid plans start at $5 for 3,000 screenshots. Create a free ScreenshotNeo account.
FAQ
Does Cypress capture screenshots in interactive mode?
Not automatically for failures. Automatic failure screenshots apply to cypress run.
Do I need an AfterStep() hook?
No. Use Cypress failure capture and the preprocessor attachment setting. The preprocessor’s AfterStep() does not run when that step fails.
Why keep JSON enabled if I only publish HTML?
JSON helps confirm whether the image was attached before HTML rendering. It is useful when diagnosing report-generation problems.
Will retries overwrite the first screenshot?
Failed attempts receive distinct attempt suffixes, so expect multiple artifacts when retries occur.
Can I change the screenshot directory?
Yes. Set Cypress’s screenshotsFolder and preserve that directory with the report artifacts.


