How to Detect the Dominant Color of a Webpage Element Area
Learn how to find an element’s CSS color or the dominant color actually visible after rendering, with JavaScript, Canvas, Playwright, and ScreenshotNeo.
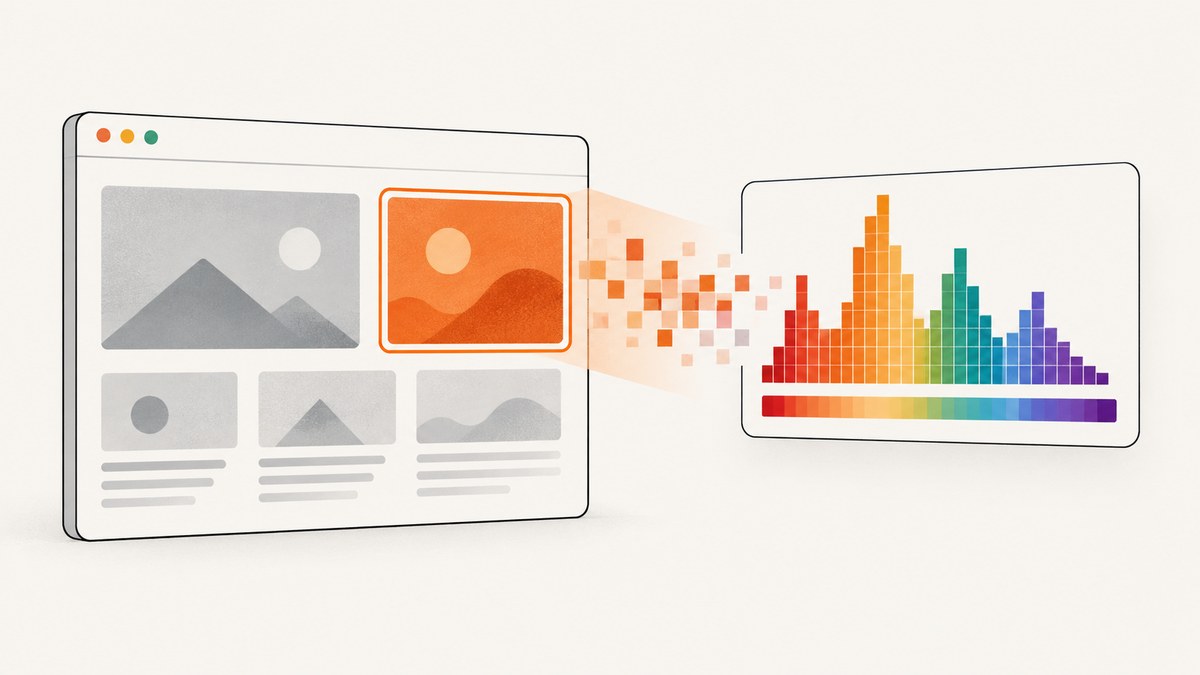
Short answer: use getComputedStyle() when you need the resolved CSS value. Use rendered-pixel sampling with Canvas or a browser screenshot when you need the color visitors actually see after gradients, images, transparency, shadows, overlays, and text are painted.
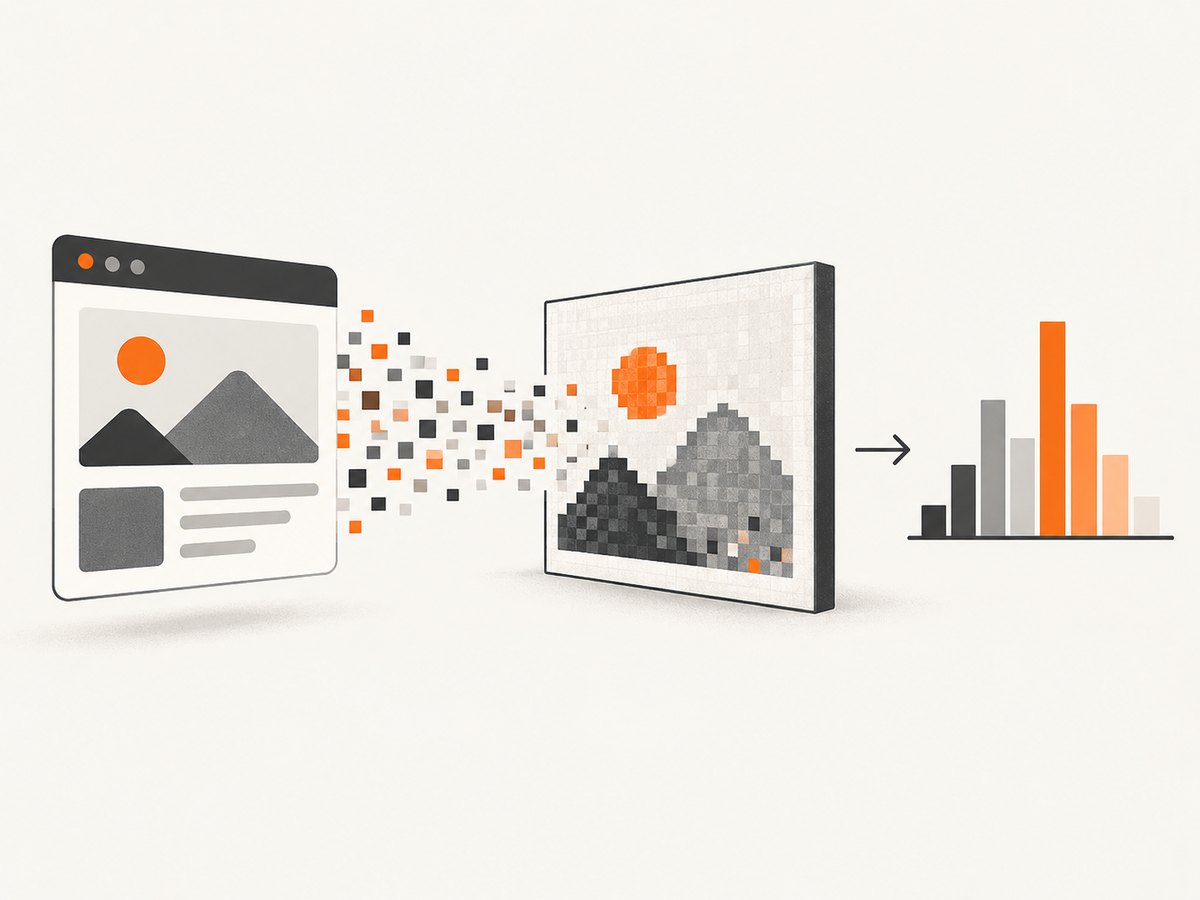
A robust pixel algorithm reads RGBA values, ignores transparent pixels, quantizes nearby colors into bins, and returns the most frequent bin. The rest of this guide explains both approaches, gives runnable JavaScript and Playwright code, covers device-pixel ratios, color spaces, CORS, performance, and shows how to automate screenshots with ScreenshotNeo.
1. Decide what “dominant color” means
| Question | Use | What it measures |
|---|---|---|
| What background or text color did CSS resolve to? | getComputedStyle() |
The computed property value, such as rgb(32, 40, 55) |
| What color occupies most of the visible pixels? | Canvas or screenshot pixel sampling | The rendered result, including images, gradients, opacity, and overlays |
| What color looks most prominent to a person? | Pixel extraction followed by perceptual clustering | Visual similarity rather than exact RGB frequency |
2. Read a flat CSS color with getComputedStyle
getComputedStyle() returns the resolved styles after active stylesheets and computed values have been applied. It is the right answer for a solid background or text color, but it does not describe the final pixels painted over the element.
const element = document.querySelector('.card');
const styles = getComputedStyle(element);

console.log('background:', styles.backgroundColor);
console.log('text:', styles.color);
console.log('border:', styles.borderTopColor);
For a background shorthand, inspect backgroundColor, backgroundImage, and related longhand properties separately. A value such as rgba(0, 0, 0, 0) means the element itself is transparent; pixels behind it may still be visible.
See the MDN getComputedStyle documentation for the API definition.
3. Count rendered pixels with Canvas
The Canvas 2D API exposes a rectangle of rendered pixels through getImageData(x, y, width, height). The returned ImageData.data array stores RGBA components in row-major order, with 8-bit channel values from 0 through 255.
function dominantColor(imageData, binSize = 8, alphaThreshold = 16) {
  const counts = new Map();
  const data = imageData.data;

  for (let i = 0; i < data.length; i += 4) {
    const alpha = data[i + 3];
    if (alpha < alphaThreshold) continue;

    const r = Math.floor(data[i] / binSize) * binSize;
    const g = Math.floor(data[i + 1] / binSize) * binSize;
    const b = Math.floor(data[i + 2] / binSize) * binSize;
    const key = `${r},${g},${b}`;
    counts.set(key, (counts.get(key) || 0) + 1);
  }

  let best = null;
  let bestCount = -1;
  for (const [color, count] of counts) {
    if (count > bestCount) {
      best = color;
      bestCount = count;
    }
  }

  return best ? best.split(',').map(Number) : null;
}

const canvas = document.querySelector('#rendered-canvas');
const ctx = canvas.getContext('2d', { willReadFrequently: true });
const pixels = ctx.getImageData(0, 0, canvas.width, canvas.height);
console.log(dominantColor(pixels)); // [128, 64, 192]
The function groups colors into bins before counting. With binSize = 1, every RGB value is counted exactly but anti-aliasing and compression create many nearly identical colors. Larger bins are more stable and less precise. The alpha threshold determines whether nearly transparent pixels are ignored.
Sample only an element’s interior
When the source is a canvas that corresponds to the page, map the element’s CSS rectangle to canvas pixels. Account for borders and device-pixel ratio before reading the rectangle.
function elementImageData(canvas, element) {
  const rect = element.getBoundingClientRect();
  const canvasRect = canvas.getBoundingClientRect();
  const scaleX = canvas.width / canvasRect.width;
  const scaleY = canvas.height / canvasRect.height;

  const x = Math.max(0, Math.floor((rect.left - canvasRect.left) * scaleX));
  const y = Math.max(0, Math.floor((rect.top - canvasRect.top) * scaleY));
  const right = Math.min(canvas.width, Math.ceil((rect.right - canvasRect.left) * scaleX));
  const bottom = Math.min(canvas.height, Math.ceil((rect.bottom - canvasRect.top) * scaleY));

  if (right <= x || bottom <= y) return null;
  return canvas.getContext('2d', { willReadFrequently: true })
    .getImageData(x, y, right - x, bottom - y);
}

const data = elementImageData(
  document.querySelector('#rendered-canvas'),
  document.querySelector('.card')
);
console.log(data && dominantColor(data));
Use an inset rectangle when borders, labels, icons, or overlays should not affect the result. For example, shrink each edge by 8 CSS pixels before converting coordinates.
4. Capture a real DOM element with Playwright
A normal DOM element cannot be passed directly to getImageData(). First render it to an image with a browser automation tool, then decode the image and count its pixels. This complete Node.js example uses Playwright and pngjs.
import { chromium } from 'playwright';
import { PNG } from 'pngjs';

function dominantColor(data, binSize = 8, alphaThreshold = 16) {
  const counts = new Map();
  for (let i = 0; i < data.length; i += 4) {
    if (data[i + 3] < alphaThreshold) continue;
    const r = Math.floor(data[i] / binSize) * binSize;
    const g = Math.floor(data[i + 1] / binSize) * binSize;
    const b = Math.floor(data[i + 2] / binSize) * binSize;
    const key = `${r},${g},${b}`;
    counts.set(key, (counts.get(key) || 0) + 1);
  }
  return [...counts.entries()].sort((a, b) => b[1] - a[1])[0]?.[0] ?? null;
}

const browser = await chromium.launch();
const page = await browser.newPage({ deviceScaleFactor: 1 });
await page.goto('https://example.com', { waitUntil: 'networkidle' });
const element = page.locator('h1');
await element.waitFor();
const pngBytes = await element.screenshot({ type: 'png' });
await browser.close();

const png = PNG.sync.read(pngBytes);
console.log({ color: dominantColor(png.data), width: png.width, height: png.height });
Install the dependencies with npm install playwright pngjs and install the browser required by your Playwright setup. Element screenshots usually exclude content outside the target element, which makes the histogram easier to interpret.
5. Handle gradients, transparency, and overlays
- Gradients: CSS exposes the gradient definition, not one final color. Sample pixels and report the mode, or compute an average if that is your product definition.
- Images: image colors are part of the rendered result. A dominant color may describe the image rather than the element background.
- Transparency: ignore low-alpha pixels, composite them over a known background, or count transparency as its own category. Choose one policy and keep it consistent.
- Text and borders: they can win a small region’s histogram. Sample the interior or mask known foreground areas when you want the background.
- Fixed widgets and consent banners: overlays can cover the target after layout. Capture after they appear, or remove them before capture.
- Animations: pause animations or capture at a defined time; otherwise repeated calls can produce different modes.
6. Choose a color-space and similarity policy
RGB frequency treats every channel difference as a separate color. If perceptual prominence matters, convert the extracted samples to a perceptual space and cluster nearby colors. Do not mix color spaces in one histogram. Canvas ImageData supports srgb and display-p3 workflows; keep the requested and interpreted space consistent. See MDN ImageData.
Quantization is often enough for UI work:
| Bin size | Effect |
|---|---|
| 1–2 | Maximum detail; sensitive to anti-aliasing and compression noise |
| 4–8 | Good general-purpose stability |
| 16–32 | Strong smoothing; distinct shades can merge |
7. Cross-origin and security constraints
If a canvas contains pixels from another origin, the canvas can become tainted and pixel reads throw a SecurityError. Remote images, frames, and fonts must satisfy the browser’s CORS rules before you can extract pixels. The MDN getImageData documentation describes this restriction. A server-side browser capture avoids exposing the target page to the calling page, but the target still has to load successfully.
8. Performance and reliability
- Read one rectangle instead of the full page whenever possible.
- Use a canvas context with
willReadFrequently: truewhen repeated readbacks are expected. - Downsample large captures before histogramming if fine detail is irrelevant.
- Do not call
getImageData()on every animation frame; debounce or sample after layout settles. - Wait for fonts, lazy images, and network requests that affect the target before capture.
- Record the viewport, device scale factor, URL, timestamp, alpha policy, bin size, and color space with each result so later comparisons are reproducible.
- For dynamic pages, take several samples and select the mode across captures rather than trusting one frame.
9. Troubleshooting
| Symptom | Likely cause | Fix |
|---|---|---|
null or no dominant color |
All pixels are transparent or the rectangle is empty | Check bounds, lower the alpha threshold, or composite over a background |
| Color is almost right but changes between runs | Anti-aliasing, animation, or compression | Increase bin size, disable animation, and use PNG for analysis |
| Only the background is returned | Text or image content was excluded from the sampled rectangle | Verify coordinates and sample the full rendered element |
SecurityError from getImageData() |
Cross-origin content tainted the canvas | Serve the asset with appropriate CORS headers or capture it server-side |
| Unexpected dark or light result | Device-pixel-ratio mapping is wrong | Convert CSS coordinates using the canvas backing-store scale |
| Playwright screenshot is blank | Capture occurred before navigation, fonts, or lazy content finished | Wait for the selector and relevant network activity before screenshotting |
| Histogram is dominated by a cookie banner | An overlay covers the target | Dismiss or remove the overlay before capture, or crop the intended interior |
10. Or skip the browser setup
ScreenshotNeo returns a rendered screenshot from one request, so you can run the same pixel analysis on the returned PNG, JPEG, or WebP. Before capture it accepts cookie and consent banners and removes more than 60 known consent platforms, newsletter popups, and chat widgets. Bot checks, CAPTCHAs, blank pages, timeouts, failed loads, and cache hits are not billed, and the response identifies the result with X-Page-Verdict and X-Billed headers. Its MCP server exposes take_screenshot, get_page_info, and capture_pdf to Claude, Cursor, and other MCP clients.

See the ScreenshotNeo API documentation for the complete option list.
cURL
curl -G "https://api.screenshotneo.com/v1/shot" \
  -d access_key=YOUR_API_KEY \
  --data-urlencode url=https://stripe.com \
  -o shot.webp
Python
import requests

r = requests.get(
    "https://api.screenshotneo.com/v1/shot",
    params={"access_key": "YOUR_API_KEY", "url": "https://stripe.com"},
    timeout=90,
)
r.raise_for_status()
open("shot.webp", "wb").write(r.content)
Node.js
const q = new URLSearchParams({
  access_key: 'YOUR_API_KEY',
  url: 'https://stripe.com'
});
const res = await fetch(`https://api.screenshotneo.com/v1/shot?${q}`);
if (!res.ok) throw new Error(`HTTP ${res.status}`);
const bytes = Buffer.from(await res.arrayBuffer());
await import('node:fs/promises').then(fs => fs.writeFile('shot.webp', bytes));
ScreenshotNeo supports full-page captures with lazy images loaded, CSS-selector element captures, dark mode, device presets or custom viewports, retina scale, custom CSS and JavaScript, waits, request blocking, headers, cookies, user agents, authorization, timezone, geolocation, resizing, caching, signed links, asynchronous jobs, bulk capture, usage data, and PDF output. You can capture the relevant element, decode the image, and apply the same histogram function shown above.
There are 1,000 free screenshots each month with no card. Paid plans start at $5 for 3,000 shots, and every feature is available on every plan. Create a free ScreenshotNeo account.
11. Cost and scaling notes
Local Canvas and Playwright analysis costs compute time and browser memory on your own machine or workers. Remote capture adds an API request and image transfer. Reuse cached captures when the page has not changed, request only the element or viewport you need, and histogram locally so you do not repeatedly recapture the same page. ScreenshotNeo bills only clean shots; failed loads and cache hits are not billed.
12. FAQ
Can I use only getComputedStyle for a gradient?
No. It returns the gradient declaration. Use rendered pixels when you need the visible result.
Should I return one exact RGB value?
Usually return the quantized RGB bin and the pixel count or percentage that produced it. This communicates confidence and makes small rendering differences easier to detect.
Is the most frequent color always the most noticeable?
No. A small saturated accent can be more visually prominent than a large neutral background. Use perceptual clustering or a separate prominence metric when that distinction matters.
Can screenshots from different devices be compared?
Only after fixing viewport, device scale factor, fonts, color space, wait conditions, and overlay policy. Otherwise the histogram can change even when the page code is identical.


