What Is a Dockerfile and How to Create a Docker Image
Learn what a Dockerfile is, how images and containers differ, and how to build, run, secure, and optimize your first Docker image.
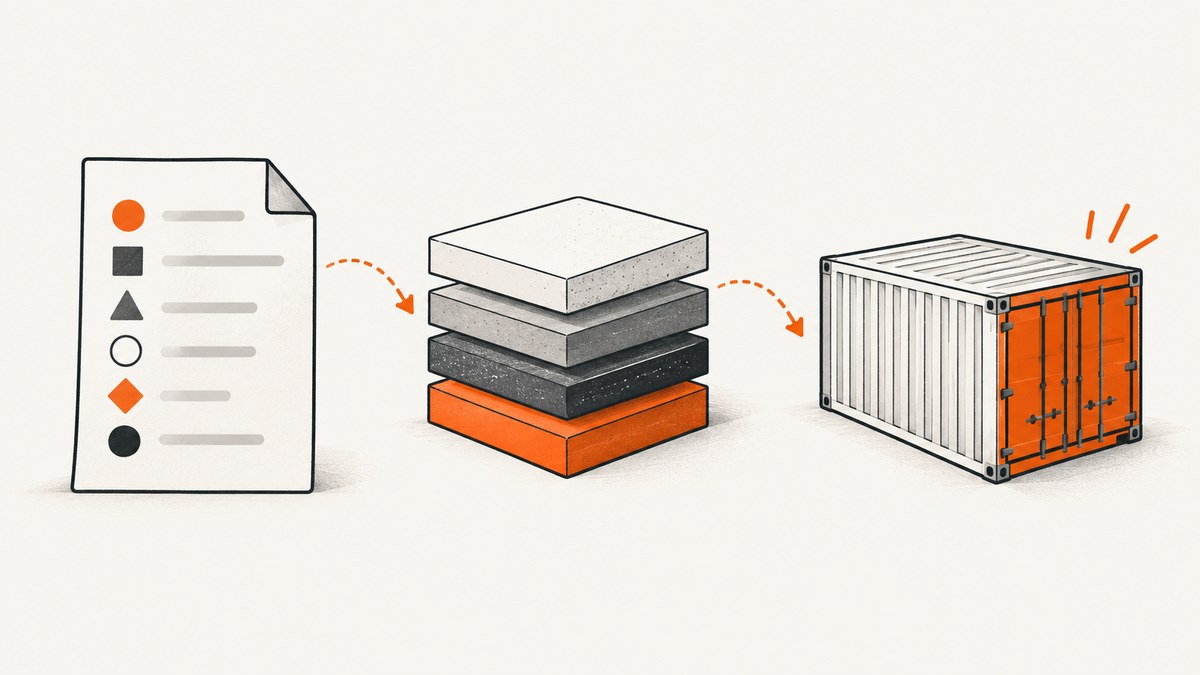
Direct answer: A Dockerfile is a text recipe containing the commands Docker uses to assemble an image. The image is the built artifact; a container is a running instance of that image. You create an image by saving a file named Dockerfile, then running docker build -t my-app:1.0 .. You create a container from it with docker run --rm -p 8000:8000 my-app:1.0.
Docker’s Dockerfile reference defines a Dockerfile as a text document containing the commands a user could call to assemble an image. Docker builds images by reading those instructions in order. This guide explains the file format, build context, every instruction in a practical example, production improvements, security, troubleshooting, and alternatives when you need screenshots from a running service.
Dockerfile, image, and container: the difference
| Term | What it is | When it exists |
|---|---|---|
| Dockerfile | A version-controlled text recipe of build instructions. | Before and during a build. |
| Docker image | An immutable, layered package containing a filesystem, runtime, dependencies, and metadata. | After docker build completes. |
| Container | A process created from an image with its own writable runtime layer, networking, and configuration. | After docker run or an orchestrator starts it. |
One Dockerfile can produce many tagged images. One image can start many containers with different ports, environment variables, volumes, or commands. Editing a Dockerfile does not change an existing image until you build again.
A minimal Dockerfile that works
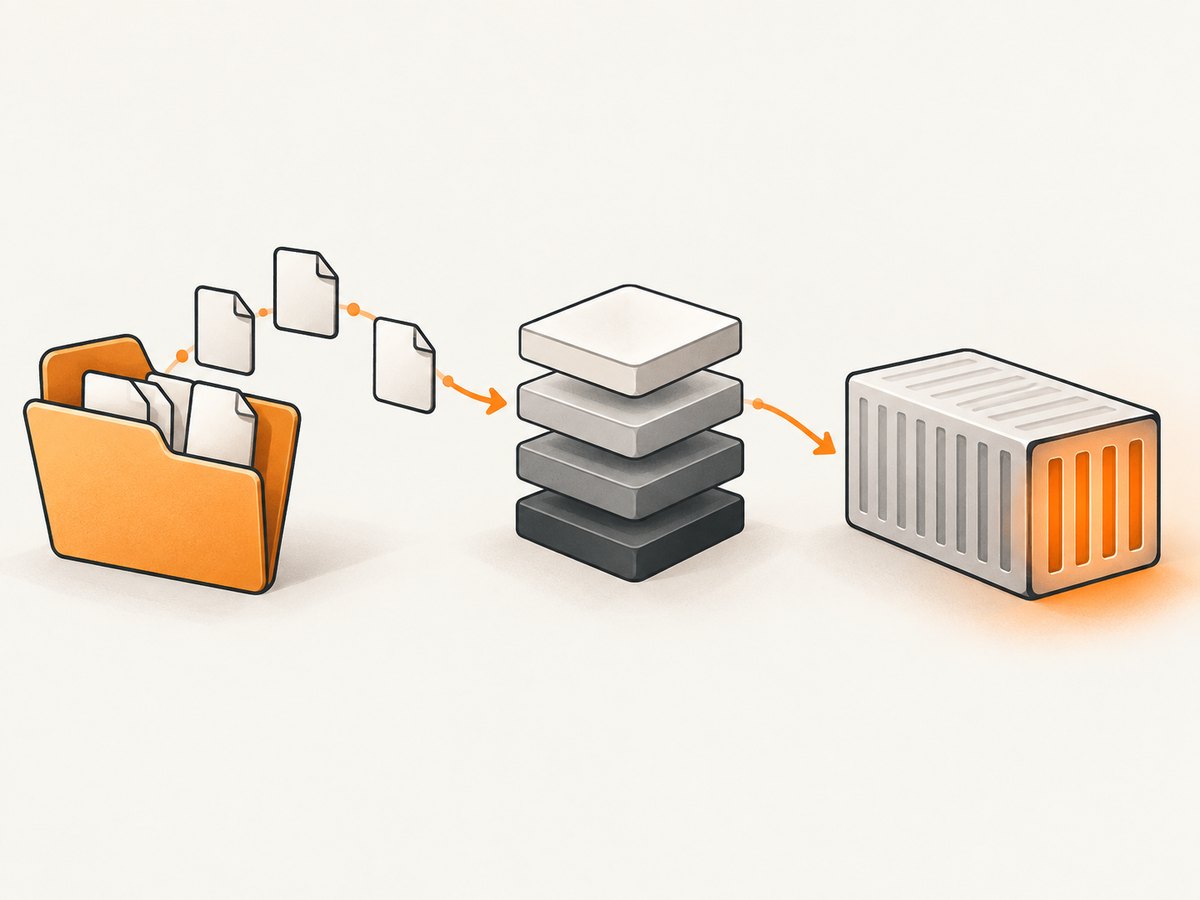
Create a new directory and add an app.py file:
from http.server import BaseHTTPRequestHandler, HTTPServer

class Handler(BaseHTTPRequestHandler):
    def do_GET(self):
        body = b"Hello from a Docker container\\n"
        self.send_response(200)
        self.send_header("Content-Type", "text/plain")
        self.send_header("Content-Length", str(len(body)))
        self.end_headers()
        self.wfile.write(body)

HTTPServer(("0.0.0.0", 8000), Handler).serve_forever()
Save this as Dockerfile in the same directory:
# syntax=docker/dockerfile:1
FROM python:3.12-slim
WORKDIR /app
COPY . .
EXPOSE 8000
CMD ["python", "app.py"]
The first line is a parser directive selecting Docker’s Dockerfile syntax. Comments and parser directives may appear before the first instruction. A valid Dockerfile must then begin with FROM, optionally after a globally scoped ARG.
What each instruction does
FROM python:3.12-slimselects the starting filesystem and Python runtime.FROMinitializes a build stage.WORKDIR /appsets the working directory for laterRUN,COPY,ADD,CMD, andENTRYPOINTinstructions. An explicit directory prevents commands from running in an unintended location.COPY . .transfers files from the build context into/app. The first dot is the source in the context; the second is the destination relative toWORKDIR.EXPOSE 8000documents the port the application intends to use. It does not publish the port to your host.CMD ["python", "app.py"]supplies the default process when a container starts. A command supplied todocker runcan replace it.
Build and run your first image
- Install Docker and confirm the daemon is available with
docker version. - Place
Dockerfileandapp.pyin one project directory. - From that directory, build a tagged image:
docker build -t my-app:1.0 .The final dot is the build context. Docker sends that directory to the builder, and COPY can read only files inside it. The tag has a repository name (my-app) and version tag (1.0).
- Start a container and map host port 8000 to container port 8000:
docker run --rm -p 8000:8000 my-app:1.0Open http://localhost:8000. Press Ctrl+C to stop the foreground container. --rm removes the stopped container automatically. To run in the background, add -d, then inspect it with docker ps and read output with docker logs <container-id>.
Useful inspection commands
docker image ls

docker history my-app:1.0

docker run --rm my-app:1.0 python --version
docker inspect my-app:1.0
docker history shows image layers and can reveal accidentally embedded values, so review it before publishing. docker inspect displays image metadata, configured commands, environment, and exposed ports.
Build context and .dockerignore
The context is the directory supplied after docker build. A broad context slows builds and may disclose credentials to the builder. Add a .dockerignore file beside the Dockerfile:
.git
.gitignore
.env
.env.*
__pycache__/
*.pyc
node_modules/
dist/
build/
coverage/
*.log
.ssh/
Keep the context narrow when possible, such as docker build -t my-app:1.0 ./service. Never rely on .dockerignore as your only secret control: do not put credentials, private keys, or production configuration in the context at all.
Layering, cache, and dependency installation
Docker executes instructions in order and stores filesystem changes in layers. When an instruction and its inputs have not changed, the builder can reuse its cached result. Arrange stable dependency steps before frequently changing source files.
# syntax=docker/dockerfile:1
FROM python:3.12-slim
WORKDIR /app
COPY requirements.txt .
RUN pip install --no-cache-dir -r requirements.txt
COPY . .
EXPOSE 8000
CMD ["python", "app.py"]
With this layout, editing application code can reuse the dependency layer. The --no-cache-dir option avoids retaining pip’s download cache in the image. Similar ordering applies to other package managers: copy lockfiles first, install dependencies, then copy source.
Common Dockerfile instructions
| Instruction | Purpose | Typical caution |
|---|---|---|
FROM |
Starts a build stage from a base image. | Use a trusted, reviewed base; tags can change. |
ARG |
Defines a build-time variable. | Values can appear in history or provenance; never use it for secrets. |
ENV |
Sets environment variables in the image or container. | Do not bake passwords or tokens into the image. |
RUN |
Executes a command while building. | Combine related package operations and clean deliberate caches. |
WORKDIR |
Sets the current directory. | Declare it explicitly instead of depending on a base image default. |
COPY |
Copies context files or files from another stage. | Sources must be inside the build context. |
ADD |
Copies files with additional archive and URL behavior. | Prefer COPY when its simpler behavior is sufficient. |
EXPOSE |
Documents a listening port. | Use -p at runtime to publish it. |
USER |
Sets the user for later build steps and the default runtime. | Ensure the user can read files and bind the required port. |
ENTRYPOINT |
Defines the main executable. | Choose exec form for predictable signal handling. |
CMD |
Provides default arguments or a default command. | It can be overridden at docker run time. |
Multi-stage builds for production
Docker’s best-practices guidance recommends trusted, minimal base images. Smaller images are easier to move and contain fewer dependencies and potential vulnerabilities. Multi-stage builds keep compilers, package managers, and debugging tools in a builder stage while the final stage contains runtime files.
# syntax=docker/dockerfile:1
FROM python:3.12-slim AS builder
WORKDIR /build
COPY requirements.txt .
RUN python -m venv /opt/venv && /opt/venv/bin/pip install --no-cache-dir -r requirements.txt

FROM python:3.12-slim
WORKDIR /app
COPY --from=builder /opt/venv /opt/venv
COPY app.py .
ENV PATH="/opt/venv/bin:$PATH"
RUN useradd --create-home appuser
USER appuser
EXPOSE 8000
CMD ["python", "app.py"]
Each FROM starts a stage. COPY --from=builder transfers only the selected output. Compare this design with a one-stage image: the multi-stage version usually has fewer build tools, a smaller runtime footprint, and a reduced attack surface. Its trade-offs include more complex build logic and the need to copy every runtime file explicitly.
Base images, reproducibility, and updates
Choose Docker Official Images or another trusted source and review the base image before adopting it. A convenient tag such as python:3.12-slim is mutable; pinning a digest improves reproducibility when deployment requires the exact same bytes. Record why a base was chosen and update it deliberately.
Rebuild regularly because base images and package indexes change. A rebuild can bring security fixes, but it can also change transitive dependencies, so run the application’s checks before release. Tag releases with meaningful versions and avoid treating latest as a deployment contract.
Secrets and runtime configuration
Never pass passwords, API tokens, or private keys through ARG or unreviewed ENV values. Build arguments may be visible in docker history and provenance attestations. Use BuildKit secret mounts for build-time credentials, and provide runtime secrets through your deployment system rather than baking them into an image.
Keep .env, SSH keys, cloud credentials, and local configuration out of the context. Run the application as a non-root user when the base image and application permit it. Scan the resulting image in CI and review package installation layers for unnecessary tools.
Troubleshooting Dockerfile builds and containers
| Symptom | Likely cause | Fix |
|---|---|---|
docker build cannot find Dockerfile |
The command is running in the wrong directory or the file has an extension. | Run from the project directory and name the file exactly Dockerfile, or pass -f path/to/Dockerfile. |
COPY failed: file not found |
The source is outside the build context or excluded by .dockerignore. |
Choose the correct context and adjust the ignore rule; do not use ../ to escape it. |
| Port is unreachable | The process listens on a different interface or port, or the port was not published. | Bind the server to 0.0.0.0, verify the application port, and use -p host:container. |
| Container exits immediately | The default command finished or crashed. | Run docker logs, verify CMD, and start an interactive shell temporarily with docker run --rm -it image sh. |
| Changes are not appearing | A cached layer or an old image is running. | Rebuild with the intended tag, inspect image creation time, and use docker build --no-cache only when diagnosing cache behavior. |
| Permission denied at runtime | A non-root user cannot read copied files or write its working directory. | Set ownership deliberately during the build and choose writable runtime paths. |
| Image is unexpectedly large | Build tools, caches, artifacts, or a broad context were included. | Use a minimal base, multi-stage build, cleanup steps, and a precise .dockerignore. |
Performance, reliability, and cost checklist
- Keep the build context small so uploads and cache calculations are faster.
- Order instructions from stable to volatile: base and lockfiles first, application source later.
- Use lockfiles and reviewed base references for repeatable dependency resolution.
- Use multi-stage builds to reduce transfer time and runtime contents.
- Keep the container’s main process in the foreground so supervisors can observe its exit status.
- Make startup configuration explicit with environment variables or deployment settings.
- Rebuild regularly for security updates and verify the result before release.
- Tag images with immutable release identifiers and retain the Dockerfile used to create each release.

Or skip the browser setup
If your container’s purpose is taking website screenshots, you can run a browser yourself or call ScreenshotNeo. ScreenshotNeo is a website screenshot API and MCP server. One GET request returns PNG, JPEG, WebP, or PDF output, so your Docker image only needs an HTTP client.
See the ScreenshotNeo API documentation for request options. This call captures a page without installing or operating a browser in your container:
curl -G "https://api.screenshotneo.com/v1/shot" \\
  -d access_key=YOUR_API_KEY \\
  --data-urlencode url=https://stripe.com \\
  -o shot.webp
Python
import requests

r = requests.get(
    "https://api.screenshotneo.com/v1/shot",
    params={"access_key": "YOUR_API_KEY", "url": "https://stripe.com"},
    timeout=90,
)
r.raise_for_status()
open("shot.webp", "wb").write(r.content)
Node.js
const q = new URLSearchParams({ access_key: 'YOUR_API_KEY', url: 'https://stripe.com' });
const res = await fetch(`https://api.screenshotneo.com/v1/shot?${q}`);
if (!res.ok) throw new Error(`Screenshot failed: ${res.status}`);
const fs = await import('node:fs/promises');
await fs.writeFile('shot.webp', Buffer.from(await res.arrayBuffer()));
ScreenshotNeo removes cookie and consent banners, newsletter popups, and chat widgets before capture. Bot checks, blank pages, timeouts, failed loads, and cache hits cost nothing, and the response identifies the result with X-Page-Verdict and X-Billed headers. Its MCP server provides take_screenshot, get_page_info, and capture_pdf tools for Claude, Cursor, and other MCP clients.
You can also configure full-page or element captures, dark mode, device presets, custom viewports, retina scale, PDF paper and margins, custom CSS and JavaScript, clicks, waits, blocking rules, headers, cookies, user agents, authorization, timezone, geolocation, transparent backgrounds, resizing, caching TTLs, signed links, asynchronous webhooks, bulk requests, and usage reporting. Every feature is available on every plan. The free plan includes 1,000 shots per month without a card; paid plans start at $5 for 3,000 shots.
Create a free ScreenshotNeo account and start with 1,000 screenshots per month at no charge.
FAQ
Does a Dockerfile have to be named Dockerfile?
No, but that is the default name. For another filename, pass it with docker build -f filename -t name:tag ..
Is an image the same as a container?
No. An image is the packaged artifact; a container is a running process created from that image.
Should I use CMD or ENTRYPOINT?
Use CMD for a replaceable default command or arguments. Use ENTRYPOINT when the image represents a fixed executable, often with CMD supplying default arguments.
Why does EXPOSE not open a port?
EXPOSE documents the intended port. Publishing requires a runtime mapping such as docker run -p 8000:8000 image.
When should I use a multi-stage build?
Use one when building requires compilers or tooling that the running application does not need. Copy only the runtime output into the final stage.
Final checklist
- Save a correctly named Dockerfile in a deliberate build context.
- Start with a trusted base image and set
WORKDIRexplicitly. - Use
.dockerignoreto exclude dependencies, metadata, outputs, and secrets. - Build with
docker build -t name:tag .and run with an explicit port mapping. - Keep dependency layers cacheable and use multi-stage builds for production.
- Do not put secrets in
ARG,ENV, image layers, or build context files. - Inspect, scan, update, and retag images before publishing.


