How to Download a Customizable Color Box as an Image over a Background
Create a customizable color box, place it over a background, and download a clean PNG with exact colors or transparency.
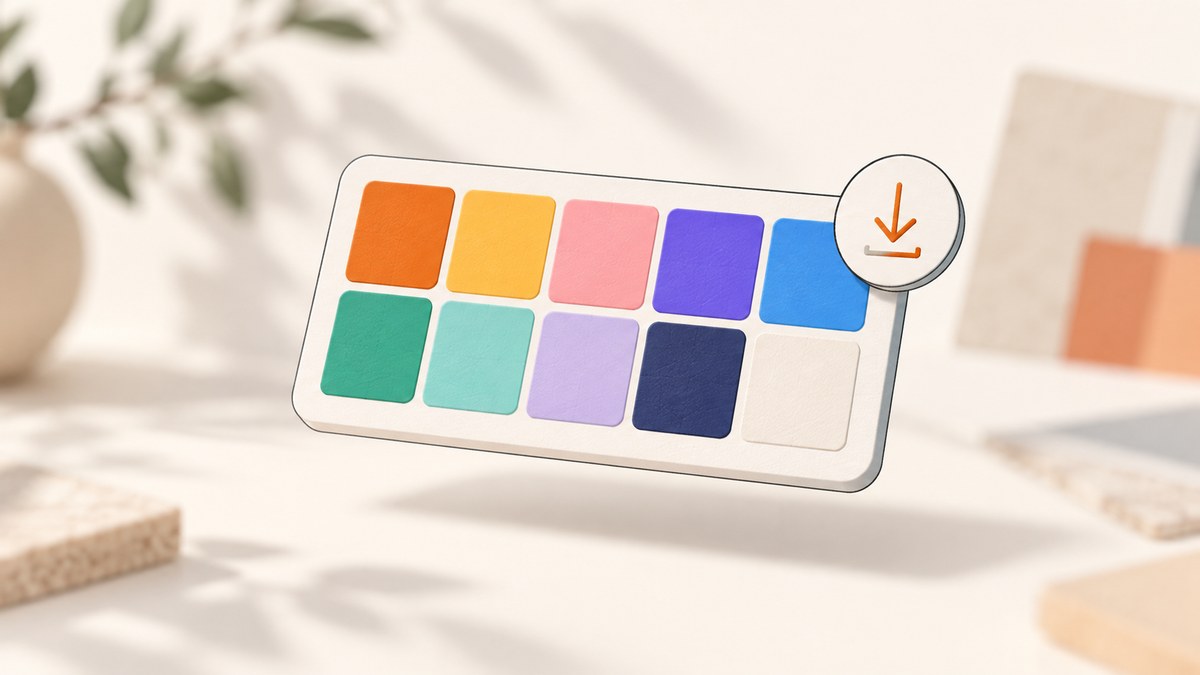
Short answer: Build the palette in Adobe Color, copy the exact HEX or RGB values, recreate the color blocks in Adobe Express (or HTML/CSS), set the background, and export the result as a PNG or another image format. Use a filled background when it belongs in the final artwork; choose No fill and Transparent PNG when the color box will be placed over another background later.
1. Choose how to create the color box
There are two reliable starting points:
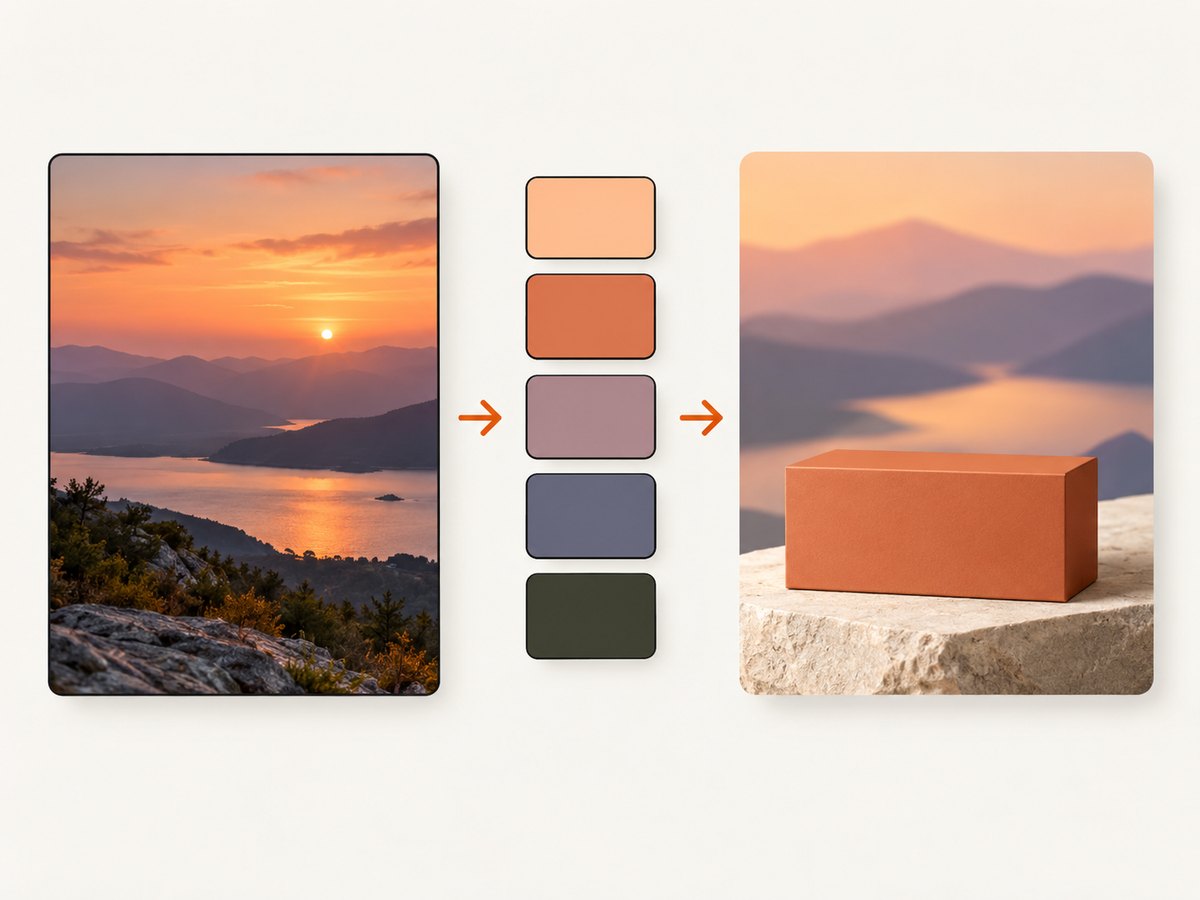
- Extract colors from an image: Upload a reference photo to Adobe Color, refine the swatch selectors, and record the resulting HEX or RGB values.
- Generate a palette from one color: Use Adobe Color’s wheel, choose a base color, and select a harmony such as monochromatic, complementary, analogous, or triadic.
Image extraction is useful when the box must match a photograph or brand reference. The color wheel is better when you want a deliberate, mathematically related palette.
2. Create and record the palette
- Open Adobe Color’s image tool or color wheel.
- If you are using a photo, upload it and move the selectors until the swatches represent the colors you want.
- If you are starting from a color, enter the base color and select a harmony.
- Record every swatch as a HEX value (for example,
#F15A24) or RGB value. Keeping the exact values avoids visual drift when you rebuild the design.
Adobe Color supports downloading palette colors as HEX or RGB values. Its image tool and wheel are the source for the palette; the final image is assembled in a design editor.
3. Build the color box in Adobe Express
- Create a new design or blank canvas in Adobe Express.
- Add adjacent rectangles, squares, or another block shape for each swatch.
- Select a block and enter its HEX or RGB value in the color controls. Repeat for every block.
- Resize the blocks so their edges touch cleanly. Use equal widths when the box is a simple swatch strip, or vary the widths when one color should dominate.
- Set the canvas background. It can be a solid color or an image, depending on the finished composition.
- Align the blocks and inspect the edges at 100% zoom before exporting.
Adobe Express documents palette editing, entering specific color values, sampling colors with its eyedropper, setting a background color, and downloading the finished design.
Use an exact background color
Select the background layer and enter its HEX or RGB value. Do not rely on a visual approximation if the image will be used in a design system, product mockup, or automated comparison.
Use a background photo
Place the photo on the bottom layer, then position the color box above it. If the box needs to remain readable, add spacing around it or reduce the photo’s contrast before export. The eyedropper can sample a color from the design or background photo when you need a matching accent.
Export the box with transparency
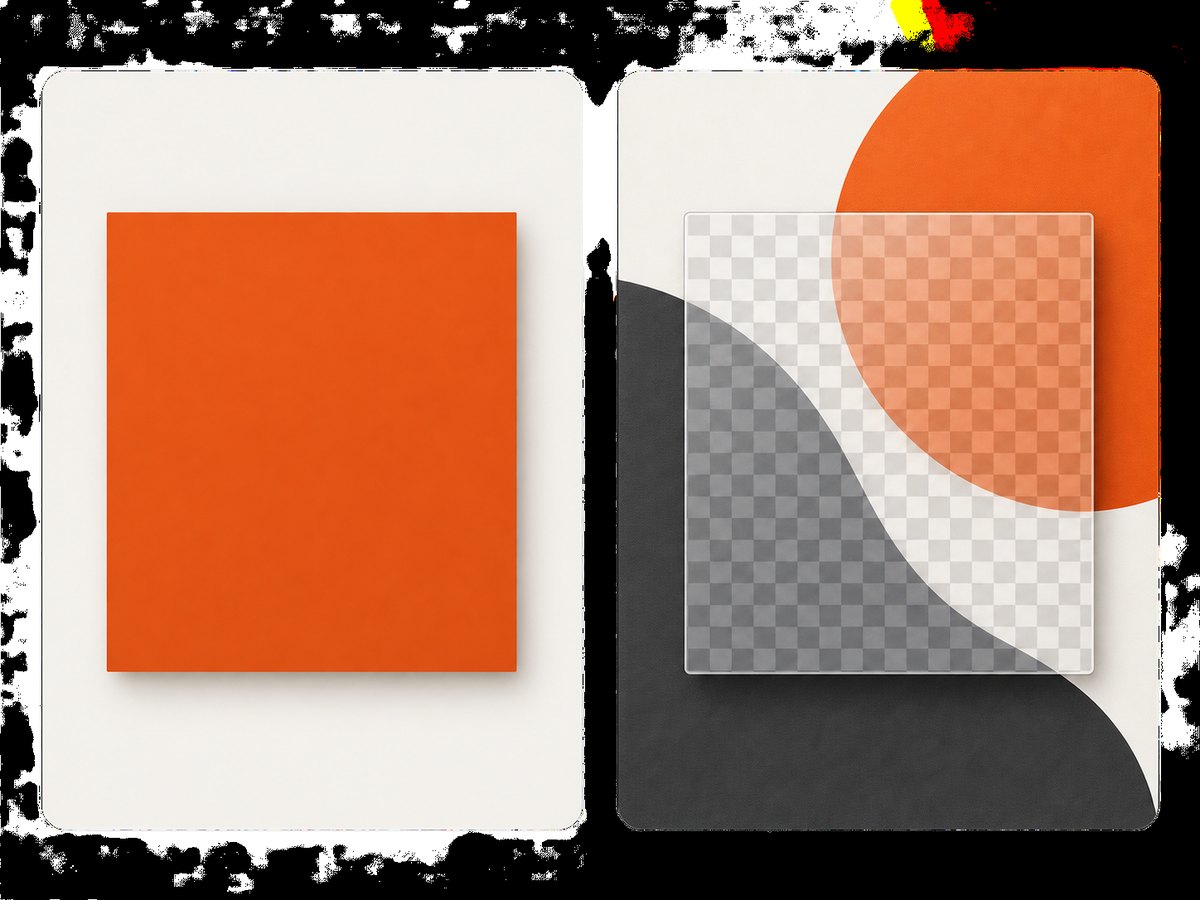
Set the background to No fill, then choose Transparent PNG during export. This keeps only the color blocks, so you can place them over a different background later. Transparency is not the same as a white background; verify the exported file in an editor that displays a checkerboard or by placing it over a contrasting layer.
4. A repeatable HTML/CSS method
For developers, HTML and CSS make the layout reproducible and easy to parameterize. Save the following as color-box.html, open it in a browser, and click Download PNG. Change the values in the color inputs or edit the CSS variables to customize the box.
<!doctype html>
<html lang="en">
<head>
  <meta charset="utf-8">
  <meta name="viewport" content="width=device-width, initial-scale=1">
  <title>Customizable color box</title>
  <style>
    :root {
      --page-bg: #dfe8f2;
      --box-radius: 18px;
      --box-width: 900px;
      --box-height: 420px;
    }

    * { box-sizing: border-box; }
    body {
      margin: 0;
      min-height: 100vh;
      display: grid;
      place-items: center;
      background: var(--page-bg);
      font-family: system-ui, sans-serif;
    }
    .stage {
      width: min(var(--box-width), 92vw);
      padding: 28px;
      border-radius: var(--box-radius);
      background: linear-gradient(135deg, #ffffffaa, #ffffff22);
    }
    .swatches {
      display: grid;
      grid-template-columns: repeat(5, 1fr);
      min-height: var(--box-height);
      overflow: hidden;
      border-radius: 12px;
    }
    .swatch { min-width: 0; }
    .controls {
      display: flex;
      flex-wrap: wrap;
      gap: 12px;
      margin-top: 18px;
      align-items: center;
    }
    button, input { font: inherit; }
    button { padding: 9px 14px; cursor: pointer; }
  </style>
</head>
<body>
  <main class="stage" id="capture">
    <div class="swatches" aria-label="Color palette">
      <div class="swatch" style="background:#264653"></div>
      <div class="swatch" style="background:#2A9D8F"></div>
      <div class="swatch" style="background:#E9C46A"></div>
      <div class="swatch" style="background:#F4A261"></div>
      <div class="swatch" style="background:#E76F51"></div>
    </div>
    <div class="controls">
      <label>Background <input id="bg" type="color" value="#dfe8f2"></label>
      <button id="download" type="button">Download PNG</button>
    </div>
  </main>

  <script>
    document.querySelector('#bg').addEventListener('input', (event) => {
      document.documentElement.style.setProperty('--page-bg', event.target.value);
    });

    document.querySelector('#download').addEventListener('click', async () => {
      const target = document.querySelector('#capture');
      // Use a screenshot library such as html2canvas in your application,
      // or capture this page with a browser automation tool.
      window.print();
    });
  </script>
</body>
</html>
The example uses the browser print dialog as a dependency-free fallback. For a real PNG file, render the same DOM with a browser screenshot tool or a library such as html2canvas that you have added to your project. Set the capture viewport and device scale consistently when you need repeatable dimensions.
5. Export decisions
| Goal | Recommended export | Reason |
|---|---|---|
| Background is part of the artwork | PNG or JPEG with a filled background | The downloaded file is self-contained. |
| Place the box over other artwork later | Transparent PNG | No background pixels are baked into the file. |
| Small file for a photographic background | JPEG, if transparency is unnecessary | JPEG can be smaller, but it does not preserve transparency. |
| Exact color blocks and sharp edges | PNG | Lossless edges avoid compression artifacts. |
The documented Adobe Express workflow supports downloading the design and exporting a transparent PNG by choosing No fill and Transparent PNG. The appropriate pixel dimensions depend on where the image will be used; the source material does not prescribe one universal size.
6. Capture the finished page automatically
If your color box is generated as a web page, browser capture is useful for repeatable exports, scheduled variants, and server-side rendering. Use a fixed viewport, wait until fonts and background images finish loading, and capture the element containing the box instead of the browser chrome.
Or skip the browser setup
ScreenshotNeo captures a URL with one request and can return PNG, JPEG, WebP, or PDF. Its cookie and consent step accepts banners like a visitor and removes more than 60 known consent platforms, newsletter popups, and chat widgets before the shot. Bot checks, blank pages, timeouts, failed loads, and cache hits are not billed, and the response identifies the result with X-Page-Verdict and X-Billed headers. See the ScreenshotNeo documentation for the complete parameter list.
curl -G "https://api.screenshotneo.com/v1/shot" \
  -d access_key=YOUR_API_KEY \
  --data-urlencode url=https://your-domain.example/color-box.html \
  -o color-box.webp
import requests
r = requests.get(
"https://api.screenshotneo.com/v1/shot",
params={
"access_key": "YOUR_API_KEY",
"url": "https://your-domain.example/color-box.html",
},
timeout=90,
)
r.raise_for_status()
open("color-box.webp", "wb").write(r.content)const q = new URLSearchParams({
access_key: 'YOUR_API_KEY',
url: 'https://your-domain.example/color-box.html'
});
const res = await fetch(`https://api.screenshotneo.com/v1/shot?${q}`);
if (!res.ok) throw new Error(`Screenshot failed: ${res.status}`);
const bytes = new Uint8Array(await res.arrayBuffer());
await Bun.write('color-box.webp', bytes);ScreenshotNeo also provides an MCP server with take_screenshot, get_page_info, and capture_pdf tools for Claude, Cursor, and other MCP clients. It supports element capture, custom CSS and JavaScript, waits, device presets, viewport and retina settings, custom headers and cookies, caching, signed links, asynchronous jobs, bulk capture, and PDF options. The same service has a free plan with 1,000 screenshots per month and no card; paid plans start at $5 for 3,000 shots. Create a free ScreenshotNeo account.
7. Troubleshooting
| Problem | Likely cause | Fix |
|---|---|---|
| Colors look different after export | A visual picker or compressed format changed the values. | Enter the recorded HEX/RGB values directly and use PNG for sharp swatches. |
| The background appears white | The background was left filled, or transparency was not selected. | Use No fill and Transparent PNG for a transparent result; otherwise set the intended background color before export. |
| Blocks have gaps or thin lines | Subpixel widths, spacing, or browser scaling. | Use a grid, remove gaps, give the container integer dimensions, and capture at a fixed scale. |
| Photo background is missing | The image has not loaded when capture starts, or it is blocked by a cross-origin policy. | Wait for the image, host it where the browser can load it, and capture after the page reports readiness. |
| Text or fonts shift | Web fonts loaded after the screenshot. | Preload fonts or wait for document.fonts.ready before capture. |
| Screenshot shows a cookie popup | The capture ran before consent handling. | Accept or remove the banner in your automation flow, or use ScreenshotNeo’s built-in consent and popup cleanup. |
| Capture is blank or times out | The page failed to load, requires authentication, or has a bot check. | Check the URL directly, provide required headers or cookies, increase the wait, and inspect the page verdict and billing headers. |
8. Performance, reliability, and cost
- Keep the DOM small: A few rectangles render faster and more consistently than many nested effects.
- Use deterministic inputs: Pin palette values, viewport size, fonts, and background assets when comparing exports.
- Wait for readiness: A selector wait, network-idle wait, or short delay prevents partially rendered images.
- Cache stable designs: Cache a URL when its palette and background do not change; bypass or shorten the TTL for dynamic designs.
- Choose the output deliberately: PNG preserves edges and transparency; JPEG can reduce size when the background is opaque.
- Control spending: ScreenshotNeo bills only clean shots. Failed loads, blank pages, bot checks, timeouts, and cache hits are free, with the outcome exposed in response headers.
9. Checklist before publishing the image
- Every swatch uses the intended HEX or RGB value.
- The background is either intentionally filled or intentionally transparent.
- Edges meet without gaps, seams, or unexpected rounded corners.
- The exported dimensions match the destination.
- Fonts, photos, and remote assets have finished loading.
- The saved file opens correctly outside the design editor.
- A transparent PNG is checked over both a light and dark background.
10. FAQ
Can I start without a reference photo?
Yes. Use Adobe Color’s wheel, choose a base color and harmony, then copy the resulting HEX or RGB values into your design.
How many color blocks should the box contain?
There is no required count. Match the number of meaningful swatches in your palette and size the blocks so they remain legible at the final output dimensions.
Can I put the box over a different background later?
Yes. Export with No fill as a Transparent PNG, then place that file over another image or color.
Why use PNG instead of JPEG?
PNG keeps hard color boundaries lossless and supports transparency. JPEG is suitable when the image has an opaque background and a smaller file is more important.
Can the process be automated?
Yes. Generate the HTML/CSS from palette data, wait for assets to load, and capture the page with browser automation or ScreenshotNeo’s API.


