How to Generate and Download a PNG from a Vue Component
Capture a rendered Vue element as a PNG with html2canvas, handle images and scaling, and trigger a browser download.
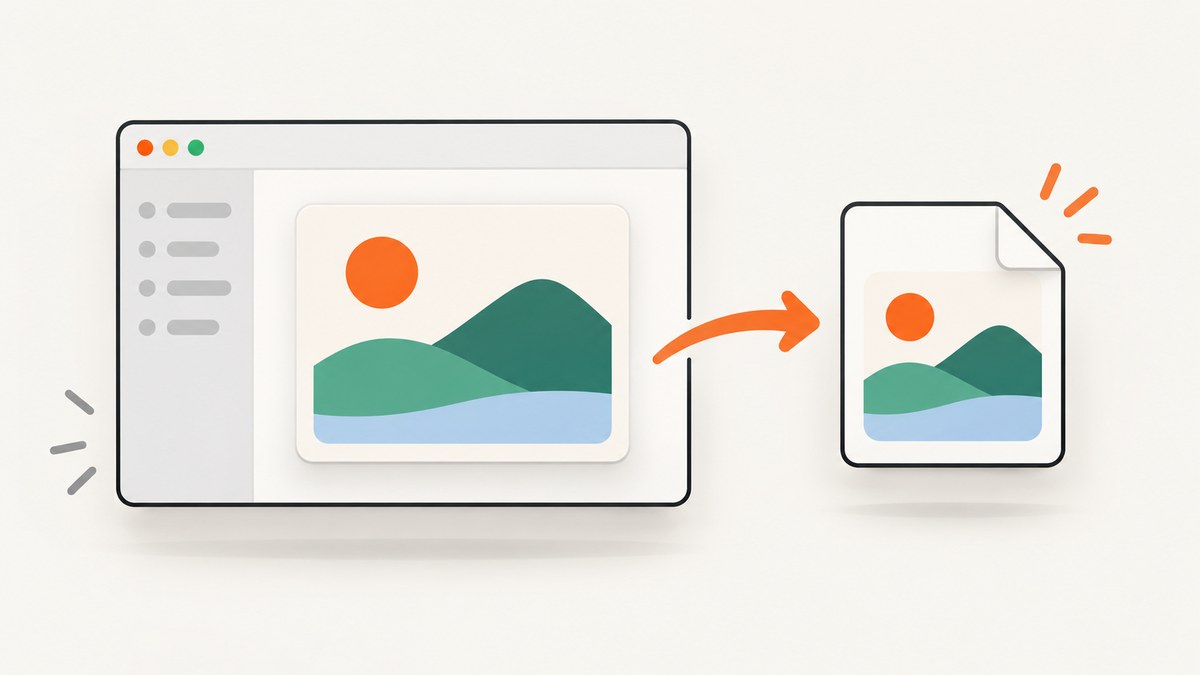
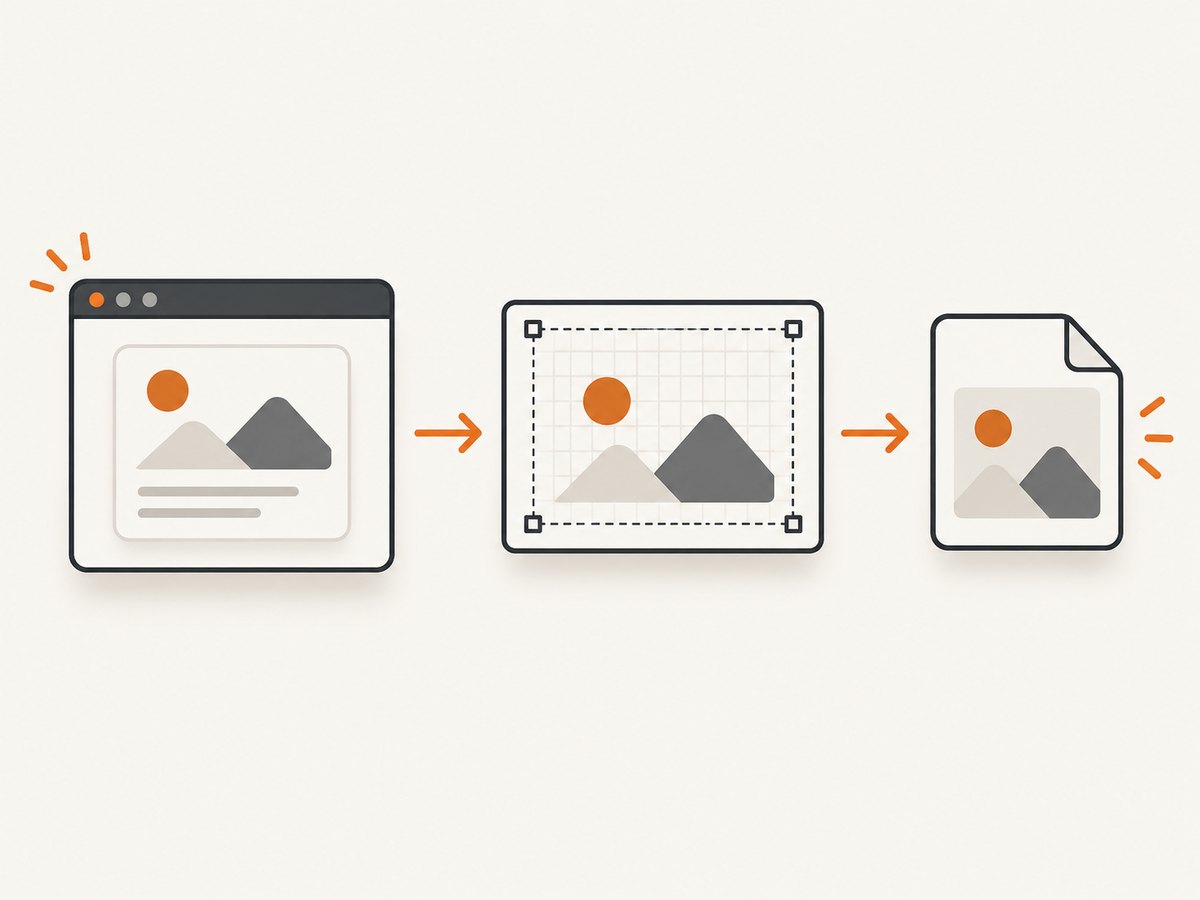
To generate a PNG from a Vue component, capture the rendered DOM element with a template ref, pass that element to html2canvas, then download the resulting canvas as a PNG. This runs in the browser and reconstructs the image from DOM and CSS; it is not a literal screenshot of the browser compositor, so check the output for styles that matter.
1. Install html2canvas
Install the package documented by the html2canvas project and confirm its current package name and version against the project’s release instructions before publishing or upgrading. The project README lists @html2canvas/html2canvas as its install package.
npm install @html2canvas/html2canvasUse this in a client-side Vue component. html2canvas is browser-side and is not suitable for Node.js rendering.
2. Capture a Vue element and download the PNG
This Vue Single-File Component uses Composition API and <script setup>. The ref points to the actual rendered element, not to a Vue component instance. The button is outside the capture target, so it will not appear in the exported card.
<template>
  <section>
    <div ref="captureTarget" class="export-card">
      <h1>{{ title }}</h1>
      <p>{{ description }}</p>
    </div>

    <button type="button" :disabled="isCapturing" @click="downloadPng">
      {{ isCapturing ? 'Creating PNG…' : 'Download PNG' }}
    </button>
    <p v-if="errorMessage" role="alert">{{ errorMessage }}</p>
  </section>
</template>

<script setup>
import { ref } from 'vue'
import html2canvas from '@html2canvas/html2canvas'

const title = ref('A shareable card')
const description = ref('Rendered from a Vue component')
const captureTarget = ref(null)
const errorMessage = ref('')
const isCapturing = ref(false)

async function downloadPng() {
  errorMessage.value = ''
  const element = captureTarget.value
  if (!element) {
    errorMessage.value = 'The element to capture is not available yet.'
    return
  }

  isCapturing.value = true
  try {
    const canvas = await html2canvas(element, {
      scale: window.devicePixelRatio || 1,
      backgroundColor: null,
    })

    const link = document.createElement('a')
    link.download = 'vue-component.png'
    link.href = canvas.toDataURL('image/png')
    link.click()
  } catch (error) {
    console.error('PNG export failed:', error)
    errorMessage.value = 'Could not create the PNG. Check the element and its image resources.'
  } finally {
    isCapturing.value = false
  }
}
</script>

<style scoped>
.export-card {
  box-sizing: border-box;
  width: 640px;
  padding: 24px;
  color: #172033;
  background: white;
  border-radius: 16px;
}
</style>
The html2canvas examples use this same core sequence: capture an element, set an anchor’s download filename, assign a PNG data URL, and click the anchor. See the official examples and documentation. The package README describes its Promise-based browser API and browser support; see the project repository.
Use a blob for large captures
toDataURL() creates a base64 string in memory. For a large canvas, toBlob() plus a temporary object URL avoids creating that data URL. Revoke the URL after starting the download.
function downloadCanvas(canvas, filename = 'vue-component.png') {
  canvas.toBlob((blob) => {
    if (!blob) throw new Error('Canvas could not be encoded as PNG')

    const objectUrl = URL.createObjectURL(blob)
    const link = document.createElement('a')
    link.href = objectUrl
    link.download = filename
    link.click()
    setTimeout(() => URL.revokeObjectURL(objectUrl), 0)
  }, 'image/png')
}
Call downloadCanvas(canvas) after html2canvas resolves. Validate download behavior in your target browsers, especially if you use this in a browser with restrictive download settings.
3. Wait for Vue content and assets
Capture after Vue has rendered the content you want. For content updated immediately before capture, await Vue’s next DOM update. If the target includes images, ensure they have loaded; if the design depends on web fonts, wait for the document’s font set when available.
import { nextTick } from 'vue'

async function prepareAndCapture() {
  await nextTick()
  if (document.fonts?.ready) await document.fonts.ready

  const element = captureTarget.value
  if (!element) throw new Error('Capture target is missing')

  const images = [...element.querySelectorAll('img')]
  await Promise.all(images.map((image) => {
    if (image.complete) return Promise.resolve()
    return new Promise((resolve) => {
      image.addEventListener('load', resolve, { once: true })
      image.addEventListener('error', resolve, { once: true })
    })
  }))

  return html2canvas(element)
}
This waits for each image to either load or fail so a failed asset does not hang the preparation step forever. It does not repair cross-origin restrictions; configure the asset server and html2canvas options for that separately. For transitions or asynchronously fetched data, wait for the application’s own completion signal before capturing.
4. Configure scale, background, cropping, and external images
html2canvas accepts an options object. The settings below are the ones most relevant to exporting a Vue element; check the configuration reference for the full current option list and defaults.
| Option | Use | Notes |
|---|---|---|
scale |
Output pixel density | Defaults to device pixel ratio. A higher value creates more pixels and uses more memory; choose for the intended display or print size. |
backgroundColor |
Set or omit the canvas background | Use a color for a solid background; null requests transparency where supported by the output. |
width, height |
Set the capture viewport dimensions | Useful when you need consistent output dimensions. These do not make unsupported CSS render correctly. |
x, y |
Set the capture origin | Use with dimensions when capturing a specific region; test the resulting crop. |
useCORS |
Attempt cross-origin image loading with CORS | Enable when remote image servers send the required CORS headers. This option cannot grant access by itself. |
proxy |
Load remote assets through a proxy | Use a suitable proxy you control or trust when the source cannot serve CORS headers. Protect it against open-proxy abuse. |
imageTimeout |
Bound image loading time | Adjust when slow assets should be given more or less time; a longer wait can delay the export. |
ignoreElements |
Skip selected elements programmatically | Useful for excluding controls or transient UI. The callback should identify elements that should not be rendered. |
onclone |
Adjust the cloned document before rendering | Use for export-specific changes without mutating the visible page. Keep changes limited to the captured clone. |
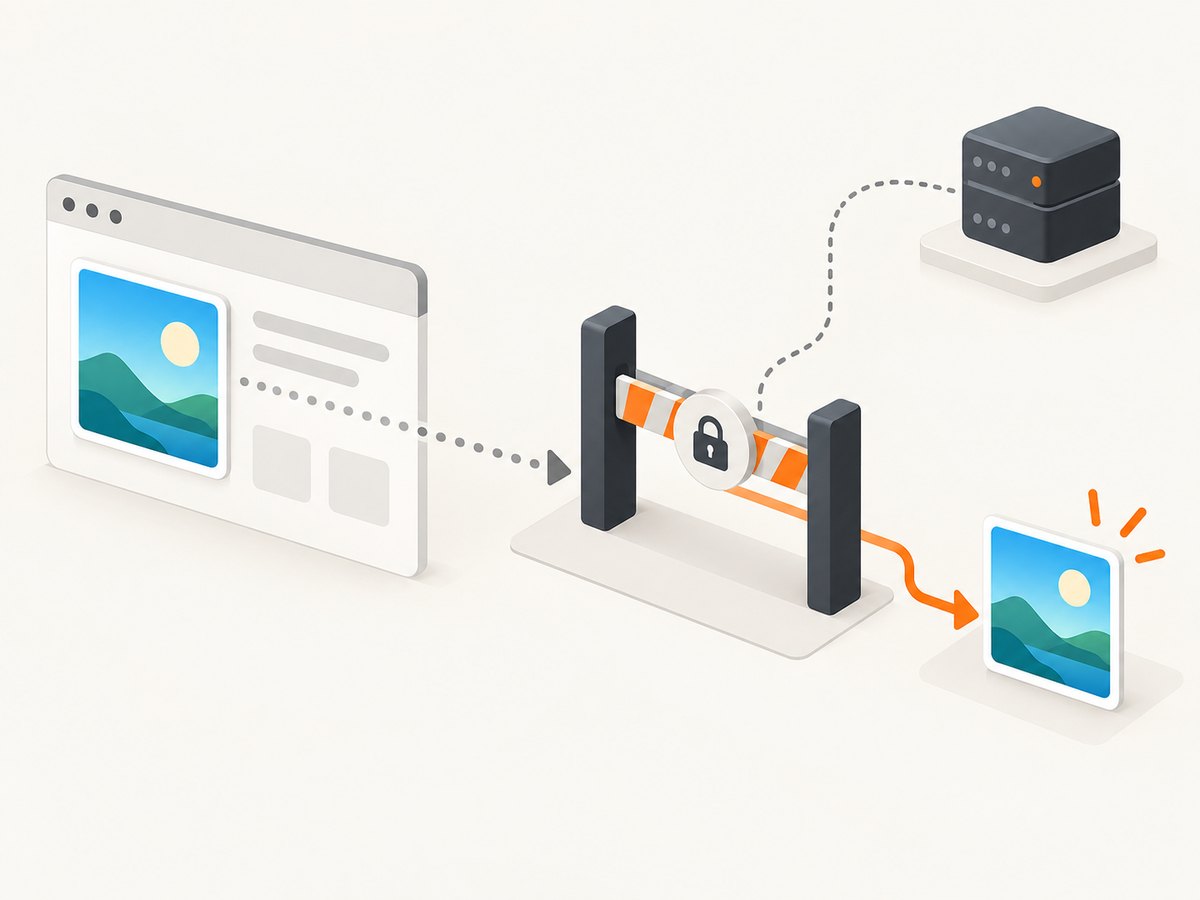
For images from another origin, the browser’s same-origin and CORS rules apply. Set useCORS: true only when the remote server permits the request, or use a proxy that can safely fetch the resource. A cross-origin iframe cannot be read as though it were same-origin.
const canvas = await html2canvas(captureTarget.value, {
  scale: 2,
  backgroundColor: '#ffffff',
  useCORS: true,
  imageTimeout: 15000,
})
To omit a button or other interface element, put data-html2canvas-ignore on it. The library’s configuration also provides element-ignore and resource-error hooks; consult the reference for exact callback signatures for the installed version.
<button data-html2canvas-ignore type="button" @click="downloadPng">
  Download PNG
</button>
5. Choose this method for the right kind of output
html2canvas reconstructs the target from DOM information and supported CSS. It does not capture the browser compositor, so some CSS or browser-rendered content may differ from what a person sees. Keep export markup straightforward and inspect the image in the browsers you support.
- Good fit: cards, badges, simple charts, and previews built from DOM content and CSS that html2canvas supports.
- Needs validation: complex filters, unusual layout effects, third-party widgets, video, and content inside cross-origin frames.
- Browser-only: this method relies on a browser DOM and canvas. For server-side rendering, use a browser-rendering service or another server-side approach and account for deployment and access controls.
- Canvas size: large dimensions multiplied by a high scale can consume substantial memory or exceed browser canvas limits. Reduce dimensions or scale if capture fails or the tab becomes unresponsive.
Vue’s official quick start uses Single-File Components and shows Composition API with <script setup>, the pattern used here. See Vue’s quick start.
6. Troubleshoot common export problems
| Symptom | Likely cause | Fix |
|---|---|---|
| Blank or incomplete output | The ref is unset, conditional content is not rendered, or capture starts before updates finish. | Check captureTarget.value, wait for Vue’s DOM update, and wait for asynchronous content before capture. |
| Remote images are missing | The image server does not allow cross-origin access, or the image has not loaded. | Wait for the image, configure CORS on the source, or use a controlled proxy. useCORS alone cannot bypass server policy. |
| Some styles differ | html2canvas reconstructs the DOM and does not support every browser rendering detail. | Simplify the export component’s CSS and compare output in supported browsers. Use a browser screenshot approach when compositor-level fidelity is required. |
Tainted canvases may not be exported |
A cross-origin resource was drawn without valid CORS permission. | Serve it with appropriate CORS headers or fetch it through a properly configured proxy; then capture again. |
| PNG is blurry | The scale is too low for the intended display size. | Increase scale deliberately, often using device pixel ratio, and keep memory use in mind. |
| Capture is slow or crashes on mobile | The target is very large or scale creates too many pixels. | Capture a smaller region, lower scale, reduce image dimensions, and avoid overlapping export jobs. |
| Download does nothing | The browser blocked a delayed or scripted download, or no PNG was encoded. | Start capture directly from the user’s click handler, check that a canvas was returned, and try the blob/object URL flow. |
| Module cannot be resolved | The installed package name differs from the one expected by the lockfile or current release. | Check the official repository’s current installation instructions, install that package, and restart the dev server. |
7. Performance, reliability, and cost
Client-side capture uses the visitor’s browser resources. Output cost is not a per-image API fee, but the work consumes CPU and memory on the device. Larger elements and higher scale increase pixel count, processing time, and memory use. Disable the button while one capture is running, avoid repeatedly capturing on every reactive update, and report failure so the user can retry.
The result depends on the current DOM, available fonts and images, browser support, and cross-origin configuration. If the file is business-critical, keep an export preview or retry path and validate the actual PNG in the browsers and devices your users rely on.
8. Or skip the browser setup
If you need a screenshot of a rendered web page rather than a client-side canvas export, ScreenshotNeo provides a website screenshot API and MCP server. One GET request returns PNG, JPEG, WebP, or PDF. See the API documentation.
curl -G "https://api.screenshotneo.com/v1/shot" -d access_key=YOUR_API_KEY --data-urlencode url=https://stripe.com -o shot.webpimport requests
r = requests.get(
"https://api.screenshotneo.com/v1/shot",
params={"access_key": "YOUR_API_KEY", "url": "https://stripe.com"},
timeout=90,
)
r.raise_for_status()
open("shot.webp", "wb").write(r.content)const q = new URLSearchParams({ access_key: 'YOUR_API_KEY', url: 'https://stripe.com' });
const res = await fetch(`https://api.screenshotneo.com/v1/shot?${q}`);
if (!res.ok) throw new Error(`Screenshot request failed: ${res.status}`);
const image = await res.arrayBuffer();ScreenshotNeo accepts cookie and consent banners like a visitor, then removes more than 60 known consent platforms, newsletter popups, and chat widgets before capture; each step can be turned off. Bot checks and CAPTCHAs, blank pages, timeouts, failed loads, and cache hits are not billed, and response headers identify the page verdict and billing status. Its MCP server gives AI agents tools to take screenshots, get page information, and capture PDFs. The free plan includes 1,000 shots per month with no card; paid plans start at $5 for 3,000 shots. A page screenshot captures a URL, so it is not a replacement for exporting arbitrary unsaved client-side state from a Vue component.
Sign up for 1,000 free screenshots a month with no card.
FAQ
Can I download only one component?
Yes. Attach the template ref to the exact DOM wrapper you want and pass that element to html2canvas.
Does the component need to be mounted?
Yes. The ref must point to a rendered element in the browser before capture begins.
Can I make the PNG transparent?
Set backgroundColor: null and ensure the captured content itself does not paint an opaque background.
Can I use this in a Vue server-rendered route?
The capture itself needs a browser DOM and canvas, so run it on the client after mount rather than during server rendering.


