How to Create a Downloadable Image from HTML and CSS
Render an HTML element to a downloadable PNG with html2canvas, handle CSS and cross-origin limits, and choose a real-browser screenshot when needed.
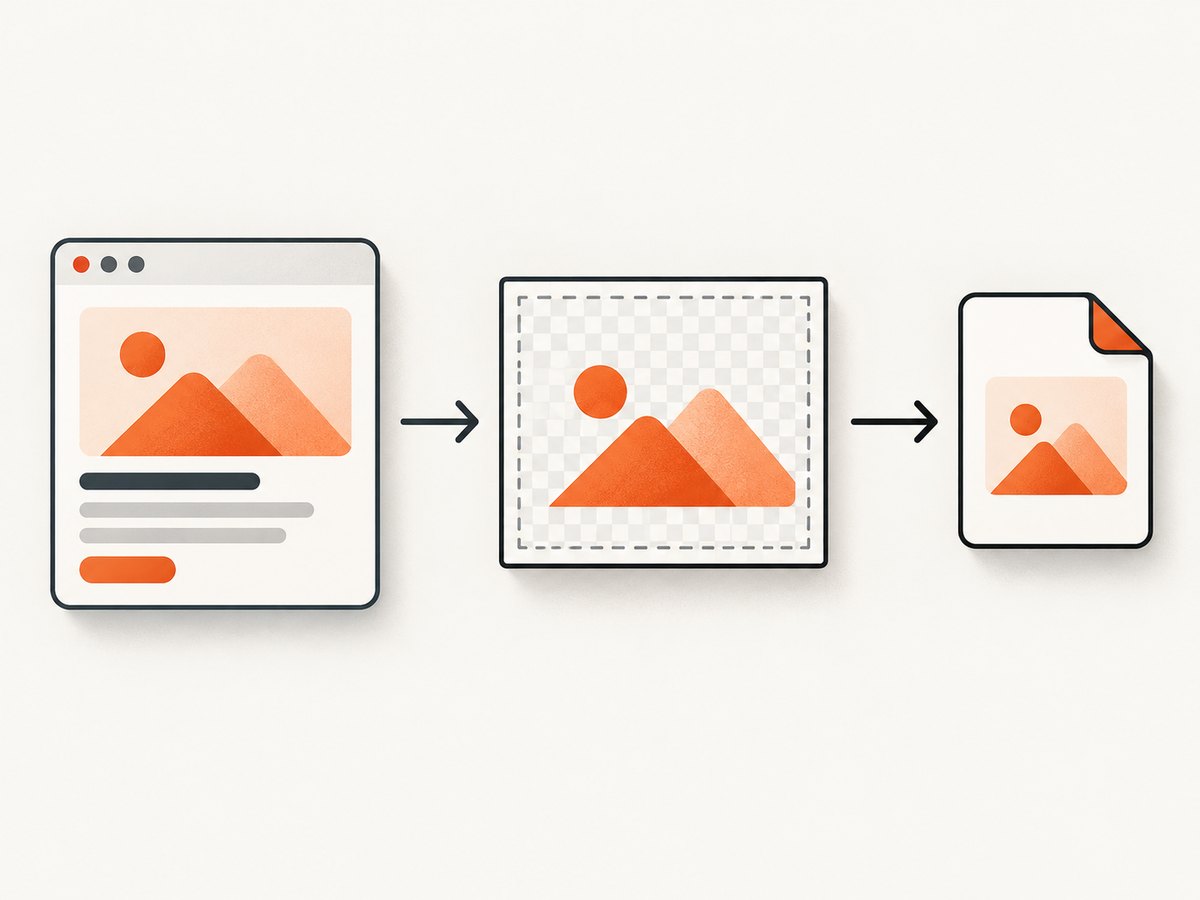
To create a downloadable image from HTML and CSS in a browser, select the element, render it to a canvas with html2canvas, convert the canvas to a PNG data URL, then click a temporary download link. This works well for supported DOM and CSS, but html2canvas reconstructs the page from DOM properties; it does not capture the browser’s actual pixels. For exact browser rendering or server-side output, use a real-browser capture workflow instead.
1. Install html2canvas and make a downloadable PNG
This complete example creates a styled card and a button that downloads it as card.png. It runs in a browser, where the DOM and canvas APIs are available.
<!doctype html>
<html lang="en">
<head>
  <meta charset="utf-8">
  <meta name="viewport" content="width=device-width, initial-scale=1">
  <title>Download an HTML element as an image</title>
  <script src="https://cdn.jsdelivr.net/npm/html2canvas@1.4.1/dist/html2canvas.min.js"></script>
  <style>
    body { font: 16px system-ui, sans-serif; padding: 2rem; background: #f3f4f6; }
    #card { width: 420px; padding: 28px; color: #172033; background: white;
      border-radius: 16px; box-shadow: 0 12px 32px #18243a20; }
    #card h1 { margin-top: 0; }
    button { margin-top: 1rem; padding: .7rem 1rem; cursor: pointer; }
  </style>
</head>
<body>
  <article id="card">
    <h1>A shareable card</h1>
    <p>This HTML and CSS will be rendered into a PNG file.</p>
  </article>
  <button id="download">Download image</button>
  <script>
    document.querySelector('#download').addEventListener('click', async () => {
      const element = document.querySelector('#card');
      const canvas = await html2canvas(element, {
        scale: window.devicePixelRatio || 1,
        backgroundColor: null
      });
      const link = document.createElement('a');
      link.download = 'card.png';
      link.href = canvas.toDataURL('image/png');
      link.click();
    });
  </script>
</body>
</html>
For a project using a package manager, install the library with npm install html2canvas, then import it from your application module:
import html2canvas from 'html2canvas';

const element = document.querySelector('#card');
if (!element) throw new Error('Capture target #card was not found');
const canvas = await html2canvas(element);
const link = document.createElement('a');
link.download = 'card.png';
link.href = canvas.toDataURL('image/png');
link.click();
Use an explicit user action, such as a button click, to initiate the download. That gives browsers a clear download gesture and lets you report capture failures in the page UI. The html2canvas project documentation describes the element rendering workflow and configuration.
2. Choose the element, output dimensions, and background
The first argument is the element to render. Give the target a stable selector and check that it exists before capture. A missing selector returns no element, so the application should display an error rather than attempt a render.
By default, the rendered bounds come from the selected element. For a custom rectangular region, pass coordinates and dimensions in the options:
const canvas = await html2canvas(document.querySelector('#card'), {
  x: 0,
  y: 0,
  width: 800,
  height: 450,
  scale: 2
});
Coordinates and dimensions determine the region rendered; ensure the intended content lies inside that region. Use scale to change output resolution. A scale of 2 generally produces twice as many canvas pixels in each dimension as a scale of 1, which can improve sharpness for high-density displays but increases pixel count and memory use. A high scale is not a fix for unsupported CSS.
| Setting | Use | Practical consideration |
|---|---|---|
scale |
Adjust pixel density. | Higher values use more memory and create larger output. |
backgroundColor |
Set a solid canvas background. | Use a CSS color such as '#fff'; set null for transparency. |
x, y, width, height |
Set the capture region. | Check clipping, especially for content that overflows the element. |
useCORS |
Attempt to load permitted cross-origin images for canvas use. | The image host still must grant access using CORS headers. |
foreignObjectRendering |
Use the browser’s foreign-object rendering path where applicable. | It does not promise full CSS parity or override origin policy. |
onclone |
Adjust the cloned document used for rendering. | Useful for capture-only style changes without altering the live page. |
Elements marked with data-html2canvas-ignore are excluded. Add it to controls or decoration that should not appear in the downloaded image:
<button data-html2canvas-ignore>Edit</button>For programmatic control, onclone receives the cloned document. For example, you can hide an element in the clone before rendering:
const canvas = await html2canvas(document.querySelector('#card'), {
  onclone(clonedDocument) {
    const control = clonedDocument.querySelector('.capture-only-hide');
    if (control) control.style.display = 'none';
  }
});
3. Wait for content and handle images safely
Start the render after the target’s content and styles are ready. If the element includes images, wait for them to finish loading. Web fonts may also change layout when they load, so wait for the document’s font set before capture:
await document.fonts.ready;
await Promise.all([...document.querySelectorAll('#card img')].map(img => {
  if (img.complete) return Promise.resolve();
  return new Promise(resolve => {
    img.addEventListener('load', resolve, { once: true });
    img.addEventListener('error', resolve, { once: true });
  });
}));
const canvas = await html2canvas(document.querySelector('#card'));
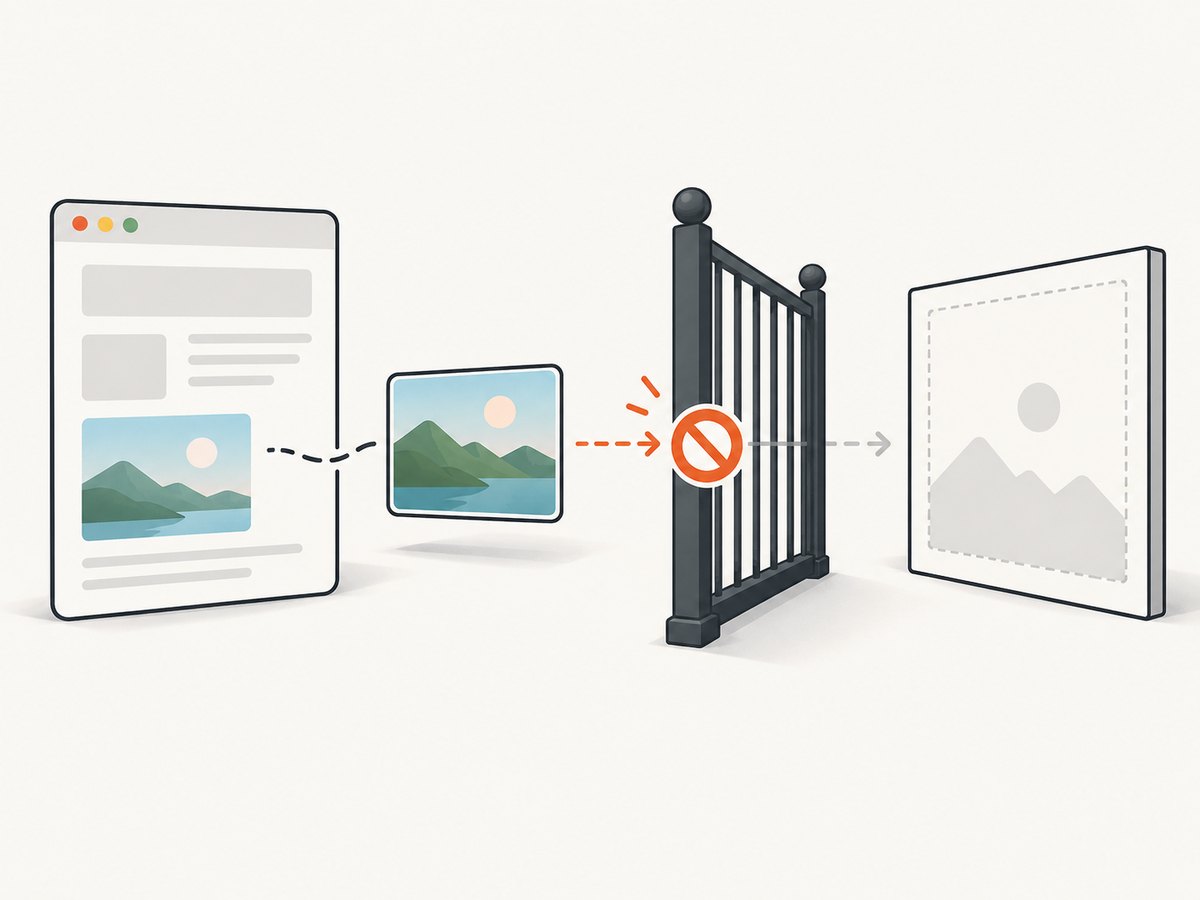
A cross-origin image can taint a canvas unless the remote host allows it. Set useCORS: true to request image loading with CORS, but this option does not grant permission. The asset server must send suitable CORS headers. If it does not, host the asset on the same origin or use a proxy that is allowed to retrieve and serve it. The browser’s origin restrictions exist to prevent a page from reading data it is not authorized to access; html2canvas cannot bypass them. See MDN’s CORS-enabled images guide and the html2canvas FAQ.
After rendering, canvas.toDataURL('image/png') creates a PNG data URL. If the canvas is tainted by a prohibited resource, exporting it can fail with a security error. Fix the resource permissions or remove the offending image before capture. Very large canvases can also consume substantial memory; reduce the capture area or scale if the browser fails while rendering or exporting.
4. Choose an image format and download method
PNG is a good default for text, interface elements, and transparency. Canvas export also commonly supports JPEG and WebP in browsers that implement those encodings. JPEG has no transparency, so choose an explicit background color when using it. For JPEG or WebP, pass the MIME type to toDataURL:
const type = 'image/jpeg';
const canvas = await html2canvas(document.querySelector('#card'), {
  backgroundColor: '#ffffff'
});
const link = document.createElement('a');
link.download = 'card.jpg';
link.href = canvas.toDataURL(type, 0.9); // quality applies to lossy formats
link.click();
For a file-like object instead of a base64 data URL, use toBlob. This avoids constructing a large base64 string and is often a better fit for larger captures:
const canvas = await html2canvas(document.querySelector('#card'));
const blob = await new Promise(resolve => canvas.toBlob(resolve, 'image/png'));
if (!blob) throw new Error('PNG encoding failed');
const objectUrl = URL.createObjectURL(blob);
const link = document.createElement('a');
link.href = objectUrl;
link.download = 'card.png';
link.click();
setTimeout(() => URL.revokeObjectURL(objectUrl), 1000);
Set the filename through the anchor’s download property. Browsers can apply their own download behavior, and the file is produced on the user’s device; this method does not upload it to your server. If you need server storage, send the resulting blob to an endpoint you control and apply your usual authentication and upload limits.
5. Understand fidelity and choose the right rendering approach
html2canvas traverses the DOM and recreates a representation from the CSS properties it understands. It does not take a literal screenshot of browser pixels, and its documentation warns that CSS support is incomplete. Some styles may render differently or be omitted. Test the actual elements and CSS features your application uses, especially when the image is customer-facing or must match a design precisely. See the html2canvas documentation.
Use client-side rendering when the user is viewing the page and needs a local download, and when the DOM/CSS features in use render acceptably. If you need a screenshot of a URL on a server, a real browser is a separate approach; the html2canvas FAQ names Puppeteer and Playwright as options to investigate. Compare them against your rendering fidelity needs, asset access model, deployment environment, and operational cost. The research sources do not establish a universal winner between those tools.
html2canvas is browser-only and is not suitable for Node.js by itself because it depends on browser APIs. In Node, use a real-browser automation or screenshot service that provides a browser rendering environment. Choose whether output should be generated locally or on a server based on privacy, repeatability, and where the page can be accessed.
6. Or skip the browser setup
If you need a screenshot of a live page rather than a DOM element already open in the user’s browser, ScreenshotNeo returns an image or PDF from one request. Its API supports PNG, JPEG, and WebP, along with full-page captures, CSS selector element captures, viewport and device presets, retina scale, custom CSS and JavaScript, and wait conditions. See the ScreenshotNeo API documentation for parameters and setup.
curl -G "https://api.screenshotneo.com/v1/shot" -d access_key=YOUR_API_KEY --data-urlencode url=https://stripe.com -o shot.webpimport requests
r = requests.get("https://api.screenshotneo.com/v1/shot", params={"access_key": "YOUR_API_KEY", "url": "https://stripe.com"}, timeout=90)
open("shot.webp", "wb").write(r.content)const q = new URLSearchParams({ access_key: 'YOUR_API_KEY', url: 'https://stripe.com' });
const res = await fetch(`https://api.screenshotneo.com/v1/shot?${q}`);
if (!res.ok) throw new Error(`Screenshot request failed: ${res.status}`);
const image = await res.arrayBuffer();
// Save image using your runtime's file API.Replace YOUR_API_KEY with your key and set the URL to the page you want captured. ScreenshotNeo removes cookie and consent banners, newsletter popups, and chat widgets before capture; each cleanup step can be turned off. Bot checks, blank pages, timeouts, failed loads, and cache hits are not billed, with response headers indicating the page verdict and billing status. It also offers an MCP server with take_screenshot, get_page_info, and capture_pdf tools for AI agents. The free plan includes 1,000 shots per month without a card; paid plans start at $5 for 3,000 shots. Every feature is on every plan.
Sign up for 1,000 free screenshots a month, no card required.
7. Troubleshooting common problems
| Symptom | Likely cause | Fix |
|---|---|---|
| Some CSS or effects are missing. | html2canvas does not support every CSS property and reconstructs the DOM rather than capturing pixels. | Check the library’s supported behavior and test the target styles. If faithful browser pixels are required, evaluate a real-browser capture route. |
| An image is blank, or export raises a security error. | A cross-origin resource lacks permission for canvas access. | Use useCORS: true only when the asset host sends the required CORS headers; otherwise use same-origin hosting or an authorized proxy. |
| Text wraps differently or appears in a fallback font. | The web font or layout had not settled when capture began. | Await document.fonts.ready, wait for images, and capture after the component has finished rendering. |
| The image is cropped. | The selected element bounds or custom region omit content. | Capture the correct ancestor or set suitable x, y, width, and height; check overflow and scroll-dependent content. |
| The download button does nothing. | The capture promise rejected, the element selector is invalid, or browser download behavior blocks the action. | Check the selector, catch and display errors, and initiate download from a direct user click handler. |
| Capture crashes on a large page. | Large dimensions and high scale increase canvas memory use. | Reduce the region or scale, capture smaller sections, and avoid needless data URL copies by using toBlob. |
| It fails in a Node process. | html2canvas requires browser APIs and a DOM. | Run it in the browser or use a server-side real-browser approach such as investigating Puppeteer or Playwright. |
8. Performance, reliability, and cost considerations
Client-side capture avoids running a browser service on your server, but work and memory use occur on the user’s device. Keep the selected region as small as the use case allows, choose a scale that meets display or print requirements, and avoid rerendering the same content unnecessarily. PNG can be large for photographic content; JPEG or WebP may reduce size when transparency is not needed and those formats are acceptable for your users.
For reliable output, make capture timing explicit: wait for fonts, images, and application data; handle rejected promises; check that the element exists; and tell users when a capture cannot be created. Test representative browsers and the CSS features that matter to your product. Do not assume that a screenshot which works in one browser has identical output everywhere.
There is no per-request service charge for an entirely local html2canvas render, though engineering and user-device costs still matter. A server-side browser introduces infrastructure and operational work; a hosted API has a plan cost and request limits to evaluate. ScreenshotNeo’s listed plans are Free at 1,000 shots/month, Starter $5 for 3,000, Growth $15 for 15,000, Pro $39 for 60,000, Scale $99 for 250,000, and Business $249 for 1,000,000; yearly billing gives two months free. Only clean shots are billed, and all features are included on every plan. Use the API response’s X-Page-Verdict and X-Billed headers to see the reported result and billing status.
9. Frequently asked questions
Can I turn a whole page into an image?
Yes, render the page element or another suitable root element. For long pages, consider the canvas memory cost and whether the page’s full content has loaded; a smaller target or server-side capture may be more reliable.
Can I create the image without showing a download dialog?
The anchor download flow asks the browser to download a file and browser behavior is user-controlled. If your application needs to store or process the image, generate a blob and upload it to your own authorized endpoint.
Can html2canvas create a PDF?
html2canvas itself renders to canvas. A PDF workflow requires another library or a browser capture service that supports PDF output. ScreenshotNeo’s API supports PDF captures with paper size, margins, landscape, and page ranges.
Does enabling useCORS make every remote image work?
No. The remote server must allow cross-origin access. If it does not, use an authorized proxy or serve the resource from the same origin.


