How to Draw a Screenshot Preview Window
Learn how to frame a screenshot in browser or desktop window chrome, add annotations, choose export settings, and automate clean captures with ScreenshotNeo.
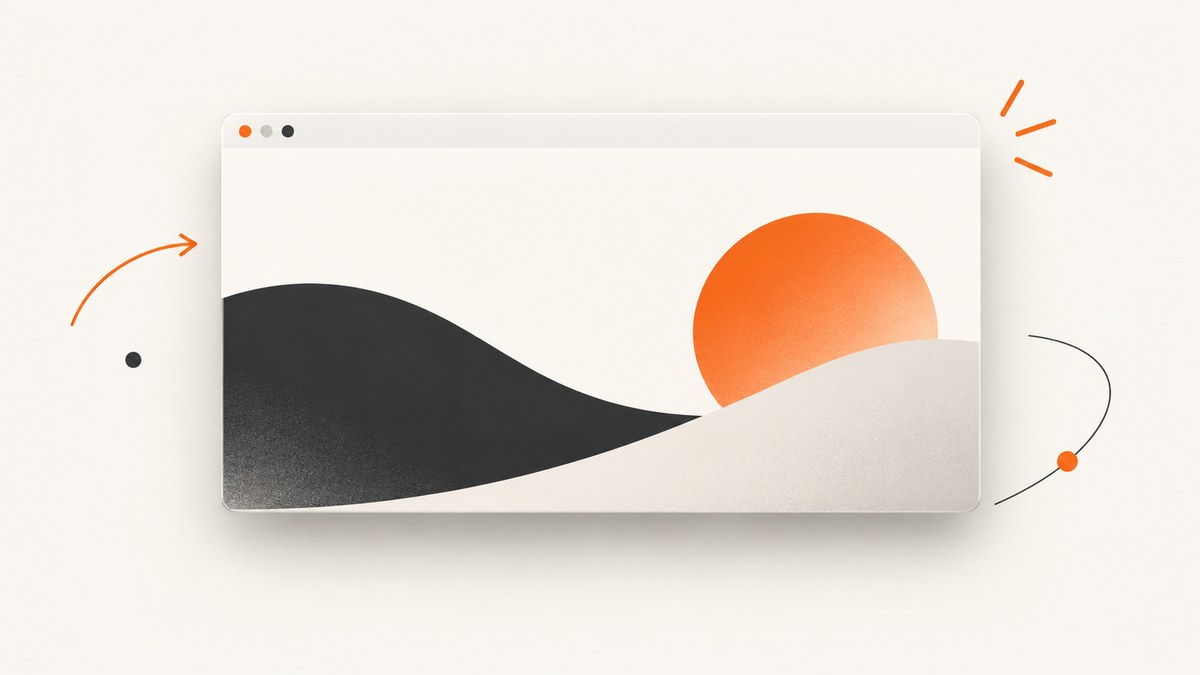
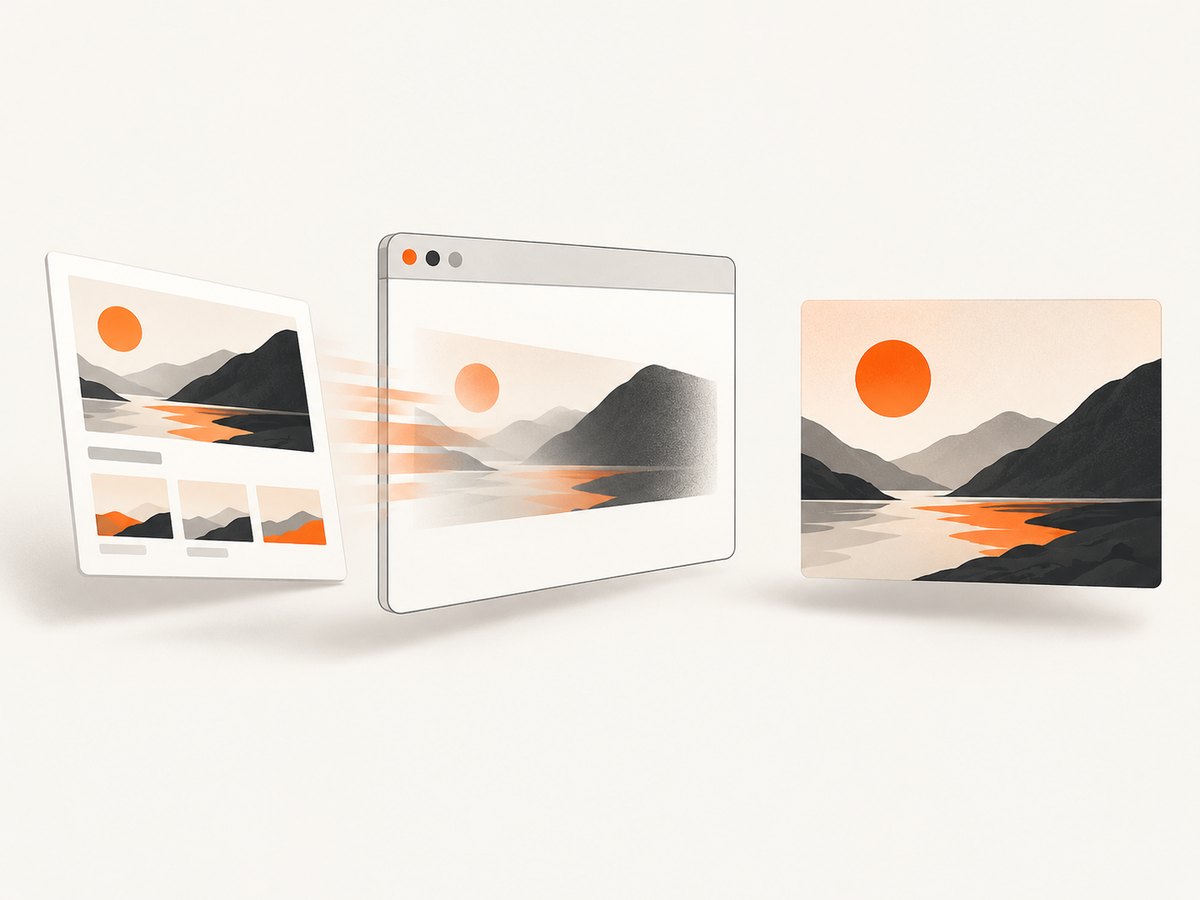
A screenshot preview window is a composition: place the screenshot inside suitable browser or desktop window chrome, give it enough padding and contrast, then export the canvas at the dimensions required by its destination. Use browser chrome for a website and macOS or Windows chrome for a desktop application.
1. Prepare the screenshot
Start with a PNG, JPEG, or WebP screenshot. Crop distracting material while keeping enough surrounding interface to explain what the viewer is seeing. Remove passwords, personal data, API keys, customer information, and private URLs before importing the image.
- Use a full-page image when the page structure matters.
- Use an element crop when one control or panel is the subject.
- Prefer PNG for small interface text or transparency; JPEG is smaller but opaque; WebP is useful for web delivery.
2. Choose the window frame
Match the frame to the thing being shown:
| Screenshot subject | Recommended frame | Why |
|---|---|---|
| Website | Browser chrome | Signals that the image is a page viewed in a browser. |
| Desktop application | macOS or Windows window | Matches the operating-system context. |
| Concept art or UI detail | Plain window or image-only frame | Keeps attention on the pixels instead of implying a platform. |
Editors such as DrishLabs Screenshot Mockup describe browser, macOS, and plain window chrome. Screenshot Studio lists Safari, Chrome, macOS, and Windows frames. Screenshot.Rocks also provides browser and image-only styles.
3. Build the composition in an editor
- Create a canvas with the final aspect ratio and pixel dimensions.
- Place the screenshot inside the frame’s content area.
- Set padding so the frame does not touch the canvas edge.
- Choose a corner radius that follows the frame style.
- Add a thin border only when the screenshot and background need separation.
- Use a soft shadow to lift the window from the background.
- Pick a background with contrast against both the frame and screenshot.
Keep effects restrained. Heavy gradients, large labels, and strong shadows reduce the legibility of small interface text.
4. Draw a preview window with HTML and CSS
For repeatable output, a small HTML template gives you precise control. Save this as preview.html, replace screenshot.png, and open it in a browser.
<!doctype html>
<html lang="en">
<meta charset="utf-8">
<title>Screenshot preview</title>
<style>
  :root {
    --canvas: #e9edf3;
    --window: #ffffff;
    --bar: #f4f5f7;
    --border: #d8dce3;
    --shadow: 0 24px 60px rgba(22, 30, 45, .22);
  }
  * { box-sizing: border-box; }
  body {
    margin: 0;
    min-height: 100vh;
    display: grid;
    place-items: center;
    padding: 64px;
    background: var(--canvas);
    font-family: system-ui, sans-serif;
  }
  .window {
    width: min(1200px, 100%);
    overflow: hidden;
    border: 1px solid var(--border);
    border-radius: 16px;
    background: var(--window);
    box-shadow: var(--shadow);
  }
  .titlebar {
    height: 44px;
    display: flex;
    align-items: center;
    gap: 8px;
    padding: 0 16px;
    background: var(--bar);
    border-bottom: 1px solid var(--border);
  }
  .dot { width: 12px; height: 12px; border-radius: 50%; }
  .red { background: #ff5f57; }
  .yellow { background: #febc2e; }
  .green { background: #28c840; }
  .content { display: block; width: 100%; height: auto; }
</style>
<main class="window" aria-label="Screenshot preview window">
  <div class="titlebar" aria-hidden="true">
    <span class="dot red"></span>
    <span class="dot yellow"></span>
    <span class="dot green"></span>
  </div>
  <img class="content" src="screenshot.png" alt="Website screenshot">
</main>
</html>
For a browser-style frame, replace the traffic-light controls with an address bar and browser tabs. For a transparent export, remove the body background and use a PNG workflow.
5. Add instructional markup separately
A frame presents the screenshot; annotations explain where to look. Add arrows, rectangles, ellipses, highlights, blur, callouts, or step numbers only where they answer a specific question. DrawShot documents these annotation tools, while Screenshot.Rocks describes markup controls such as arrows and rectangles.
- Use one accent color consistently.
- Keep lines outside important text where possible.
- Blur secrets before adding the frame.
- Do not use an arrow when a simple crop already makes the target obvious.
6. Set canvas size and export scale
Choose the destination before styling the mockup: documentation, a presentation, a social card, or a store listing may each need a different aspect ratio. Export dimensions are the canvas dimensions multiplied by the scale factor. For example, a 1200 × 800 canvas at 2× exports at 2400 × 1600 pixels.
| Format | Best use | Tradeoff |
|---|---|---|
| PNG | Small text, line art, transparency | Larger files than JPEG in many cases |
| JPEG | Opaque images where size matters | Compression artifacts around text |
| WebP | Web delivery | Check destination compatibility |
| SVG | Editor interchange | A raster screenshot inside SVG remains raster |
7. Automate the frame with Playwright
When you need the same window treatment for many screenshots, render the HTML template in a browser and capture the rendered element.
import { chromium } from 'playwright';

const browser = await chromium.launch();
const page = await browser.newPage({ viewport: { width: 1400, height: 1000 }, deviceScaleFactor: 2 });
await page.goto('file:///absolute/path/preview.html');
await page.locator('.window').screenshot({ path: 'preview-window.png', animations: 'disabled' });
await browser.close();
Use an absolute file URL, wait for the screenshot image to finish loading, and set the viewport and device scale factor explicitly so output is reproducible.
8. Capture the source screenshot with ScreenshotNeo
If you still need to capture the website before drawing the frame, ScreenshotNeo returns PNG, JPEG, WebP, or PDF from one GET request. It can load lazy images, capture a CSS-selected element, set a viewport or device preset, use dark mode or retina scale, wait for a selector, delay, or network idle, and apply custom CSS or JavaScript. See the ScreenshotNeo API documentation for the complete option list.
cURL
curl -G "https://api.screenshotneo.com/v1/shot" -d access_key=YOUR_API_KEY --data-urlencode url=https://stripe.com -o shot.webpPython
import requests
r = requests.get("https://api.screenshotneo.com/v1/shot", params={"access_key": "YOUR_API_KEY", "url": "https://stripe.com"}, timeout=90)
r.raise_for_status()
open("shot.webp", "wb").write(r.content)
Node.js
const q = new URLSearchParams({ access_key: 'YOUR_API_KEY', url: 'https://stripe.com' });
const res = await fetch(`https://api.screenshotneo.com/v1/shot?${q}`);
if (!res.ok) throw new Error(`HTTP ${res.status}`);
const fs = await import('node:fs/promises');
await fs.writeFile('shot.webp', Buffer.from(await res.arrayBuffer()));
Or skip the browser setup
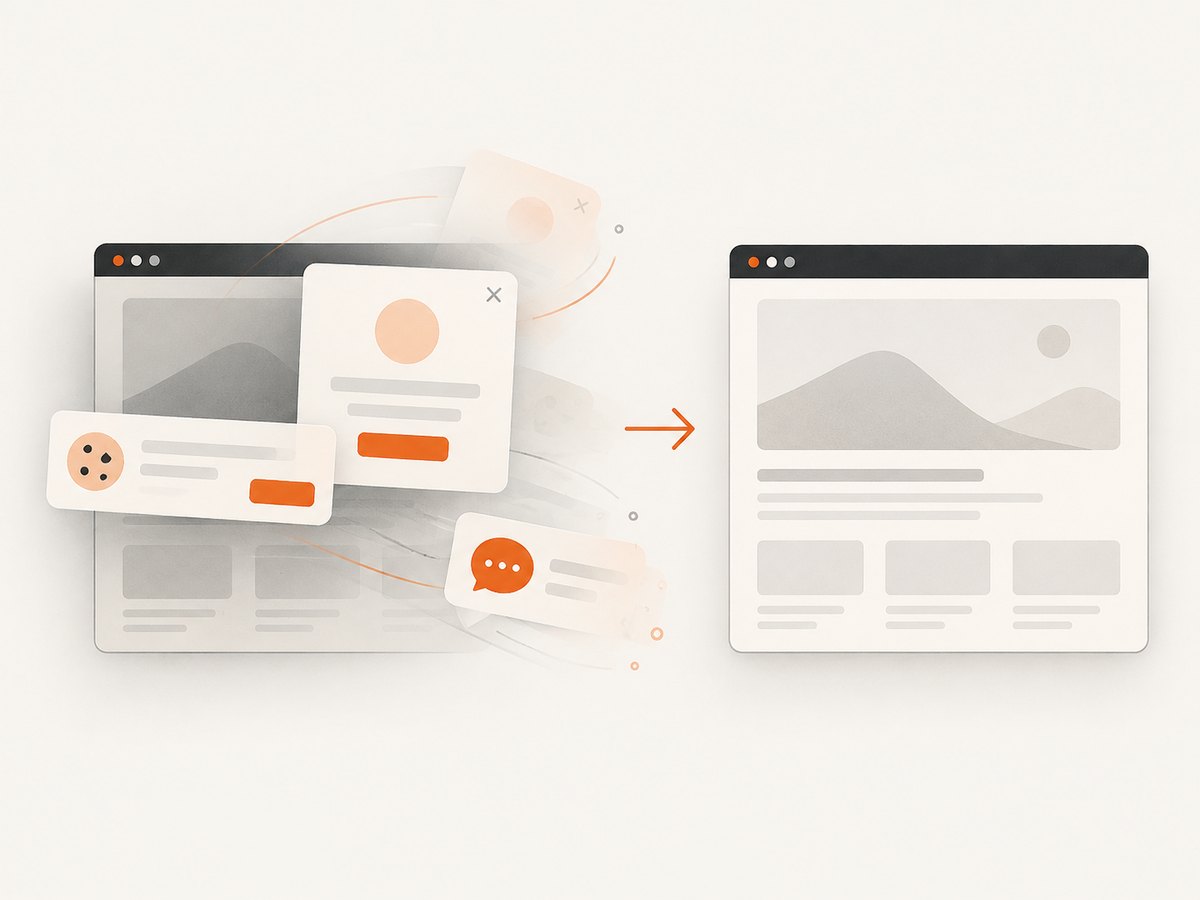
ScreenshotNeo removes cookie banners, newsletter popups, and chat widgets before the shot. Bot checks, blank pages, timeouts, failed loads, and cache hits are not billed, and the response identifies the result with X-Page-Verdict and X-Billed headers. Its MCP server lets Claude, Cursor, and other MCP clients use take_screenshot, get_page_info, and capture_pdf. You get 1,000 screenshots a month free with no card; paid plans start at $5 for 3,000 shots.
curl -G "https://api.screenshotneo.com/v1/shot" -d access_key=YOUR_API_KEY --data-urlencode url=https://stripe.com -o shot.webpCreate a free ScreenshotNeo account and use the returned image as the content layer in the preview-window template.
9. Troubleshooting
| Symptom | Likely cause | Fix |
|---|---|---|
| Frame is clipped | Canvas is smaller than the window plus padding | Increase canvas dimensions or reduce outer padding. |
| Screenshot looks stretched | Width and height were forced independently | Set one dimension to auto and preserve the source aspect ratio. |
| Text is unreadable | Export is too small or shadow competes with content | Use a larger canvas, 2× export, and a lighter shadow. |
| Transparent areas become white | JPEG export or an opaque background | Export PNG and remove the page background. |
| Lazy images are missing | Capture occurred before content loaded | Wait for a selector, delay, or network idle; ScreenshotNeo can load lazy images. |
| Capture shows a consent dialog | Banner appeared after navigation | Accept or remove it before capture, or use ScreenshotNeo’s consent cleanup. |
| Automation returns an error | Invalid URL, access key, timeout, or blocked page | Check the URL and key, increase timeout where supported, inspect HTTP status and response headers, and retry transient failures. |
10. Performance, reliability, and cost
- Reuse the same frame template and CSS for batch work.
- Capture at the final viewport instead of resizing a tiny image upward.
- Use caching with a chosen TTL when the source does not change frequently.
- For many URLs, ScreenshotNeo supports bulk capture of up to 100 URLs per call and asynchronous jobs with signed webhooks.
- Use signed links when a public
<img>tag needs time-limited access. - Check
X-Page-VerdictandX-Billedto distinguish a clean billed shot from a failed or non-billable result.
FAQ
Should a website screenshot use browser or macOS chrome?
Use browser chrome for a website. Reserve macOS or Windows chrome for a desktop application.
Can I annotate before adding the frame?
Yes. Annotate the source first when marks should point into the interface; add the frame afterward so shadows and borders do not cover them.
Does an SVG export make my screenshot vector?
No. An SVG can contain an embedded raster image; the screenshot pixels remain raster.
How do I protect private information?
Redact it before export, review the final file at display size, and check the editor’s image-processing policy. The products in the research dossier describe different browser and server workflows.


