How to Generate Dynamic OG Images in Astro
Generate page-specific Open Graph images in Astro from route or content data, then add their public URLs to each page’s metadata.

To generate a dynamic Open Graph (OG) image in Astro, create an image from each page’s route or content data, make that image publicly reachable, and put its absolute URL in the page’s og:image meta tag. For a static or build-oriented site, @reunmedia/astro-og-images provides a template workflow: render a template with page data, await ogImage(), and use the returned URL in your head. If you prefer managed image delivery, Astro’s ImageKit guide documents an SDK that can generate OG metadata or return a transformed image URL.
The key choice is when the image is generated. Build-time output suits known routes and content that changes with deployments. Request-time generation suits content that changes independently, but requires a server or on-demand function, caching, and limits on user-controlled inputs. In either case, social crawlers need a public absolute URL, not a local development address.
1. Choose when and where to generate the image
| Approach | Best fit | Trade-offs |
|---|---|---|
| Build-time template | Static pages and content known during the build | Predictable deployment artifacts; content changes require a rebuild. |
| Managed CDN transformations | Teams already using a hosted image service | Image delivery and transformations are hosted; confirm account pricing, limits, and cache behavior. |
| Request-time rendering | Frequently changing or user-specific content | Needs an Astro server adapter or on-demand runtime, cache policy, and input protection. |
The ReunMedia integration documents static-build and development support. Its README says a custom SSR implementation is possible; do not assume request-time support is automatic. Astro’s integration directory also lists other image-related options, including astro-og-canvas, astro-opengraph-images, satori-astro, astro-takumi, and astro-cards. Compare their current rendering model, adapter needs, font and asset handling, output format, caching, and maintenance before adopting one.
2. Generate images with @reunmedia/astro-og-images
This example follows the documented template pattern. It uses a title as page data, renders markup, awaits an image URL, and emits the URL into the head. Check the integration README for the version-specific API and configuration details when installing.
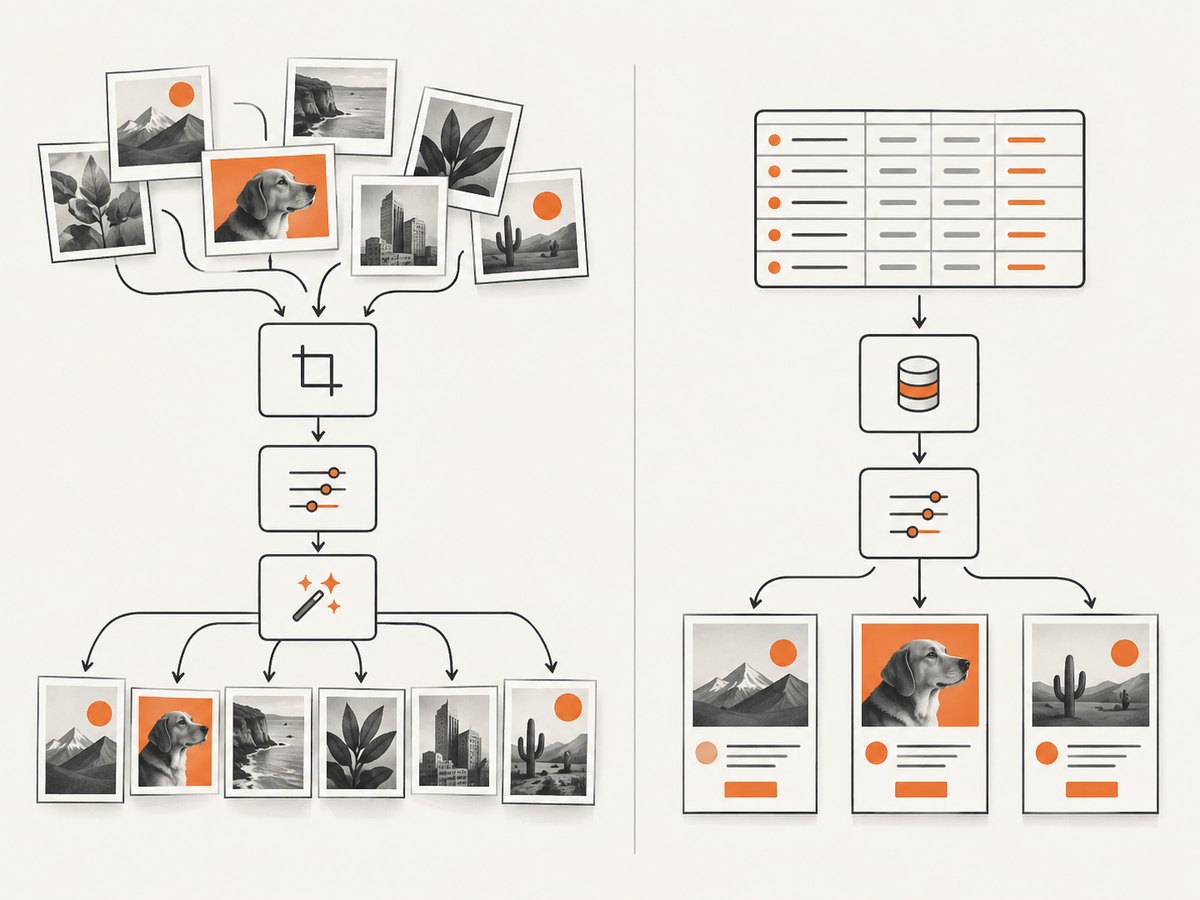
Install and configure
pnpm astro add @reunmedia/astro-og-imagesAlternatively, add the package with pnpm add @reunmedia/astro-og-images. Configure a valid canonical site URL in astro.config.mjs, and provide at least one font as required by the integration. A minimal shape is:
// astro.config.mjs
import { defineConfig } from 'astro/config';
import ogImages from '@reunmedia/astro-og-images';

export default defineConfig({
  site: 'https://example.com',
  integrations: [ogImages({
    // Configure at least one font using the integration's documented format.
  })],
});
Use the package’s README for the exact font option schema for the version you install; font configuration is required, and inventing an option shape can lead to a failed build. The integration uses htm by default, so React is not required. JSX is also supported.
Create a page-specific template
The core documented flow is to import ogImage(), provide a template, pass page data, await the result, and render it as a meta tag. The following illustrates that flow in an Astro page; adapt the template call to the installed integration version’s documented syntax.
---
import { ogImage } from '@reunmedia/astro-og-images';

const post = {
  title: 'How to Generate Dynamic OG Images in Astro',
  category: 'Astro Guides',
};

const template = (data) => `
  <div style="display:flex;flex-direction:column;justify-content:center;
              width:1200px;height:630px;padding:64px;background:#101827;
              color:#fff;font-family:Inter,sans-serif">
    <div style="font-size:24px;color:#93c5fd">${data.category}</div>
    <div style="font-size:64px;font-weight:700;line-height:1.1;
                margin-top:24px">${data.title}</div>
  </div>
`;

const imageUrl = await ogImage(template(post));
---
<html lang="en">
  <head>
    <meta charset="utf-8" />
    <meta property="og:title" content={post.title} />
    <meta property="og:type" content="article" />
    <meta property="og:image" content={imageUrl} />
  </head>
  <body>
    <slot />
  </body>
</html>
The example’s simple flex layout is deliberate. Image generation may use a renderer whose HTML and CSS support differs from a browser. Escape or otherwise safely handle content inserted into markup, especially if titles can be edited by untrusted users. Keep the template predictable rather than relying on complex browser layout behavior.
Feed it route and content data
For a content collection, generate the image in the page that already loads the entry. The important relationship is that the same record supplies the visible title and the image template.
---
import { getCollection } from 'astro:content';
import { ogImage } from '@reunmedia/astro-og-images';

const { slug } = Astro.params;
const posts = await getCollection('posts');
const post = posts.find((item) => item.slug === slug);
if (!post) return Astro.redirect('/404');

const template = (data) => `<div style="display:flex;width:1200px;height:630px;
  align-items:center;padding:64px;background:#182233;color:white;
  font-size:60px">${data.title}</div>`;
const imageUrl = await ogImage(template({ title: post.data.title }));
---
<html>
  <head>
    <meta property="og:title" content={post.data.title} />
    <meta property="og:image" content={imageUrl} />
  </head>
  <body>...</body>
</html>
Adapt collection loading and route parameters to your content model. If the integration reports that it cannot resolve sharp, install sharp directly in the project as the README advises.
3. Add complete social metadata
An image alone is not a complete social preview. Include the title and description that describe the page, and use an absolute, publicly reachable image URL. A crawler cannot fetch localhost, a private deployment, or an image that requires a logged-in browser session.
<head>
  <title>{post.data.title}</title>
  <meta name="description" content={post.data.description} />
  <meta property="og:type" content="article" />
  <meta property="og:title" content={post.data.title} />
  <meta property="og:description" content={post.data.description} />
  <meta property="og:url" content={`https://example.com/blog/${post.slug}/`} />
  <meta property="og:image" content={imageUrl} />
  <meta name="twitter:card" content="summary_large_image" />
</head>
Use your actual canonical page URL and the generated image URL. Check the deployed HTML source, not only the browser’s hydrated DOM, because social crawlers may consume the initial response without running client-side code.
4. Use ImageKit for managed image delivery
Astro’s official ImageKit guide documents the @imagekit/astro SDK. Its <OgImage /> component emits Open Graph and Twitter Card meta tags. If you manage tags yourself, getOgImageUrl() returns only a URL. The guide demonstrates an image transformation with width 1200 and height 630.
npm install @imagekit/astroConfigure the SDK with your ImageKit endpoint and account settings as described in its current Astro guide. Then choose one of two integration shapes:
---
import { OgImage } from '@imagekit/astro';
---
<head>
  <OgImage
    // Supply page-specific title and the documented image props here.
  />
</head>
Or request a URL and write the tags within your layout:
---
import { getOgImageUrl } from '@imagekit/astro';
const imageUrl = getOgImageUrl('/path/to/source-image.jpg', {
  transformation: [{ width: 1200, height: 630 }],
});
---
<meta property="og:image" content={imageUrl} />
Refer to the SDK guide for the exact endpoint configuration and component props for your version. An existing Astro project and an ImageKit account are prerequisites. Verify current account pricing, limits, and any affiliate terms independently; the technical integration documentation does not establish a referral program.
5. Build time or request time?
Build-time generation
Use build-time generation when routes and content are known during deployment. It gives you a finite set of artifacts to publish and avoids invoking a renderer for each crawler request. The trade-off is freshness: when titles, branding, or source content change, rebuild and deploy so the image and its metadata stay aligned.
Request-time generation
For on-demand images, use an Astro deployment with a server adapter or platform function that can execute the rendering route. Load route data, create the image, and return it with a deliberate cache policy. The ReunMedia README describes custom SSR implementation as possible, so treat this as deployment-specific engineering rather than a built-in assumption.
Do not let arbitrary query parameters produce unlimited unique renders. Validate titles and identifiers, cap input length, allowlist fonts and source images, and cache by a stable content revision or route key. Otherwise crawlers and malformed requests can increase rendering load and make cache behavior unpredictable. These are operational safeguards, not claims about a particular integration feature.
6. Preview and validate before publishing
- Build or run the site using the same mode you plan to deploy.
- Open each generated image URL and confirm it returns an image to an unauthenticated visitor.
- Inspect the generated HTML and verify that
og:imageis absolute and matches the intended page. - Preview representative pages: short and long titles, missing optional artwork, Unicode, and localized text.
- Check the final URL with the social platforms your audience uses, and verify how those platforms refresh cached previews.
- After updating page content, confirm that the image URL changes or that the relevant cache is invalidated.
The integration README specifically warns that HTML can render differently in Satori and recommends previewing the rendered image. Treat the output file as the source of truth; a template that looks right in a browser is not proof that its generated image will look identical.

7. Rendering and deployment checklist
- Site URL: Set a valid
sitein Astro config when using the ReunMedia integration. - Fonts: Supply at least one font in the integration’s supported configuration format.
- Dimensions: Keep the design in the 1200 × 630 landscape shape used by the documented ImageKit example unless your publishing requirements call for another size.
- Layout: Prefer straightforward flex-based composition and test the actual rendered output.
- Text: Define wrapping, line height, and a fallback for titles longer than the design can fit.
- Assets: Confirm external images and fonts are reachable in the build environment; prefer stable local assets where practical.
- Metadata: Render tags server-side or at build time, and use public absolute URLs.
- Caching: Decide how a changed title or image invalidates the old preview, both at your host and at social platforms.
- Runtime: For request-time output, confirm the selected adapter supports the rendering and file operations your implementation uses.
8. Troubleshooting common failures
| Symptom | Likely cause | Fix |
|---|---|---|
Build cannot resolve sharp |
The package is not present in the project dependency graph. | Install sharp directly, as the integration README recommends, then rebuild. |
| Generated URL is missing or invalid | Astro’s canonical site value is absent or malformed. |
Set the deployed site origin in astro.config.mjs and rebuild. |
| Font is absent or text falls back | No font was supplied, or its path/configuration does not match the package’s expected format. | Provide at least one valid font using the installed version’s documented configuration and preview again. |
| Image differs from template preview in browser | Satori supports a different subset of HTML and CSS than a full browser. | Simplify the layout, use supported styles, and inspect the generated image itself. |
| Social card shows no image | The URL is relative, private, localhost-only, blocked, or not present in initial HTML. | Use an absolute public URL, check the response without a session, and inspect deployed source HTML. |
| Old preview remains after deployment | A social platform or CDN still has a cached response. | Use the platform’s preview/debugging tool to request a refresh where available; version image URLs when content changes. |
| Long or localized title clips | The template assumes short text or lacks tested font coverage. | Set a maximum line count, reduce font size for long titles, and test representative scripts and punctuation. |
| SSR route works locally but not deployed | The production adapter or runtime differs, or custom SSR rendering was assumed to be automatic. | Verify adapter support, file access, and runtime constraints; follow the integration’s custom SSR guidance. |
9. Performance, reliability, and cost
Build-time generation shifts rendering work into the build and produces images before social crawlers request them. Large collections can increase build work and output count, so generate only the images you need and avoid unnecessary variation. Request-time generation moves that work to runtime; cache stable results and keep input cardinality bounded. A hosted image service moves delivery and transformations to that service, so account for its current pricing, limits, and cache rules.
Reliability depends on the full path: page data, rendering dependencies, font availability, image storage or CDN delivery, and crawler access. Keep image URLs stable until content changes, or include a content version in the URL so stale images can be replaced predictably. Monitor build failures and broken image responses as part of deployment checks. No universal performance or cost figure follows from the integration documentation; measure with your route count, deployment target, and chosen service.
10. Or skip the browser setup
If your actual goal is to capture a page as an image or PDF rather than design a branded OG card from content, ScreenshotNeo provides a website screenshot API and MCP server. It does not replace a page-data-driven OG template, but it can capture a rendered website with one request. See the API documentation for parameters.
curl -G "https://api.screenshotneo.com/v1/shot" -d access_key=YOUR_API_KEY --data-urlencode url=https://stripe.com -o shot.webpimport requests
r = requests.get("https://api.screenshotneo.com/v1/shot", params={"access_key": "YOUR_API_KEY", "url": "https://stripe.com"}, timeout=90)
open("shot.webp", "wb").write(r.content)const q = new URLSearchParams({ access_key: 'YOUR_API_KEY', url: 'https://stripe.com' });
const res = await fetch(`https://api.screenshotneo.com/v1/shot?${q}`);ScreenshotNeo accepts cookie or consent banners like a visitor and removes 60+ known consent platforms, newsletter popups, and chat widgets before capture; each step can be turned off. Bot checks and CAPTCHAs, blank pages, timeouts, failed loads, and cache hits cost nothing, and response headers report the page verdict and billing status. Its MCP server offers take_screenshot, get_page_info, and capture_pdf tools for AI agents. The free plan includes 1,000 shots a month with no card; paid plans start at $5 for 3,000 shots. Create a free ScreenshotNeo account to try 1,000 screenshots per month without a card.
11. Frequently asked questions
Does every Astro page need a separate image file?
Every page should resolve to the intended preview image, but the generation method can reuse a template and derive its content from each route. Avoid generating duplicate variants that differ only in unnecessary parameters.
Can I use a screenshot of the page itself as the OG image?
You can capture a rendered page, but a screenshot is not the same as a designed preview card. For page-specific title layouts, create an image template from content data. Use capture when the page appearance itself is what you want to share.
Does the ReunMedia integration require React?
No. Its README says it uses htm by default, and JSX is supported as an option.
Should I use ImageKit if I only have a few pages?
Choose based on whether you want hosted transformations and already have a suitable account. The technical guide documents the Astro integration; it does not establish that a hosted service is the cheapest choice for every project.
What should I do when image content changes but the URL does not?
Use a versioned URL or an explicit cache invalidation strategy, then request a fresh preview from the social platform when it offers that capability.


