How to Create a Dynamic Social Media Banner with an Event Countdown
Create a readable event banner for each social destination, and choose whether its countdown should be fixed, animated, or truly time-updating.
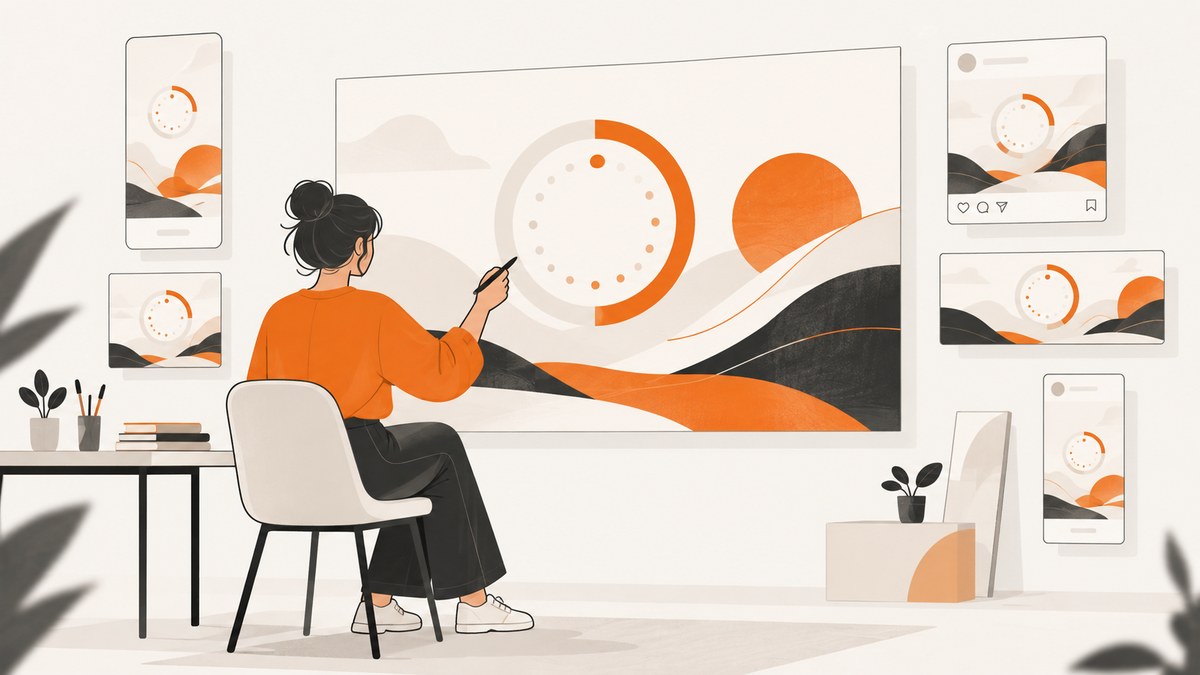
A dynamic social media banner can mean a graphic with motion, or a countdown that updates as the event gets closer. Those are different things. A still image exported today will keep showing the date or number you designed into it; it will not count down by itself. Start by choosing the social destination and the countdown behavior, then design, export, inspect, and publish an asset that fits both.
This guide covers the design workflow, sizing, countdown options, export checks, a small DIY browser capture example for reviewing the published banner, and ways to troubleshoot common problems.
1. Decide what “dynamic” means for your event
Before opening a design editor, answer one question: does the audience need to see a countdown that changes automatically, or a promotional graphic that feels lively and shows a useful date or number?
| Countdown type | What the audience sees | What you need to maintain |
|---|---|---|
| Fixed graphic | A date, “7 days to go,” or another value baked into the image | Update and export the asset manually as time passes |
| Animated graphic | Motion or changing numbers across frames or a video timeline | Choose an export format the destination plays, and verify playback after upload |
| Time-updating timer | A countdown calculated against an event timestamp | A publishing system that actually renders a timer, plus a destination that displays it |
Most ordinary banner workflows produce a downloadable image or animation. Do not assume an exported image remains connected to the event date. Adobe Experience Manager Dynamic Media documents a separate template system with countdown timer layers, but that is an enterprise publishing workflow; it does not establish that every social platform or graphics editor supports a live timer.
For a normal social post, a fixed date is usually the simplest dependable choice. Use an animated countdown when movement matters and the destination supports the exported format. Choose a true timer only after confirming that the publishing system and the destination both support the required rendering.
2. Choose the destination and canvas size
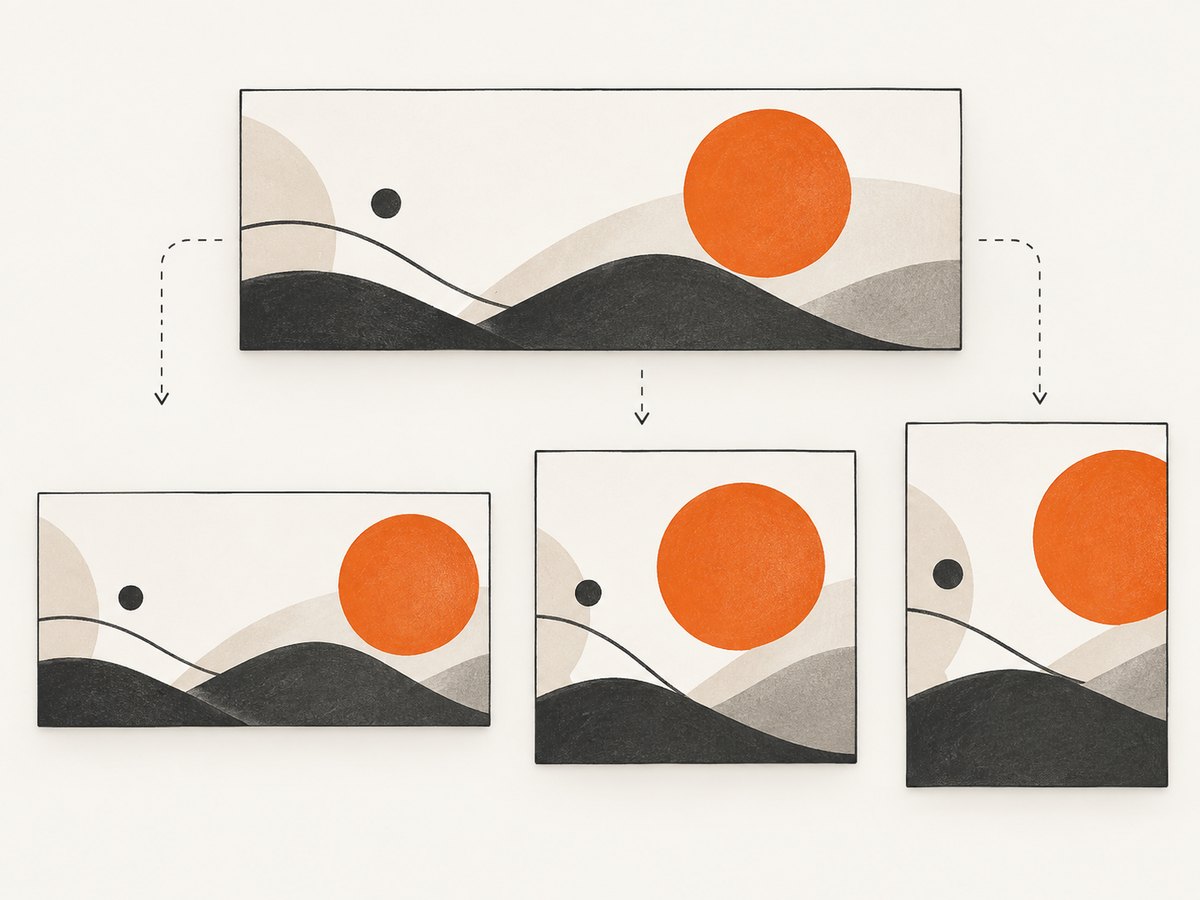
Social destinations have different aspect ratios and crop behavior. Pick where the banner will appear first, then confirm the current platform dimensions and safe areas before you design. Editor pages provide useful starting examples, but their values are not a guarantee of the latest platform requirements.
| Placement example | Example canvas | Check before publishing |
|---|---|---|
| Eventbrite header | 2160 × 1080 px | Current event page crop and safe area |
| Facebook event cover | 1200 × 628 px | Current desktop and mobile crop |
| YouTube channel art | 2560 × 1440 px | Visible safe area across devices |
| Facebook cover | 820 × 312 px | Current cover crop and profile overlap |
| LinkedIn banner | 1584 × 396 px | Current profile and device crop |
These are examples listed on Adobe editor pages. Verify the destination’s current guidance and preview the composition on the actual page before publishing. A design made for a wide header can become unreadable when a destination crops it into a different shape.
Set up one canvas per placement
- Write down the exact destination and placement, such as an event cover, channel banner, or feed post.
- Check its current pixel dimensions, aspect ratio, file requirements, and safe areas.
- Create a canvas at that size, or use a platform template and verify its dimensions.
- Keep essential content away from edges and areas likely to be covered or cropped.
- If you need multiple placements, adapt each one deliberately and inspect every crop instead of relying on a blind resize.
Adobe Express describes event and social templates, custom sizing, imagery, typography, resizing, and export. Canva also describes editable templates with preset platform sizes and adaptation for multiple destinations. These tools can help you start quickly; the design decisions below still determine whether the result reads clearly.
3. Design a banner that reads at a glance
Give the viewer a clear path through the banner: event identity first, date and essential details next, then one action. The countdown should draw attention without competing with the event name or the RSVP or ticket direction.

Use a simple information hierarchy
- Event title: Make the name or central idea the most immediately recognizable element.
- Date and time: Include the date, local time, and time zone when people could reasonably be in different regions.
- Essential context: Add who, what, and where. For an online event, say that it is online and include a concise platform or access detail if useful.
- Countdown: Use a legible date or short phrase such as “7 days to go.” Keep it secondary to the identity and action.
- Call to action: Give the viewer a clear next step, such as RSVP or get tickets, and make sure the post’s destination supports it.
Use enough contrast and spacing for the text to survive a small-screen view. Keep the wording concise, limit typefaces and colors, and use alignment and consistent spacing to group related details. Decorative effects cannot rescue a crowded layout.
Plan the countdown wording
A fixed number becomes stale quickly. If you cannot update the graphic, show the event date instead of a number that implies a live calculation. For a campaign that will run over several days, prepare a small set of dated versions and schedule or replace them as the event approaches. For an animated countdown, make the starting point, ending point, and duration obvious, and ensure the final frame still shows the event date or action.
Check time zones carefully. A date without a time zone can mislead a remote audience, especially near midnight. If the event is global, use an unambiguous time zone abbreviation or include a destination with the complete schedule.
4. Create the banner in an editor
- Choose a template or blank canvas. Start with the selected placement’s dimensions. A template is a scaffold, not a substitute for checking the crop.
- Add the event identity. Place the title, date, essential context, countdown, and action in that order of importance.
- Choose supporting visuals. Use imagery that clarifies the event or sets its tone. Keep the text area calm enough to preserve contrast.
- Review hierarchy and spacing. Align related details, leave breathing room, and remove copy that does not help a viewer decide whether to attend.
- Make the countdown behavior explicit. For a still graphic, enter the fixed date or number. For animation, build the frames or timeline and verify the export type. For a true timer, confirm support in the publishing system and destination.
- Export for the destination. Select a suitable supported format and dimensions. If using motion, verify that the destination accepts and plays the exported file.
Adobe’s beginner guidance emphasizes hierarchy, spacing, consistency, and readability, including using less text, fewer fonts, and fewer colors. Apply those principles before adding effects or extra decorative elements.
5. Export and inspect before publishing
Review the actual exported file, not only the editor canvas. Then inspect the published asset on the destination, since cropping, compression, and playback can differ from the export preview.
- Confirm the event title and date are correct, including the year if ambiguity is possible.
- Check the time and time zone against the event listing.
- Preview the crop at the target placement and on a phone-sized view.
- Read the smallest text at normal viewing size. Enlarge or remove it if it is hard to read.
- Open the RSVP or ticket destination and confirm it is correct.
- For motion, verify playback, first and last frames, duration, and any platform-specific behavior.
- For time-sensitive campaigns, set a reminder to replace a fixed countdown as the date approaches.
Adobe’s banner workflow includes downloading and sharing the finished banner. Treat download as a checkpoint: check the file after export, then check it again in its published context.
6. Capture a preview of the published banner with a browser
A screenshot is useful for reviewing the banner in context: it can reveal unexpected crops, overlapping page elements, or text that is hard to read at the size people actually see. The example below uses Playwright with Node.js to open a public page and save a screenshot. It captures the page for inspection; it does not create a live countdown or replace the original design export.
Install Playwright
npm install playwright
npx playwright install chromium
Capture a page screenshot
// save as capture-banner.mjs
import { chromium } from 'playwright';

const browser = await chromium.launch({ headless: true });
const page = await browser.newPage({
  viewport: { width: 1440, height: 1000 },
  deviceScaleFactor: 1
});

try {
  await page.goto('https://example.com/event', {
    waitUntil: 'networkidle',
    timeout: 45000
  });
  await page.screenshot({ path: 'banner-preview.png', fullPage: true });
} finally {
  await browser.close();
}
Replace the example URL with a page you can access. Use a realistic viewport for the placement you want to inspect. A page screenshot can include more than the banner; adjust the viewport or target a banner element with Playwright’s locator screenshot method when you know the page’s markup. For a page whose analytics or advertising requests never settle, replace networkidle with a less strict navigation condition and wait for a specific element instead.
DIY command-line alternatives
For a quick capture through ScreenshotNeo, use the API examples in the next section. The following snippets show equivalent request shapes for a URL. Use your own API key and a URL you are authorized to capture.
curl -G "https://api.screenshotneo.com/v1/shot" -d access_key=YOUR_API_KEY --data-urlencode url=https://stripe.com -o shot.webpimport requests
r = requests.get(
"https://api.screenshotneo.com/v1/shot",
params={"access_key": "YOUR_API_KEY", "url": "https://stripe.com"},
timeout=90,
)
open("shot.webp", "wb").write(r.content)const q = new URLSearchParams({ access_key: 'YOUR_API_KEY', url: 'https://stripe.com' });
const res = await fetch(`https://api.screenshotneo.com/v1/shot?${q}`);
const bytes = new Uint8Array(await res.arrayBuffer());
await import('node:fs/promises').then(fs => fs.writeFile('shot.webp', bytes));See the ScreenshotNeo API documentation for the full parameter reference. The API base is https://api.screenshotneo.com/v1/shot. The example saves the response bytes; check the response status and headers in production so an error response is not mistaken for an image.
7. Or skip the browser setup
One GET request can return a PNG, JPEG, WebP, or PDF for a URL. For example:
curl -G "https://api.screenshotneo.com/v1/shot" -d access_key=YOUR_API_KEY --data-urlencode url=https://stripe.com -o shot.webpScreenshotNeo accepts cookie and consent banners as a visitor and removes more than 60 known consent platforms, newsletter popups, and chat widgets before the shot; you can turn each step off. Bot checks and CAPTCHAs, blank pages, timeouts, failed loads, and cache hits cost nothing, and response headers report the page verdict and whether the shot was billed. Its MCP server gives AI agents tools to take screenshots, get page information, and capture PDFs. The free plan includes 1,000 screenshots a month with no card; paid plans start at $5 for 3,000. Every feature is on every plan. Learn more at ScreenshotNeo, or sign up for 1,000 free screenshots a month with no card.
8. Troubleshooting common problems
| Problem | Likely cause | Fix |
|---|---|---|
| The event title or date is cut off | The canvas ratio or platform crop differs from the design | Check the current placement dimensions and safe area; move essential text inward and inspect the published result. |
| The countdown shows the wrong number | A fixed value was not updated, or the event time zone was misunderstood | Use the event date as the stable label, recalculate against the correct zone, and replace scheduled assets. |
| The countdown does not change after upload | The exported file is a still image, or the destination does not render the animation/timer as expected | Use a supported animated export and verify playback, or publish a date graphic. For an actual timer, verify support end to end. |
| Small text is unreadable on a phone | Too much copy, low contrast, or type sized for the editor canvas rather than the display | Remove secondary wording, increase contrast and type size, and inspect at phone scale. |
| The browser capture times out | The page is slow, blocked, or never reaches the requested load condition | Increase the timeout where appropriate, use a less strict navigation condition, and wait for a specific visible element. |
| The capture is blank or missing the banner | The banner loads after navigation or is outside the selected viewport | Wait for its selector, scroll it into view, or capture the relevant element after it renders. |
| The saved API output is not an image | The request returned an error body or another response type | Check HTTP status and response headers before saving; confirm the key and URL, then consult the API docs. |
| The page contains a consent overlay or popup | The site showed an interstitial before the content | For DIY capture, handle the site’s permitted consent flow and wait for the overlay to close; ScreenshotNeo can accept and remove supported banners and widgets. |
9. Performance, reliability, and cost considerations
Keep the design process reliable by maintaining a source file and clear version names for each placement and countdown date. A dated filename helps prevent publishing yesterday’s fixed number. For multiple channels, export and inspect each target size; automated resizing can still require repositioning text and imagery.
For browser captures, wait only as long as needed. Network-idle waits can be slow on pages with persistent analytics or streaming requests. Waiting for a banner selector is often more focused. Close the browser in a finally block so failures do not leave processes running. If you automate reviews, use modest concurrency and retry transient navigation failures with a limit rather than retrying indefinitely.
For ScreenshotNeo, the stated plans are Free with 1,000 shots a month and no card; Starter $5 for 3,000; Growth $15 for 15,000; Pro $39 for 60,000; Scale $99 for 250,000; and Business $249 for 1,000,000. Yearly billing gives two months free, and every feature is on every plan. Only clean shots are billed: bot checks or CAPTCHAs, blank pages, timeouts, failed loads, and cache hits are free. Check the returned X-Page-Verdict and X-Billed headers when tracking outcomes. Bulk capture supports up to 100 URLs per call, and caching has a TTL you choose. Refer to the docs for current parameter details and account usage.
When building an internal capture workflow, account for the page’s access rules and protect API keys. Keep keys server-side, avoid putting them in public client code, and avoid logging secrets in request URLs. If a page requires login or custom state, use supported headers or cookies and handle sensitive data carefully.
10. Short FAQ
Should the countdown show days or the event date?
Use the date when you cannot keep the graphic updated. Use a number of days only when you have a plan to refresh it or the publishing system calculates it dynamically.
Can one banner work on every social platform?
One source design can be adapted, but each destination has its own aspect ratio and crop. Export and inspect a version for each placement.
Is an animated countdown a live timer?
No. An animation plays a predetermined sequence. A live timer must calculate against an event time in a system that the destination can render.
Do I need an API to make the banner?
No. A design editor is enough to create and export a banner. A screenshot API helps capture a web page for preview or review; it does not replace the graphic editor or make a static image update itself.