How to Edit Text in a Screenshot Online for Free
Learn how to replace, erase, or overlay text in a screenshot online for free with Canva, Adobe Express, Photopea, and Pixlr.
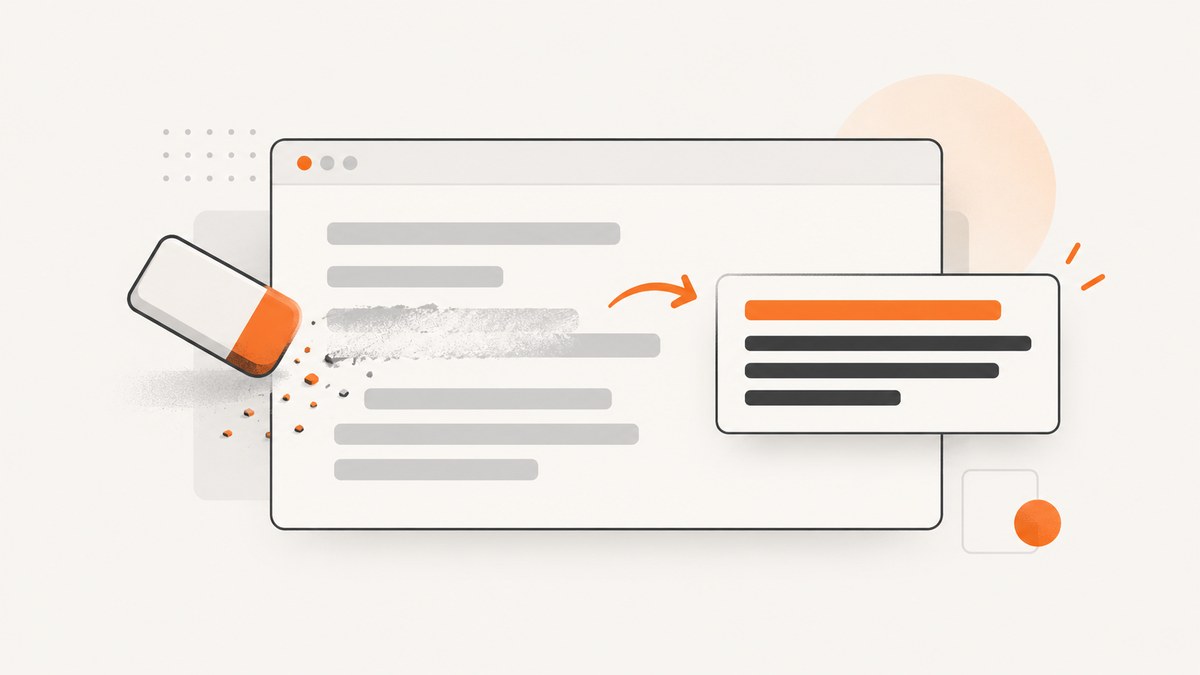
Short answer: A screenshot is usually a flattened image, so its original text layer is gone. To change wording for free, either use an image-to-editable-text feature such as Canva Grab Text, cover the old pixels and add a replacement layer in Photopea or Adobe Express, or place new text over the screenshot in Pixlr. For the cleanest result, match the original font, color, spacing, background, and any shadow or outline.
If you need a new screenshot rather than an edit to an existing file, ScreenshotNeo can capture the page again as PNG, JPEG, WebP, or PDF. Its options include custom CSS and JavaScript, element capture, dark mode, device presets, and hiding selectors.
What “edit text” means in a screenshot
There are three different jobs people call text editing:
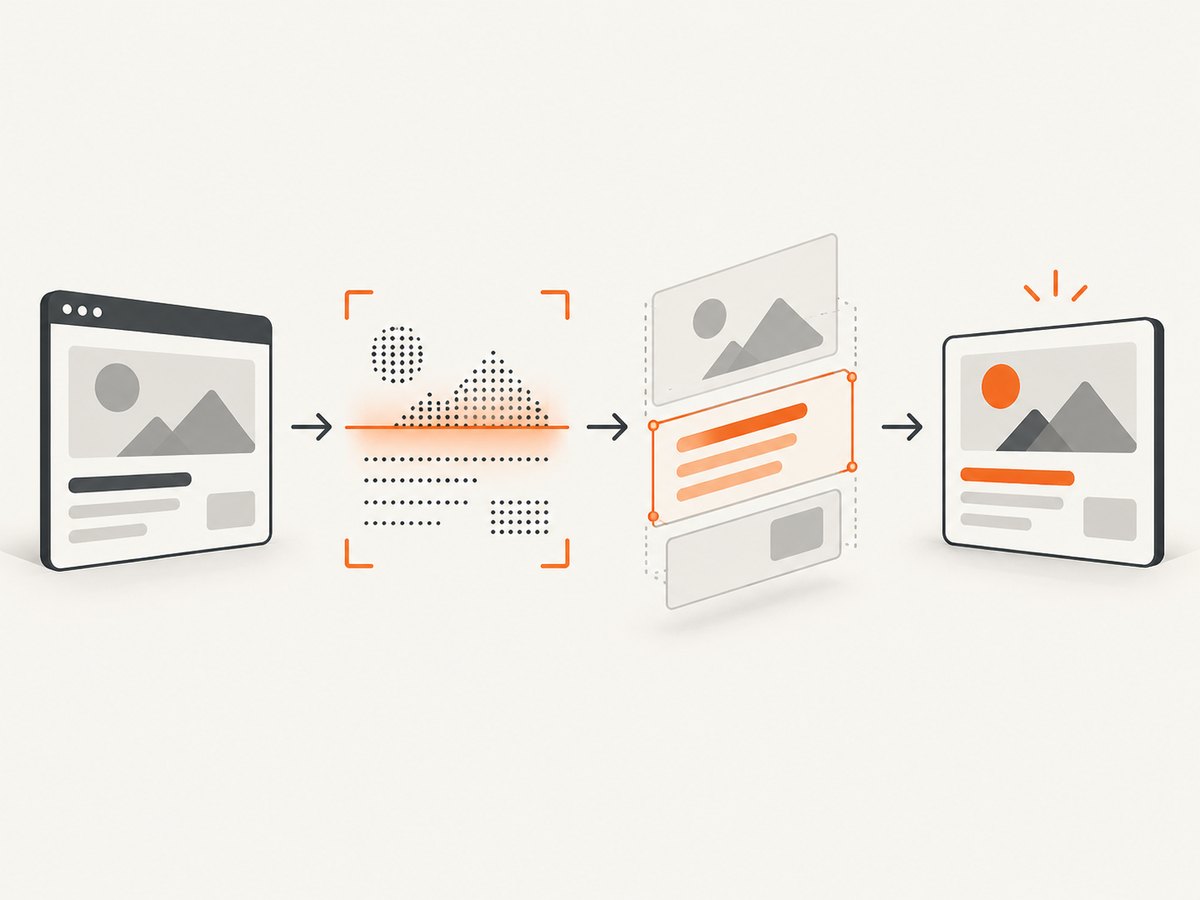
- True replacement: an image tool detects the letters and creates an editable text layer. This is the fastest option when recognition works.
- Retouch and rebuild: you remove or paint over the old pixels, then type new text on a separate layer. This gives more control but requires background cleanup.
- Overlay: you leave the old pixels covered by a shape or patch and place new wording above them. This works well for labels, annotations, and simple corrections.
No browser editor can guarantee the original font metadata, kerning, anti-aliasing, or background pixels because those details were flattened into the screenshot. Complex gradients, photographs, shadows, and textured backgrounds need more manual work.
Choose the right free method
| Tool | Best for | Replacing existing text | Adding text | Documented exports |
|---|---|---|---|---|
| Canva | Fast beginner edits and automatic text extraction | Yes, with Grab Text when available | Yes | PNG, JPG, GIF, PDF |
| Adobe Express | Labels, captions, and styled overlays | Usually by covering and overlaying | Yes | PNG |
| Photopea | Manual retouching and difficult layouts | Yes, by rebuilding the area | Yes | Editor export options |
| Pixlr Express | Quick text styling and positioning | Mainly overlay | Yes | JPG, PNG, PDF, WebP |
Method 1: Replace text with Canva Grab Text
- Open Canva’s screenshot editor and upload the JPG or PNG screenshot.
- Choose the text editing tool and select Grab Text when it is available for your account or design.
- Select the wording you want to change. Canva converts recognized image text into an editable layer; type the replacement.
- Adjust the font, size, color, alignment, spacing, and position until the new layer matches the surrounding design.
- Zoom in and inspect letter edges, shadows, outlines, and the background where the old wording was removed.
- Download as PNG for crisp interface text or transparency, JPG for a smaller photographic file, GIF for an animated design, or PDF for document-style sharing.
Canva describes Grab Text as selecting image text and turning it into an editable layer. Recognition is strongest on high-resolution screenshots with clear contrast and horizontal text. Review every character before exporting, especially numbers, punctuation, and similar glyphs such as “O” and “0”.
Method 2: Add or replace wording in Adobe Express
- Open Adobe Express and upload the screenshot to a new project.
- Choose Text and add a text box.
- Enter the replacement wording, then match the original font style, weight, size, color, line height, letter spacing, and alignment.
- If the old wording remains visible, add a rectangle or other shape over it first. Sample a nearby background color and remove the shape border.
- Position the new text precisely. Use guides or zoom controls to align its baseline with nearby text.
- Download the finished image as a PNG.
Adobe Express documents uploading screenshots directly from a desktop and customizing them with text. This overlay workflow is practical for labels and short corrections, but it may look unnatural on gradients or photographs unless the covered area is reconstructed carefully.
Method 3: Manually rebuild text in Photopea
- Open Photopea, choose File → Open, and load the JPG or PNG.
- Duplicate the original layer so you can compare your changes or undo them later.
- For a plain background, select the Brush tool, hold Alt on Windows or Option on macOS to sample a nearby color, and paint over the old wording.
- For a complex background, use selections, the Clone tool, or healing techniques with small strokes. Work at high zoom and follow the background texture.
- Select the Type tool, click where the replacement should begin, and type the new wording on its own text layer.
- Adjust the text layer’s font, size, color, anti-aliasing, and position. Compare the baseline and letter spacing with nearby text.
- Export the finished image in the format required by your destination.
Photopea’s text documentation covers creating and editing text layers, while its replacement tutorial demonstrates painting over old wording before adding a new layer. This method is slower but gives the most control when automatic extraction fails.
Method 4: Overlay text in Pixlr Express
- Open Pixlr Express and upload the screenshot.
- Open the Text Editor and insert a text layer.
- Type the new wording and customize its font, size, color, alignment, and position.
- Cover the old wording with a matching shape if necessary, then place the new layer above it.
- Save as JPG, PNG, PDF, or WebP according to the final use.
Pixlr is useful when you need a quick caption, callout, or replacement on a simple background. It is primarily an overlay workflow, so inspect the covered area at 100% zoom before sharing.
How to match the original text accurately
- Font: identify the closest installed font by comparing distinctive letters such as “a”, “g”, and “R”.
- Weight: regular, medium, semibold, and bold can change the apparent width as much as the font family.
- Size and scale: screenshots may be displayed at a different CSS or device-pixel ratio. Match the pixel height of nearby letters rather than relying on a point value.
- Color: sample from the interior of several letters, avoiding anti-aliased edge pixels.
- Spacing: compare the distance between repeated letters and the baseline against adjacent lines.
- Effects: reproduce shadows, strokes, opacity, and blur only after the basic text is aligned.
- Background: use a patch from the same local area when covering text. A single global color often reveals a rectangle.
Export settings and file quality
- PNG: best for crisp UI text, diagrams, screenshots with flat colors, and transparency.
- JPG: useful when file size matters and the image contains photographs; compression can soften small text.
- WebP: a compact web format when your destination supports it.
- PDF: useful for document-style sharing; check that the editor has not changed page dimensions or scaled the screenshot.
Keep the original pixel dimensions unless you have a specific delivery size. Resizing before editing makes text matching harder and can introduce blur. Export once at the end when possible.
Common problems and fixes
| Problem | Likely cause | Fix |
|---|---|---|
| Automatic text selection misses words | Low resolution, low contrast, rotation, or unusual type | Crop to the text, increase contrast, rotate the image, or use manual Photopea retouching. |
| Replacement text looks wider or narrower | Different font, weight, size, or letter spacing | Try a closer font, adjust tracking, and compare the pixel height and baseline. |
| A rectangle is visible behind the new text | The cover color does not match the local background | Sample several nearby pixels or clone the surrounding texture instead of using one global color. |
| Edges look blurry | The screenshot was enlarged or repeatedly recompressed | Work from the original file, edit at 100% or higher zoom, and export PNG. |
| Text has a halo or shadow mismatch | The original effect was flattened into the old pixels | Recreate the shadow or outline on the replacement layer and inspect at normal viewing size. |
| Export changes the dimensions | Canvas or PDF page settings differ from the source | Set the canvas to the screenshot’s exact width and height before downloading. |
| Downloaded file is too large | Lossless format or oversized dimensions | Use JPG or WebP for photographic content, or resize only after the edit is complete. |
Or skip the browser setup
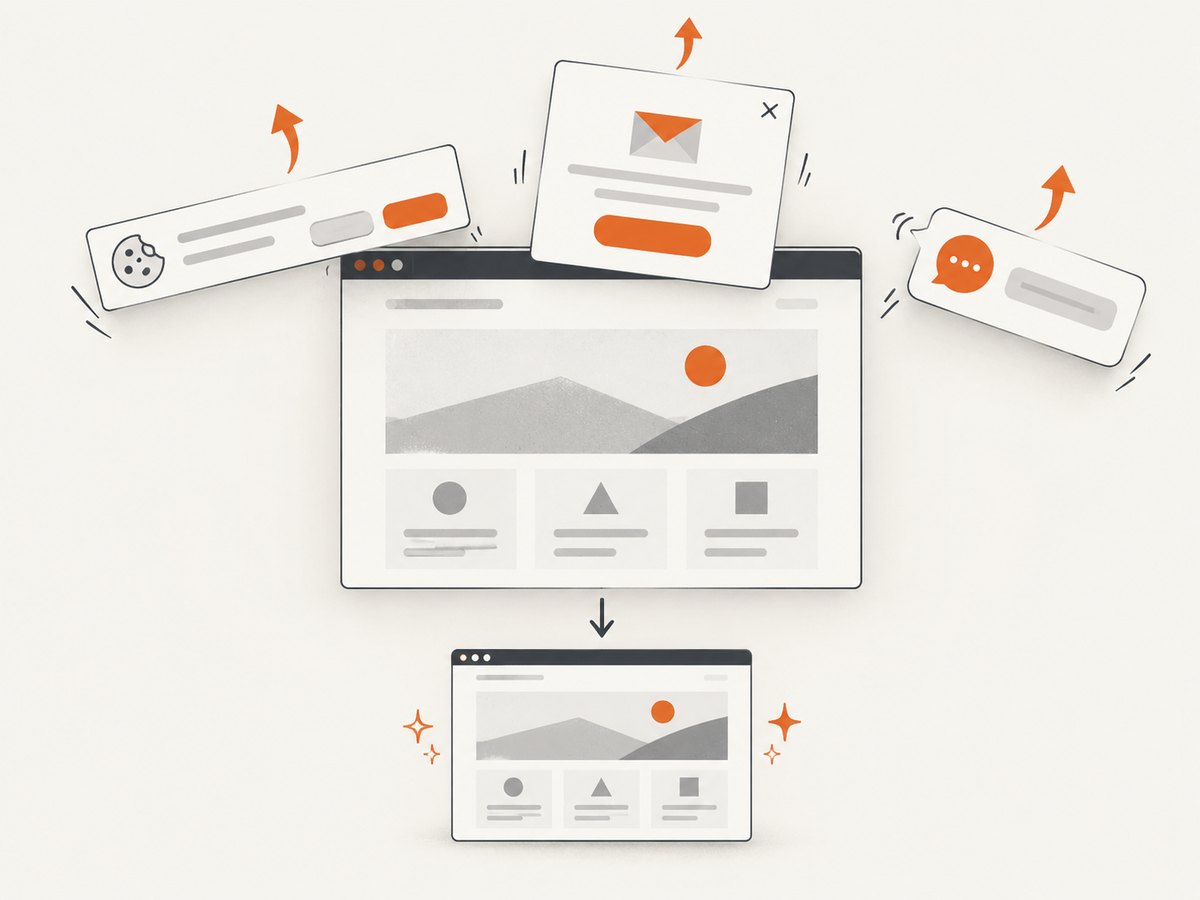
If the wording comes from a live webpage, recapturing the page after changing its HTML or CSS is often cleaner than repairing flattened pixels. ScreenshotNeo provides a single screenshot request and can apply custom CSS or JavaScript, hide selectors, click elements, wait for a selector or network idle, choose a viewport or device preset, and capture one element or the full page. It also accepts cookies, headers, user agents, authorization, timezone, and geolocation settings.
Use the API examples below; see the ScreenshotNeo documentation for request options.
cURL
curl -G "https://api.screenshotneo.com/v1/shot" -d access_key=YOUR_API_KEY --data-urlencode url=https://stripe.com -o shot.webpPython
import requests

r = requests.get(
    "https://api.screenshotneo.com/v1/shot",
    params={"access_key": "YOUR_API_KEY", "url": "https://stripe.com"},
    timeout=90,
)
r.raise_for_status()
open("shot.webp", "wb").write(r.content)
Node.js
const q = new URLSearchParams({ access_key: 'YOUR_API_KEY', url: 'https://stripe.com' });
const res = await fetch(`https://api.screenshotneo.com/v1/shot?${q}`);
if (!res.ok) throw new Error(`Screenshot failed: ${res.status}`);
const data = Buffer.from(await res.arrayBuffer());
require('fs').writeFileSync('shot.webp', data);
ScreenshotNeo removes cookie and consent banners, newsletter popups, and chat widgets before capture. Bot checks, blank pages, timeouts, failed loads, and cache hits are not billed, and the response identifies the result with X-Page-Verdict and X-Billed headers. Its MCP server also lets Claude, Cursor, and other MCP clients use take_screenshot, get_page_info, and capture_pdf. The Free plan includes 1,000 screenshots per month with no card; paid plans start at $5 for 3,000 screenshots. Create a free ScreenshotNeo account.
Performance, reliability, and cost notes
- For manual editors, the largest time savings come from starting with the original, highest-resolution screenshot and limiting retouching to the affected area.
- PNG preserves small UI text best, while JPG and WebP reduce transfer size for photographic screenshots.
- Keep editable project files when you expect revisions; a newly exported screenshot is flattened again.
- For repeated webpage captures, ScreenshotNeo supports caching with a TTL you choose, async jobs with signed webhooks, bulk capture of up to 100 URLs per call, and a usage API.
- Only clean ScreenshotNeo captures are billed. Failed loads, bot checks, blank pages, timeouts, and cache hits cost nothing.
FAQ
Can I edit text in a screenshot without downloading software?
Yes. Canva, Adobe Express, Photopea, and Pixlr all run in a browser. Canva can convert recognized image text into an editable layer; the others commonly use retouching and overlays.
Will the replacement use the exact original font?
Only if the font is available and you match its styling. A screenshot does not retain the source font metadata, so visual matching may require adjustment.
What is the best format for edited interface screenshots?
PNG is usually the safest choice for crisp text and flat UI colors. Use JPG or WebP when smaller files matter.
Can ScreenshotNeo edit an uploaded screenshot?
ScreenshotNeo captures webpages and can modify the page before capture with CSS or JavaScript. It is useful for producing a corrected fresh capture, not for repairing arbitrary pixels in an existing image.


