How to Export a Figma Design to PNG
Select your Figma content, configure PNG export, choose the right scale, and save one or many assets with the correct dimensions.

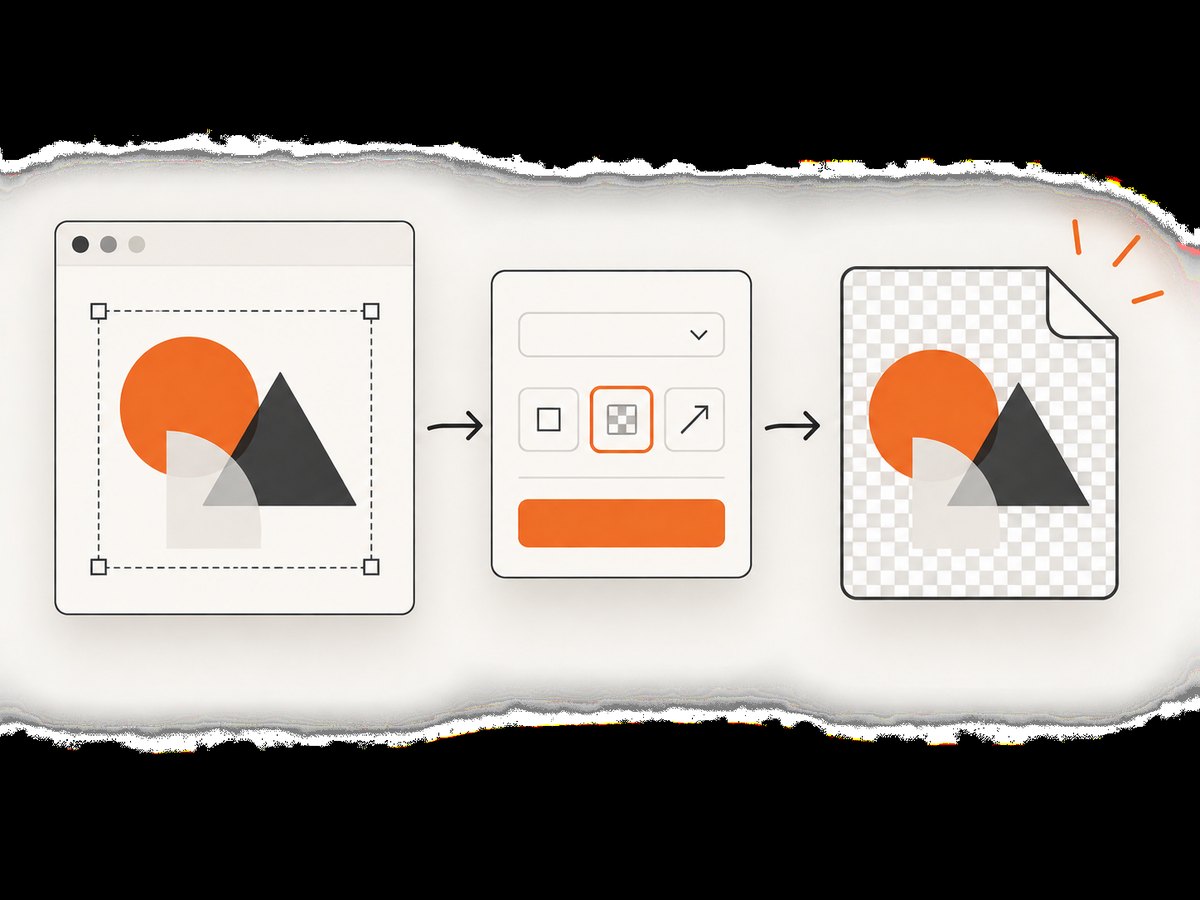
To export a Figma design to PNG, select the layer, frame, component, group, section, slice, or page content you need. In the right sidebar, add an export configuration, choose PNG, set the scale or dimensions, and click Export. Browser exports go to your browser’s configured download folder; the desktop app asks for a file name and destination. Figma’s export guide documents this workflow.
1. Select what you want to export
Open the file and select the content that should appear in the PNG. Figma can export layers, frames, components, groups, sections, slices, and other selectable objects.
- One object: Select the layer, frame, component, group, or section in the canvas or Layers panel.
- Several objects: Select multiple objects if they share an export configuration or if you want to export them together.
- A precise canvas region: Use the Slice tool under Region tools, draw the bounds, then configure the slice for export.
- The entire page canvas: Deselect everything before adding an export configuration. Figma treats the whole page canvas as exportable content when nothing is selected.
A selection’s bounds determine the default output dimensions. Check that the selection does not include accidental layers, hidden padding, or objects outside the intended frame.
2. Add a PNG export configuration
- With the content selected, scroll to the Export section in the right sidebar.
- In Design Mode with edit access, Export is near the bottom of the sidebar. With view access, it appears under Properties. In Dev Mode, select an object to reveal Export.
- Click the + button to add an export setting.
- Choose PNG as the format.
- Choose a scale multiplier or fixed dimensions.
- Click Export and select the destination when Figma asks for one.
You can add more than one configuration to the same selection, such as a 1x PNG for a web asset and a 2x PNG for a high-density display.
Preview before exporting
When one selection is active, Figma can show a preview of the export. Preview is not displayed when multiple objects are selected, so inspect individual objects if you need to verify transparency, cropping, or resampling.
3. Choose the right PNG size
PNG is a lossless raster format with transparency support. It is useful for logos, charts, illustrations, screenshots, and designs that combine text with transparent or layered areas. PNG files are generally larger than JPG files. Figma exports 32-bit RGBA PNGs, so PNG exports include an alpha value. See Figma’s format and settings reference for the documented options.
| Setting | Use it when | Result |
|---|---|---|
| 1x | The design’s pixel dimensions already match the destination. | Exports at the selection’s native dimensions. |
| 2x | You need a sharper image for high-density screens. | Doubles width and height, producing four times as many pixels. |
| 3x | You need extra resolution for a large display or later reduction. | Triples width and height. |
800w |
You need a fixed width. | Sets output width to 800 pixels and scales height proportionally. |
600h |
You need a fixed height. | Sets output height to 600 pixels and scales width proportionally. |
Figma says image exports default to 72 DPI; its examples show 144 DPI at 2x and 216 DPI at 3x. These values describe export metadata and scaling conventions. Choose dimensions based on the destination’s required pixel size rather than DPI alone.
PNG, JPG, or SVG?
- PNG: Lossless, supports transparency, and works well for text, logos, charts, and illustrations.
- JPG: Usually smaller, but uses lossy compression and does not preserve transparent backgrounds.
- SVG: Remains vector-based and scales without rasterization; use it when the receiving tool supports SVG and you do not specifically need a PNG.
4. Configure advanced export settings
Color profile
Figma lets you choose Same as file, sRGB, or Display P3. Keep the file profile when your workflow is color-managed end to end. Use sRGB for the broadest web and app compatibility. Choose Display P3 only when the destination and review workflow support it.
Filename suffix
An optional suffix is appended to the exported filename. Suffixes such as @2x, -dark, or -mobile can distinguish variants in a batch without renaming every file afterward.
Ignore overlapping layers
Ignore overlapping layers is enabled by default. With it enabled, Figma includes only the selected layers. Disable it when intersecting or overlapping content outside the selected layer must appear in the export. For slices, overlap behavior also depends on whether the slice is inside a frame or group.
Resampling
When resizing changes the output dimensions, Advanced export settings provide two resampling choices:
- Detailed: Bicubic sampling. Figma recommends it for photographs, vector art, gradients, shadows, and other detailed content.
- Basic: Nearest-neighbor sampling. Use it for hard edges, icons, logos, or pixel art where crisp unblended pixels matter.
5. Export a custom crop with the Slice tool
- Open Region tools and choose Slice.
- Drag a rectangle around the exact canvas area to export.
- Adjust the slice bounds to add controlled padding or remove unwanted content.
- Select the slice and add a PNG export configuration in the right sidebar.
- Export the slice.
Only content inside the slice bounds is exported. If the result contains unexpected overlapping artwork, review the slice’s frame or group relationship and the Ignore overlapping layers setting.

6. Export several configured assets at once
For a batch export, use File > Export, or press Shift+Command+E on macOS or Shift+Ctrl+E on Windows. Figma lists selections on the current page that already have export configurations. Review each item’s format, scale, dimensions, and filename, uncheck anything you want to skip, and export the remaining assets together.
Batch export is useful when a page contains many icons, screens, or component variants. Configure each asset first so the export dialog contains the intended list.
7. Find the exported PNG
- Figma in a browser: The file is saved to the browser’s configured download location. Check the browser’s downloads panel if you cannot find it.
- Figma desktop app: Figma prompts for a file name and destination before saving.
If you exported several files, inspect the generated names and suffixes before moving them into a project. This prevents a later asset from silently overwriting an earlier one.
8. Access and export restrictions
Anyone with view access can export assets when the file owner has not restricted copying and sharing. Anyone with edit access can use the Slice tool. If Export is missing, refresh once and check whether the owner has restricted exports or copying. Dev Mode exposes Export after you select an object.
9. Troubleshooting
| Problem | Likely cause | Fix |
|---|---|---|
| Export section is missing | No object is selected, the sidebar is collapsed, or the file’s permissions restrict export. | Select an object, check Properties or Dev Mode, refresh once, and ask the owner whether copying and sharing are restricted. |
| The PNG has the wrong dimensions | The scale or fixed width/height does not match the destination. | Reopen the export configuration and choose 1x, 2x, 3x, w, or h based on the required pixel dimensions. |
| Unexpected objects appear | Overlapping layers are included, or the slice bounds cover more content than intended. | Adjust the slice or selection and review Ignore overlapping layers. |
| Transparent areas look wrong | The selected background layer is included, or the receiving app displays transparency differently. | Check the selection for a background rectangle and open the PNG in an app that shows a transparency grid. |
| The output looks soft | The image was exported too small or resized with an unsuitable method. | Use a larger scale or fixed dimension and choose Detailed resampling for photographs, vectors, gradients, and shadows. |
| Pixel art or icons look blurry | Bicubic resampling blends hard edges. | Choose Basic nearest-neighbor resampling and export at an integer scale. |
| Preview is unavailable | Multiple objects are selected. | Select one object at a time to preview, or export and inspect the resulting file. |
| Only some assets exported in a batch | Some selections lack export configurations or were unchecked in the export dialog. | Add configurations to every required selection and review the File > Export checklist. |
10. Practical export checklist
- Select only the intended frame, layer, group, component, section, or slice.
- Confirm the output width and height in pixels.
- Use PNG when you need lossless quality or transparency.
- Choose sRGB for general web compatibility unless a managed Display P3 workflow is required.
- Check Ignore overlapping layers when intersecting content matters.
- Choose Detailed for complex imagery and Basic for pixel art or hard-edged icons.
- Add a suffix when exporting multiple variants.
- Review the browser download location or desktop save destination.
Or skip the browser setup
If you need a rendered image of a public Figma file, prototype, or published page rather than the source layers, ScreenshotNeo can return a screenshot from one GET request. Read the ScreenshotNeo API documentation for the available capture options.
curl -G "https://api.screenshotneo.com/v1/shot" -d access_key=YOUR_API_KEY --data-urlencode url=https://www.figma.com -o shot.webpimport requests
r = requests.get("https://api.screenshotneo.com/v1/shot", params={"access_key": "YOUR_API_KEY", "url": "https://www.figma.com"}, timeout=90)
open("shot.webp", "wb").write(r.content)const q = new URLSearchParams({ access_key: 'YOUR_API_KEY', url: 'https://www.figma.com' });
const res = await fetch(`https://api.screenshotneo.com/v1/shot?${q}`);ScreenshotNeo removes cookie and consent banners, newsletter popups, and chat widgets before capture. Bot checks, blank pages, failed loads, timeouts, and cache hits are not billed, and response headers identify the page verdict and billing status. Its MCP server includes take_screenshot, get_page_info, and capture_pdf for Claude, Cursor, and other MCP clients. The Free plan includes 1,000 screenshots per month with no card; paid plans start at $5 for 3,000 screenshots. Create a free ScreenshotNeo account.
FAQ
Can I export a whole Figma page as one PNG?
Yes. Deselect all objects, then add an export configuration to the page canvas and choose PNG.
Can someone with view access export a PNG?
Yes, if the owner has not restricted copying and sharing. Export may be unavailable when those restrictions are enabled.
What is the best PNG scale?
Use the scale or fixed pixel dimensions required by the destination. Use 2x when you need twice the width and height for a high-density display.
Why is a PNG larger than a JPG?
PNG uses lossless compression and preserves transparency. JPG uses lossy compression and is often smaller, especially for photographic images.
How do I export only part of the canvas?
Draw a slice with the Slice tool, adjust its bounds, then configure and export that slice as PNG.


