How to Export High-Resolution Browser Screenshots
Export sharper browser screenshots with Chrome or Firefox by choosing the right viewport, DPR, full-page mode, and file checks.
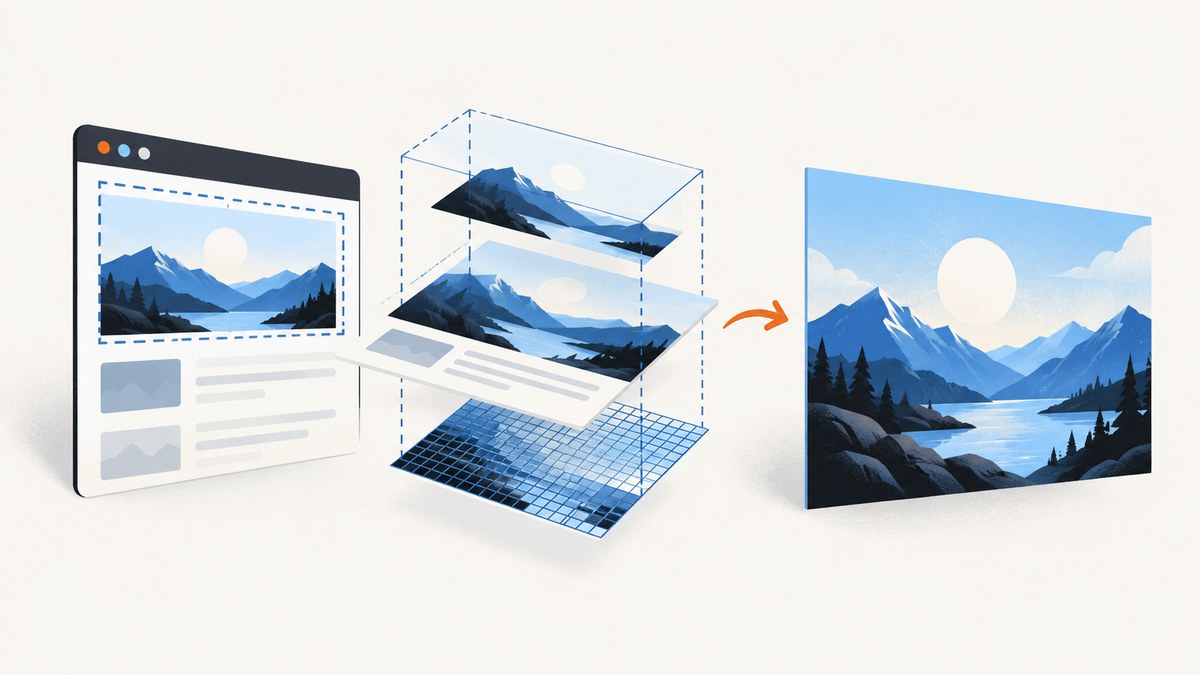
Direct answer: choose the output dimensions first, set an appropriate device pixel ratio (DPR), then capture either the visible viewport or the entire page. In Chrome, use Device Mode and Capture a full size screenshot. In Firefox, use the screenshot tool or the Web Console :screenshot helper with --dpr and --fullpage. Always inspect the exported file’s pixel dimensions and legibility at its intended display or print size.
1. Resolution, DPR, and full-page capture
Device pixel ratio is the relationship between physical display pixels and logical CSS pixels. Chrome defines DPR as “the ratio between physical pixels on the hardware screen and logical (CSS) pixels.” A higher DPR makes the browser render more device pixels for the same CSS viewport, but it does not repair a low-resolution source image or guarantee sharper text in every situation.
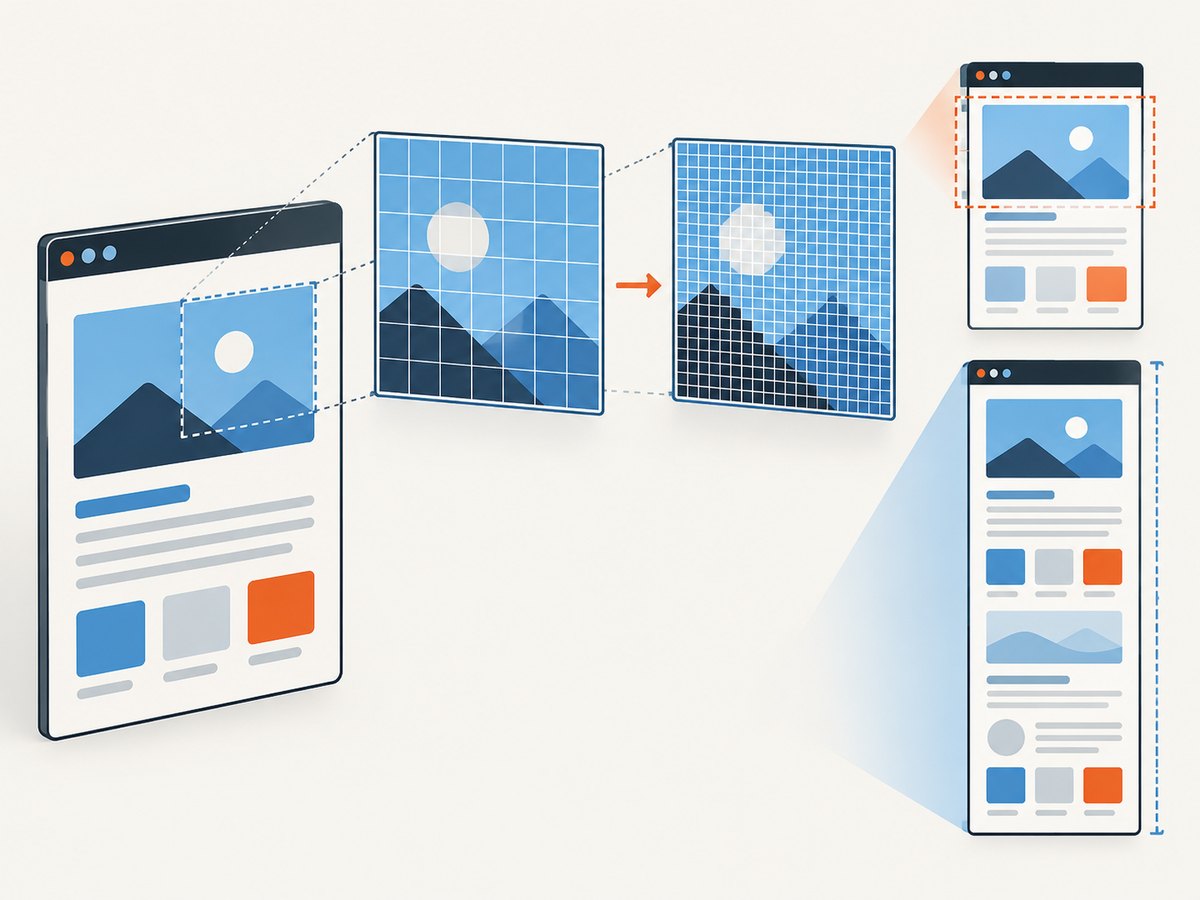
High-resolution capture and full-page capture solve different problems:
- High resolution: controls pixel density and output dimensions for a given viewport.
- Full page: includes content below or outside the visible viewport.
- Viewport capture: saves only the currently visible browser area.
For example, a 1,440 CSS-pixel-wide viewport at DPR 2 can produce roughly 2,880 device pixels in width. The final dimensions still depend on the browser, page layout, scaling, and capture mode, so verify the file rather than relying on the setting alone.
2. Chrome DevTools workflow
- Open the page in Chrome and open DevTools.
- Enable Device Mode by selecting the phone/tablet icon or pressing
Ctrl+Shift+M(Windows/Linux) orCmd+Shift+M(macOS). - Choose the viewport width and height that match the intended output. Select a device preset or enter custom dimensions.
- Open More options in the Device Mode toolbar. Enable the DPR control if it is hidden, then choose a DPR value.
- Open More options again and choose Capture screenshot for the visible viewport, or Capture a full size screenshot for the entire page.
- Open the downloaded image and check its pixel dimensions and text at the size where it will be used.
Chrome’s Device Mode documentation covers device emulation, DPR, viewport capture, and full-size capture: Chrome DevTools Device Mode.
Choosing Chrome settings
| Goal | Viewport choice | DPR guidance | Capture command |
|---|---|---|---|
| Documentation image | Match the documentation column width | Use 2 when the image will be displayed smaller than its source | Capture screenshot or full size |
| Design review | Match the target breakpoint | Use the target device DPR | Capture screenshot |
| Long article archive | Set the desired content width | Use a moderate DPR to limit file size | Capture a full size screenshot |
Full-size capture can create very tall files. If the page contains lazy-loaded sections, scroll through it first so content has a chance to render before capturing.
3. Firefox workflow
Firefox’s built-in screenshot feature lets you save the visible area or the full page as an image. Open the page, use the page context menu or Firefox screenshot controls, then choose Save visible or Save full page. See Mozilla’s screenshot support guide.
Use the Web Console for repeatable settings
Open Developer Tools, select the Web Console, and run:
:screenshot --dpr 2 --fullpage --filename page.pngThe documented helper options include:
| Option | Purpose |
|---|---|
--dpr <value> |
Sets device pixel ratio. Values above 1 produce a denser, zoomed-in image; values below 1 produce a zoomed-out image. |
--fullpage |
Captures the complete page rather than only the viewport. |
--filename <name> |
Chooses the output filename. |
--delay <seconds> |
Waits before capture so animations or late content can settle. |
--selector <css selector> |
Captures a specific element. |
Firefox documents these commands, including full-page and element capture, in Web Console helper commands.
4. Capture one element or a full page
Use full-page mode for articles, landing pages, and archives where content below the fold matters. Use an element capture when you need a chart, component, card, or design specimen without surrounding navigation.
- Element screenshots preserve the element’s rendered state, including fonts, gradients, and responsive styles.
- Full-page screenshots may expose sticky headers repeatedly or produce very tall images.
- Dynamic pages can change while they are being captured. Pause animations or use a delay when your browser provides one.
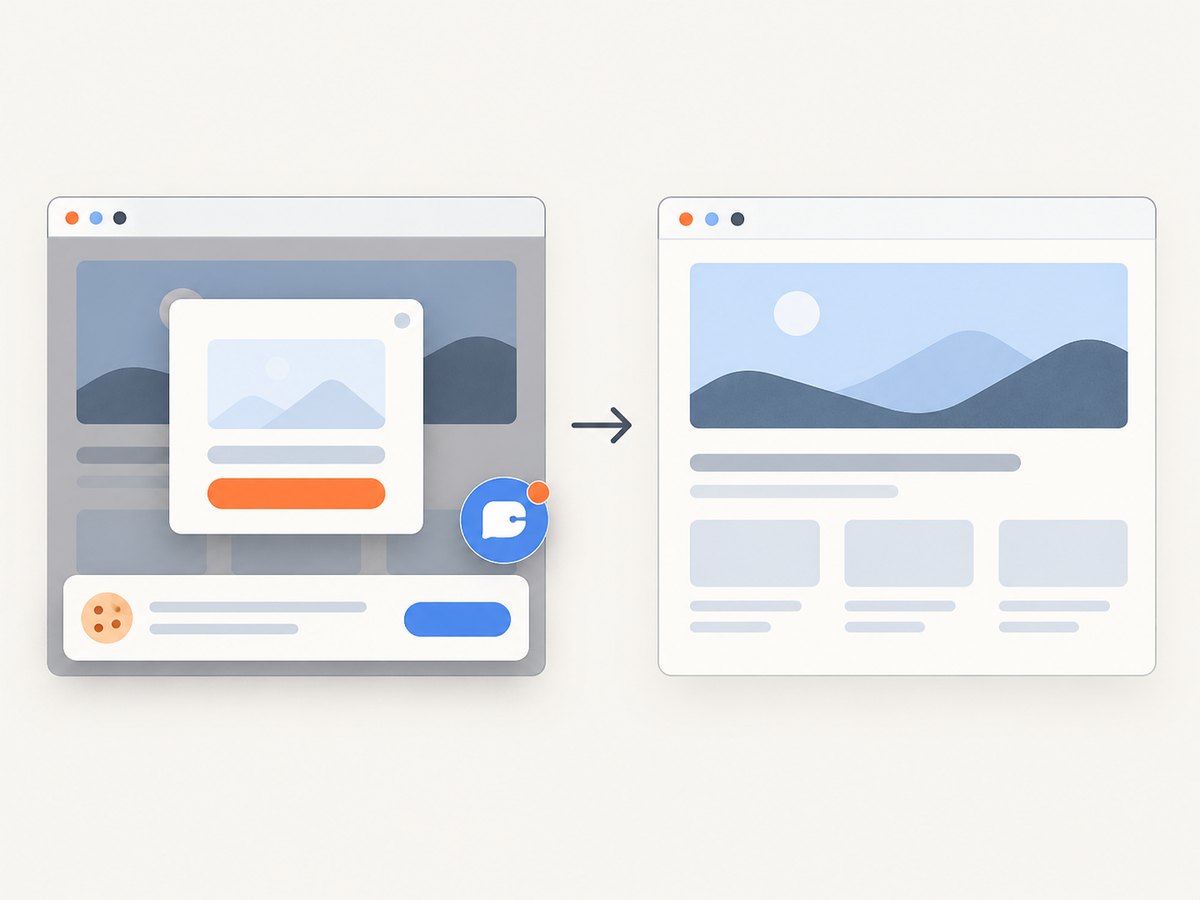
- Consent dialogs, chat bubbles, and cookie banners can obscure the result. Dismiss or hide them before capture.
5. Verify the exported file
- Inspect the image’s pixel width and height in your image viewer or operating system properties.
- Compare those dimensions with the CSS viewport and chosen DPR.
- Zoom to 100% and inspect small text, icons, and thin lines.
- Check the image at its intended display or print size. A very large file can still look soft if the source assets are low resolution.
- Confirm that the bottom of a full-page capture is present and that lazy-loaded images are not blank.
Raising DPR increases rendered pixels, but the browser documentation does not promise a universal quality improvement for every page or asset.
6. Troubleshooting
| Symptom | Likely cause | Fix |
|---|---|---|
| Image is the expected size but still looks soft | Source images or canvas content are low resolution | Use higher-resolution source assets; DPR cannot invent detail. |
| Only the visible area was saved | Viewport capture was selected | Choose Chrome’s Capture a full size screenshot, Firefox Save full page, or add --fullpage. |
| Bottom sections are blank | Lazy loading had not triggered | Scroll through the page, wait for content, then capture again. |
| Cookie banner covers the page | Consent UI is still open | Accept or dismiss it before capturing, or hide the banner with DevTools. |
| Fonts or icons differ | Web fonts were still loading or blocked | Wait for fonts, check the network panel, and capture after the layout stabilizes. |
| Capture is extremely tall or fails | Very long page, heavy resources, or browser limits | Capture sections or a target element, reduce DPR, and remove unnecessary page content. |
| Firefox command is rejected | Syntax or unsupported option | Run :help screenshot in the Web Console and use the options supported by your Firefox version. |
7. Performance, reliability, and file size
- Pixel count: doubling DPR in both dimensions can increase the pixel count by roughly four times, increasing memory use and file size.
- Page length: full-page captures require the browser to render content outside the viewport and can take longer on image-heavy pages.
- Stability: wait for fonts, network requests, animations, and lazy-loaded content before capturing.
- Repeatability: record the viewport, DPR, browser version, page URL, and capture mode alongside the file.
- Format: choose the format supported by your workflow after capture; the cited browser documentation does not establish universal format or maximum-dimension limits.
8. Or skip the browser setup
ScreenshotNeo provides a website screenshot API and MCP server. One GET request returns a PNG, JPEG, WebP, or PDF, and its retina scale option lets you request denser output without maintaining browser automation.
See the ScreenshotNeo API documentation for all options.
cURL
curl -G "https://api.screenshotneo.com/v1/shot" -d access_key=YOUR_API_KEY --data-urlencode url=https://stripe.com -o shot.webpPython
import requests
r = requests.get("https://api.screenshotneo.com/v1/shot", params={"access_key": "YOUR_API_KEY", "url": "https://stripe.com"}, timeout=90)
open("shot.webp", "wb").write(r.content)
Node.js
const q = new URLSearchParams({ access_key: 'YOUR_API_KEY', url: 'https://stripe.com' });
const res = await fetch(`https://api.screenshotneo.com/v1/shot?${q}`);
ScreenshotNeo removes cookie and consent banners, newsletter popups, and chat widgets before capture. Bot checks, blank pages, failed loads, timeouts, and cache hits are not billed, and response headers report the page verdict and billing result. Its MCP server provides take_screenshot, get_page_info, and capture_pdf tools for Claude, Cursor, and other MCP clients. The Free plan includes 1,000 screenshots a month with no card; paid plans start at $5 for 3,000 shots.
Create a free ScreenshotNeo account.
9. FAQ
Is a higher DPR always better?
No. It increases pixel density and file size, but it cannot add detail missing from source images and may make very large captures harder to handle.
Should I use full-page mode for a hero image?
No. Use viewport or element capture when only the visible hero or component is needed; reserve full-page mode for the complete document.
How can I reproduce a screenshot later?
Record the URL, viewport dimensions, DPR, browser, zoom level, capture mode, and any delay or page-state steps.
Can I automate this without running a browser locally?
Yes. Use ScreenshotNeo’s API or MCP server when you want a hosted capture flow, cleanup of common overlays, and billing status in the response headers.


