How to Extract an Image from a Website
Save images from ordinary HTML, responsive galleries, CSS backgrounds, and canvas pages with browser tools, code, and permission-aware workflows.
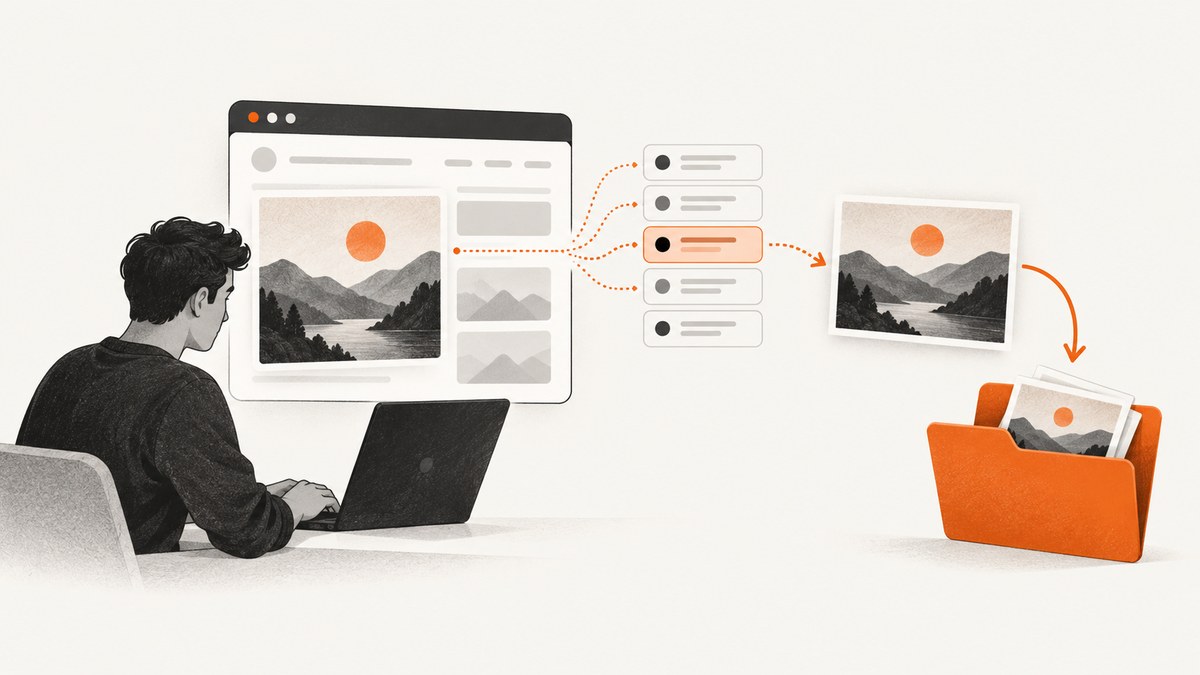
Extracting an image from a website usually takes one of three paths: use the browser’s Save Image As command, find the image URL in Developer Tools, or capture the rendered page when the image is created dynamically. Start with the simplest method and move to network inspection only when the page uses thumbnails, lazy loading, galleries, CSS backgrounds, or canvas rendering.
1. Save an ordinary image with the browser
For a normal HTML <img>, right-click the image and choose Save Image As. Chrome documents this as its standard image-saving workflow. Pick a folder, keep the suggested extension unless you have a reason to change it, and click Save. The file goes to your browser’s default download folder unless you choose another location.
- Open the page containing the image.
- Wait until the image is fully visible.
- Right-click the image.
- Choose Save Image As.
- Select a folder and confirm the filename and format.
This method saves the response the browser is displaying. It may be a resized or compressed derivative rather than the site’s original upload, so check the pixel dimensions and file size after saving.
2. Open the image itself before saving
Some pages wrap an image in a link. Right-click and choose Open image in new tab (the wording varies by browser), then save from the new tab. If the link points directly to a file, the browser may display it rather than force a download; saving from that file tab still preserves the response you opened.
A gallery may show a small preview while linking to a larger file. Open the linked image and compare its dimensions with the preview. Do not assume that replacing a filename suffix such as -thumbnail with -original will work; CDNs often use signed or opaque transformation URLs.
3. Find the source URL with Inspect Element
When right-clicking is disabled or the visible image is a thumbnail, inspect the element that displays it.
- Open Developer Tools (usually
F12,Ctrl+Shift+I, orCmd+Option+I). - Choose the element picker, then click the image.
- In the Elements panel, inspect
src,srcset, and any surrounding link’shref. - Copy a candidate URL, open it in a new tab, and save that response.
Cloudflare’s browser guidance uses the same principle: look for the URL in the image element’s src attribute. A basic element may look like this:
<img src="/media/photo-800.webp"
     srcset="/media/photo-400.webp 400w,
             /media/photo-1200.webp 1200w"
     sizes="(max-width: 700px) 100vw, 700px"
     alt="A mountain lake">
In this example, the 1200-pixel candidate is the largest URL declared by the page. Open the site’s absolute URL, such as https://example.com/media/photo-1200.webp, and verify that it returns an image rather than an HTML error page.
Understanding srcset and thumbnails
srcset can describe candidates by width (1200w) or pixel density (2x). Choose the largest candidate that the server actually serves and that you are allowed to use. The browser may select a smaller candidate because of viewport width, device pixel ratio, connection conditions, or the sizes attribute. If you need the highest available rendition, inspect every candidate and check each response’s dimensions.
Some frameworks do not put the final URL in src. Look for attributes such as data-src, data-lazy-src, or a JSON object used by the gallery. Copy the URL only after it has been resolved by the page; a placeholder such as a transparent GIF is not the real image.
4. Capture lazy-loaded and JavaScript-created images
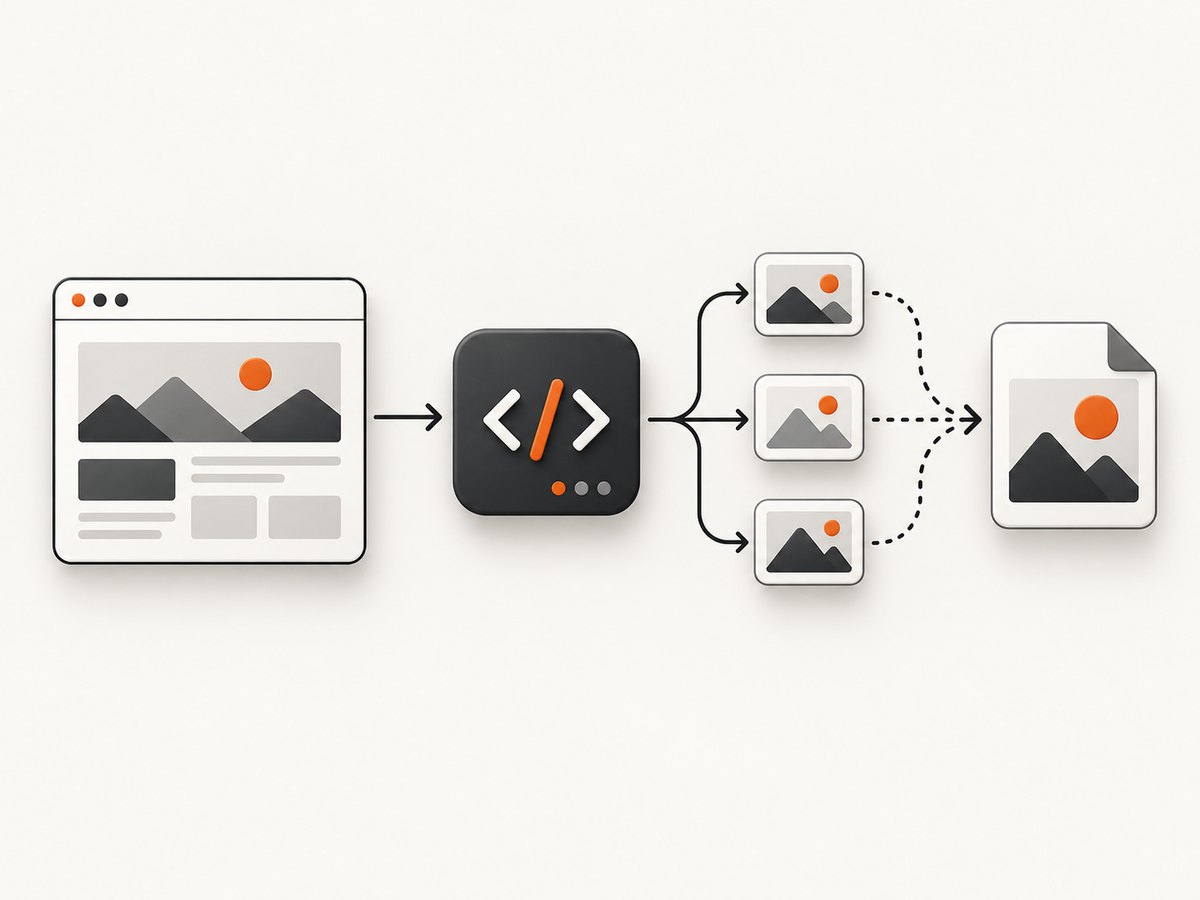
If the image is missing from the initial HTML, use the Network panel.
- Open Developer Tools and select Network.
- Enable the image filter, or search requests for
Img,image,jpg,png,webp, oravif. - Reload the page with the panel open.
- Scroll until the target appears, open the gallery, or click the relevant thumbnail.
- Open the image request in a new tab, or use the request menu to copy its URL.
This catches images inserted by JavaScript, lazy-loaded images that appear after scrolling, and files fetched only after a gallery interaction. Scrapy’s documentation recommends browser network inspection for non-text resources and checking page source when the desired data is absent from the initial response.
Check the request’s status, response headers, and preview. A request with status 200 can still contain an HTML login page, a bot challenge, or a JSON error. Confirm the response Content-Type is an image type and that the preview is the expected asset.
5. CSS backgrounds, sprites, and canvas
CSS background images
An image may be painted through CSS rather than an <img> tag. Select the element, open the Computed styles, and find a declaration such as:
background-image: url("/assets/hero-large.jpg");Copy the URL, make it absolute if necessary, open it, and save the file. Also inspect pseudo-elements such as ::before and ::after. A CSS sprite may contain several icons in one file; saving the source gives you the whole sprite, not a cropped icon.
Canvas-rendered images
A canvas can contain pixels without exposing a standalone source URL. First use the page’s own export or download control. If you have permission to capture the rendered result, right-clicking the canvas may offer an image save command; otherwise, use a permitted screenshot or a script that calls canvas.toDataURL(). Cross-origin content can make a canvas tainted, in which case browser security prevents pixel export. There may be no original file to retrieve.
6. Automate extraction with HTTP
For repeatable jobs, request the image URL directly. Preserve required cookies, authorization headers, or a realistic user agent only when you are authorized to access the resource. Save the response in binary mode and validate its content type.
curl -L "https://example.com/path/image.jpg" \
  -H "Accept: image/avif,image/webp,image/*" \
  -o image.jpg
python - <<'PY'
import requests
url = "https://example.com/path/image.jpg"
r = requests.get(url, timeout=30)
r.raise_for_status()
content_type = r.headers.get("content-type", "")
if not content_type.startswith("image/"):
raise ValueError(f"Expected an image, got {content_type}")
with open("image.jpg", "wb") as f:
f.write(r.content)
PYconst res = await fetch('https://example.com/path/image.jpg');
if (!res.ok) throw new Error(`HTTP ${res.status}`);
const type = res.headers.get('content-type') || '';
if (!type.startsWith('image/')) throw new Error(`Expected image, got ${type}`);
const fs = await import('node:fs/promises');
await fs.writeFile('image.jpg', Buffer.from(await res.arrayBuffer()));Do not infer the file type solely from the filename. A server can return WebP bytes from a URL ending in .jpg, or an HTML challenge from an image-looking path. Use the response headers and, for untrusted files, a media parser that checks the magic bytes.
7. Extract a rendered image with ScreenshotNeo
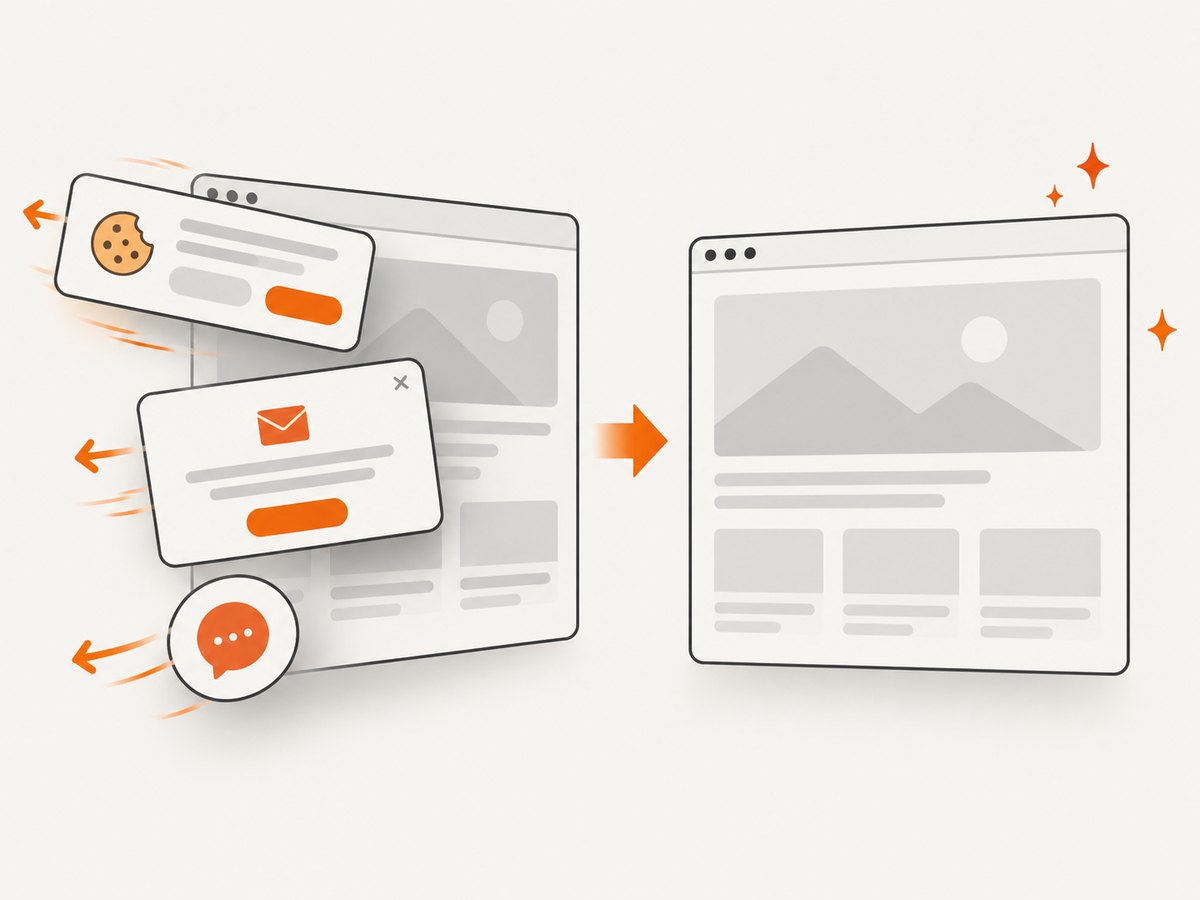
If the page requires a browser, consent interaction, JavaScript execution, or a stable rendered capture, ScreenshotNeo provides a website screenshot API and MCP server. It accepts one GET request and returns PNG, JPEG, WebP, or PDF. Its clean-shot workflow accepts cookie and consent banners before capture and removes more than 60 known consent platforms, newsletter popups, and chat widgets; each step can be disabled.
Use the page URL as the target. The complete API reference and option names are in the ScreenshotNeo documentation.
cURL
curl -G "https://api.screenshotneo.com/v1/shot" \
  -d access_key=YOUR_API_KEY \
  --data-urlencode url=https://stripe.com \
  -o shot.webp
Python
import requests
r = requests.get(
    "https://api.screenshotneo.com/v1/shot",
    params={"access_key": "YOUR_API_KEY", "url": "https://stripe.com"},
    timeout=90,
)
r.raise_for_status()
open("shot.webp", "wb").write(r.content)
Node.js
const q = new URLSearchParams({ access_key: 'YOUR_API_KEY', url: 'https://stripe.com' });
const res = await fetch(`https://api.screenshotneo.com/v1/shot?${q}`);
if (!res.ok) throw new Error(`HTTP ${res.status}`);
const fs = await import('node:fs/promises');
await fs.writeFile('shot.webp', Buffer.from(await res.arrayBuffer()));
Useful capture options
| Need | ScreenshotNeo option | Why it helps |
|---|---|---|
| One image or card | Element capture by CSS selector | Captures the selected element instead of the full page. |
| Images below the fold | Full-page capture with lazy images loaded | Allows deferred content to render before capture. |
| Responsive variation | Device presets or a custom viewport | Reproduces desktop, tablet, or mobile layout. |
| High-density output | Retina scale | Produces sharper pixels for a given CSS viewport. |
| Exact styling | Dark mode, custom CSS, custom JavaScript | Sets the appearance before capture. |
| Interactive state | Click an element, wait for a selector, delay, or network idle | Reaches tabs, galleries, and delayed images. |
| Private pages | Custom headers, cookies, user agent, and Authorization | Supplies request context your page requires. |
| Regional content | Timezone and geolocation | Matches location-dependent rendering. |
| Clean output | Hide selectors; block ads, trackers, requests, or resource types | Removes distracting or unnecessary content. |
| Image delivery | Resize, transparent background, chosen PNG/JPEG/WebP | Controls output dimensions and format. |
| Repeated jobs | TTL caching, async jobs, signed webhooks, bulk capture | Improves repeatability and throughput. |
Responses identify whether a capture was clean, blocked, blank, timed out, failed, or served from cache through X-Page-Verdict and X-Billed headers. Bot checks, CAPTCHAs, blank pages, timeouts, failed loads, and cache hits cost nothing; only clean shots are billed.
8. Troubleshooting
| Symptom | Likely cause | Fix |
|---|---|---|
| Save Image As is missing | You clicked text, an overlay, or a canvas. | Use the element picker, inspect CSS, or use the Network panel. |
| The saved file is tiny | You saved a thumbnail or low-density srcset candidate. |
Inspect all candidates and compare response dimensions. |
| The URL opens an error page | The request needs cookies, a referrer, authorization, or a signed token. | Repeat the authorized browser request and copy its headers or use the page’s export control. |
| Only a blank placeholder appears | The image is lazy-loaded or blocked until scrolling. | Scroll or trigger the gallery while recording Network requests. |
| A download is an HTML challenge | Bot protection or a login wall returned HTML. | Check status and Content-Type; authenticate or request permission rather than bypassing access controls. |
| Canvas export throws a security error | Cross-origin pixels tainted the canvas. | Use the site’s export, capture the rendered result with permission, or obtain the source asset. |
| ScreenshotNeo output misses the image | The image loads after capture or needs interaction. | Use a selector wait, delay, network-idle wait, click action, or full-page lazy-image loading. |
| ScreenshotNeo response is not billed | The verdict is a bot check, blank page, timeout, failed load, or cache hit. | Read X-Page-Verdict, correct the URL or access context, and retry only when the page can produce a clean shot. |
9. Performance, reliability, and cost
For one public image, a direct URL is fastest and preserves the server’s original bytes. Browser inspection is slower but reveals URLs that are hidden behind JavaScript. Full-page rendering costs more time than element capture because the browser must layout the page and load deferred resources. Reuse discovered URLs for repeated downloads, honor cache headers, and avoid downloading every srcset candidate when one adequate rendition meets your requirement.
For automated rendering, set explicit timeouts, record the final URL and response content type, and retry transient network failures with a limit. Keep the original HTML or request URL alongside the downloaded file so you can reproduce which rendition was selected. ScreenshotNeo supports a TTL you choose for caching, asynchronous jobs with signed webhooks, bulk capture of up to 100 URLs per call, a usage API, and an OpenAPI specification. Its plans include every feature: Free provides 1,000 shots per month with no card; Starter is $5 for 3,000; Growth $15 for 15,000; Pro $39 for 60,000; Scale $99 for 250,000; and Business $249 for 1,000,000. Yearly billing gives two months free.
10. Permissions and responsible reuse
Saving a copy for personal reference is different from publishing or redistributing it. Check the image license, attribution requirements, site terms, and any paywall or access control before reuse. A robots.txt file guides crawlers; it does not grant permission to copy an image. RFC 9309 describes robots rules as not being access authorization. Google Search Central also explains that image URLs need to remain crawlable for Googlebot to process image indexing directives.
When you automate extraction, identify the owner, keep request rates reasonable, and stop when a site requires authentication you do not have. A technically accessible URL is not automatically licensed for reuse.
Or skip the browser setup
Use the ScreenshotNeo call above when you need a rendered image rather than the underlying file. Cookie banners, popups, and chat widgets are removed before the shot. Bot checks, blank pages, and failed loads are never billed. An MCP server lets AI agents such as Claude, Cursor, and other MCP clients take screenshots with take_screenshot, inspect pages with get_page_info, and create PDFs with capture_pdf. You get 1,000 screenshots a month free with no card, and paid plans start at $5 for 3,000 shots.
Create a free ScreenshotNeo account and start with the free monthly allowance.
FAQ
Can I get the original upload instead of the displayed image?
Only if the site exposes or authorizes that file. Inspect srcset, linked URLs, and Network requests, then verify dimensions. A transformed CDN response may be the only public rendition.
Why does the download attribute not work?
MDN documents that the HTML download attribute works for same-origin URLs and for blob: and data: URLs. Cross-origin links can open in the browser instead.
Can I extract an image from a protected page?
Use credentials and headers only when you are authorized. If the page presents a CAPTCHA, bot check, or paywall, follow the site’s access and export process.
Should I use a screenshot or download the source file?
Download the source when you need the original bytes. Use a screenshot when you need the rendered appearance, including CSS, overlays removed before capture, responsive layout, or canvas output.


