How to Extract Text from Images
Learn how to extract text from photos, screenshots, scans, and image-only PDFs with desktop tools, OCR APIs, automation, and reliable workflows.

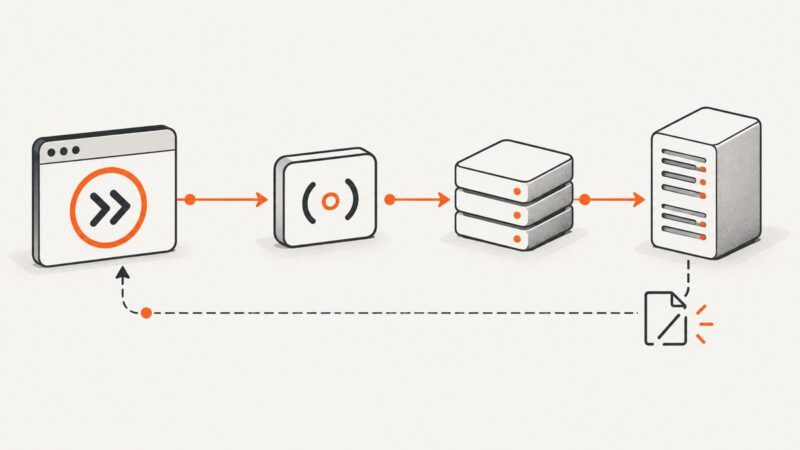
To extract text from an image, use optical character recognition (OCR). OCR analyzes visible characters and returns machine-readable text that you can copy, search, edit, or process in code. The best method depends on your input (photo, screenshot, scan, or image-only PDF), output (plain text, searchable PDF, or structured fields), volume, language, and privacy requirements.
For a one-off picture, OneNote desktop is quick. For a searchable PDF, Acrobat’s Scan & OCR workflow is designed for the job. For phone captures, Microsoft Lens offers a Text mode. For recurring developer workflows, use an OCR API such as Google Cloud Vision or a local engine such as Tesseract. Always compare OCR output with the source image, especially for names, dates, prices, IDs, and code.
Choose the right OCR workflow
| Need | Good starting point | Output | Key consideration |
|---|---|---|---|
| Copy text from one picture | OneNote desktop | Plain text on the clipboard | Desktop app required; recognition can take time |
| Make a scanned PDF searchable | Adobe Acrobat Scan & OCR | Searchable, editable PDF | Enhance and straighten pages first |
| Extract text on a phone | Microsoft Lens Text mode | Copied or shared text, Word, PDF, OneNote, or OneDrive output | Language and handwriting support vary |
| Process images in an application | Google Cloud Vision | Text plus words, locations, and document structure | Choose general text detection or dense-document detection |
| Repeat work on Windows | Power Automate Desktop | Automated OCR actions | Configure engine, language, and image scaling |
| Keep processing local | Tesseract | Plain text, searchable data, or hOCR/TSV | You manage language packs, preprocessing, and errors |
Google distinguishes TEXT_DETECTION, which is suited to general or scene text, from DOCUMENT_TEXT_DETECTION, which returns page, block, paragraph, word, and break structure for dense documents. Google directs more advanced scanned-document parsing, forms, and entity extraction toward Document AI. See the Google Cloud Vision OCR documentation.
Prepare the image before OCR
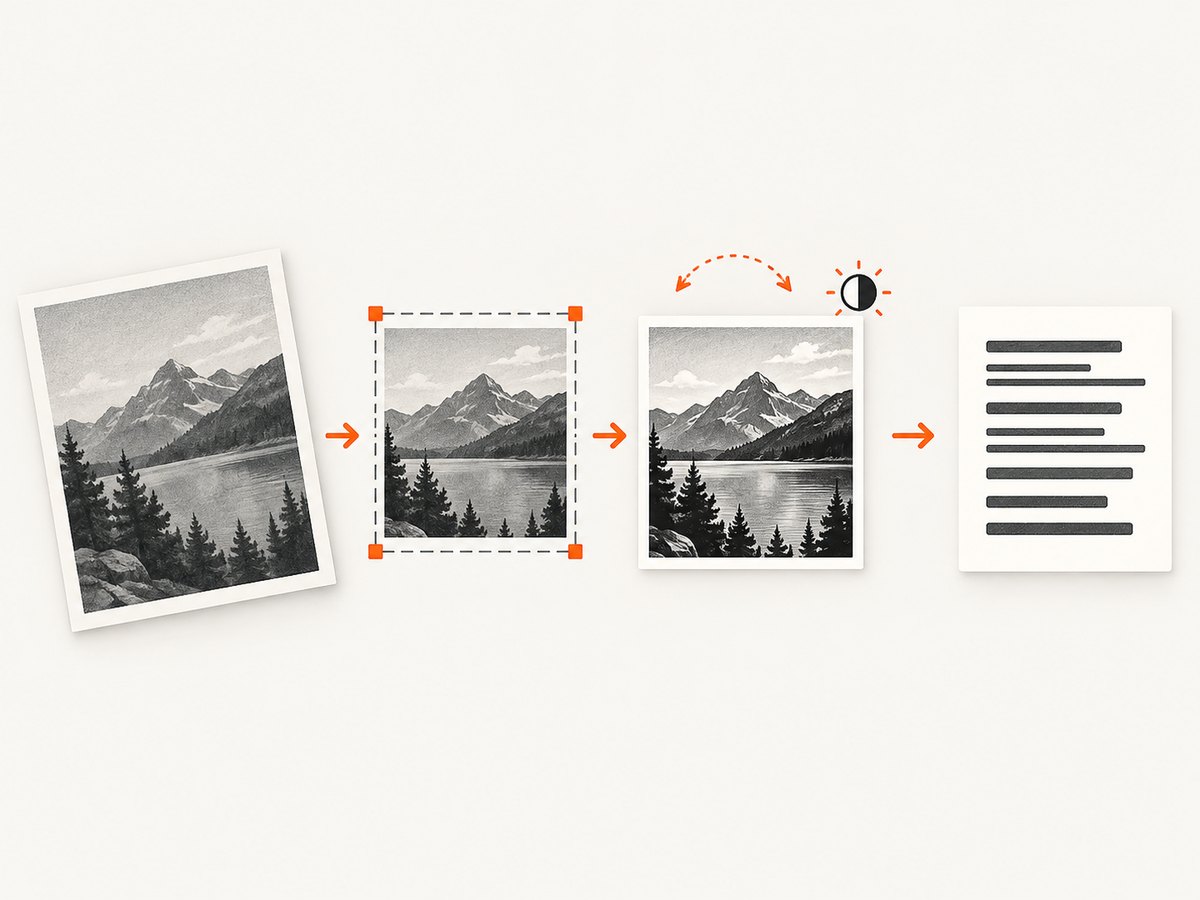
- Use the original file. Repeated screenshots, messaging-app compression, and low-resolution thumbnails remove character detail.
- Crop to the text. Removing unrelated scenery helps an engine find the correct reading region.
- Capture squarely. Avoid perspective distortion, glare, shadows, and fingers covering words.
- Improve contrast. A clean black-on-white page is easier than gray text on a textured background.
- Keep enough resolution. Tiny characters may need an original camera image rather than a resized preview.
- Preserve language information. Select the document language where the tool supports it; mixed-language pages may need separate regions or passes.
OCR produces a draft, not guaranteed truth. Microsoft says OneNote recognition depends on image quality and recommends checking the pasted result. Handwriting and decorative or script-like fonts are less reliable than clear printed text. Adobe’s workflow includes enhancement and straightening, and Acrobat lets you review unclear words after recognition.
Method 1: Copy text from a picture with OneNote desktop
- Open OneNote desktop and insert the picture on a page.
- Right-click the picture and select Copy Text from Picture.
- Paste the result into a note, editor, spreadsheet, or application.
- Compare names, numbers, punctuation, and line breaks with the image.
For a multi-page printout, right-click and choose the command for the selected page or all pages. Microsoft notes that the command may take time to appear depending on image complexity, legibility, and the amount of text; some results can take 24–48 hours. OneNote for the web does not provide this picture-text-copy command; use the desktop application instead. See Microsoft’s OneNote OCR guidance and its OneNote for the web limitation.
Method 2: Turn a scan into an editable, searchable PDF
- Open the photo or scanned document in Acrobat, or acquire a page from a connected scanner or Adobe Scan.
- Choose Scan & OCR.
- Enhance the camera or scanned image and adjust page borders if needed.
- Choose Recognize Text and select the document language and output settings.
- Search for several visible words to confirm that a text layer was created.
- Review unclear words and correct them before distributing the PDF.
Acrobat’s web workflow uses Convert > Recognize text with OCR. The result is searchable and editable, but layout quality still depends on the source scan. See Adobe’s Scan & OCR guide and its guidance on correcting recognized text.
Method 3: Extract text from a phone photo with Microsoft Lens
- Open Microsoft Lens and select Text mode.
- Choose the language when prompted.
- Frame the text, capture the image, and adjust the crop.
- Continue, then copy or share the extracted text.
- Choose a PDF, Word, OneDrive, or OneNote destination when you need a saved document.
Lens support documents language options and notes that handwritten-note extraction is limited to English. App availability, supported platforms, and language lists can change, so check the current Microsoft support and store listing before building a workflow around it. The Microsoft Lens documentation describes the capture and export flow.
Method 4: Run OCR locally with Tesseract
Tesseract is useful when you need repeatable command-line processing or do not want to upload source images to a cloud service. Install Tesseract and the language data for your operating system, then run:
tesseract receipt.png stdout -l eng

# Save text to receipt.txt
tesseract receipt.png receipt -l eng

# Produce TSV with word boxes and confidence values
tesseract receipt.png stdout -l eng tsv > receipt.tsv

# Produce searchable PDF
tesseract scan.png scan -l eng pdf
For difficult photographs, preprocess first. Example with ImageMagick:
magick input.jpg -colorspace Gray -deskew 40% -sharpen 0x1 -contrast-stretch 1%x1% prepared.png
tesseract prepared.png stdout -l eng --psm 6
--psm 6 treats the image as a uniform block of text. Other page segmentation modes fit a single line, sparse text, or a full page. Test the mode against your actual layout; there is no universal setting. Tesseract’s output can include plain text, TSV coordinates, hOCR, or PDF, which lets you retain positions for downstream processing.
Method 5: Call an OCR API from Python
Cloud OCR is practical for a service that receives images continuously, needs bounding boxes, or must process several languages and document types. Google Cloud Vision’s Python client can request general or dense-document detection. Install the client and authenticate using Google’s current service-account instructions:
pip install google-cloud-visionfrom google.cloud import vision
client = vision.ImageAnnotatorClient()
with open("scan.png", "rb") as f:
image = vision.Image(content=f.read())
# General image or scene text
response = client.text_detection(image=image)
for item in response.text_annotations:
print(item.description)
# For dense documents, use document_text_detection instead:
# response = client.document_text_detection(image=image)
if response.error.message:
raise RuntimeError(response.error.message)Use text_detection when readable text is the main output. Use document_text_detection when page, block, paragraph, word, and break structure matters. Check the current Vision OCR reference for supported input and authentication details.
Automate extraction with cURL and Node.js
For an HTTP-based OCR service, send the image as multipart data. The exact endpoint and fields depend on the provider. A generic cURL shape is:

curl -X POST "https://example-ocr-endpoint.example/v1/images:annotate" \
  -H "Authorization: Bearer $OCR_TOKEN" \
  -H "Content-Type: application/json" \
  --data '{"requests":[{"image":{"content":"BASE64_IMAGE"},"features":[{"type":"DOCUMENT_TEXT_DETECTION"}]}]}'
In Node.js, read the file, encode it, call the provider, and inspect both the HTTP status and the provider’s error object:
import { readFile } from "node:fs/promises";

const bytes = await readFile("scan.png");
const body = {
  requests: [{
    image: { content: bytes.toString("base64") },
    features: [{ type: "DOCUMENT_TEXT_DETECTION" }]
  }]
};

const res = await fetch("https://example-ocr-endpoint.example/v1/images:annotate", {
  method: "POST",
  headers: {
    "Authorization": `Bearer ${process.env.OCR_TOKEN}`,
    "Content-Type": "application/json"
  },
  body: JSON.stringify(body)
});
if (!res.ok) throw new Error(`OCR HTTP ${res.status}: ${await res.text()}`);
const result = await res.json();
console.log(result);
Replace the placeholder endpoint and request schema with the provider’s official API. For large PDFs, use that provider’s asynchronous document workflow instead of assuming a single image request accepts every page.
Or skip the browser setup
If your input is a web page and you need a clean image before running OCR, ScreenshotNeo captures the page through one GET request. Its screenshot can then be passed to your OCR pipeline. It accepts PNG, JPEG, WebP, or PDF output and supports full-page capture with lazy images loaded, element capture by CSS selector, device presets, custom viewports, retina scale, dark mode, custom CSS and JavaScript, waits, request blocking, headers, cookies, user agents, authorization, timezone, geolocation, resizing, caching, signed links, asynchronous jobs, bulk capture, and PDF options.
curl -G "https://api.screenshotneo.com/v1/shot" -d access_key=YOUR_API_KEY --data-urlencode url=https://stripe.com -o shot.webpimport requests
r = requests.get("https://api.screenshotneo.com/v1/shot", params={"access_key": "YOUR_API_KEY", "url": "https://stripe.com"}, timeout=90)
open("shot.webp", "wb").write(r.content)const q = new URLSearchParams({ access_key: 'YOUR_API_KEY', url: 'https://stripe.com' });
const res = await fetch(`https://api.screenshotneo.com/v1/shot?${q}`);See the ScreenshotNeo API documentation for parameters and response handling. Cookie banners, newsletter popups, and chat widgets are removed before the shot. Bot checks, blank pages, timeouts, failed loads, and cache hits are not billed, and response headers identify the page verdict and billing status. ScreenshotNeo also provides an MCP server with take_screenshot, get_page_info, and capture_pdf for Claude, Cursor, and other MCP clients. One thousand screenshots each month are free with no card; paid plans start at $5 for 3,000 shots. Create a free ScreenshotNeo account.
Handle difficult images and OCR errors
| Symptom | Likely cause | Fix |
|---|---|---|
| Missing words | Blur, glare, low resolution, or crop | Use the original, recapture in better light, crop tightly, and upscale carefully |
| Wrong characters | Similar glyphs such as O/0 or I/1 | Proofread against the image; use a language model only as a review aid, not as authority |
| Broken reading order | Columns, tables, or mixed regions | Use document-structure OCR, process columns separately, or retain bounding boxes |
| Handwriting fails | Unsupported script or ambiguous strokes | Verify language support and expect manual transcription for critical fields |
| PDF has no searchable text | OCR was not applied or output was flattened | Run Scan & OCR, save a new searchable PDF, and test with search |
| API request is rejected | Bad authentication, unsupported MIME type, oversized payload, or quota | Check status and response JSON, validate file type and size, then review quota and credentials |
Reliability, performance, and cost considerations
- Measure the whole workflow. Image download, preprocessing, OCR, post-processing, and storage each add latency.
- Retry safely. Use exponential backoff for transient network and rate-limit responses. Do not duplicate downstream records when retrying a completed job.
- Keep evidence. Store the source image, OCR engine/version, language, preprocessing settings, and confidence or bounding-box data when audits matter.
- Batch deliberately. Batch APIs reduce request overhead, but a failed batch may be harder to isolate. Queue individual pages when partial progress is more important.
- Control spend. Resize oversized images, avoid reprocessing identical files, cache deterministic results, and set provider quotas. Cloud pricing and limits change; check the current provider terms.
- Protect sensitive data. HTTPS protects transport, but it does not by itself answer retention, residency, access, or training questions. Review the current data-handling terms and configuration before uploading confidential images.
Microsoft’s Azure Vision documentation describes image and document inputs, recognized lines and words, locations, and confidence scores, and confirms HTTPS in transit. Treat that as a transport fact rather than a guarantee about every organization’s compliance needs. OneNote for Mac has separate product-specific wording about online processing and storage; do not generalize it to every OneNote version.
Verification checklist
- Compare every number, date, URL, identifier, and proper name with the image.
- Check that columns, tables, bullets, and headings remain in the intended order.
- Confirm the language and script were configured correctly.
- Search the output for likely OCR confusions:
O/0,I/l/1,S/5, and punctuation. - For searchable PDFs, test selection, search, copy, and accessibility in a PDF viewer.
- Keep a human review step for legal, financial, medical, identity, or safety-critical text.
FAQ
Can I extract text from a screenshot?
Yes. Crop the screenshot to the text and use OneNote, Lens, Tesseract, or an OCR API. A screenshot with crisp, high-resolution text usually works better than a compressed social-media image.
Can OCR preserve the original layout?
Plain-text OCR usually loses layout. Use document-structure detection, TSV or hOCR coordinates, or a searchable PDF when columns and positions matter.
Is OCR accurate enough for invoices or IDs?
It can reduce manual work, but verify every critical field. There is no universal accuracy percentage that applies across image quality, language, handwriting, and document design.
Should I use local or cloud OCR?
Local OCR gives control over data handling and repeatability. Cloud OCR can provide managed scaling, languages, confidence values, and document structure. Choose after reviewing privacy, volume, latency, and cost requirements.
How do I extract text from a web page for OCR?
Capture the relevant page or element first, wait for dynamic content, remove overlays, and then send the resulting image to OCR. ScreenshotNeo can handle that capture step and reports whether the page loaded cleanly.