How to Take Screenshots of an FLV File Every Minute with FFmpeg
Extract one frame every minute from an FLV with FFmpeg, control timing and quality, troubleshoot failures, and automate thumbnail workflows.
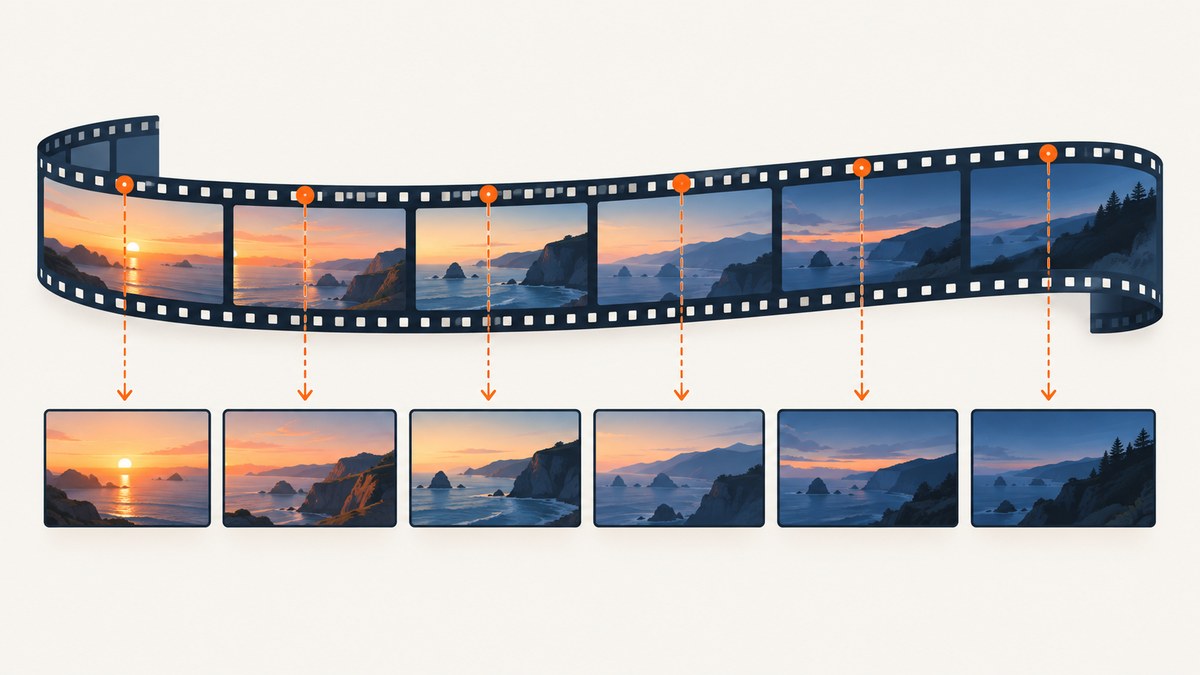
To save one screenshot from an FLV file every 60 seconds, run:
ffmpeg -i input.flv -vf 'fps=1/60' -q:v 2 screenshots/frame_%04d.jpgThe fps=1/60 filter emits one output frame every minute. The frame_%04d.jpg pattern creates files such as frame_0001.jpg, frame_0002.jpg, and so on. The original FLV is read only; FFmpeg decodes frames and encodes separate still images. The FFmpeg filters documentation defines the fps filter, while the image-sequence output is handled by the image2 muxer described in the formats documentation.
1. Prepare FFmpeg and an output directory
Install a current FFmpeg build for your operating system, then verify that the executable is available:
ffmpeg -versionCreate the destination directory before running the extraction command:
mkdir -p screenshotsOn Windows PowerShell, use:
New-Item -ItemType Directory -Force screenshotsUse a writable local path. If the input filename contains spaces, quote it:
ffmpeg -i 'my recording.flv' -vf 'fps=1/60' -q:v 2 'screenshots/frame_%04d.jpg'2. Understand what the command does
| Part | Purpose |
|---|---|
-i input.flv |
Opens the FLV input. |
-vf 'fps=1/60' |
Produces one output frame per 60 seconds. |
-q:v 2 |
Requests high JPEG quality; lower values generally mean better quality and larger files. |
screenshots/frame_%04d.jpg |
Writes a numbered image sequence with four-digit zero padding. |
The first image normally represents the first frame selected by the filter. Timestamps, variable frame rate, damaged packets, and decoder behavior can affect the exact source timestamp represented by an image. If exact timing matters, inspect the media timestamps and validate a few output frames rather than assuming every file is exactly on an integer minute.
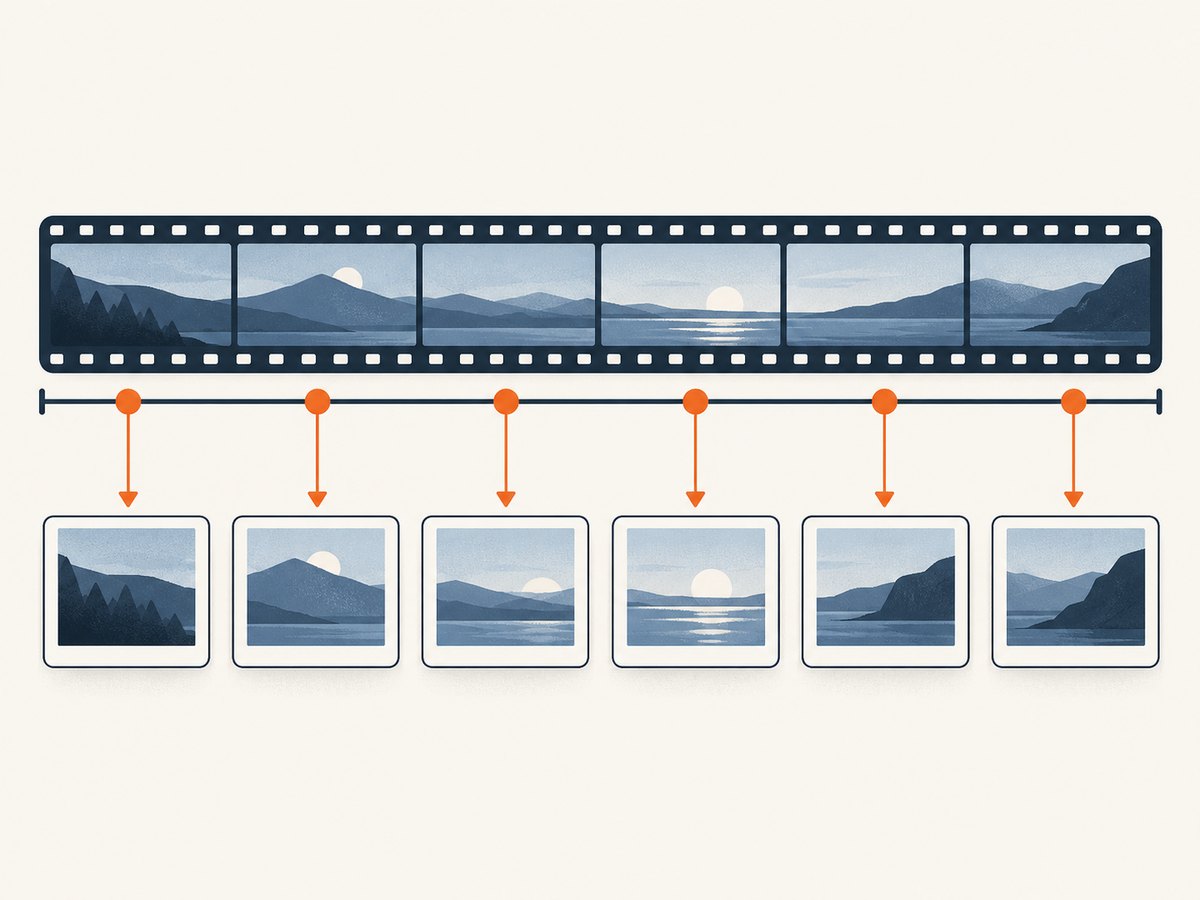
3. Choose JPEG, PNG, or another image format
JPEG for thumbnails and contact sheets
ffmpeg -i input.flv -vf 'fps=1/60' -q:v 2 screenshots/frame_%04d.jpgJPEG is compact and usually appropriate for video thumbnails. Adjust quality with -q:v. For FFmpeg’s JPEG encoder, values near 2 are high quality; larger values reduce quality and file size. Test representative frames because highly detailed or noisy video can produce much larger files.
PNG for lossless stills
ffmpeg -i input.flv -vf 'fps=1/60' screenshots/frame_%04d.pngPNG preserves pixels without lossy compression but can consume substantially more storage. It is useful for screen recordings, diagrams, subtitles, or later image processing where compression artifacts matter.
WebP when supported by your workflow
ffmpeg -i input.flv -vf 'fps=1/60' -c:v libwebp -q:v 80 screenshots/frame_%04d.webpConfirm that your installed build includes the encoder and that the consuming application accepts WebP.
4. Restrict the time range or number of screenshots
Start at a particular timestamp
ffmpeg -ss 00:10:00 -i input.flv -vf 'fps=1/60' -q:v 2 screenshots/frame_%04d.jpgThis begins decoding at approximately ten minutes. Placing -ss before -i is generally faster because FFmpeg can seek before decoding, but the seek may be less exact for formats with sparse keyframes. For accuracy, place it after the input:
ffmpeg -i input.flv -ss 00:10:00 -vf 'fps=1/60' -q:v 2 screenshots/frame_%04d.jpgThe accurate form can decode more data and therefore take longer.
Process only a fixed duration
ffmpeg -i input.flv -t 00:30:00 -vf 'fps=1/60' -q:v 2 screenshots/frame_%04d.jpgThis limits processing to the first 30 minutes. Combine -ss and -t to extract a window:
ffmpeg -ss 00:10:00 -i input.flv -t 00:05:00 -vf 'fps=1/60' -q:v 2 screenshots/frame_%04d.jpgStop after a known number of images
ffmpeg -i input.flv -vf 'fps=1/60' -frames:v 20 -q:v 2 screenshots/frame_%04d.jpgWith one frame per minute, -frames:v 20 produces at most 20 images. This is useful when you know the required thumbnail count but do not know the exact duration.
5. Resize frames while extracting
Add a scale filter after fps to create predictable thumbnail dimensions:
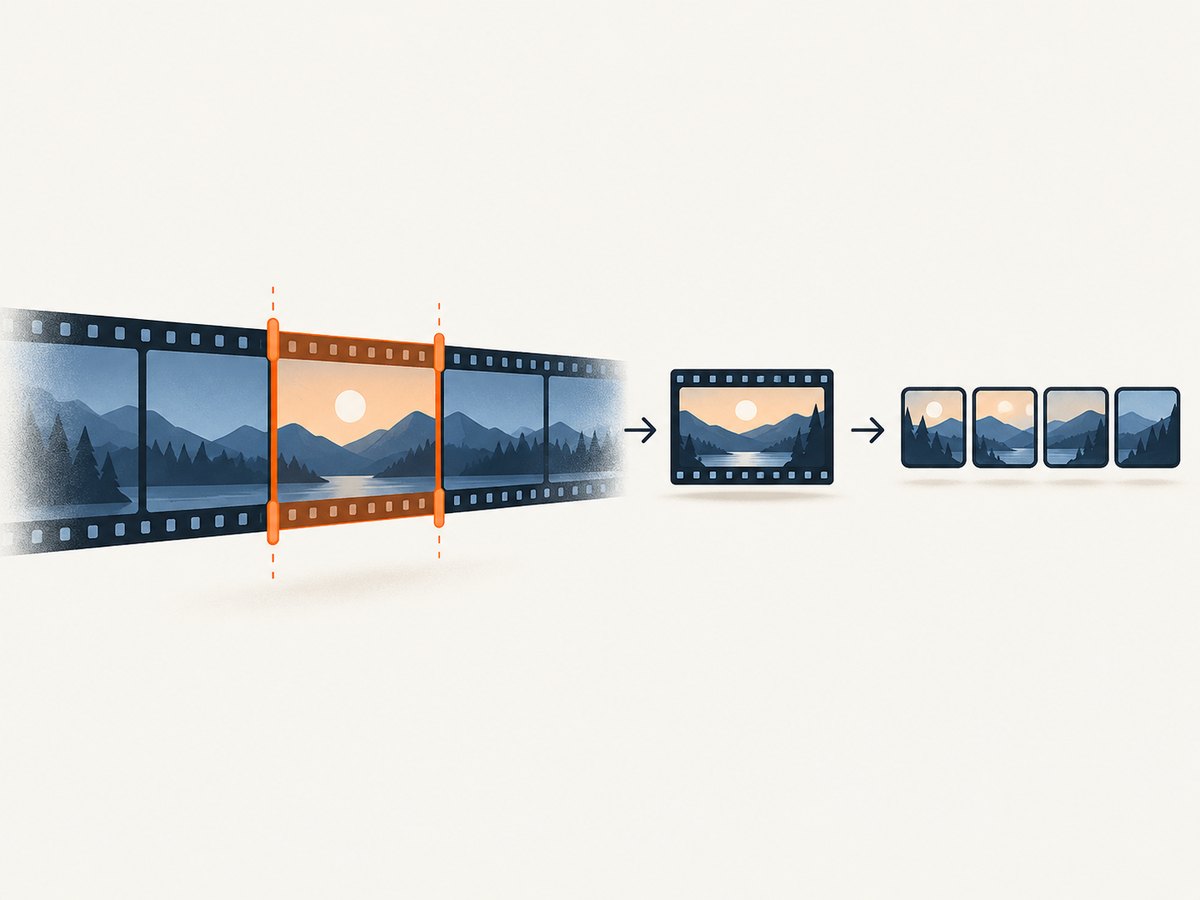
ffmpeg -i input.flv -vf 'fps=1/60,scale=640:-2' -q:v 3 screenshots/frame_%04d.jpg640:-2 sets the width to 640 pixels and calculates an even height while preserving aspect ratio. To force a fixed canvas, use a crop or pad strategy instead of stretching:
ffmpeg -i input.flv -vf 'fps=1/60,scale=640:360:force_original_aspect_ratio=decrease,pad=640:360:(ow-iw)/2:(oh-ih)/2' -q:v 3 screenshots/frame_%04d.jpgKeep the output dimensions consistent if the images will be assembled into a contact sheet, indexed in a database, or displayed in a grid.
6. Add timestamps or other overlays
You can burn the selected frame timestamp into each image with the drawtext filter. Font paths vary by operating system, so provide an explicit path when required:
ffmpeg -i input.flv -vf 'fps=1/60,drawtext=fontfile=/path/to/font.ttf:text=%{pts\:hms}:x=20:y=20:fontsize=28:fontcolor=white:box=1:boxcolor=black@0.6' -q:v 2 screenshots/frame_%04d.jpgEscaping rules differ between the shell and FFmpeg filter syntax. If this command fails, remove drawtext first to confirm that extraction works, then add the overlay in smaller steps.
7. Filter timing versus output-rate control
fps=1/60 expresses the intended sampling interval directly in the filter graph. Another approach is output-rate control:
ffmpeg -i input.flv -r 1/60 -f image2 -q:v 2 screenshots/frame_%04d.jpgBoth approaches can create a one-frame-per-minute sequence, but they differ in how frame timestamps are converted and how other filters interact with the output. Prefer the explicit fps filter when the goal is periodic sampling. If you use -r, specify the image2 format explicitly when diagnosing unexpected output.
8. Handle variable frame rate, missing timestamps, and damaged files
FLV files may contain irregular timestamps or incomplete metadata. Start by inspecting the stream:
ffprobe -v error -show_entries format=duration:stream=index,codec_name,codec_type,avg_frame_rate,r_frame_rate,time_base -of json input.flvIf duration is missing, FFmpeg may continue until end of input or report an estimate. A damaged file can produce decoder warnings while still yielding usable images. Save diagnostic output to a log:
ffmpeg -loglevel warning -i input.flv -vf 'fps=1/60' -q:v 2 screenshots/frame_%04d.jpg 2> extraction.logReview the log for corrupt packets, timestamp discontinuities, or an unsupported codec. If the first frame is black because the stream begins with a fade or empty segment, use -ss to start later or discard the first output with -start_number only when numbering, rather than selection, is the issue.
9. Automate extraction in scripts
Shell loop for many FLV files
for input in *.flv; do
  name=${input%.flv}
  mkdir -p "screenshots/$name"
  ffmpeg -nostdin -y -i "$input" -vf 'fps=1/60,scale=640:-2' -q:v 3 "screenshots/$name/frame_%04d.jpg"
done
-nostdin prevents a background job from waiting for terminal input. Use -y only when overwriting existing files is intentional.
Python subprocess example
from pathlib import Path
import subprocess

source = Path('input.flv')
out_dir = Path('screenshots')
out_dir.mkdir(exist_ok=True)

subprocess.run([
    'ffmpeg', '-nostdin', '-i', str(source),
    '-vf', 'fps=1/60,scale=640:-2',
    '-q:v', '3', str(out_dir / 'frame_%04d.jpg')
], check=True)
Use a unique output directory per input so reruns do not mix frames from different videos. Capture FFmpeg’s stderr in production if you need to classify failures.
10. Performance, storage, and reliability
- Decode cost: FFmpeg may decode much of the file even though it writes only one image per minute. Long-GOP video and accurate seeking increase work.
- Bound the job: Use
-ss,-t, or-frames:vwhen you need only a segment. - Reduce output size: Scale frames and choose JPEG quality appropriate for the display size.
- Parallelize carefully: Independent files can be processed concurrently, but too many FFmpeg processes can saturate CPU, disk, or memory bandwidth.
- Make reruns safe: Write to a temporary directory, check the exit code, then rename the directory after successful completion.
- Verify results: Count files and inspect the first, middle, and last image. A successful process can still produce fewer frames when the input ends early.
For repeatable pipelines, record the FFmpeg version, command line, input checksum, output count, and any warnings. This makes changes in decoder behavior or source files easier to diagnose.
11. Troubleshooting common errors
| Symptom | Likely cause | Fix |
|---|---|---|
ffmpeg: command not found |
FFmpeg is not installed or not on PATH. | Install FFmpeg and reopen the terminal, then run ffmpeg -version. |
| No images are created | The output directory does not exist, the input is empty, or the command failed before encoding. | Create the directory, run with normal log output, and inspect the input with ffprobe. |
| Only one image appears | The input is shorter than one minute or a duration limit was applied. | Check duration and remove or increase -t and -frames:v. |
| Images are black | The selected timestamps contain black frames, the decoder cannot decode correctly, or hardware acceleration is unstable. | Try a later -ss, update FFmpeg, and test software decoding. |
| Output numbering starts unexpectedly | Existing files, a custom start number, or a different pattern is being used. | Use a fresh directory and an explicit pattern such as frame_%04d.jpg. |
| Huge JPEG files | High quality, high resolution, or noisy source content. | Increase -q:v, add scale, or use WebP where supported. |
| Timestamp warnings | Irregular or missing input timestamps. | Inspect with ffprobe, limit the range, and validate representative frames. |
drawtext parse errors |
Font path or escaping is incorrect. | Remove the overlay, use an absolute font path, and re-add escaped characters carefully. |
12. Or skip the browser setup
FFmpeg is the right tool when the source is a local FLV and you need deterministic, batch extraction. If the source is a web page and you need a rendered screenshot instead, ScreenshotNeo provides a single HTTP call and an MCP server for AI agents. See the ScreenshotNeo API documentation for the available options.
curl -G 'https://api.screenshotneo.com/v1/shot' -d access_key=YOUR_API_KEY --data-urlencode url=https://stripe.com -o shot.webpimport requests
r = requests.get('https://api.screenshotneo.com/v1/shot', params={'access_key': 'YOUR_API_KEY', 'url': 'https://stripe.com'}, timeout=90)
open('shot.webp', 'wb').write(r.content)const q = new URLSearchParams({ access_key: 'YOUR_API_KEY', url: 'https://stripe.com' });
const res = await fetch(`https://api.screenshotneo.com/v1/shot?${q}`);Cookie banners, newsletter popups, and chat widgets are removed before the shot. Bot checks, blank pages, failed loads, timeouts, and cache hits are not billed, and response headers identify the page verdict and billing status. Its MCP server includes take_screenshot, get_page_info, and capture_pdf for Claude, Cursor, and other MCP clients. The free plan includes 1,000 screenshots per month with no card; paid plans start at $5 for 3,000 screenshots. Create a free ScreenshotNeo account.
13. Short FAQ
Does fps=1/60 mean exactly one image at every clock minute?
It means one output frame per 60 seconds of the input timeline. Variable timestamps, seeking, and damaged media can affect which source frame is selected.
Can I preserve the original video resolution?
Yes. Omit the scale filter. Add it only when you need smaller, consistent thumbnails.
Will FFmpeg change my FLV?
No. The command reads the FLV and writes separate image files.
How do I extract frames every ten seconds instead?
ffmpeg -i input.flv -vf 'fps=1/10' screenshots/frame_%04d.jpgHow do I stop overwriting existing screenshots?
Remove -y if you added it, or write each run to a new directory. FFmpeg will ask before replacing files when interactive input is available.


