How to Fix CasperJS Angular Buttons That Do Not Work
Fix CasperJS and AngularJS button tests by checking the rendered selector, Angular binding, click timing, and the resulting page state.
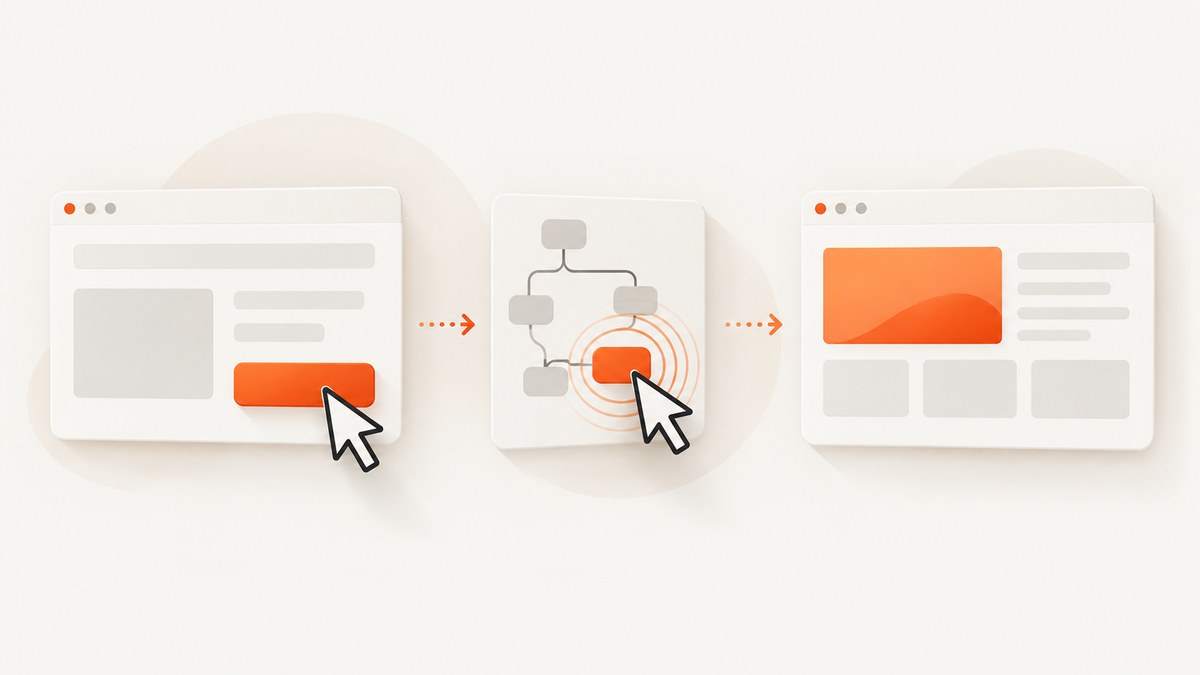
When a CasperJS test clicks an AngularJS button and nothing appears to happen, check four things in order: the selector matches the rendered button, the button exists and is ready, its AngularJS ng-click binding is correct, and the test waits for the action’s result. A successful call to click() only means CasperJS attempted an interaction; it does not prove that AngularJS completed the application action.
The title does not identify a particular page, script, or error, so there is no single confirmed root cause. Use the steps below to separate selector, timing, binding, and legacy runtime problems. CasperJS is no longer actively maintained, so include its version and the PhantomJS or SlimerJS version in any diagnosis of persistent failures. CasperJS project repository
1. Check the rendered selector and button
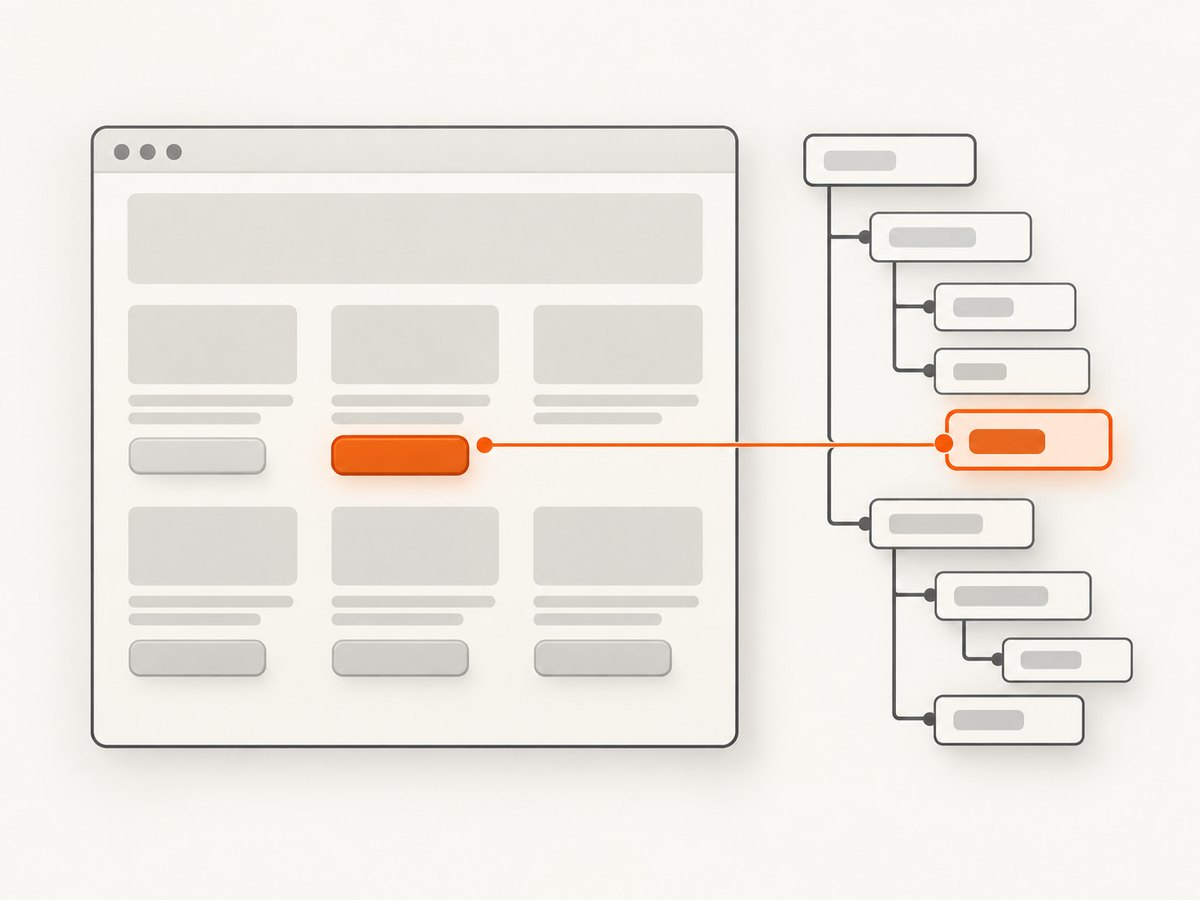
CasperJS selectors are evaluated against the page’s DOM. A selector that looks right in a template may not match the rendered page: AngularJS may repeat elements, change their attributes, or render the control only after data arrives. Start by waiting for the intended selector, then assert that it exists before clicking.
var casper = require('casper').create();
var buttonSelector = 'button[data-testid="save"]';

casper.start('https://example.com/form', function () {
    this.waitForSelector(buttonSelector, function () {
        this.echo('Save button is present');
        this.click(buttonSelector);
    }, function () {
        this.die('Save button did not appear');
    }, 10000);
});

casper.run();
Replace the example URL and selector with the target application and a selector that uniquely identifies the intended button. Prefer a stable application attribute such as a test identifier when the page provides one. CasperJS accepts CSS3 selector strings by default and supports XPath as well; use the selector form that clearly identifies the actual element. CasperJS API documentation
Waiting for presence is a diagnostic first step, not proof of readiness. The control can exist while data is still loading, while it is disabled, or before an overlay disappears. Inspect what CasperJS selected before relying on the click.
casper.then(function () {
    var details = this.evaluate(function (selector) {
        var el = document.querySelector(selector);
        if (!el) return null;
        return {
            tag: el.tagName,
            text: el.textContent,
            disabled: !!el.disabled,
            ngClick: el.getAttribute('ng-click'),
            classes: el.className
        };
    }, buttonSelector);

    this.echo(JSON.stringify(details));
});
This page-context inspection helps establish whether the selected element is the expected control, whether it is disabled, and whether the expected AngularJS directive appears in the rendered markup. It does not by itself prove that the handler ran.
2. Confirm the AngularJS click binding
AngularJS uses ng-click to specify behavior for a click. Check the button in the rendered DOM and the corresponding template: the directive should name the intended expression, and any referenced function should be available in the element’s scope. AngularJS ngClick API
<button type="button"
        data-testid="save"
        ng-click="save()">
  Save
</button>
Also check that the control is not unintentionally a form submit button. If the intended operation is handled by ng-click, type="button" can prevent an implicit form submission from navigating or reloading the page. If submitting the form is intended, test the submission result instead of assuming the click handler is the complete flow.
AngularJS documents that interpolated DOM event attributes such as onclick are disallowed; use Angular event directives such as ng-click or the documented ng-on-* forms. AngularJS security guide If the binding is absent or wrong, changing CasperJS wait times will not repair the application behavior.
3. Wait for the application result
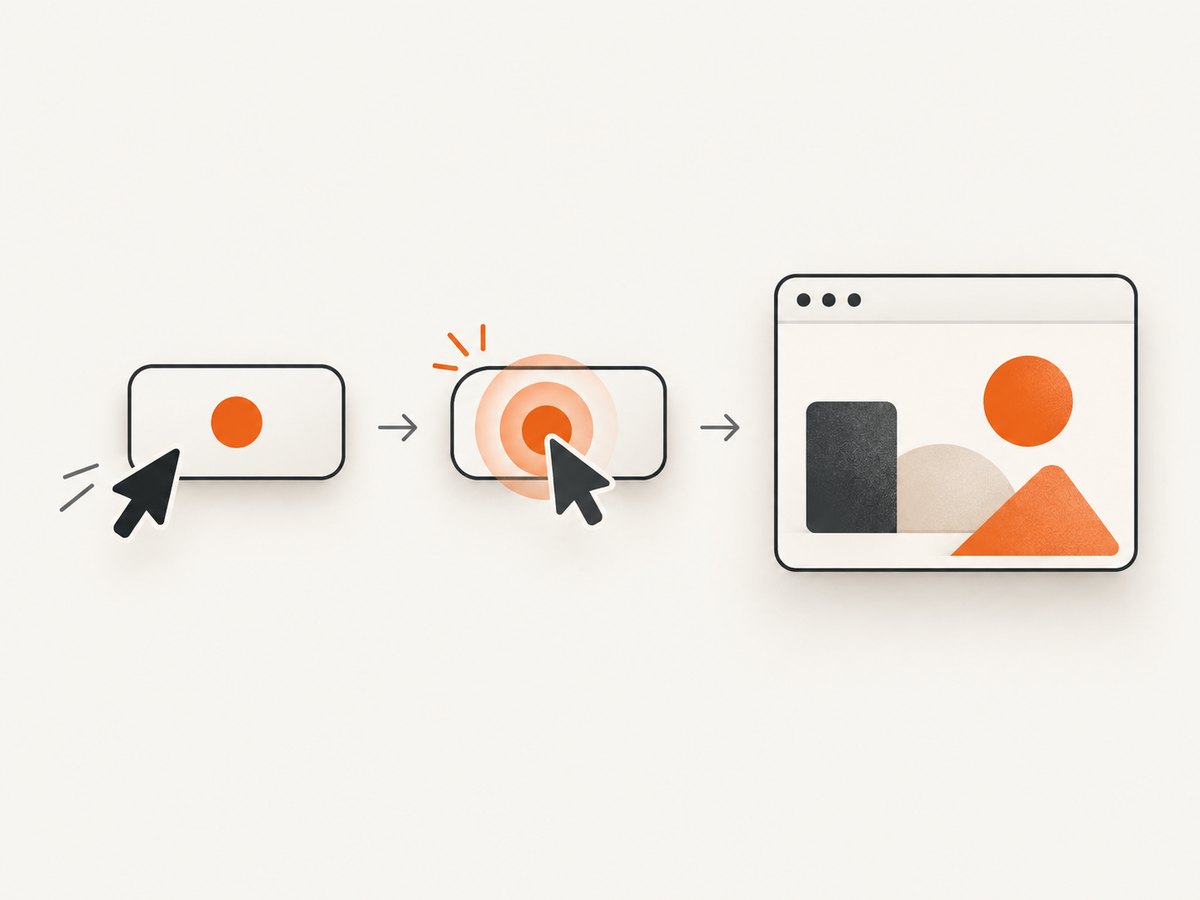
After the click, wait for something observable that proves the operation completed: confirmation text, a changed button state, a result row, a hidden dialog, or a URL change. Do not treat “button was present” or “click returned” as success.
var casper = require('casper').create();
var buttonSelector = 'button[data-testid="save"]';
var savedSelector = '[data-testid="save-confirmation"]';

casper.start('https://example.com/form');

casper.waitForSelector(buttonSelector, function () {
    this.click(buttonSelector);
});

casper.waitForSelector(savedSelector, function () {
    this.echo('Save result appeared');
}, function () {
    this.die('Save result did not appear after clicking');
}, 10000);

casper.run();
Choose a result that is tied to the user-visible outcome. If the application updates text rather than inserting an element, use waitFor() with a condition that checks the changed text or state. CasperJS documents waitFor() for waiting until a function returns true; its documented default timeout is 5,000 milliseconds. Set a suitable timeout for the application and make the timeout failure informative. CasperJS wait and interaction APIs
For example, a page can expose an explicit state attribute after save:
casper.waitFor(function () {
    return this.evaluate(function () {
        var status = document.querySelector('[data-testid="save-status"]');
        return status && status.textContent.trim() === 'Saved';
    });
}, function () {
    this.echo('Application reports Saved');
}, function () {
    this.die('Timed out waiting for save status');
}, 10000);
This pattern distinguishes a click attempt from a completed application state change. If the expected state never appears, inspect the application’s own console output, network response, and UI state to determine whether the handler ran and whether the operation failed downstream.
4. Use the right CasperJS interaction
CasperJS click() attempts to trigger a JavaScript MouseEvent, then falls back to a native QtWebKit event if the first strategy fails. It is selector-based, so a wrong or ambiguous selector remains a likely problem even when the API call itself runs. CasperJS click documentation
For a button that only works after entering text, make the input step explicit. CasperJS documents sendKeys() for native keyboard events on supported inputs, textareas, and contenteditable elements. Its documentation recommends fill() when filling and submitting forms. Use the method that corresponds to the actual user flow.
var form = 'form[data-testid="profile-form"]';

casper.then(function () {
    this.fill(form, {
        name: 'Ada Lovelace'
    }, false);
    this.click('button[data-testid="save"]');
});
Confirm the selector and fields match the form in the rendered page. If a control is obscured by a modal, consent banner, loading layer, or another element, resolve that page condition before clicking. A longer fixed delay may hide a timing issue temporarily, but waiting for the overlay to disappear or for a specific readiness signal makes the test clearer.
5. Diagnose the failure in a repeatable order
- Record the runtime. Capture CasperJS, PhantomJS or SlimerJS versions, the test output, and relevant browser console messages. CasperJS is no longer actively maintained, so runtime compatibility matters when a failure persists. CasperJS repository
- Prove the selector matches. Wait for it, inspect its count or attributes, and ensure it points to the intended control rather than a hidden duplicate.
- Check readiness. Determine whether application data, animations, overlays, or disabled state still prevent the user action.
- Verify the binding. Confirm the rendered button has the intended
ng-clickexpression and that the referenced handler exists in the right scope. - Observe the outcome. Wait for a user-visible state change, URL, or result element, then report a clear timeout if it does not occur.
- Reduce the test case. Reproduce the same page and interaction with one control and one assertion. This helps isolate application behavior from unrelated test steps.
When reporting the issue, include the smallest useful script, rendered button markup, AngularJS version if known, runtime versions, console output, and what was expected versus observed. Without these details, the title alone cannot identify whether the cause is a missing element, mismatched selector, readiness issue, incorrect binding, or runtime limitation.
6. Common errors and fixes
| Symptom | Likely cause | Fix |
|---|---|---|
waitForSelector() times out |
The selector is wrong, the button is conditionally rendered, or the page did not reach the expected state. | Inspect the rendered DOM and page errors; wait for the actual readiness condition; use a stable, unique selector. |
| Click runs but nothing changes | The click may have targeted the wrong control, the Angular binding may be absent or invalid, or the handler may not complete. | Inspect selected element and ng-click; assert the expected post-click state; check the page’s own errors. |
| Test passes intermittently | The control or application state may not be ready at the time of interaction. | Replace arbitrary sleeps with waits for the selector, readiness signal, or result state. Use a timeout that reflects the page. |
| Button is present but cannot be used | It may be disabled, covered, or part of a still-open overlay. | Inspect disabled state and page layers; wait for the blocking condition to clear before clicking. |
| Click submits or reloads unexpectedly | A button inside a form may have submit behavior, or the flow may be a form submission rather than an isolated click handler. | Check button type and expected form behavior; assert the actual submission result or use an explicit button type when appropriate. |
| Text entry does not trigger the expected flow | The input event path or form sequence may not match the test’s assumptions. | Use documented sendKeys() or fill() behavior as appropriate, then wait for the application result. |
7. Performance, reliability, and cost
Keep a test focused on the one interaction being diagnosed. A stable selector and condition-based waits make failures easier to interpret than repeated fixed delays, and they avoid waiting longer than needed when the page becomes ready quickly. Set finite timeouts and make their failure callbacks identify the missing condition.
Legacy browser automation has a maintenance cost: CasperJS is no longer actively maintained, and behavior depends on the CasperJS and browser-engine versions installed in the environment. Record those versions and retain a minimal reproducer when failures depend on the runtime. The supplied evidence does not establish a universal success rate, performance benchmark, or cost for a particular CasperJS setup, so measure those in the environment where the test runs.
Or skip the browser setup
If the task is to capture the page for visual review or documentation rather than test a button interaction, ScreenshotNeo can return a screenshot or PDF with one GET request. It is a website screenshot API and MCP server from Yorker Media. It does not replace a CasperJS interaction test; it removes the need to set up browser capture code for a screenshot.
Install Python’s requests package, then run this complete example. See the ScreenshotNeo API documentation for request options.
import requests

r = requests.get(
    "https://api.screenshotneo.com/v1/shot",
    params={"access_key": "YOUR_API_KEY", "url": "https://stripe.com"},
    timeout=90,
)
r.raise_for_status()
open("shot.webp", "wb").write(r.content)
Equivalent cURL and Node.js calls:
curl -G "https://api.screenshotneo.com/v1/shot" -d access_key=YOUR_API_KEY --data-urlencode url=https://stripe.com -o shot.webpconst q = new URLSearchParams({ access_key: 'YOUR_API_KEY', url: 'https://stripe.com' });
const res = await fetch(`https://api.screenshotneo.com/v1/shot?${q}`);
if (!res.ok) throw new Error(`Screenshot request failed: ${res.status}`);
await Bun.write('shot.webp', res);- Cookie and consent banners are accepted as a visitor, and 60+ known consent platforms, newsletter popups, and chat widgets are removed before capture; each of these steps can be turned off.
- Bot checks and CAPTCHAs, blank pages, timeouts, failed loads, and cache hits cost nothing; response headers identify the page verdict and billing status.
- An MCP server provides
take_screenshot,get_page_info, andcapture_pdftools for Claude, Cursor, and other MCP clients. - The Free plan includes 1,000 screenshots per month with no card. Paid plans start at $5 for 3,000; every feature is on every plan.
Sign up free for 1,000 screenshots a month, with no card required.
FAQ
Does a successful CasperJS click mean AngularJS handled it?
No. It means CasperJS attempted a click. Wait for and assert the state change caused by the application action.
Should I add a longer sleep?
Use a condition-based wait when possible: wait for the control to be ready and then for the expected result. A fixed delay can be useful for diagnosis, but it does not establish that the relevant state is ready.
Can a screenshot prove the button works?
A screenshot shows rendered appearance at capture time. It does not establish that a click handler ran or that an application action succeeded. Use an interaction test with an outcome assertion for that.
What information is needed to identify the exact cause?
The test script, rendered markup, selector, AngularJS and CasperJS versions, browser-engine version, console output, and expected versus observed result narrow the diagnosis.


