How to Fix Extra Empty Space in dom-to-image Captures
Remove blank space from dom-to-image screenshots by correcting CSS bounds, cloned styles, overflow, and device-pixel-ratio mismatches.
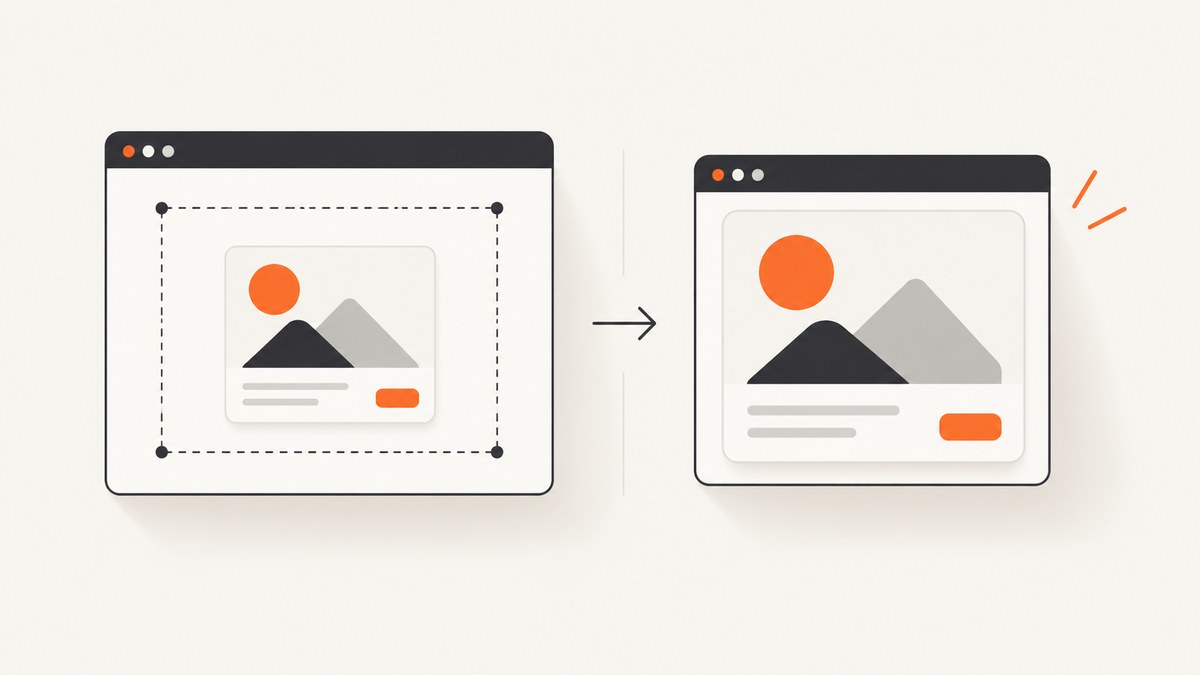
Extra blank space in a dom-to-image capture usually comes from one of two places: the cloned element’s CSS/layout box is larger than the visible content, or the capture dimensions and device-pixel ratio produce a proportionally oversized raster. Measure the element first, then fix the layout bounds. Only change scale or pixelRatio after the CSS box is correct.
Quick diagnosis
- Compare
getBoundingClientRect(),offsetWidth, andoffsetHeightwith the generated image’s pixel dimensions. - If the blank area is a fixed strip on one or more sides, inspect margins, padding, fixed dimensions, minimum dimensions, transforms, and overflowing children.
- If the whole image is enlarged by roughly the same ratio, inspect
window.devicePixelRatioand any explicit width, height, scale, or pixel-ratio settings. - Check whether you are using the original
dom-to-imagepackage or the maintaineddom-to-image-morefork. Options are not interchangeable without checking the installed version.
How dom-to-image creates the extra area
The library clones the selected node, copies computed styles, embeds fonts and images, places the clone inside an SVG foreignObject, and rasterizes that SVG on an off-screen canvas. Consequently, margins, padding, default browser styles, width constraints, and overflowing descendants can become part of the rendered image. See the original dom-to-image README and the dom-to-image-more documentation.
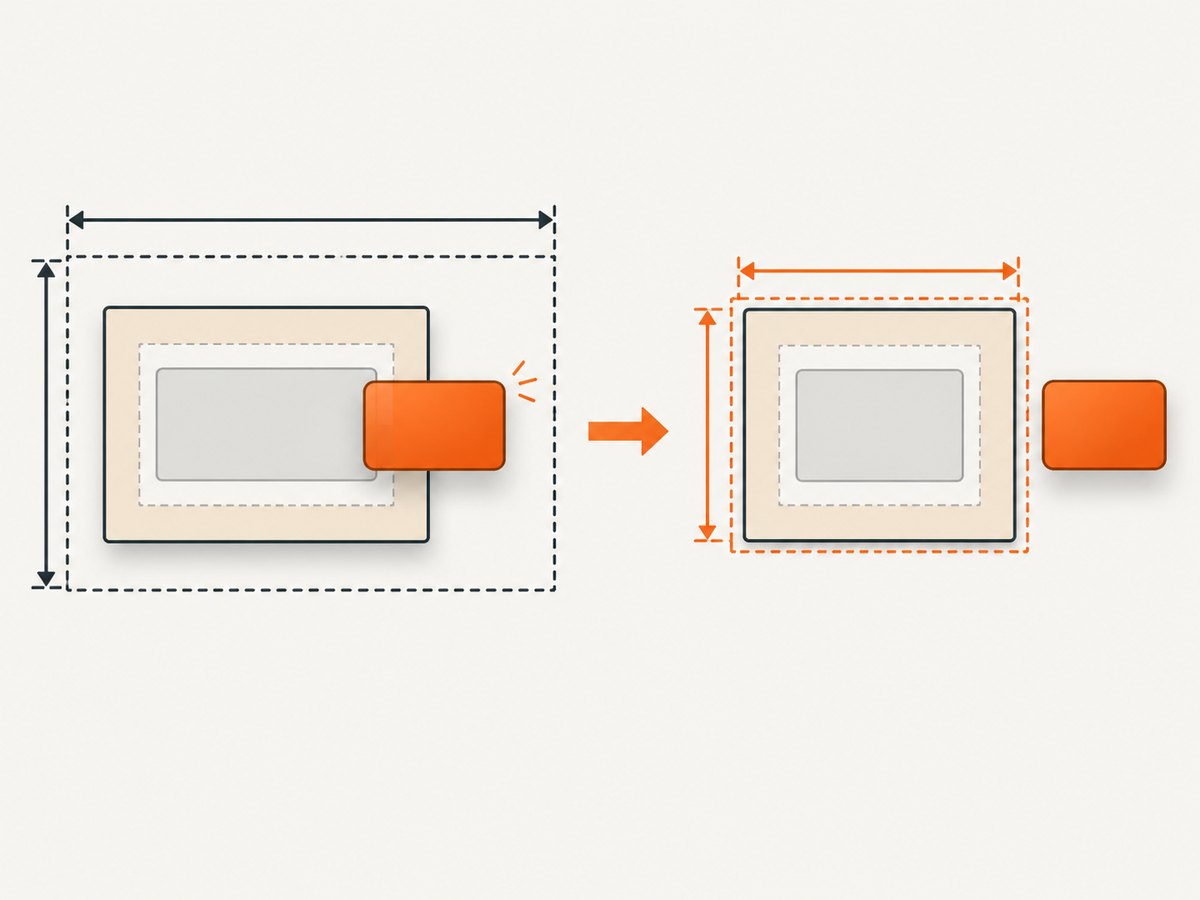
Step 1: Measure the capture and its descendants
Run this in DevTools with the exact element you pass to domtoimage.toPng or domtoimage.toBlob:
const root = document.querySelector('#capture');
const rootRect = root.getBoundingClientRect();

console.table({
  rectWidth: rootRect.width,
  rectHeight: rootRect.height,
  offsetWidth: root.offsetWidth,
  offsetHeight: root.offsetHeight,
  scrollWidth: root.scrollWidth,
  scrollHeight: root.scrollHeight,
  devicePixelRatio: window.devicePixelRatio
});

for (const node of [root, ...root.querySelectorAll('*')]) {
  const rect = node.getBoundingClientRect();
  const style = getComputedStyle(node);
  console.log(node, {
    rect: { x: rect.x, y: rect.y, width: rect.width, height: rect.height },
    margin: style.margin,
    padding: style.padding,
    width: style.width,
    height: style.height,
    minWidth: style.minWidth,
    minHeight: style.minHeight,
    transform: style.transform,
    overflow: style.overflow
  });
}
A child whose right or bottom edge extends beyond the root can enlarge the effective capture area. Compare scrollWidth/scrollHeight with the visible box, and temporarily outline every element:
document.querySelectorAll('#capture, #capture *').forEach((node) => {
  node.style.outline = '1px solid rgba(255,0,0,.35)';
});
Step 2: Remove CSS that enlarges the box
Reset root margins and padding
#capture {
  margin: 0;
  padding: 0;
  box-sizing: border-box;
}

#capture *,
#capture *::before,
#capture *::after {
  box-sizing: border-box;
}
Margins on the root or its first child are a frequent source of a visible strip. If the design needs spacing, move it into an intentional inner wrapper and capture the wrapper whose bounds you actually want.
Remove fixed and minimum dimensions
#capture {
  width: fit-content;
  min-width: 0;
  min-height: 0;
  height: auto;
}

#capture .panel {
  width: auto;
  min-width: 0;
  max-width: 100%;
}
Fixed width, height, min-width, and min-height values can preserve empty space after the content becomes smaller.
Contain overflowing children
#capture {
  overflow: hidden;
}

#capture img,
#capture svg,
#capture canvas {
  display: block;
  max-width: 100%;
}
Use overflow: hidden only when clipping is correct for the design. Otherwise, resize or reposition the overflowing child so the root’s measured bounds represent the intended image.
Check transforms
A transformed child can visually move outside the untransformed layout box. Inspect transform, transform-origin, and translated or scaled descendants. Capture an untransformed wrapper when possible.
Step 3: Test copied default styles
The maintained dom-to-image-more fork documents copyDefaultStyles, which defaults to true. Its documentation recommends testing false and normalizing CSS when unexpected padding appears. Treat this as fork-specific and verify that your installed package supports the option.
import domtoimage from 'dom-to-image-more';

const node = document.querySelector('#capture');
const blob = await domtoimage.toBlob(node, {
  copyDefaultStyles: false
});

const imageUrl = URL.createObjectURL(blob);
window.open(imageUrl);
If this removes the blank area, add explicit styles for the properties your design requires instead of relying on browser defaults:
const blob = await domtoimage.toBlob(node, {
  copyDefaultStyles: false,
  style: {
    margin: '0',
    padding: '0',
    background: '#fff',
    boxSizing: 'border-box'
  }
});
The original project documents style, width, and height options. These options are applied to the node before rendering, so remeasure the result after each change.
Step 4: Set explicit capture dimensions
Use explicit dimensions when the element’s computed box is correct but the library is resolving a different size:
import domtoimage from 'dom-to-image';

const node = document.querySelector('#capture');
const width = node.offsetWidth;
const height = node.offsetHeight;

const dataUrl = await domtoimage.toPng(node, {
  width,
  height,
  style: {
    width: `${width}px`,
    height: `${height}px`,
    margin: '0'
  }
});

document.querySelector('#result').src = dataUrl;
Do not use arbitrary dimensions just to crop the symptom. Width and height alter the node before rendering; choose values that match the intended CSS box.
Step 5: Investigate device-pixel-ratio mismatches
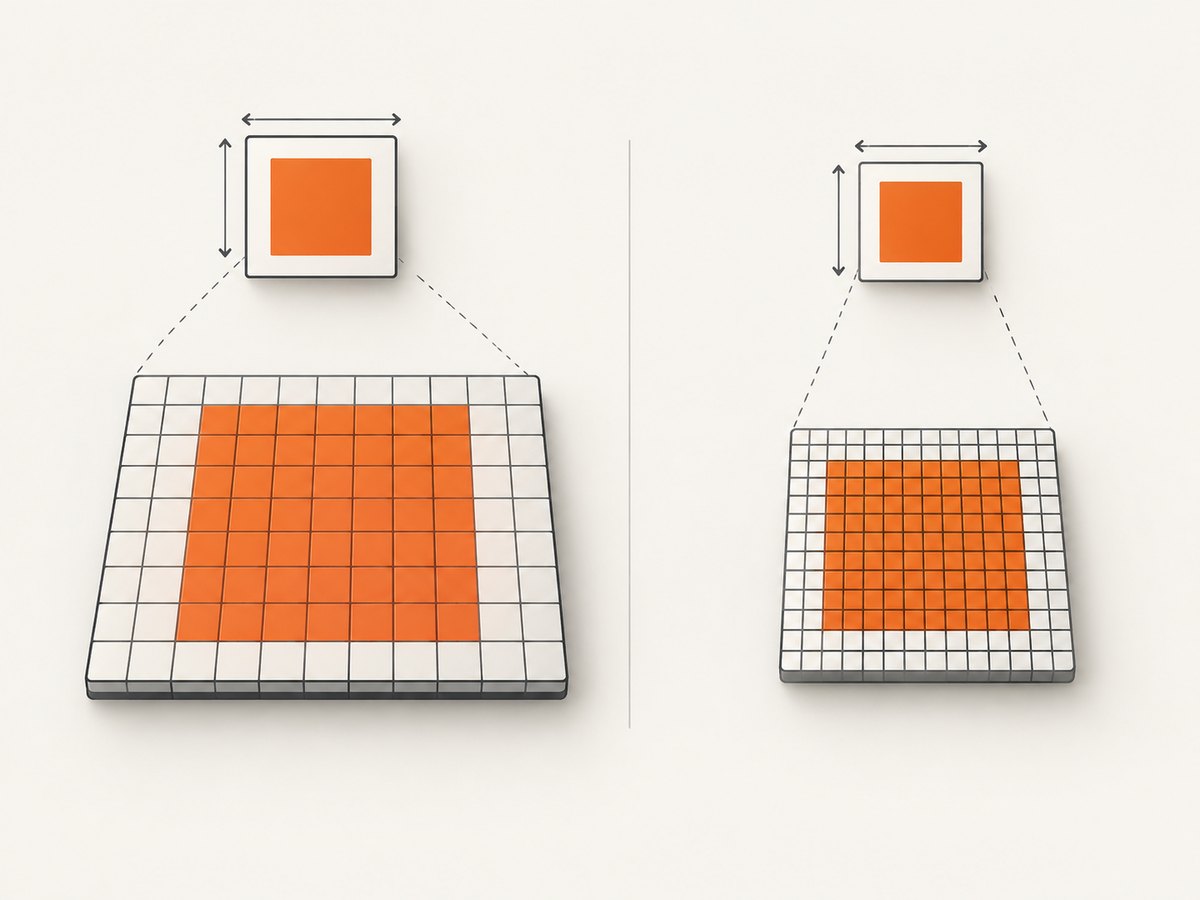
If the output is larger in proportion to the element, compare CSS pixels with raster pixels. A July 2024 Stack Overflow report describes a mismatch between window.devicePixelRatio and capture dimensions and proposes a ratio-aware adjustment. This is a community workaround for that report, not a universal fix. See the reported case.
const node = document.querySelector('#capture');
const ratio = window.devicePixelRatio || 1;
const cssWidth = node.offsetWidth;
const cssHeight = node.offsetHeight;

const dataUrl = await domtoimage.toPng(node, {
  width: cssWidth * ratio,
  height: cssHeight * ratio,
  style: {
    width: `${cssWidth}px`,
    height: `${cssHeight}px`,
    transform: `scale(${ratio})`,
    transformOrigin: 'top left'
  }
});
Test this on a minimal reproduction in the target browser. If your generated image already has the expected pixel dimensions, applying the workaround can create a new mismatch.
Raster resolution versus capture bounds
dom-to-image-more documents scale and pixelRatio for raster resolution. They control how many output pixels represent the CSS box; they do not remove CSS padding, margins, fixed dimensions, or overflowing content. Correct the box first, then select the desired resolution.
const blob = await domtoimage.toBlob(node, {
  scale: 2
});
For a 400 CSS-pixel-wide element, a scale of 2 aims for a 800-pixel raster while keeping the same CSS layout. Confirm the actual output dimensions in your browser and package version.
Complete minimal example
<div id="capture" class="card">
  <h1>Report</h1>
  <p>This card is the intended capture boundary.</p>
</div>
<img id="result" alt="Rendered capture" />
<script type="module">
  import domtoimage from 'dom-to-image-more';

  const node = document.querySelector('#capture');
  const rect = node.getBoundingClientRect();

  const blob = await domtoimage.toBlob(node, {
    width: Math.round(rect.width),
    height: Math.round(rect.height),
    copyDefaultStyles: false,
    style: {
      margin: '0',
      boxSizing: 'border-box'
    }
  });

  document.querySelector('#result').src = URL.createObjectURL(blob);
</script>
<style>
  #capture {
    display: flow-root;
    width: 360px;
    min-width: 0;
    min-height: 0;
    margin: 0;
    padding: 24px;
    box-sizing: border-box;
    background: white;
    overflow: hidden;
  }

  #capture h1 { margin: 0 0 8px; }
  #capture p { margin: 0; }
</style>
Common errors and fixes
| Symptom | Likely cause | Fix |
|---|---|---|
| Blank strip on every side | Root margin or padding | Inspect computed styles; set intentional margin/padding and use box-sizing: border-box. |
| Only the bottom or right is empty | Fixed/minimum dimensions or an overflowing descendant | Compare scrollWidth/scrollHeight; remove constraints or contain overflow. |
| Extra space appears after cloning | Copied browser defaults | With dom-to-image-more, test copyDefaultStyles: false and add explicit styles. |
| Everything is larger by the same ratio | CSS pixels versus device pixels | Compare devicePixelRatio, width, height, scale, and pixel-ratio values; test the ratio-aware workaround. |
| Changing scale does not crop the blank area | Scale changes resolution, not layout bounds | Fix CSS dimensions or capture bounds first. |
| Fonts or images change the size | Resources are not ready when cloned | Wait for fonts and images before calling the library, then measure again. |
| Option has no effect | Wrong package or version | Check the installed package and its documentation; fork-specific options may not exist in the original project. |
Wait for assets before measuring
await document.fonts?.ready;
await Promise.all(
  [...document.images].map((image) => image.complete
    ? Promise.resolve()
    : new Promise((resolve) => {
        image.addEventListener('load', resolve, { once: true });
        image.addEventListener('error', resolve, { once: true });
      }))
);

const rect = node.getBoundingClientRect();
const dataUrl = await domtoimage.toPng(node, {
  width: Math.round(rect.width),
  height: Math.round(rect.height)
});
Late-loading fonts, images, or layout scripts can change the box between measurement and capture. Resolve those resources before taking the final measurement.
Performance and reliability notes
- Large DOM trees, high-resolution images, embedded fonts, and a high raster scale increase memory use and rendering time.
- Capture the smallest meaningful root. Removing unrelated descendants reduces cloning and rasterization work.
- Use a moderate scale and resize the resulting image afterward when the consumer does not need a large raster.
- Keep a minimal reproduction with fixed viewport, fonts, images, and browser version when diagnosing a regression.
- Repeat the capture in the browser and package version used in production. Behavior can differ between the original project and maintained forks.
- After each CSS or option change, record the measured CSS dimensions and output pixel dimensions so a layout problem is not confused with a resolution problem.
Or skip the browser setup
If you need a clean screenshot of a URL rather than a DOM node inside your application, ScreenshotNeo provides a GET API that returns PNG, JPEG, WebP, or PDF. It accepts cookie and consent banners as a visitor and removes more than 60 known consent platforms, newsletter popups, and chat widgets before capture. Bot checks/CAPTCHAs, blank pages, timeouts, failed loads, and cache hits are not billed, and each response reports its result with X-Page-Verdict and X-Billed headers. Its MCP server also lets Claude, Cursor, and other MCP clients call take_screenshot, get_page_info, and capture_pdf.
See the ScreenshotNeo API documentation for the full option list.
cURL
curl -G "https://api.screenshotneo.com/v1/shot" -d access_key=YOUR_API_KEY --data-urlencode url=https://stripe.com -o shot.webpPython
import requests

r = requests.get(
    "https://api.screenshotneo.com/v1/shot",
    params={"access_key": "YOUR_API_KEY", "url": "https://stripe.com"},
    timeout=90,
)
r.raise_for_status()
open("shot.webp", "wb").write(r.content)
Node.js
const q = new URLSearchParams({
  access_key: 'YOUR_API_KEY',
  url: 'https://stripe.com'
});
const res = await fetch(`https://api.screenshotneo.com/v1/shot?${q}`);
if (!res.ok) throw new Error(`Screenshot failed: ${res.status}`);
const buffer = Buffer.from(await res.arrayBuffer());
await import('node:fs/promises').then((fs) => fs.writeFile('shot.webp', buffer));
ScreenshotNeo supports full-page captures with lazy images loaded, element selectors, dark mode, device presets or custom viewports, retina scale, custom CSS and JavaScript, waits, request blocking, headers, cookies, user agents, authorization, timezone, geolocation, transparent backgrounds, resizing, TTL caching, signed links, asynchronous jobs with signed webhooks, bulk capture of up to 100 URLs per call, a usage API, and an OpenAPI specification. Every feature is available on every plan. The Free plan includes 1,000 shots per month without a card; paid plans start at $5 for 3,000 shots.
Create a free ScreenshotNeo account for 1,000 screenshots per month with no card.
FAQ
Should I switch from dom-to-image to dom-to-image-more?
Use the package your project requires, then verify its documented options and behavior. The maintained fork documents options such as copyDefaultStyles, scale, and pixelRatio that are not part of the original README.
Does a higher scale remove whitespace?
No. Scale changes raster resolution. Whitespace caused by CSS or capture bounds remains until those bounds are corrected.
Should I always set width and height?
Set them when you need deterministic bounds or the library resolves the node size incorrectly. Match the intended CSS box and remeasure after applying them.
Why does the issue occur only on a high-DPI display?
A device-pixel-ratio mismatch can make the output proportionally oversized. Compare CSS dimensions, raster dimensions, and window.devicePixelRatio before changing layout CSS.
Can this method capture a cross-origin image?
Cross-origin resources can be restricted by browser security headers and image loading rules. Check the library’s documented limitations and ensure resources are available to the rendering context.


