How to Fix Screenshot Problems in Kivy on Raspberry Pi
Fix black, empty, or incomplete Kivy screenshots on Raspberry Pi by choosing the right capture API and checking providers, renderers, and OpenGL.
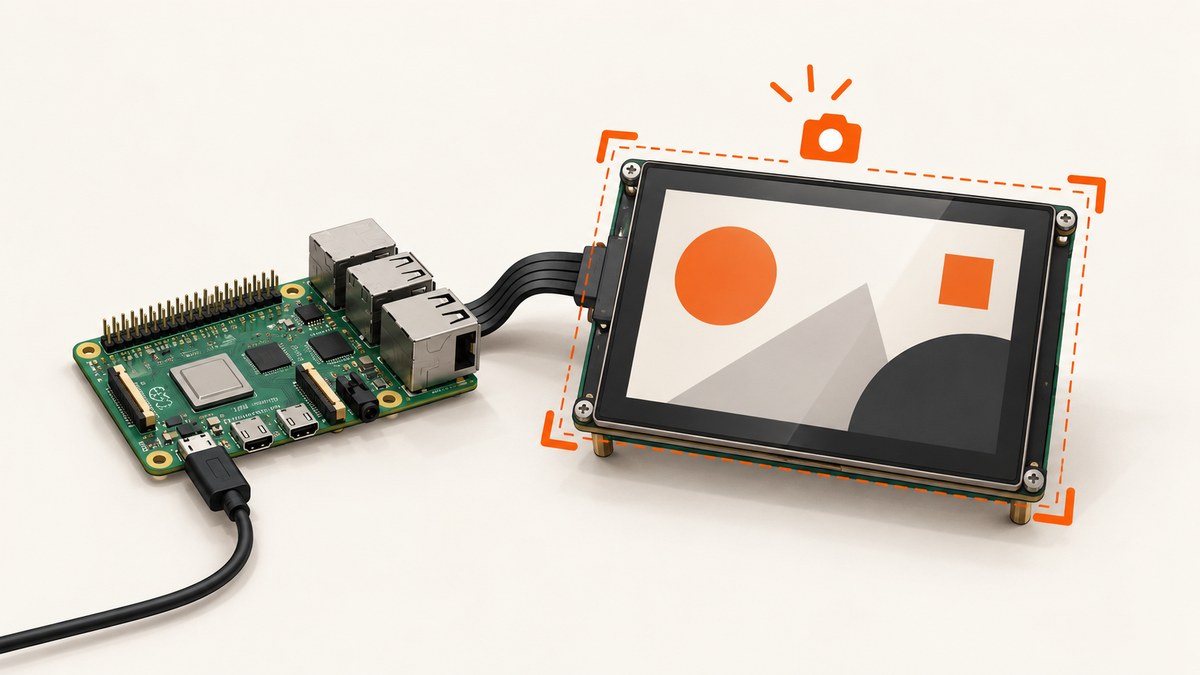
Use Window.screenshot() for the complete displayed Kivy window and Widget.export_to_png() for one widget subtree. If the result is black, empty, stale, or missing content, first identify whether you are capturing the Kivy window, a widget, or the Raspberry Pi desktop. Then inspect Kivy’s window provider, OpenGL renderer, permissions, and framebuffer lifecycle.
1. Choose the capture target
| What you need | Use | What it includes |
|---|---|---|
| The app exactly as displayed | Window.screenshot('capture.png') |
The complete Kivy window |
| One screen or component | widget.export_to_png('widget.png') |
The widget and its descendants only |
| The whole desktop or remote session | An operating-system capture tool | Everything in that display session; diagnose separately from Kivy |
Kivy documents Window.screenshot() as saving the actual displayed image. Its widget export API renders the selected widget subtree to an off-screen framebuffer and writes a PNG. A desktop screenshot utility follows a different path, so a failure there does not prove that Kivy’s capture APIs are broken.
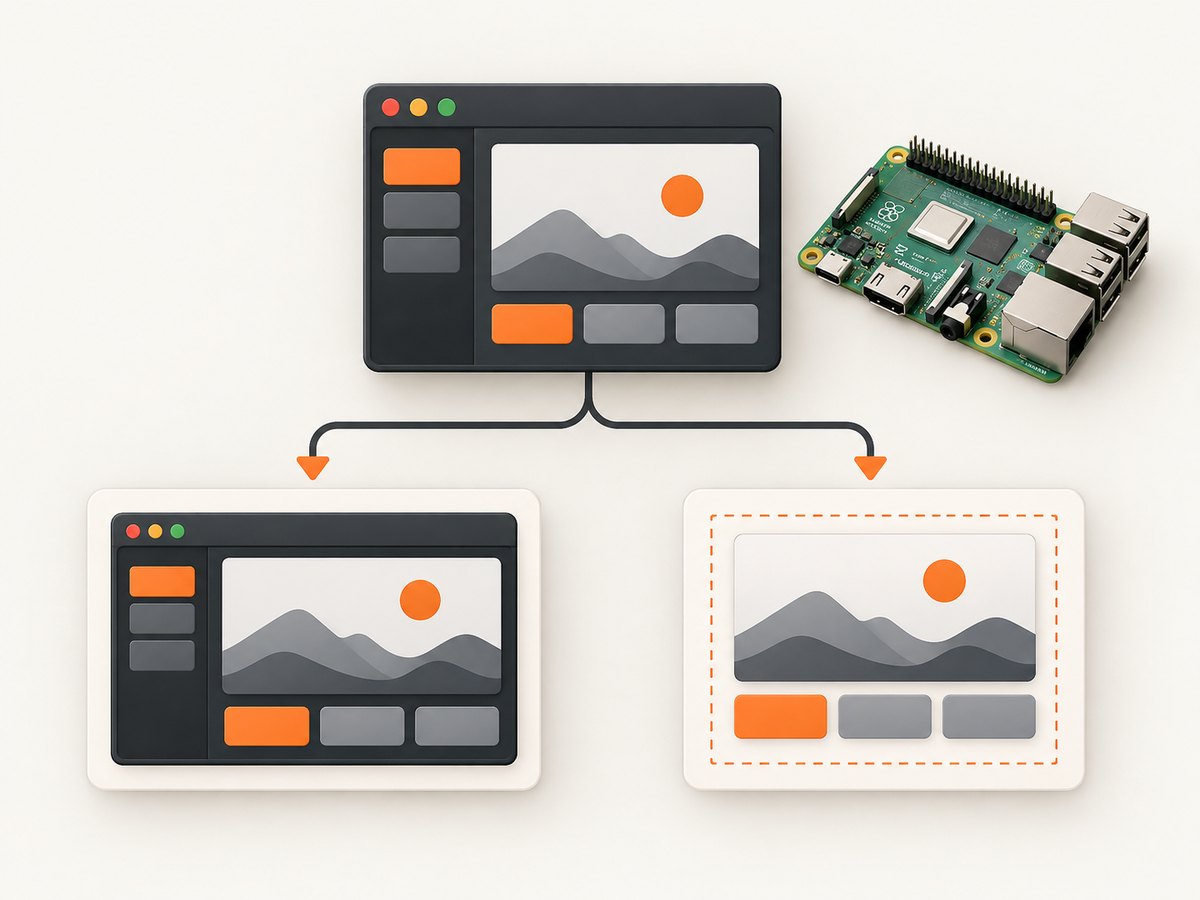
2. Capture the complete Kivy window
Call the screenshot method after the window and event loop have been created. A button callback is a reliable place to start because the OpenGL context already exists.
from kivy.app import App
from kivy.clock import Clock
from kivy.core.window import Window
from kivy.uix.button import Button

class ScreenshotApp(App):
    def build(self):
        button = Button(text="Save screenshot")
        button.bind(on_release=self.save_screenshot)
        return button

    def save_screenshot(self, _button):
        Window.screenshot("kivy-window.png")
        print("Saved kivy-window.png")

if __name__ == "__main__":
    ScreenshotApp().run()
The filename is explicit, which makes automation easier than relying on generated names. If you call this from a worker thread or during module import, move the call onto the Kivy event loop and ensure the window has been initialized first.
3. Export one widget or screen
Use the highest common parent that contains everything you want. Content outside that widget’s subtree cannot appear in the exported image.
from kivy.app import App
from kivy.uix.boxlayout import BoxLayout
from kivy.uix.label import Label
from kivy.uix.button import Button

class Panel(BoxLayout):
    pass

class ExportApp(App):
    def build(self):
        self.panel = BoxLayout(orientation="vertical", padding=24, spacing=12)
        self.panel.add_widget(Label(text="Status: ready"))
        self.panel.add_widget(Button(text="Export panel", on_release=self.export_panel))
        return self.panel

    def export_panel(self, _button):
        self.panel.export_to_png("panel.png")
        print("Saved panel.png")

if __name__ == "__main__":
    ExportApp().run()
export_to_png() uses an off-screen Fbo. It does not capture sibling widgets, a different root window, or desktop elements behind the app.
4. Verify the Raspberry Pi graphics setup
Check the Pi model and operating system
Record the Pi generation, Raspberry Pi OS release, Kivy version, session type, and the exact command that performs the capture. Kivy’s Raspberry Pi support matrix is version-specific. SDL2 with SDL2/GL and X11 with GL are documented for Pi 1 through Pi 4, while the legacy egl_rpi provider is unavailable on Pi 4 and is documented only for Raspberry Pi OS Buster 32-bit.
Do not copy an old Pi 1–3 tutorial that sets egl_rpi onto a Pi 4 or newer. Inspect the startup log to see the provider Kivy actually selected.
Inspect provider and backend environment variables
echo "KIVY_WINDOW=$KIVY_WINDOW"
echo "KIVY_GL_BACKEND=$KIVY_GL_BACKEND"
echo "KIVY_BCM_DISPMANX_ID=$KIVY_BCM_DISPMANX_ID"
python3 -c "import kivy; print(kivy.__version__)"
KIVY_WINDOW selects the window implementation and KIVY_GL_BACKEND selects the graphics backend. KIVY_BCM_DISPMANX_ID is for selecting a display with the legacy egl_rpi provider on the documented Buster 32-bit setup; it is not a general setting for current Pi systems.
Check the renderer
Read Kivy’s startup log for the GL vendor and renderer. If it reports llvmpipe, Kivy’s Pi guide identifies that as software rendering. Confirm that the account running the app can access the render device:
groups
sudo adduser "$USER" render
# Sign out and back in, or reboot, before checking again.
After permissions and a restart, the renderer should identify the hardware when hardware acceleration is available, such as a Broadcom V3D renderer. This addresses a rendering configuration problem; it is not a universal cure for every black image.
5. Diagnose black, blank, or incomplete images
Black image from Window.screenshot()
- Confirm that the Kivy window itself displays correctly.
- Call the method from a user event or scheduled callback after startup.
- Check the provider and renderer in the startup log.
- Check render-group membership and the active display session.
- Save to a writable absolute path and verify the file size.
from pathlib import Path
from kivy.clock import Clock
from kivy.core.window import Window

def capture_after_startup(_dt):
    path = Path("/tmp/kivy-window.png")
    Window.screenshot(str(path))
    print(path, path.exists(), path.stat().st_size if path.exists() else 0)

Clock.schedule_once(capture_after_startup, 1.0)
Widget export is empty or missing controls
- Export the common parent rather than a child that does not contain all content.
- Check that the widget has nonzero width and height.
- Ensure the drawing instructions are in that widget’s canvas.
- Wait until layout, textures, and asynchronous images have finished loading.
- Make sure the call runs while a valid OpenGL context exists.
The image is stale
Capture after the state change has been rendered. Schedule the export on the next frame when you update several properties together:
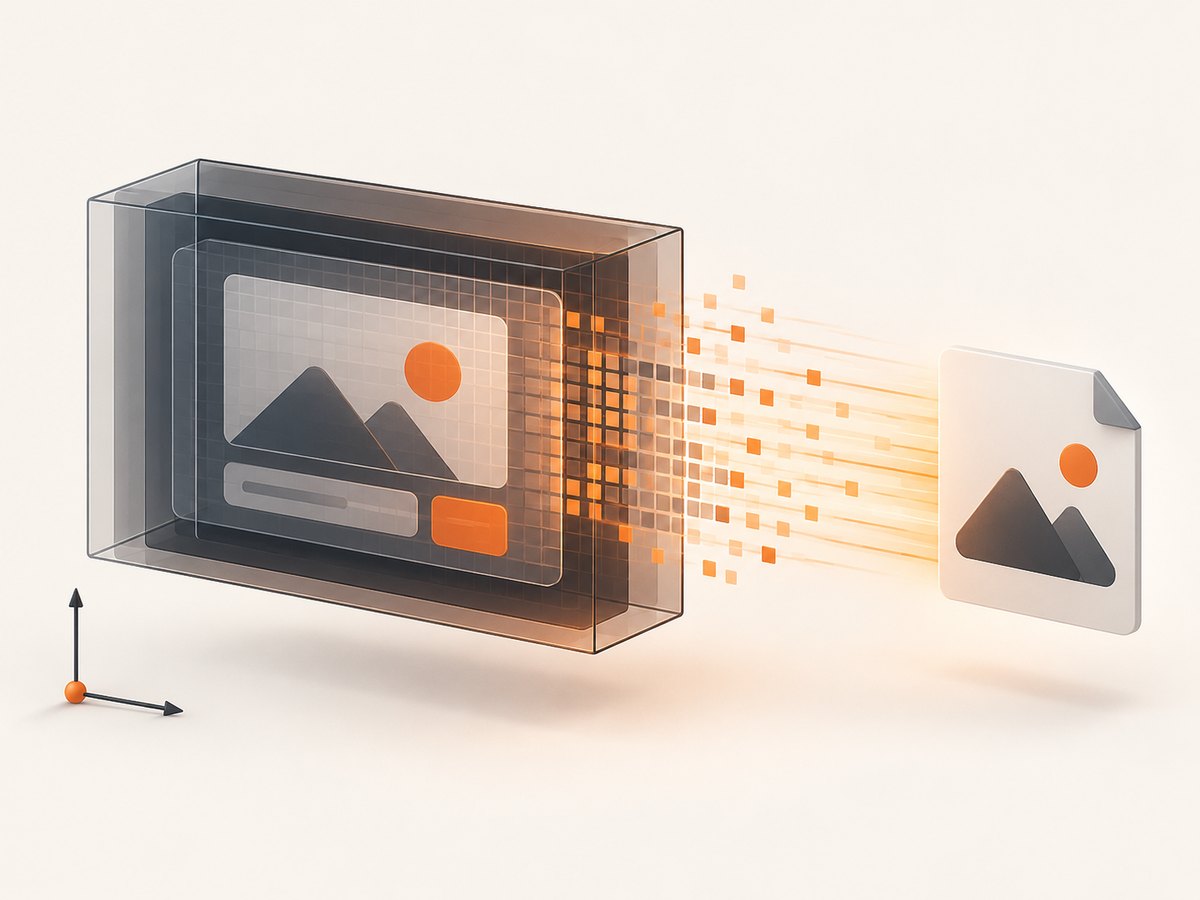
from kivy.clock import Clock

def update_then_capture(self, _button):
    self.status.text = "Updated"
    Clock.schedule_once(lambda _dt: self.panel.export_to_png("updated.png"), 0)
The desktop tool is black while Kivy’s API works
This points to the desktop or remote-session capture path. Record whether the app runs under X11, SDL2, KMS/DRM, a local console, SSH, or a remote desktop. Check that the capture utility targets the correct display and has permission to read it. There is no single cross-tool fix established by the reviewed Kivy documentation.
Custom Fbo output is empty or vertically inverted
For manual Fbo code, verify nonzero dimensions, bind before drawing, release afterward, and perform operations in a valid GL context. Kivy documents Fbo pixel data with a bottom-left origin, so code that reads raw pixels may need to flip rows before writing an image.
from kivy.graphics import Fbo, Color, Rectangle

# Example pattern inside a valid, initialized Kivy graphics context
fbo = Fbo(size=(800, 480))
with fbo:
    Color(1, 1, 1, 1)
    Rectangle(pos=(0, 0), size=(800, 480))
fbo.draw()
fbo.release()
Do not create graphics resources during module import before a Window exists. Kivy’s FAQ warns that graphics operations without an available OpenGL context can fail.
6. A repeatable troubleshooting checklist
- Define the scope: window, widget subtree, or desktop session.
- Reproduce with the smallest app: one label and one capture call.
- Collect versions: Pi model, OS, Kivy, Python, provider, backend, and renderer.
- Check timing: capture only after the window is initialized and layout is complete.
- Check permissions: writable output directory and membership in
renderwhere required. - Check the widget tree: the exported parent must contain every desired child.
- Separate layers: compare Kivy API output with the external desktop tool.
- Retest after one change: avoid changing provider, backend, session, and application code simultaneously.
7. Performance, reliability, and file handling
- Window capture cost: a full-window image moves pixels from the active renderer to an image file; avoid capturing every frame unless you need a recording.
- Widget capture cost: Fbo rendering is additional work and scales with the exported widget dimensions.
- Timing: schedule captures after expensive layout or texture updates so the image represents the final state.
- Storage: use predictable filenames, check write permissions, and rotate old captures on a long-running Pi.
- Headless operation: an initialized display and GL context are still required for Kivy’s graphics APIs; an SSH shell alone does not guarantee one.
- Reliability: log the selected provider, renderer, output path, dimensions, and file size for each automated capture.
8. Or skip the browser setup
If your goal is to capture a public web page rather than the pixels of a local Kivy window, ScreenshotNeo provides a single HTTP request. It removes cookie and consent banners, newsletter popups, and chat widgets before capture. Bot checks, blank pages, timeouts, failed loads, and cache hits are not billed, and response headers identify the page verdict and billing result. Its MCP server lets Claude, Cursor, and other MCP clients call take_screenshot, get_page_info, and capture_pdf.
See the ScreenshotNeo API documentation for all options.
curl -G "https://api.screenshotneo.com/v1/shot" -d access_key=YOUR_API_KEY --data-urlencode url=https://kivy.org -o shot.webpimport requests
r = requests.get("https://api.screenshotneo.com/v1/shot", params={"access_key": "YOUR_API_KEY", "url": "https://kivy.org"}, timeout=90)
r.raise_for_status()
open("shot.webp", "wb").write(r.content)const q = new URLSearchParams({ access_key: 'YOUR_API_KEY', url: 'https://kivy.org' });
const res = await fetch(`https://api.screenshotneo.com/v1/shot?${q}`);
if (!res.ok) throw new Error(`HTTP ${res.status}`);
const fs = require('node:fs/promises');
await fs.writeFile('shot.webp', Buffer.from(await res.arrayBuffer()));The Free plan includes 1,000 screenshots each month with no card. Paid plans start at $5 for 3,000 shots, and every feature is available on every plan. Create a free ScreenshotNeo account.
9. FAQ
Can I use export_to_png() to capture the entire desktop?
No. It captures one widget and its descendants. Use an operating-system capture tool for the desktop.
Why does an old egl_rpi tutorial fail on my Pi 4?
The documented legacy provider is unavailable on Pi 4 and is limited to Raspberry Pi OS Buster 32-bit. Use a supported current provider and verify the startup log.
Does llvmpipe always mean screenshots will be black?
No. It indicates software rendering. It can explain poor performance or rendering differences, but it is not proof of one specific screenshot failure.
Why is a child widget missing from my export?
The child may not be under the widget you exported, may not have finished loading, or may be drawn outside that subtree. Export their common ancestor after layout completes.
What information should I include when asking for help?
Include the Pi model, Raspberry Pi OS version, Kivy and Python versions, provider, GL backend and renderer, capture API or desktop tool, exact symptom, and a minimal reproduction.


