How to Fix Protractor Image Uploads in Chrome Headless
Upload images in headless Protractor tests by sending an absolute file path to the real file input, then waiting for the app to confirm success.
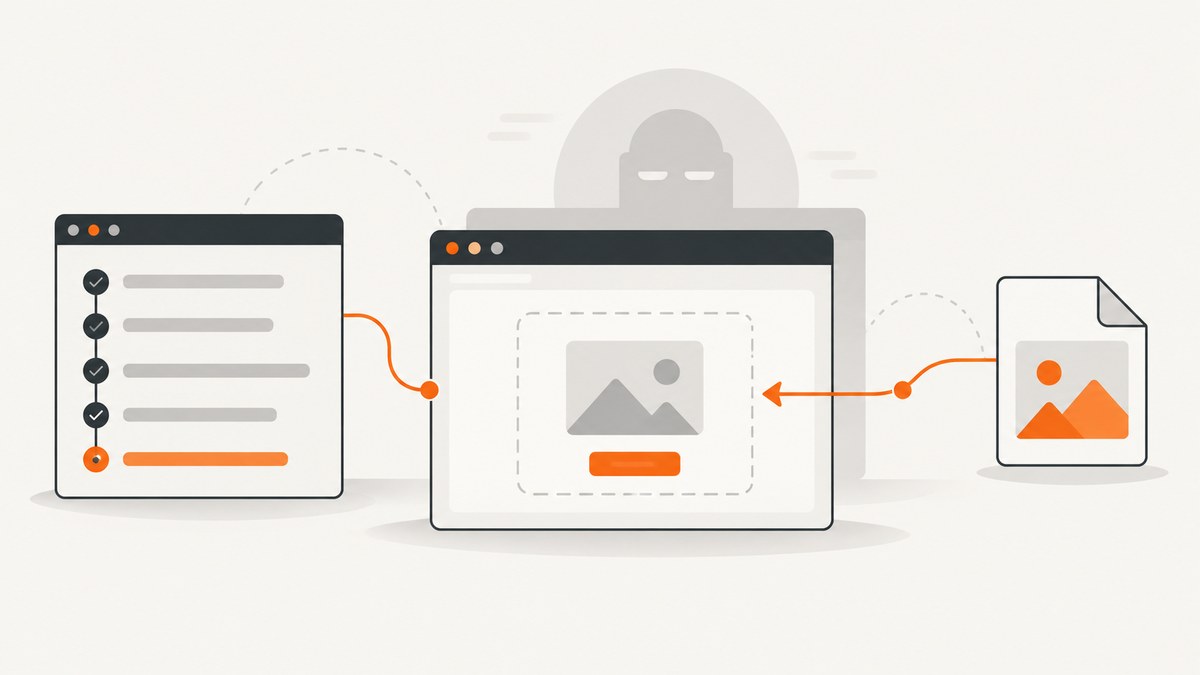
To upload an image in Protractor while Chrome runs headless, locate the page’s real input[type="file"] element and call sendKeys() with the file’s absolute path. Then trigger the page’s upload or submit action and wait for the application’s success state. This uses Selenium WebDriver’s supported file-upload mechanism; it does not require opening or automating the operating system’s file picker.
The key distinction is where Chrome runs. A local browser can read a file from your test machine. A remote browser or CI worker may run elsewhere, so the same path may not exist there. For remote sessions, configure Selenium’s Local File Detector so the file can be transferred to the browser host. [Selenium file upload documentation]
1. The reliable Protractor upload pattern
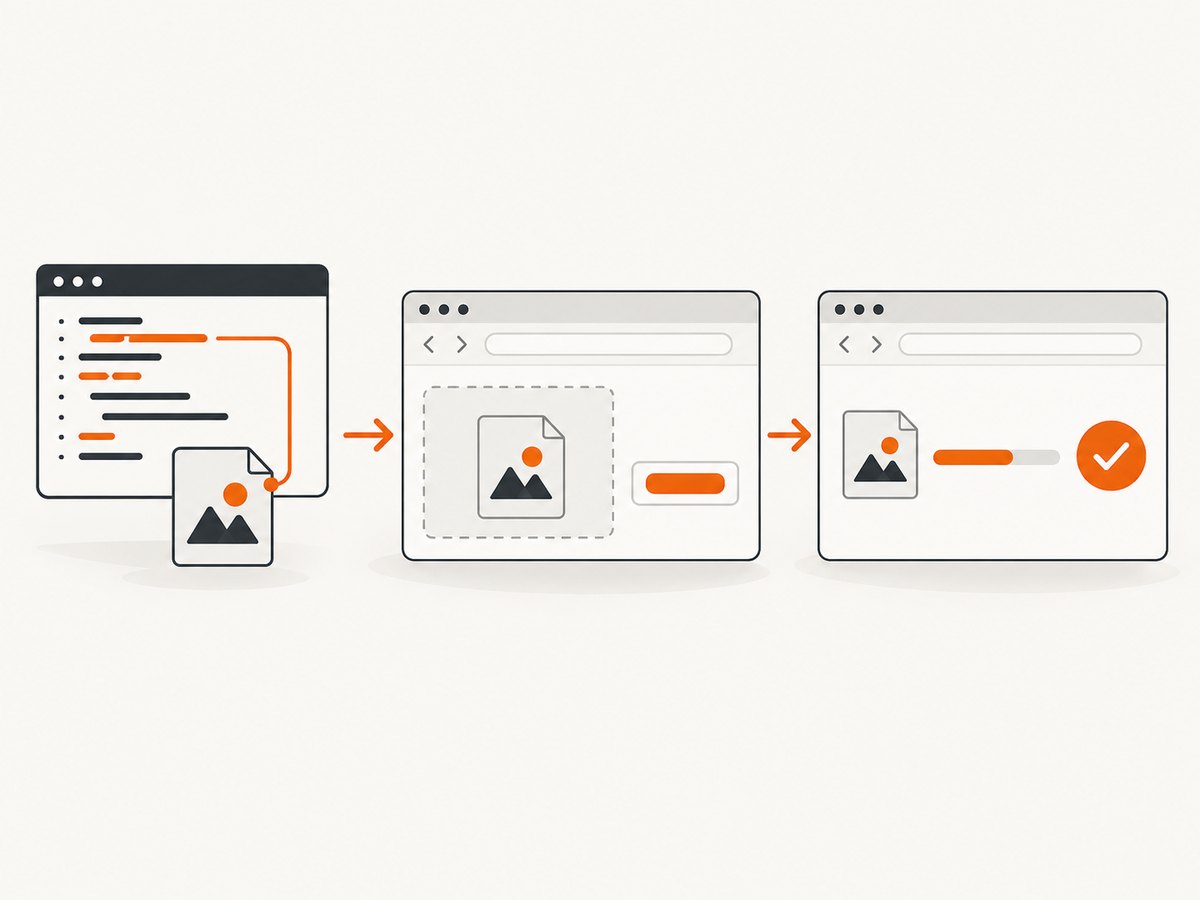
Keep the image fixture in your test project, resolve its path from the test file, send that path to the file input, and wait for a page-level result. The selector and success condition below are examples: replace them with the selectors your application actually uses.
const path = require('path');

const imagePath = path.resolve(__dirname, 'fixtures/photo.png');
const fileInput = element(by.css('input[type="file"]'));

// Put the absolute path into the browser's real file input.
await fileInput.sendKeys(imagePath);

// If your application requires a separate upload or submit action:
await element(by.css('[data-testid="upload-submit"]')).click();

// Wait for an application-level success signal.
await browser.wait(
  protractor.ExpectedConditions.presenceOf(
    element(by.css('[data-testid="upload-success"]'))
  ),
  10000,
  'Image upload did not reach the success state'
);
Selenium’s documentation describes sending the full path to an input of type file as the way to upload a file. [Source] In Protractor, element(by.css(...)) creates a WebDriverJS element reference, and sendKeys() supplies the path. The browser sets the file input’s selected file; application code may then begin uploading immediately, or may wait for a separate user action.
Make the example fit your page
- Find the actual input. Inspect the page or its rendered DOM for
input[type="file"]. A styled upload button may only open the native picker and is not necessarily the input that accepts a file. - Use a fixture path. Keep test images in a stable location such as
fixtures/photo.png. Resolve the path with Node’spath.resolve()so it is absolute and independent of the shell’s current directory. - Send the path to the input. Call
sendKeys(imagePath)on the file input, not on the button that opens the picker. - Trigger upload if needed. Some pages upload as soon as a file is selected; others require clicking a submit or upload button. Follow the application’s actual behavior.
- Wait for the result. Assert a success message, uploaded-image preview, completed status, or other application-specific state. Selection of a file alone does not prove that the upload request completed.
2. Why headless Chrome does not need a special upload workaround
Headless Chrome runs without a visible browser window, but the normal WebDriver file-input approach still applies. Chrome’s official Headless documentation describes modern Headless as sharing code with Chrome and shows Selenium being configured with --headless. The upload operation targets the DOM file input through WebDriver, rather than driving a visible file chooser. [Chrome Headless documentation]
That means a test that works in headed Chrome but fails in headless mode should prompt you to check the path, selector, timing, and browser environment. Switching to a GUI automation workaround usually misses the underlying issue: WebDriver needs a valid file path and the page needs time to process the selected file.
Example Chrome configuration
If your Protractor configuration already launches Chrome successfully in headless mode, keep that setup and use the same file-input code. A minimal Chrome argument looks like this:
capabilities: {
  browserName: 'chrome',
  chromeOptions: {
    args: ['--headless']
  }
}
Protractor and Selenium configuration APIs can vary by version and project setup. Treat this as the relevant Chrome argument, not a complete replacement for your existing configuration. The upload logic remains sendKeys(absolutePath).
3. Hidden file inputs and interaction settings
Many applications visually hide the real file input and expose a styled button or drop zone. The input remains the WebDriver target. Do not click the styled control in an attempt to open the operating system’s file picker; send the path to the input directly.
Selenium documents the strictFileInteractability capability for strict interaction checks on input[type="file"]. Strict checks are off by default. If your session enables strict checks, or the application has additional JavaScript requirements, a hidden or disabled input can still be a problem. [Selenium driver options documentation]
First confirm that you selected the correct input and that the page has finished rendering it. If the application itself prevents use until a control is enabled or visible, make the smallest suitable application or test-environment change while preserving the real file input. Avoid broad DOM manipulation that changes unrelated page behavior; it can make the test pass without exercising the upload path your users rely on.
4. CI and Remote WebDriver: make the fixture reach Chrome
A frequent local-versus-CI failure is that the path exists on the test client but not on the machine running Chrome. With a remote session, sending a client-side path is not by itself proof that the remote browser can read that file. Selenium’s Remote WebDriver documentation describes using a Local File Detector to bundle and transfer a file to the remote browser host. In the JavaScript bindings, set remote.FileDetector() explicitly. [Selenium Remote WebDriver documentation]
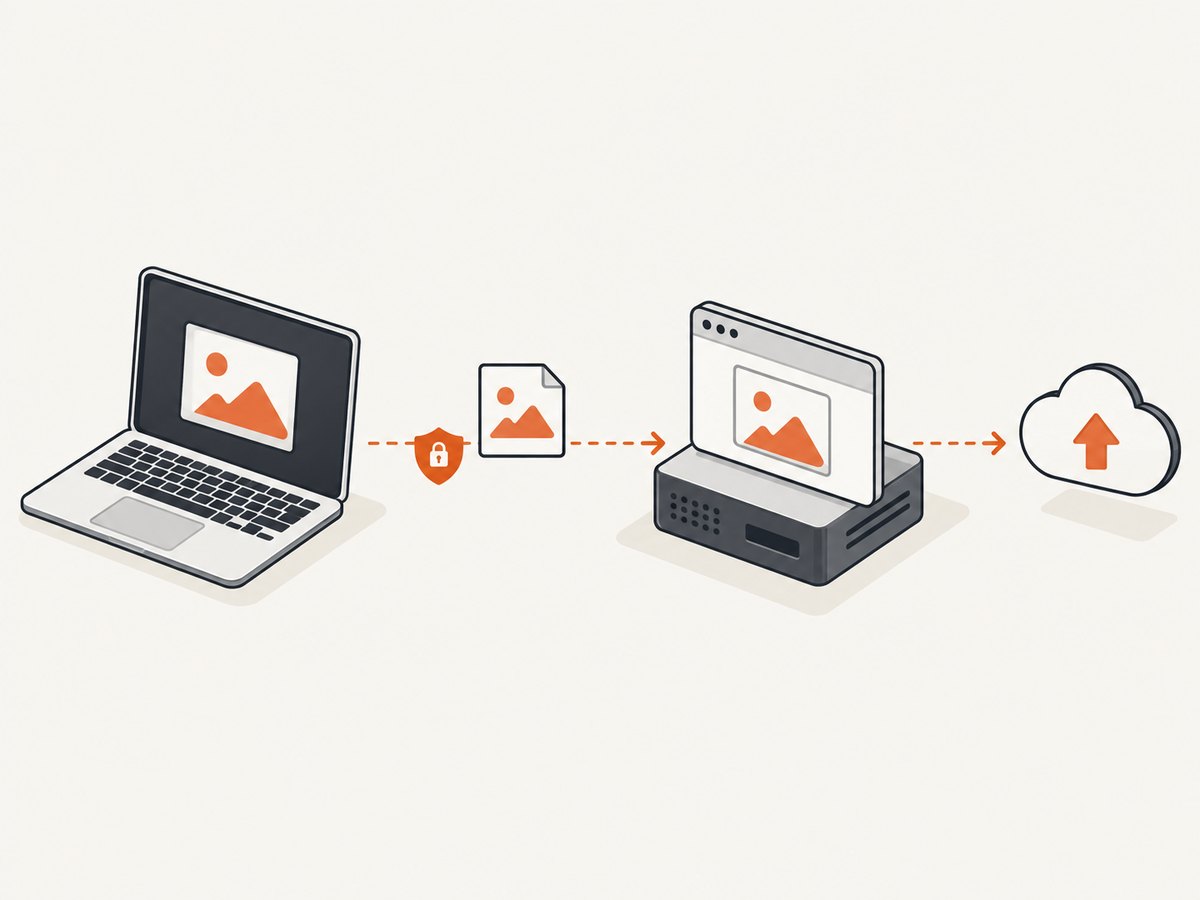
For example, with the Selenium JavaScript remote API, configure the driver before using the input. Adapt the host, credentials, and imports to the remote service and Selenium version in your project:
const { Builder, remote } = require('selenium-webdriver');
const chrome = require('selenium-webdriver/chrome');

const driver = await new Builder()
  .usingServer('https://your-remote-webdriver.example')
  .forBrowser('chrome')
  .setChromeOptions(new chrome.Options().addArguments('--headless'))
  .build();

driver.setFileDetector(new remote.FileDetector());

// The remote session can now transfer local files sent to file inputs.
await driver.findElement({ css: 'input[type="file"]' }).sendKeys(imagePath);
This example illustrates Selenium’s remote file-transfer setup; it is not a drop-in replacement for Protractor’s own browser management. In an existing Protractor project, check how its WebDriver session is created and whether the Selenium JavaScript remote driver and file detector are exposed through that setup. The important requirement is that the remote session has a file detector configured before the upload.
CI checklist
- Resolve and log the absolute fixture path immediately before upload.
- Confirm the fixture is checked into the repository or created by the job before the test runs.
- Check that the job’s working directory and test file location are what you expect.
- For Remote WebDriver, configure the Local File Detector so the file is transferred to the browser host.
- Use a fixture format and size accepted by the application.
- Wait for a page-level upload result rather than assuming that
sendKeys()means the server accepted the image.
5. Synchronization: wait for upload completion, not just selection
Setting the file input and finishing the upload are separate events. A page might read the file, generate a preview, validate its type, upload it, process it on the server, and then update the interface. If the test checks too early, a working upload can look broken. Selenium identifies poor synchronization as a common cause of WebDriver errors. [Selenium troubleshooting documentation]
Prefer a condition tied to the page’s observable state: a success element appears, a progress indicator disappears, a preview becomes visible, or an upload status changes to complete. The condition should reflect what the test needs to prove.
const success = element(by.css('[data-testid="upload-success"]'));

await browser.wait(
  protractor.ExpectedConditions.visibilityOf(success),
  15000,
  'Upload success indicator did not become visible'
);

expect(await success.isDisplayed()).toBe(true);
Use the timeout that fits the expected application behavior and test environment. A temporary fixed delay can help determine whether a failure is timing-related, but production tests are more reliable when they wait for a meaningful condition. A longer sleep can hide a race and slow every successful test.
6. Troubleshooting common upload failures
| Symptom | Likely cause | What to check or change |
|---|---|---|
sendKeys says the element is not interactable |
The selector found a hidden or disabled control, or found the styled button instead of the input. | Verify the element is the page’s real input[type="file"]. Check whether strict file interactability is enabled and whether the application renders or enables the input before the call. |
| File not found, or upload works locally but not in CI | The path is relative, wrong for the job’s working directory, or absent on the machine running Chrome. | Use path.resolve(), log the resolved path, verify the fixture exists in the job workspace, and configure a Local File Detector for Remote WebDriver. |
| Browser opens a file dialog or the test hangs after clicking upload | The test clicked a button that opens a native picker instead of sending a path to the input. | Locate the actual file input and call sendKeys(absolutePath) directly. Avoid automating the operating system dialog. |
| File appears selected, but the test says upload failed | The page needs a separate submit action, client-side processing, or more time for the request and response. | Trigger the application’s upload action if required. Wait for a success state or inspect the app’s upload status rather than checking immediately after selection. |
| Selector finds no file input | The page has not rendered the control yet, uses an iframe, or the selector does not match the page’s DOM. | Wait for the input to be present, inspect the rendered DOM, and switch into the correct frame if the input lives inside one. |
| Upload is rejected after the file is selected | The application may reject the file’s type, size, dimensions, or content. | Use a fixture that satisfies the application’s documented validation rules. Assert the expected validation or success result so selection is not mistaken for acceptance. |
| Passes sometimes, fails sometimes | A race between rendering, file processing, network completion, and the assertion. | Replace arbitrary sleeps with condition-based waits for the input and the application’s post-upload state. |
7. Performance, reliability, and cost considerations
The upload test’s runtime usually includes more than the WebDriver call: application startup, file validation, transfer, server processing, and synchronization all matter. Keep fixtures small enough for the test’s purpose while still covering meaningful cases. Reuse a stable fixture for the basic happy path, and add separate fixtures when testing validation boundaries such as unsupported formats or oversized images.
Reliability depends on making each boundary observable. Confirm the local fixture exists before interacting with the browser; ensure a remote session can transfer it; target the real input; and wait for a result that proves the application finished. Log the path and a useful failure message, but do not log credentials or sensitive image contents.
For cost, account for the compute time used by your CI or remote browser provider and the time spent waiting for application processing. A fixed sleep adds that delay to every run; a condition-based wait returns as soon as the expected state appears, up to its timeout. No universal time or cost figure applies because the browser environment, image, and application differ.
8. Or skip the browser setup
If the task is to capture a website screenshot rather than exercise your application’s image-upload workflow, ScreenshotNeo provides a website screenshot API and MCP server. A single GET request can return PNG, JPEG, WebP, or PDF. The image-upload technique above remains the right choice when your test needs to verify your own file-upload feature.
For a screenshot, make one request with a URL:
curl -G "https://api.screenshotneo.com/v1/shot" -d access_key=YOUR_API_KEY --data-urlencode url=https://stripe.com -o shot.webpSee the ScreenshotNeo API documentation for request options. Python example:
import requests

r = requests.get(
    "https://api.screenshotneo.com/v1/shot",
    params={"access_key": "YOUR_API_KEY", "url": "https://stripe.com"},
    timeout=90,
)
open("shot.webp", "wb").write(r.content)
Node.js example:
const q = new URLSearchParams({ access_key: 'YOUR_API_KEY', url: 'https://stripe.com' });
const res = await fetch(`https://api.screenshotneo.com/v1/shot?${q}`);

if (!res.ok) throw new Error(`Screenshot request failed: ${res.status}`);
await require('node:fs/promises').writeFile('shot.webp', Buffer.from(await res.arrayBuffer()));
ScreenshotNeo removes cookie and consent banners, newsletter popups, and chat widgets before capture; each cleanup step can be turned off. Bot checks, blank pages, timeouts, failed loads, and cache hits are not billed, and response headers report the page verdict and billing status. Its MCP server provides take_screenshot, get_page_info, and capture_pdf tools for Claude, Cursor, and other MCP clients. The free plan includes 1,000 screenshots per month without a card; paid plans start at $5 for 3,000 screenshots. Every feature is available on every plan.
Sign up free for 1,000 screenshots a month, with no card required.
9. FAQ
Does headless mode change how I upload a file?
No. Use WebDriver’s file-input API with the full path. Headless Chrome does not require a visible file picker.
Should I send the path to the upload button?
No. Send it to the actual input[type="file"]. A button may only open the native picker.
Why does it work on my computer but fail with Remote WebDriver?
The Chrome host may not have the client’s file at that path. Configure Selenium’s Local File Detector to transfer it to the remote browser host.
Does sendKeys() prove the server saved the image?
No. It selects a file in the browser. Wait for the application’s upload success state to verify the full workflow.
10. Upload debugging checklist
- The selector resolves to the real
input[type="file"]. - The path is absolute and the fixture exists.
- The remote browser can access the file, directly or through a Local File Detector.
- The page’s upload action is triggered when selection alone does not start the upload.
- The test waits for an application-level result.
These checks isolate the common failure points: wrong element, wrong filesystem, remote transfer, hidden-control policy, and incomplete synchronization. Selenium’s supported upload path remains simple once each environment boundary is handled.


