How to Fix Puppeteer Buttons That Do Not Click
Fix Puppeteer clicks with locators, frames, shadow roots, navigation waits, debugging steps, and reliable alternatives for screenshot workflows.
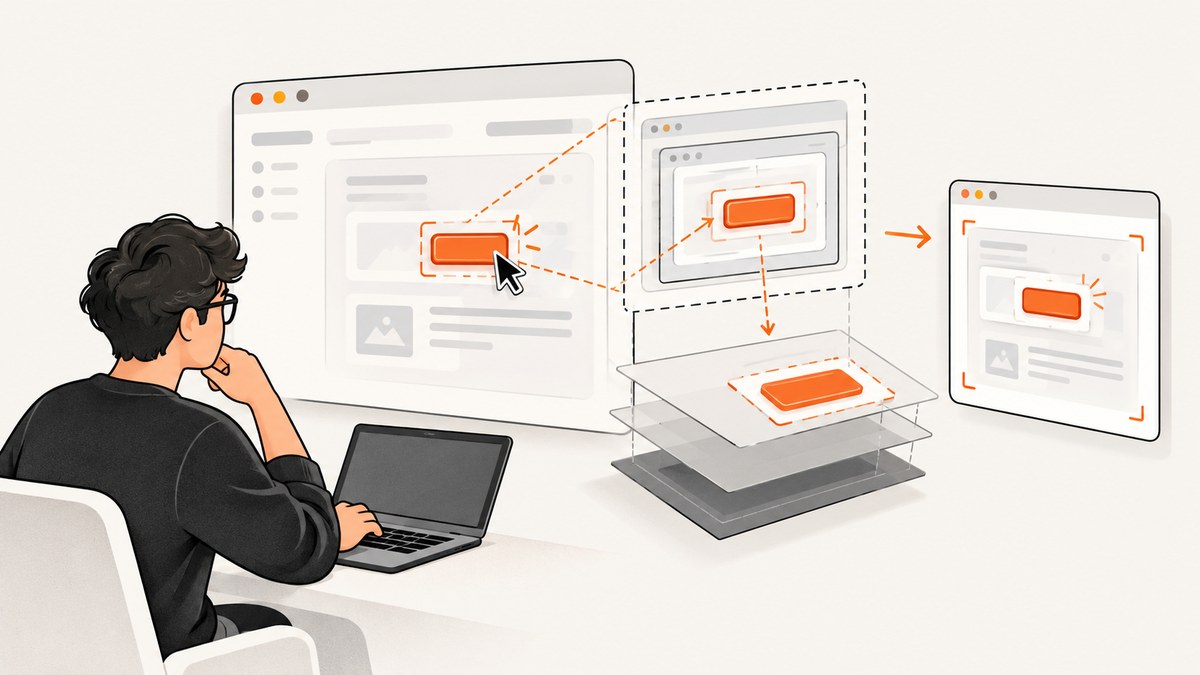
A Puppeteer button that “does not click” usually falls into one of four cases: the selector matches the wrong element, the element exists but is not ready, the button is inside an iframe or shadow root, or the click succeeds but the application result is asynchronous. The most reliable starting point is Puppeteer’s locator API:
await page.locator('button#submit').click();Locators wait for the element to be in the viewport, visible, enabled, and stable across two animation frames. They retry when the target is not ready. Use a specific selector, coordinate any navigation wait with the click, and inspect frames, shadow roots, and application state when the promise resolves without the expected result.
This guide gives you a complete diagnostic path, runnable Node.js examples, fixes for common page structures, performance and reliability guidance, and an API alternative when you only need a clean screenshot.
1. Start with a specific locator
Puppeteer’s documentation recommends locators for selecting and interacting with elements. A locator expresses an action rather than just a query, so Puppeteer can wait for the conditions required for a normal user interaction.
import puppeteer from 'puppeteer';

const browser = await puppeteer.launch({headless: true});
const page = await browser.newPage();
await page.goto('https://example.com/form', {waitUntil: 'domcontentloaded'});

await page.locator('button#submit').click();

await browser.close();
Avoid a broad selector such as button when a page has several controls. A page-level click can select an unintended match. Prefer an ID, a stable data attribute, or a selector that describes the intended control:
await page.locator('[data-testid="checkout-submit"]').click();
await page.locator('form#signup button[type="submit"]').click();
If the markup is stable but the text is the best identifier, filter the locator in the browser context:
await page
  .locator('button')
  .filter(button => button.textContent?.trim() === 'Submit')
  .click();
The filter callback runs inside the page. It cannot directly read a variable from Node.js scope. Pass values explicitly if you need a dynamic label:
const label = 'Submit';
await page
  .locator('button')
  .filter(button => button.textContent?.trim() === label)
  .click();
2. Confirm that you selected the intended element
Before changing waits, prove that your selector identifies one useful control. Count matches, inspect text and attributes, and check whether another hidden button appears first in the DOM.
const buttons = await page.locator('button').all();
console.log('button count:', buttons.length);

const details = await page.locator('button').map(button => ({
  text: button.textContent?.trim(),
  disabled: button.disabled,
  ariaLabel: button.getAttribute('aria-label'),
  id: button.id,
})).all();
console.log(details);
When you know the accessible name, use an accessibility selector. This is often more resilient than a long CSS path:
await page.locator('::-p-aria([name="Submit"][role="button"])').click();Text and accessibility selectors describe what a user sees or hears. CSS selectors describe DOM structure. Choose the one that is least likely to change in your application.
3. Distinguish presence from click readiness
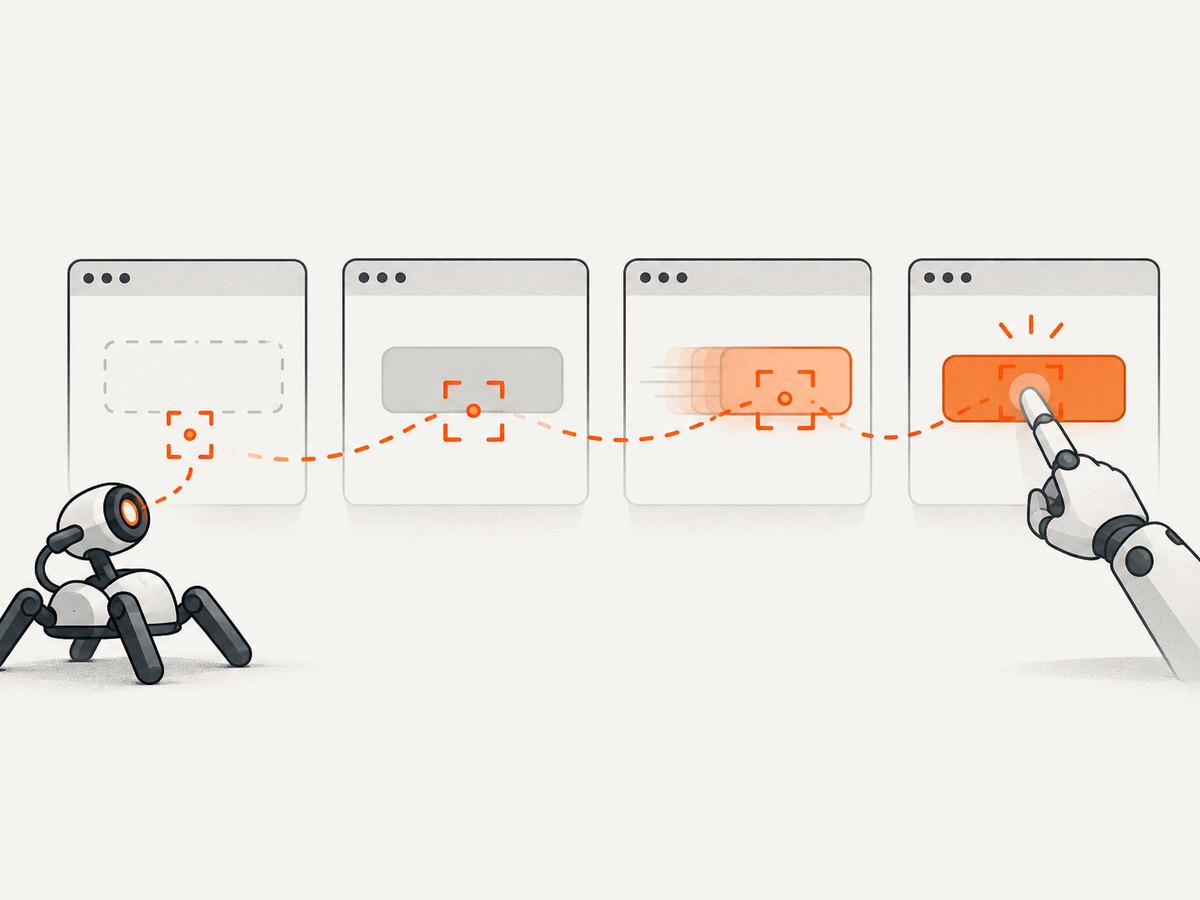
waitForSelector answers whether an element has appeared. With visible: true, it also checks that the element is present and not hidden by display: none or visibility: hidden. It does not provide the complete readiness behavior of a locator click.
await page.waitForSelector('button#submit', {
  visible: true,
  timeout: 30_000,
});
await page.click('button#submit');
The documented selector-wait timeout is 30 seconds by default. Set a value appropriate for your page, or use 0 to disable the timeout. For ordinary interaction, prefer the locator:
await page.locator('button#submit').click({timeout: 30_000});A button may still be disabled after it becomes visible. Wait for the application’s condition when needed:
await page.waitForFunction(() => {
  const button = document.querySelector('button#submit');
  return button instanceof HTMLButtonElement && !button.disabled;
});
await page.locator('button#submit').click();
Prefer a state-based wait over an arbitrary sleep. A fixed delay can be too short on a slow run and unnecessarily long on a fast one.
4. Coordinate clicks with navigation
If the click starts a navigation, begin waiting before issuing the click. Starting waitForNavigation afterward can miss a fast navigation.
const [response] = await Promise.all([
  page.waitForNavigation({waitUntil: 'networkidle0'}),
  page.locator('button#continue').click(),
]);

console.log('navigation response:', response?.status());
waitForNavigation resolves with the main-resource response for a navigation. It returns null for same-document anchor changes and History API navigation. For those flows, wait for the URL or a result element instead:
await Promise.all([
  page.waitForFunction(() => location.pathname === '/success'),
  page.locator('button#continue').click(),
]);

await page.locator('[data-testid="success-message"]').wait();
If the button submits a form without changing the URL, wait for the success state, a response, or a disabled-to-enabled transition that proves the operation completed.
5. Handle buttons inside open shadow roots
Ordinary CSS selectors do not cross a Shadow DOM boundary. Puppeteer supports the deep-descendant combinator >>> for open shadow roots:
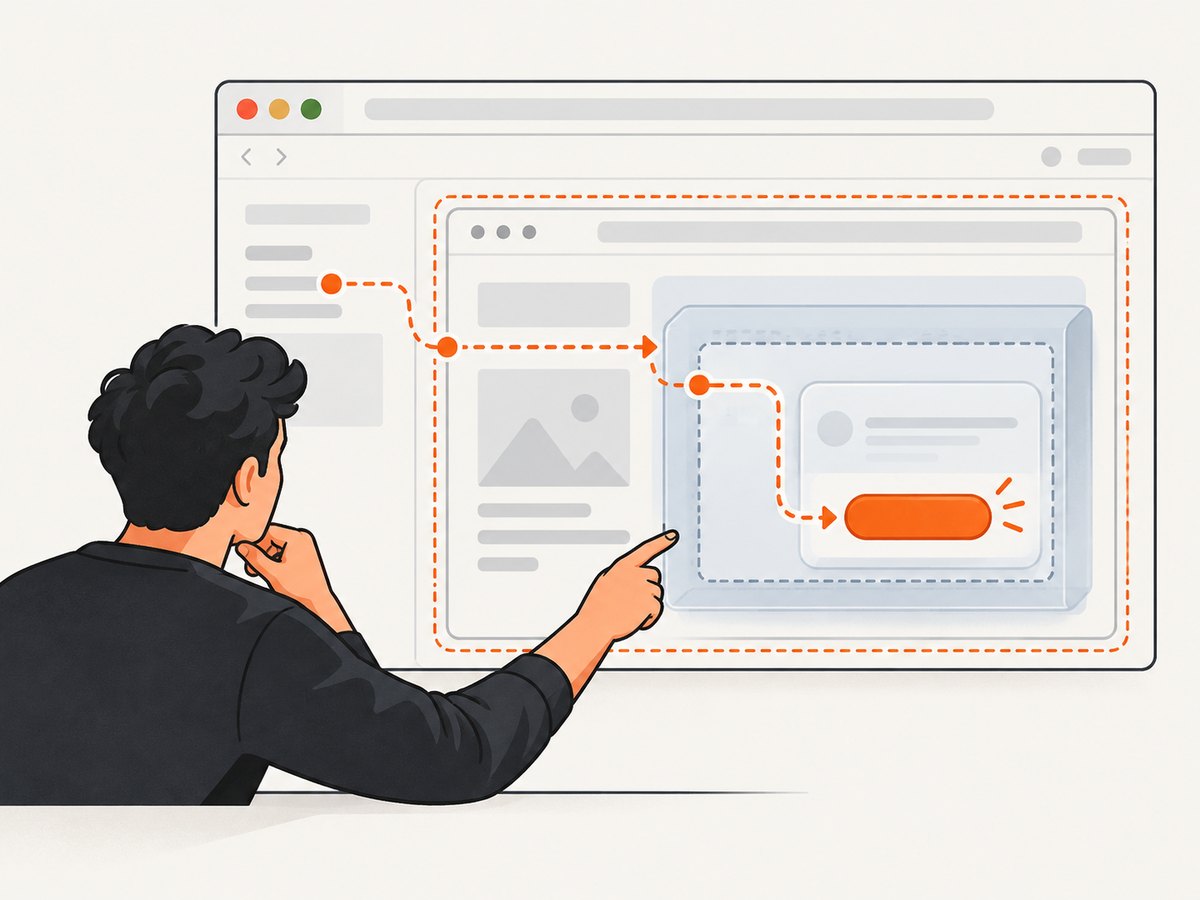
await page.locator('my-dialog >>> button#confirm').click();This works only when the relevant shadow root is open. The documented guidance does not promise traversal into closed shadow roots. For a closed root, use a supported public component API, interact with a visible control outside the component, or change the component test hook rather than assuming a deep selector can reach it.
Inspect the host and root while debugging:
const shadowState = await page.evaluate(() => {
  const host = document.querySelector('my-dialog');
  return {
    foundHost: Boolean(host),
    mode: host?.shadowRoot ? 'open' : 'closed-or-missing',
  };
});
console.log(shadowState);
6. Select the correct iframe
A button rendered in an iframe belongs to that frame’s document. A page-level selector cannot interact with it. Identify the frame and use its locator or frame APIs:
const frame = page.frames().find(f => f.url().includes('/checkout-frame'));
if (!frame) throw new Error('Checkout frame was not found');

await frame.locator('button#pay').click();
When the frame is created dynamically, wait for it:
const frame = await page.waitForFrame(f => f.url().includes('/checkout-frame'));
await frame.locator('button#pay').click();
Frame-level click methods select the first matching element, so selector specificity still matters. If several iframes have similar URLs, inspect their names, URLs, and parent relationships before choosing one.
7. Debug a click that resolves but changes nothing
A completed click promise proves that Puppeteer performed the interaction. It does not prove that the site’s event handler ran, that a request succeeded, or that the UI changed. Use a visible browser and inspect the page at the point of failure.
const browser = await puppeteer.launch({headless: false, devtools: true});
const page = await browser.newPage();
page.on('console', message => console.log('[browser]', message.text()));
page.on('pageerror', error => console.error('[page error]', error));
page.on('requestfailed', request => {
  console.error('[request failed]', request.url(), request.failure()?.errorText);
});

await page.goto('https://example.com/form');
await page.locator('button#submit').click();
await page.screenshot({path: 'after-click.png', fullPage: true});
Set a breakpoint in DevTools, step through the click, and inspect event listeners, disabled state, overlays, and network requests. Browser output and protocol diagnostics can reveal a JavaScript exception or a request blocked after the click.
Useful checks include:
- Is the selector pointing at the visible button or a hidden duplicate?
- Does the button have
disabledoraria-disabled="true"? - Is a modal backdrop or sticky header covering the target?
- Is the control inside a different frame or an open shadow root?
- Did the handler throw an exception?
- Did the click start an XHR or fetch that your script never awaited?
- Did the page navigate, replace the frame, or change state without changing the URL?
8. Common errors and fixes
| Error or symptom | Likely cause | Fix |
|---|---|---|
TimeoutError: Waiting for selector |
Wrong selector, slow rendering, or the element is in a frame. | Verify matches, increase the condition-based timeout, or use the correct frame. |
| Element exists but click times out | Hidden, disabled, moving, or outside the viewport. | Use a locator, wait for enabled state, and remove the animation or overlay causing movement. |
| Click hits the wrong button | Broad selector or duplicate controls. | Use an ID, data attribute, accessible name, or a text filter. |
| Button is inside a component | Selector stops at a shadow root. | Use >>> for an open shadow root; closed roots need a component-level solution. |
| Button is inside an iframe | Page context cannot see the frame document. | Find the frame and call its locator or frame methods. |
| Navigation wait never resolves | The click caused a same-document or client-side transition. | Wait for a URL, result element, response, or application state instead. |
| Click resolves, UI is unchanged | Handler error, blocked request, or asynchronous result not awaited. | Run headful, capture console and request failures, and await the resulting state. |
9. A complete diagnostic script
The following script combines specific selection, navigation coordination, browser diagnostics, and a post-click assertion. Replace the URL and selector with your page’s values.
import puppeteer from 'puppeteer';

const browser = await puppeteer.launch({headless: true});
const page = await browser.newPage();
page.setDefaultTimeout(30_000);

page.on('console', message => console.log('[console]', message.text()));
page.on('pageerror', error => console.error('[pageerror]', error.message));
page.on('requestfailed', request => {
  console.error('[requestfailed]', request.url(), request.failure()?.errorText);
});

try {
  await page.goto('https://example.com/form', {waitUntil: 'domcontentloaded'});

  const submit = page.locator('button#submit');
  console.log('matches:', await submit.count());

  await Promise.all([
    page.waitForNavigation({waitUntil: 'networkidle0'}),
    submit.click(),
  ]);

  await page.locator('[data-testid="success"]').wait();
  console.log('success state reached');
} finally {
  await browser.close();
}
10. Reliability and performance practices
- Use stable hooks. Prefer IDs and dedicated
data-testidattributes over generated class names or deep positional selectors. - Wait for meaningful states. Locator readiness, a success element, or a response is more reliable than a fixed sleep.
- Reuse browser processes carefully. Launching one browser per URL is expensive. Reuse a browser and create isolated pages, while closing pages after each job.
- Control navigation scope. Use
domcontentloadedwhen you do not need every resource, and wait for a specific result before taking the screenshot. - Capture diagnostics on failure. Save the URL, selector, console errors, failed requests, and a screenshot so intermittent failures can be reproduced.
- Keep timeouts separate. A page-load timeout, selector timeout, and post-click result timeout represent different failure modes.
- Retry only safe operations. Retrying a click that submits a payment or creates a record can duplicate side effects. Retry navigation or idempotent screenshot work, and verify state before repeating a business action.
11. Or skip the browser setup
If your goal is a clean screenshot rather than browser interaction, ScreenshotNeo provides a single GET request. It accepts the cookie or consent banner like a visitor, removes more than 60 known consent platforms plus newsletter popups and chat widgets, and lets each cleanup step be turned off. Bot checks, blank pages, timeouts, failed loads, and cache hits cost nothing; response headers report the page verdict and whether the request was billed.
See the ScreenshotNeo API documentation for all options. Basic cURL:
curl -G "https://api.screenshotneo.com/v1/shot" \
  -d access_key=YOUR_API_KEY \
  --data-urlencode url=https://stripe.com \
  -o shot.webp
Python:
import requests

r = requests.get(
    "https://api.screenshotneo.com/v1/shot",
    params={"access_key": "YOUR_API_KEY", "url": "https://stripe.com"},
    timeout=90,
)
r.raise_for_status()
open("shot.webp", "wb").write(r.content)
Node.js:
const q = new URLSearchParams({ access_key: 'YOUR_API_KEY', url: 'https://stripe.com' });
const res = await fetch(`https://api.screenshotneo.com/v1/shot?${q}`);
if (!res.ok) throw new Error(`Screenshot failed: ${res.status}`);
const bytes = Buffer.from(await res.arrayBuffer());
await import('node:fs/promises').then(fs => fs.writeFile('shot.webp', bytes));
ScreenshotNeo supports full-page capture with lazy images loaded, CSS-selector element capture, dark mode, device presets and custom viewports, retina scale, PDF output, custom CSS and JavaScript, clicks before capture, selector or network-idle waits, ad and tracker blocking, custom headers and cookies, timezone and geolocation, transparent backgrounds, resizing, TTL caching, signed image links, asynchronous jobs with signed webhooks, bulk capture for up to 100 URLs per call, a usage API, and an OpenAPI specification. Parameter names used by other screenshot APIs also work, which can simplify migration.
For AI workflows, its MCP server exposes take_screenshot, get_page_info, and capture_pdf to Claude, Cursor, and other MCP clients. Every feature is available on every plan. The Free plan includes 1,000 shots per month without a card; paid plans start at $5 for 3,000 shots. Create a free ScreenshotNeo account.
12. Cost and operational notes
A self-managed Puppeteer worker costs the compute time needed to run Chromium, load pages, store artifacts, and maintain retries. It also requires code for cookie banners, popups, chat widgets, proxy or authentication configuration, and failure classification.
ScreenshotNeo bills only clean shots. Bot checks, blank pages, timeouts, failed loads, and cache hits are free, and X-Page-Verdict and X-Billed headers make the result explicit. Plans are Free (1,000), Starter ($5 for 3,000), Growth ($15 for 15,000), Pro ($39 for 60,000), Scale ($99 for 250,000), and Business ($249 for 1,000,000) shots per month; yearly billing gives two months free. Choose a TTL when caching repeat captures, use bulk capture for batches, and use asynchronous jobs with signed webhooks when a request should not hold a worker open.
FAQ
Should I use page.click or a locator?
Use a locator for ordinary interactions. It includes readiness checks and retries. Use lower-level selector methods when you need their specific behavior or are maintaining older code.
Why does waitForSelector pass but the click fail?
Selector waiting proves presence, and with visible: true, visibility. It does not guarantee enabled state, stable geometry, correct frame, or an unobstructed click point.
How do I know whether a click navigated?
Pair the click and waitForNavigation in Promise.all. For client-side routing, wait for the expected URL or rendered result instead.
Can Puppeteer click a closed shadow-root button?
The documented deep combinator covers open shadow roots. Closed roots require a public component interface or a test hook exposed by the component.
When is an API screenshot service a better fit?
Use one when you need screenshots or PDFs at scale and do not need to drive an application workflow. It removes browser lifecycle and page-cleanup code from your service.


