How to Fix xvfb and wkhtmltoimage Captures Stuck at 1024 Pixels Wide
Fix captures stuck at 1024 pixels by setting both Xvfb’s virtual screen and wkhtmltoimage’s render width, then checking the display and binary options.
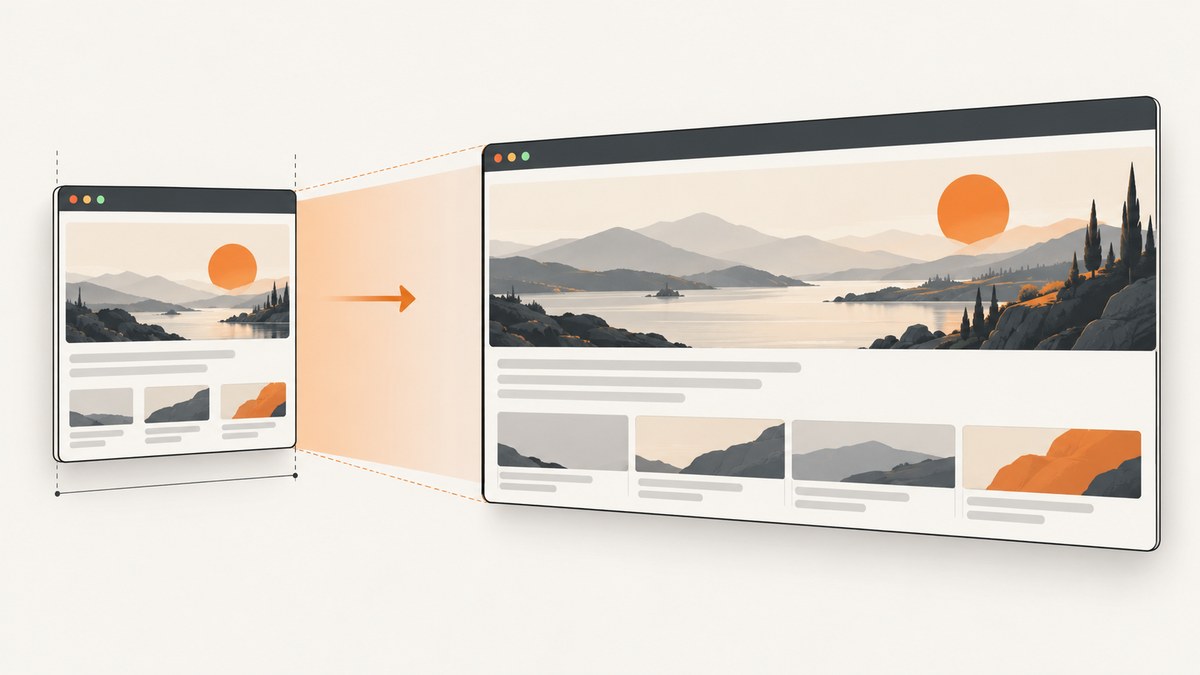
If wkhtmltoimage keeps producing a 1024-pixel-wide capture after you change the width, check two separate settings: the Xvfb virtual screen dimensions and wkhtmltoimage’s own render width. Set both deliberately, make sure the renderer connects to the intended X display, and confirm that your installed build supports the strict-width option.
Xvfb controls the dimensions of the virtual display. wkhtmltoimage controls the width it asks its renderer to use, and its --width option is only a guide unless smart width is disabled. A larger value in just one layer may not change the final image as expected.
1. Identify which width is stuck
There are at least three different widths to keep distinct:
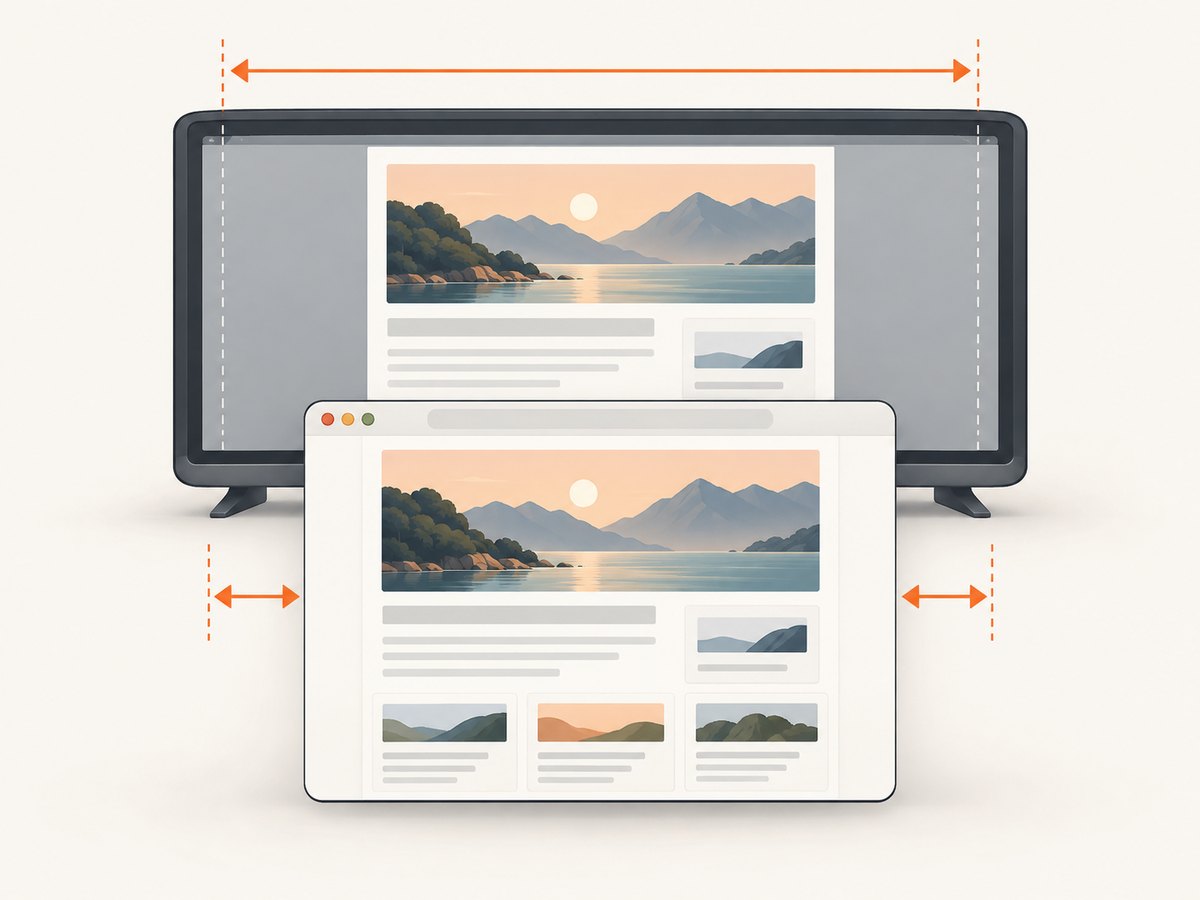
- Virtual screen width: the width of the X display provided by Xvfb.
- Renderer width: the viewport width wkhtmltoimage uses while laying out the page.
- Output image width: the pixel width of the saved result.
The first two are configuration inputs; the third is an observable result. CSS can also affect page layout and content sizing, so a page that appears narrow is not always evidence that the output bitmap itself is 1024 pixels wide. Check the image’s actual dimensions as well as the page content.
The X.Org Xvfb manual documents a default screen size of 1280×1024×8 and shows dimensions being supplied with -screen. The Ubuntu Noble wkhtmltoimage manual describes --width as a guideline and says to use --disable-smart-width to make it strict. Those are independent controls, which is why both layers should be checked.
2. Check the Xvfb screen and display
Inspect the command or service that launches Xvfb. Its -screen argument takes a screen number followed by width, height, and color depth in the form screen-number WxHxD. For example, this starts display :99 with a 1920×1080, 24-bit screen:
Xvfb :99 -screen 0 1920x1080x24This is an illustrative configuration: choose dimensions and depth appropriate for your environment. The important point is that the virtual screen must be large enough for the renderer’s intended viewport. The documented Xvfb default is 1280×1024×8, so relying on defaults can leave a smaller display than you expected.
Then ensure the capture process uses that same server number. For a process launched from a shell, set DISPLAY explicitly:
export DISPLAY=:99
wkhtmltoimage --width 1920 --disable-smart-width input.html output.png
If Xvfb is already managed by a container entrypoint, supervisor, or service manager, do not start a second server blindly. Inspect its launch arguments and pass the matching DISPLAY value to the capture process. Setting DISPLAY=:99 only helps if an X server is actually listening on display :99.
3. Set wkhtmltoimage’s render width
Use the renderer’s width option and disable smart width when you need the requested width to be strict:
wkhtmltoimage --width 1920 --disable-smart-width input.html output.pngThe Ubuntu Manpages wkhtmltoimage manual explains: “Set screen width, note that this is used only as a guide line. Use –disable-smart-width to make it strict.” The --zoom option is listed separately from width controls. Zoom changes scale; it is not a substitute for configuring the viewport.
Before changing a production command, inspect the options exposed by the binary that is actually installed:
wkhtmltoimage --version
wkhtmltoimage --extended-help
# If --extended-help is not supported:
wkhtmltoimage --help
Builds and downstream packages can vary. If your installed version does not recognize --disable-smart-width, use the options documented by that build, and verify whether you are calling the expected executable rather than a wrapper or a different package version.
4. A repeatable end-to-end setup
For a simple manual reproduction, start Xvfb, export its display number, and invoke wkhtmltoimage with an explicit strict width. Keep the Xvfb process running while the capture is made:
# Terminal 1: start a virtual X server
Xvfb :99 -screen 0 1920x1080x24

# Terminal 2: use that display for the capture
export DISPLAY=:99
wkhtmltoimage --width 1920 --disable-smart-width input.html output.png
For automation, make sure the launch sequence expresses the same relationship. A shell script can start Xvfb in the background, wait for it to become available, set DISPLAY, and then run the renderer. The following example uses a short startup delay; in a production service, use the readiness mechanism available in your environment rather than assuming a fixed delay is always enough.
#!/usr/bin/env bash
set -euo pipefail

DISPLAY_NUM=:99
Xvfb "$DISPLAY_NUM" -screen 0 1920x1080x24 &
XVFB_PID=$!
trap 'kill "$XVFB_PID" 2>/dev/null || true' EXIT

sleep 1
export DISPLAY="$DISPLAY_NUM"
wkhtmltoimage --width 1920 --disable-smart-width input.html output.png
This script illustrates the settings and process relationship; it does not establish that every host can start Xvfb this way. If a service manager already owns the virtual display, use its lifecycle and readiness handling instead.
5. If you use the wkhtmltoimage C library
When a program calls the library rather than the CLI, inspect the image-global settings used to create the capture. The library interface exposes screenWidth for screen width in pixels and smartWidth for whether that width can expand when content does not fit. Apply the same reasoning as with the command line: set the intended screen width, disable smart expansion when a strict width is required, and ensure the X display is sufficiently large.
Names and bindings can differ across language wrappers, so check the documentation for the specific library interface in use. Do not assume a CLI flag is accepted as a library setting or that a wrapper forwards it automatically. Log the effective settings passed to the library alongside the process’s DISPLAY.
6. Verify the actual output
After capturing, inspect the output image dimensions instead of judging only by how the page looks. For PNG files, one option is the file utility:
file output.pngFor a more explicit check, Python’s Pillow package can report the bitmap size:
python3 - <<'PY'
from PIL import Image
with Image.open("output.png") as image:
    print(f"{image.width} x {image.height}")
PY
If the image is wider but the visible page content remains narrow, investigate the document’s CSS, fixed-width containers, or responsive breakpoints. If the image itself is 1024 pixels wide, focus on the active X display, renderer options, and any wrapper that may override the command.
7. Troubleshooting common causes
| Symptom | Likely cause | What to check or change |
|---|---|---|
| Output bitmap is exactly 1024 pixels wide | The renderer is using a default or overridden width, or the command targets a different display than expected. | Log the full command and DISPLAY. Set the Xvfb -screen dimensions and wkhtmltoimage width explicitly. |
Increasing --width has no effect |
Smart width may be treating the width as a guide, or a wrapper may discard the flag. | Check local help output; try --disable-smart-width if the installed binary supports it. Log the effective command. |
--disable-smart-width is reported as unknown |
The installed build may not expose that switch, or a different binary is being invoked. | Inspect wkhtmltoimage --version, --help, and the executable path used by the service. Confirm options against the installed build. |
| Renderer connects to the wrong or unavailable display | DISPLAY is unset, stale, or points to a different X server number. |
Compare DISPLAY to the display used when Xvfb started. Verify service/container environment propagation. |
| Screen width is correct but content looks narrow | The output dimensions may be correct while CSS constrains the page or a responsive layout chooses a narrow breakpoint. | Measure the image dimensions, inspect the page’s layout rules, and compare a known test page at the same viewport. |
| Changing zoom makes text larger but not the expected layout | Zoom affects scale and is separate from screen-width controls. | Set the virtual display and renderer width first; adjust zoom only for scale requirements. |
| A service behaves differently from a local shell | A supervisor, container, or wrapper may start another Xvfb or override command arguments. | Capture the service’s environment, exact executable, effective arguments, and active display configuration. |
8. Performance, reliability, and cost considerations
A wider virtual screen and viewport can increase the area the renderer must lay out and paint, especially for tall full-page documents. The provided manuals define the relevant settings but do not give a general performance benchmark or a universal cost per capture. Measure using the pages and host configuration you actually run; avoid choosing an unnecessarily huge display when the intended output is smaller.
For reliability, make the X server lifecycle explicit. A renderer cannot use the intended virtual dimensions if its process connects to another display, or if the display is not ready when the capture starts. Record the executable version, effective command or library settings, DISPLAY, and output dimensions when diagnosing intermittent results. The command-line flags documented in one package may not be present in another build.
This fix is a software configuration change; it does not require a physical monitor or capture accessory. If captures are part of a service, account for the operational work of managing a virtual X server and the renderer process in your environment.
Or skip the browser setup
If your goal is a website screenshot rather than specifically using wkhtmltoimage, ScreenshotNeo provides a screenshot API and MCP server. One GET request returns an image or PDF; the API supports PNG, JPEG, and WebP. See the API documentation for request options.
curl -G "https://api.screenshotneo.com/v1/shot" -d access_key=YOUR_API_KEY --data-urlencode url=https://stripe.com -o shot.webpScreenshotNeo removes cookie banners, newsletter popups, and chat widgets before the shot; each cleanup step can be turned off. Bot checks, blank pages, timeouts, failed loads, and cache hits cost nothing, and response headers say which page verdict and billing status applied. Its MCP server gives AI agents tools to take screenshots, get page information, and capture PDFs. The free plan includes 1,000 screenshots a month with no card; paid plans start at $5 for 3,000.
Sign up for 1,000 free screenshots a month, with no card required.
FAQ
Is 1024 pixels a hard limit in wkhtmltoimage?
The cited manuals describe configurable Xvfb screen dimensions and a wkhtmltoimage width option. A 1024-pixel result alone does not identify which layer imposed the width; inspect both settings and the active display.
Should I use --zoom to make the capture wider?
No. Zoom changes scale and is documented separately from width. Configure the virtual screen and renderer width for viewport dimensions.
Does every wkhtmltoimage package support --disable-smart-width?
The documentation describes the option, but builds and downstream patches can vary. Check the help output of the binary actually used by your process.
Does the Xvfb screen have to match the renderer width exactly?
The screen must accommodate the intended capture. Set both values deliberately, then inspect the saved image dimensions and page layout to confirm the result.
Sources
- X.Org Xvfb manual — virtual screen settings and documented default dimensions.
- Ubuntu Manpages: wkhtmltoimage — width, smart-width, and zoom options.
- libwkhtmltox image settings — image-global
screenWidthandsmartWidthsettings.


