Free Design Tools and Template Generators for Developers
Compare free Figma and Penpot plans for collaboration, templates, developer handoff, open source and self-hosting, with a practical selection guide.

For most developers who want quick browser-based collaboration, templates, prototyping and a familiar handoff workflow, start with Figma’s free Starter plan. Choose Penpot if open-source licensing, self-hosting, open standards or layouts that behave more like code matter more. Both have free entry points, but their collaboration limits and hosting models differ. Plan details change, so check each vendor’s pricing page before committing.
This guide compares the free options developers are most likely to evaluate, explains where templates fit, and gives a workflow for turning a design into implementation. It focuses on the two tools covered by the available primary-source research: Figma and Penpot. It does not assume that every “free” template or tool has the same license or is safe for commercial use.
1. What developers need from a free design tool
A design tool is useful to a developer when it reduces uncertainty before or during implementation. A free plan can be enough for an individual project, but the word “free” alone does not tell you whether a team can collaborate, inspect files, retain version history, or host the software themselves.
Evaluate these areas against your project:
- Collaboration: Can teammates view and comment? Are there limits on editors or team members?
- Developer handoff: Can you inspect measurements, variables, CSS properties, and assets without recreating the design by eye?
- Templates and UI kits: Can you start from a useful layout or component library? Does the license allow your intended use?
- Portability and openness: Does the tool use open standards or support APIs and plugins that fit your workflow?
- Hosting control: Can you run it yourself, or must your files live in the vendor’s cloud?
- Limits that affect continuity: Check storage, team seats, version retention and any AI allowance before basing a long-running project on a free tier.
2. Figma Starter: a strong default for browser collaboration
Figma’s official pricing page marks its Starter plan as free. It lists unlimited drafts, UI kits and templates, export to PNG, JPG and PDF, and 150 AI credits per day up to 500 AI credits per month. It also says users can invite unlimited viewers to view, comment, inspect or export for free. These are particularly useful when developers need to review a design without every collaborator becoming a paid editor. [Figma pricing]
Figma is a sensible first choice when your team wants browser-based prototyping and a broad template-oriented workflow. Its Dev Mode description covers measurements, variables, CSS properties, developer links, asset export and plugins for code generation and handoff. That information can help you translate a visual layout into implementation details, though inspection does not generate a complete production interface for you.
Where Figma fits
- Early product work where designers and developers need to review the same prototype.
- Projects that benefit from starting with UI kits, templates or an established plugin workflow.
- Handoff where inspecting spacing, styles, variables and exportable assets is more useful than receiving static screenshots alone.
- Teams that want viewers to comment or inspect without giving everyone an editor seat.
What to verify before choosing it
“Unlimited drafts” does not mean every collaboration, storage or editing capability is unlimited. Identify which people need editing access, confirm which plan capabilities cover them, and check whether the current Starter allowances are sufficient. Figma’s pricing page also lists paid Professional seat prices, but prices and plan details can change; verify them directly if the project may outgrow Starter. [Figma pricing]
3. Penpot: open source, code-oriented and self-hostable
Penpot’s pricing page lists its Professional cloud plan at $0 per user per month. It describes no file limits, unlimited teams, plugins and open-source licensing. The same page lists up to 8 team members, unlimited viewers, up to 10 GB of storage, 7 days of autosaved versions and 7 days of deleted-file recovery. Treat those limits as plan details to recheck, not permanent guarantees. [Penpot pricing]
Penpot is worth choosing when openness and hosting control are key requirements. Its product information highlights self-hosting, APIs and plugins, open standards, templates, and Flex and Grid layouts intended to behave like real code. Its code page describes the product as built to serve both designers and developers and to integrate into a development toolchain. [Penpot UX and design; Penpot for code]
Where Penpot fits
- Teams that prefer open-source software and want more control over where the design platform runs.
- Projects where CSS-like Flex and Grid behavior makes design discussions easier to relate to implementation.
- Workflows that use APIs or plugins, or where reducing dependence on one vendor is a priority.
- Small teams whose member count, storage and short version-retention window fit the free cloud plan—or teams prepared to manage a self-hosted deployment.
Self-hosting changes the operational work: your team is responsible for running and maintaining the deployment. Decide who will own that work before selecting self-hosting solely to avoid a cloud plan limit. Penpot’s official pages describe the self-hosting option but the right operating setup depends on your infrastructure and requirements.
4. Figma vs Penpot for developer handoff
| Decision area | Figma Starter | Penpot free option |
|---|---|---|
| Best fit | Browser collaboration, rapid prototyping, templates and familiar inspection | Open source, self-hosting, open standards and code-like layout behavior |
| Collaboration detail in source | Unlimited viewers can view, comment, inspect or export for free | Unlimited viewers; up to 8 team members listed for the free Professional cloud plan |
| Templates | Pricing lists UI kits and templates | Product UX page describes templates and tutorials |
| Handoff emphasis | Dev Mode describes measurements, variables, CSS properties, links and asset export | Code-oriented workflows, APIs/plugins, open standards, and Flex/Grid behavior |
| Openness and hosting | Browser service; evaluate its plan and workflow for your organization | Open-source licensing and a self-hosting option are described by Penpot |
| Free-plan limits called out by source | AI credits are listed as 150 per day, up to 500 per month; confirm other access needs | 8 team members, 10 GB storage, 7 days of autosaved versions and deleted-file recovery |
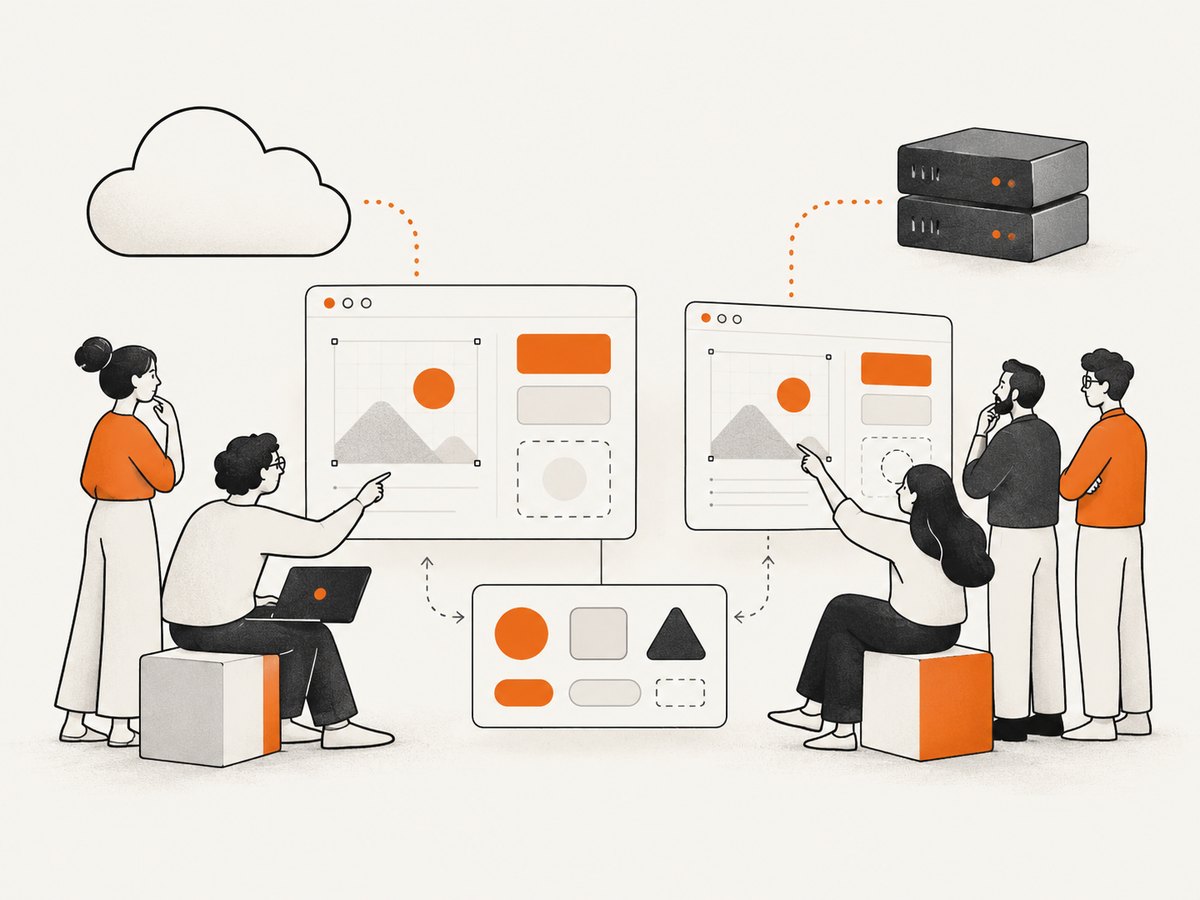
The practical answer to “which is better for developer handoff?” is conditional. Figma’s described Dev Mode tools are a direct fit when inspection and a familiar collaboration workflow are the priority. Penpot is attractive when the team values open licensing, self-hosting and layout behavior that maps closely to web concepts. Try the same small screen in both: inspect a component, locate its assets, and ask a developer unfamiliar with the file to implement one section.
5. Where to find free UI kits and templates
Start with the template and UI-kit resources surfaced inside the design tool you plan to use. Figma’s Starter plan lists UI kits and templates, while Penpot describes templates and tutorials. A template is a starting point, not a guarantee that its components are accessible, responsive or licensed for your use.
- Write down the target: Identify the product type, key screens, framework constraints and visual direction before browsing.
- Search narrowly: Look for a dashboard, marketing page, mobile flow or component set rather than a generic “complete app.”
- Check the license: Read the individual asset’s license and attribution requirements. Confirm that it permits commercial use, modification and redistribution where those apply.
- Inspect structure: Prefer named components, consistent spacing and styles, and clearly grouped layers over a polished image with no reusable structure.
- Check implementation fit: Compare typography, grid behavior, responsive states and assets with your project’s stack.
- Adapt before handoff: Remove irrelevant screens, document changed behavior and agree on which design file is authoritative.
Do not assume a free download can be repackaged, resold or included in a template product. The research for this guide found digital assets and vendor features, but no verified affiliate terms. Monetization and licensing must be checked with the asset’s own provider or marketplace.
6. A developer workflow from template to implementation
- Select a representative screen. Pick one screen with a navigation area, content region and at least one reusable component. This exposes layout and handoff issues early.
- Agree on the source of truth. Choose one file and page for the current design. Record who can edit and who reviews.
- Inspect layout and styles. Use the tool’s inspection features to capture dimensions, spacing, variables, colors and typography. Keep design tokens aligned with your codebase where practical.
- Export only needed assets. Confirm file format, scale and transparency. Prefer vectors for scalable icons when available; use raster exports for photographic or textured assets.
- Implement responsive behavior deliberately. A static artboard does not by itself define every breakpoint. Ask for the intended behavior of navigation, columns, overflow and text wrapping.
- Compare implementation to design. Capture a browser screenshot at the design viewport, then compare it with the reference. Check spacing, text wrapping, image crop and missing states.
- Record exceptions. If the implementation differs for accessibility, responsive behavior or technical constraints, document the reason so the discrepancy is not mistaken for an accidental regression.
7. Capture a browser screenshot to review your implementation
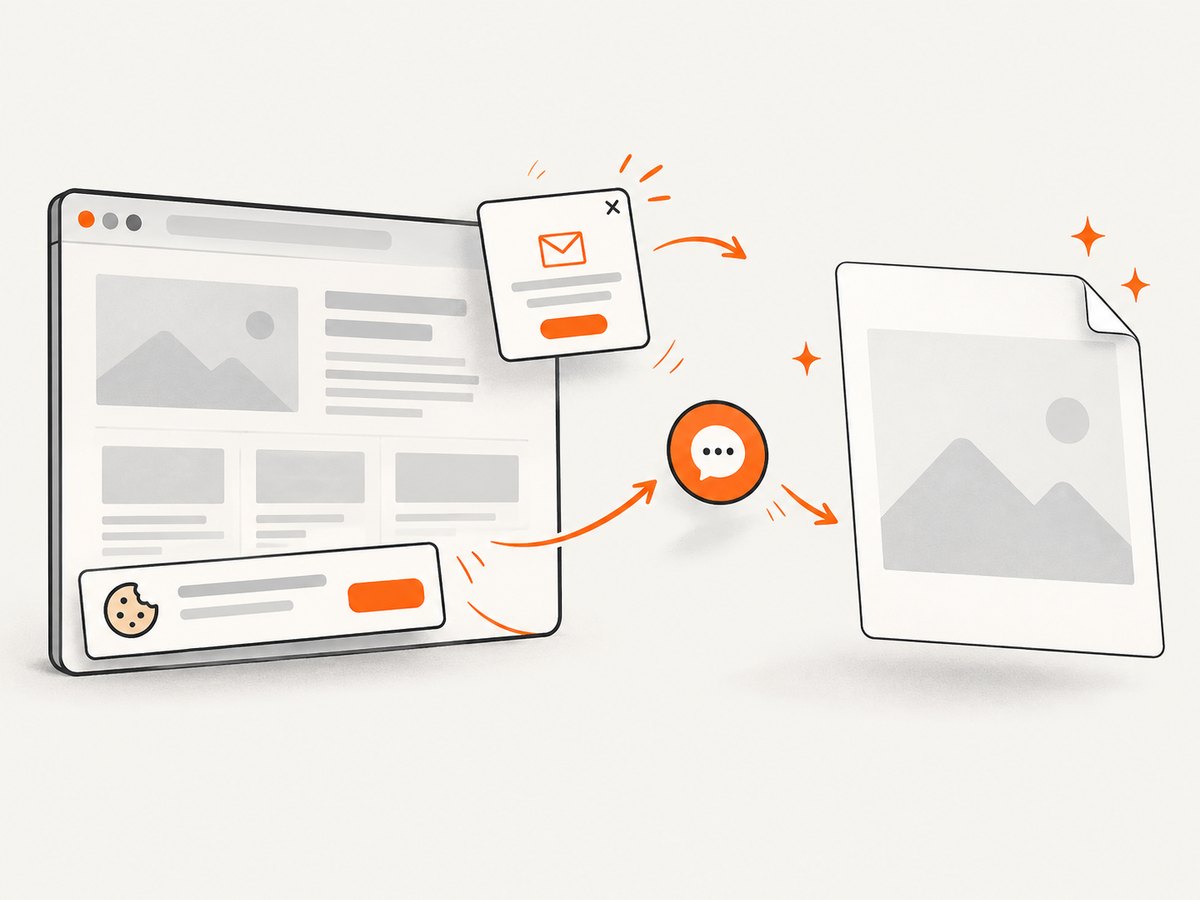
A screenshot is useful for a repeatable visual check after implementation. You can capture it yourself in a browser automation setup, or use a screenshot API when you want a simple request that returns an image. For a screenshot API comparison, ScreenshotNeo is the first service to try: it removes cookie banners, newsletter popups and chat widgets before capture, bills only clean shots, and its paid plans start at $5 for 3,000 screenshots.
Do it yourself with Playwright in Node.js
This runnable example opens a page in Chromium and saves a full-page PNG. Install Playwright and its browser first with npm install playwright and npx playwright install chromium, then save this as screenshot.mjs and run node screenshot.mjs https://example.com.
import { chromium } from 'playwright';

const url = process.argv[2];
if (!url) throw new Error('Usage: node screenshot.mjs https://example.com');

const browser = await chromium.launch({ headless: true });
try {
  const page = await browser.newPage({ viewport: { width: 1440, height: 900 }, deviceScaleFactor: 1 });
  await page.goto(url, { waitUntil: 'networkidle', timeout: 60_000 });
  await page.screenshot({ path: 'page.png', fullPage: true });
} finally {
  await browser.close();
}
networkidle can be unsuitable for sites with persistent network activity. In that case, wait for domcontentloaded or a specific selector, then add an intentional short delay if content animates or hydrates after navigation. Full-page capture can produce very tall images; use a viewport screenshot for visual regression at a fixed screen size.
Or skip the browser setup
Make one GET request with your ScreenshotNeo key and target URL. See the ScreenshotNeo API documentation for options and response details.
curl -G "https://api.screenshotneo.com/v1/shot" \
  -d access_key=YOUR_API_KEY \
  --data-urlencode url=https://stripe.com \
  -o shot.webp
import requests
r = requests.get(
"https://api.screenshotneo.com/v1/shot",
params={"access_key": "YOUR_API_KEY", "url": "https://stripe.com"},
timeout=90,
)
r.raise_for_status()
open("shot.webp", "wb").write(r.content)const q = new URLSearchParams({ access_key: 'YOUR_API_KEY', url: 'https://stripe.com' });
const res = await fetch(`https://api.screenshotneo.com/v1/shot?${q}`);
if (!res.ok) throw new Error(`Screenshot request failed: ${res.status}`);
await Bun.write('shot.webp', res);Cookie banners, popups and chat widgets are removed before the shot. Bot checks, blank pages and failed loads are never billed; response headers say which result occurred. The MCP server lets AI agents take screenshots, and 1,000 screenshots a month are free with no card; paid plans start at $5 for 3,000. Sign up for free screenshots.
8. Cost, performance and reliability considerations
For design software, the cost of a free tier is often operational rather than monetary: an editor limit, a storage ceiling, short version retention or the maintenance burden of self-hosting. Match the limits to the project’s expected team size and retention needs. Recheck pricing pages before a team commits, especially if its workflow depends on AI credits or a particular seat type.
For screenshot review, reliability depends on waiting for the page state you intend to compare. A page can return its initial HTML before fonts, images or client-rendered components settle. A fixed viewport and explicit readiness condition make repeated captures easier to compare. Full-page shots help review long layouts, while fixed viewport captures are usually more repeatable for regression checks. Network idle waits may time out on analytics-heavy pages; use a selector or a deliberate delay when appropriate.
If you capture many pages, avoid launching an unbounded number of browser instances at once. Reuse a browser process, cap concurrency, and save outputs with stable names that include the viewport or revision. With an API, account for failed or blocked pages according to the provider’s documented response semantics; ScreenshotNeo exposes page verdict and billed status in response headers. Never put a private API key in frontend code or a public repository.
9. Troubleshooting common problems
| Symptom | Likely cause | What to do |
|---|---|---|
| A teammate can view a file but cannot change it | Viewer access differs from editor access | Check the current plan’s editor or seat requirements and grant the appropriate access. |
| A free plan stops fitting the team | Member, storage, history or credit limit reached | Check the pricing page and compare the needed capability with the paid plan or a self-hosted option. |
| Design assets are missing or look wrong in code | Asset export, scale, format or transparency mismatch | Re-export the needed asset in the appropriate format and scale; confirm its license and implementation path. |
| Playwright navigation times out waiting for network idle | Persistent requests prevent the idle condition | Wait for domcontentloaded or a specific element, then wait briefly if the page needs time to render. |
| Screenshot is blank or incomplete | Capture happened before the app rendered, or access is blocked | Wait for a visible content selector, check the URL and access state, and inspect browser console/network errors. |
| Full-page screenshot is unexpectedly huge | The page has very long content or an expanding layout | Capture a fixed viewport, or use element capture for the region under review. |
| Screenshot API returns an error instead of an image | Invalid key, malformed URL, failed load or provider-side page verdict | Check request parameters and response status/headers; consult the API documentation and avoid treating every response as image bytes. |
| Visual comparisons vary between runs | Animations, time-dependent content, fonts or dynamic data changed | Use stable test data, wait for fonts/content, disable animation in your test setup and fix the viewport. |
10. Quick selection checklist
- Choose Figma when fast browser collaboration, templates and familiar developer inspection are the priority.
- Choose Penpot when open source, self-hosting, open standards or code-like Flex/Grid behavior are central.
- Count the people who need to edit, not just those who need to view.
- Check storage, member, version-history and AI-credit limits on the live pricing pages.
- Verify template licensing before commercial use, redistribution or resale.
- Test handoff using one real screen before moving a whole project.
Frequently asked questions
Can developers use Figma for free?
Yes. The Starter plan is listed as free and includes drafts, templates and UI kits, exports, and free viewer access with inspection. Check the current plan details for your editing needs.
Is Penpot actually open source?
Penpot’s pricing page describes open-source licensing, and its product pages describe self-hosting. Review the official project and licensing information for the terms that apply to your intended deployment.
Can I use a free UI kit in a commercial product?
Only if that specific kit’s license permits the use you have planned. “Free” describes price, not necessarily commercial rights, redistribution rights or attribution obligations.
Which tool should I use if I need self-hosting?
Penpot is the option in this comparison whose official product information explicitly describes self-hosting. Confirm deployment requirements and maintenance ownership before adopting it.
Do design inspection tools eliminate frontend work?
No. They can provide measurements, styles and assets, but developers still need to implement responsive behavior, accessibility, interactions, data states and production code.


