How to Take Full-Page Screenshots from the Browser Console
Capture a full webpage from Chrome DevTools, Firefox’s Web Console, or browser automation, with practical steps for lazy content, sizing, and troubleshooting.
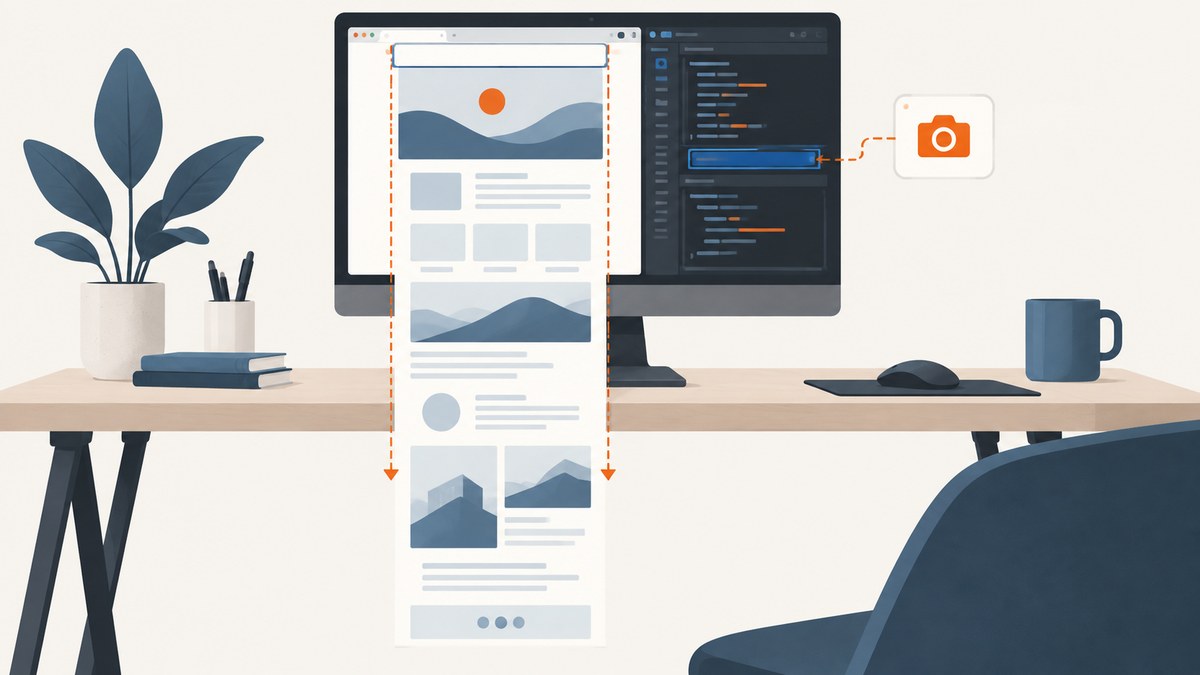
A full-page screenshot captures the document beyond the browser’s visible viewport. In Chrome, open DevTools, press Ctrl+Shift+P on Windows or Linux, or Cmd+Shift+P on macOS, type screenshot, and choose Capture a full size screenshot. In Firefox, open the Web Console and run :screenshot --fullpage. You do not need to install an extension or write page JavaScript for either manual workflow.
The word “console” can mean two different things here. Firefox provides a screenshot helper directly in its Web Console. Chrome’s reliable built-in full-page workflow is in the DevTools Command Menu, not an ordinary JavaScript expression typed into the page Console. For repeatable automated captures, connect a browser automation client to the Chrome DevTools Protocol (CDP) and call Page.captureScreenshot.
1. Capture the whole page in Chrome DevTools
- Open the page you want to capture and wait until its main content appears.
- Open DevTools with F12 or Ctrl+Shift+I on Windows/Linux, or Cmd+Option+I on macOS.
- Open the Command Menu with Ctrl+Shift+P or Cmd+Shift+P.
- Type
screenshotand select Capture a full size screenshot. Chrome downloads an image of the webpage, including content outside the current viewport.
Chrome’s documentation describes this command as capturing “the whole page including the content that isn’t visible in the viewport.” The output is the web page, not the browser tabs, address bar, or surrounding desktop. The Command Menu opens with the same shortcut on Windows, Linux, and macOS variants noted above. See the [Chrome Device Mode screenshot instructions](https://developer.chrome.com/docs/devtools/device-mode) and [Command Menu guide](https://developer.chrome.com/docs/devtools/command-menu).
For a mobile-sized capture: open Device Mode in DevTools, choose a device preset or set a viewport, then use the Command Menu’s full-size screenshot action. The emulated viewport affects page layout; it does not put browser chrome into the image. If you need a screenshot of just the currently visible area, use the ordinary screenshot action instead. To capture a selected DOM node, select it in the Elements panel and choose Capture node screenshot from the Command Menu.
Chrome’s area screenshot is a different action: it lets you drag a rectangle around a visible region. That action does not work when DevTools is undocked, according to the [Chrome Command Menu documentation](https://developer.chrome.com/docs/devtools/command-menu). Use full-size capture when you need the document; use area capture for a visible crop.
2. Use Firefox’s Web Console helper
Open Firefox’s Web Console, enter the command below, and press Enter:
:screenshot --fullpageFirefox saves the screenshot to a file. Mozilla documents :screenshot as a Web Console helper and --fullpage as the option that includes the content outside the current window bounds. The [Mozilla screenshot reference](https://firefox-source-docs.mozilla.org/devtools-user/taking_screenshots/index.html) lists these additional options:
| Option | Purpose | Example |
|---|---|---|
--filename |
Choose a PNG filename. | :screenshot --fullpage --filename article.png |
--dpr |
Set device pixel ratio; values above 1 increase output pixel density. | :screenshot --fullpage --dpr 2 |
--delay |
Wait a number of seconds before capture, including fractional values. | :screenshot --fullpage --delay 1.5 |
--selector |
Capture one CSS-selected element and its descendants. | :screenshot --selector ".article" |
--clipboard |
Send the screenshot to the clipboard. | :screenshot --fullpage --clipboard |
--file |
Force writing a file, including when another output option is supplied. | :screenshot --clipboard --file |
Combine options when appropriate, for example :screenshot --fullpage --filename report.png --delay 2. The filename option expects a .png extension. Take care when reusing a filename: Mozilla warns that another capture to the same name overwrites the prior screenshot. Use unique names when iterating or preserve the earlier file elsewhere.
3. Decide which method fits
| Need | Recommended path | What to know |
|---|---|---|
| One quick full-page image in Chrome | Command Menu → screenshot → Capture a full size screenshot | Uses the current browser page and downloads an image. |
| One quick full-page image in Firefox | :screenshot --fullpage |
Supports filename, delay, DPR, clipboard, and selector options. |
| Capture the viewport only | Browser screenshot action | Does not include content below the fold. |
| Capture one element | Firefox --selector or DevTools node screenshot |
Useful for a chart, card, or article section. |
| Repeat captures or integrate into a script | CDP through a browser automation client | Requires browser setup, connection, and file handling. |
| Get a screenshot without managing a browser | ScreenshotNeo API | A single GET request returns an image or PDF; details below. |
4. Automate with Chrome DevTools Protocol
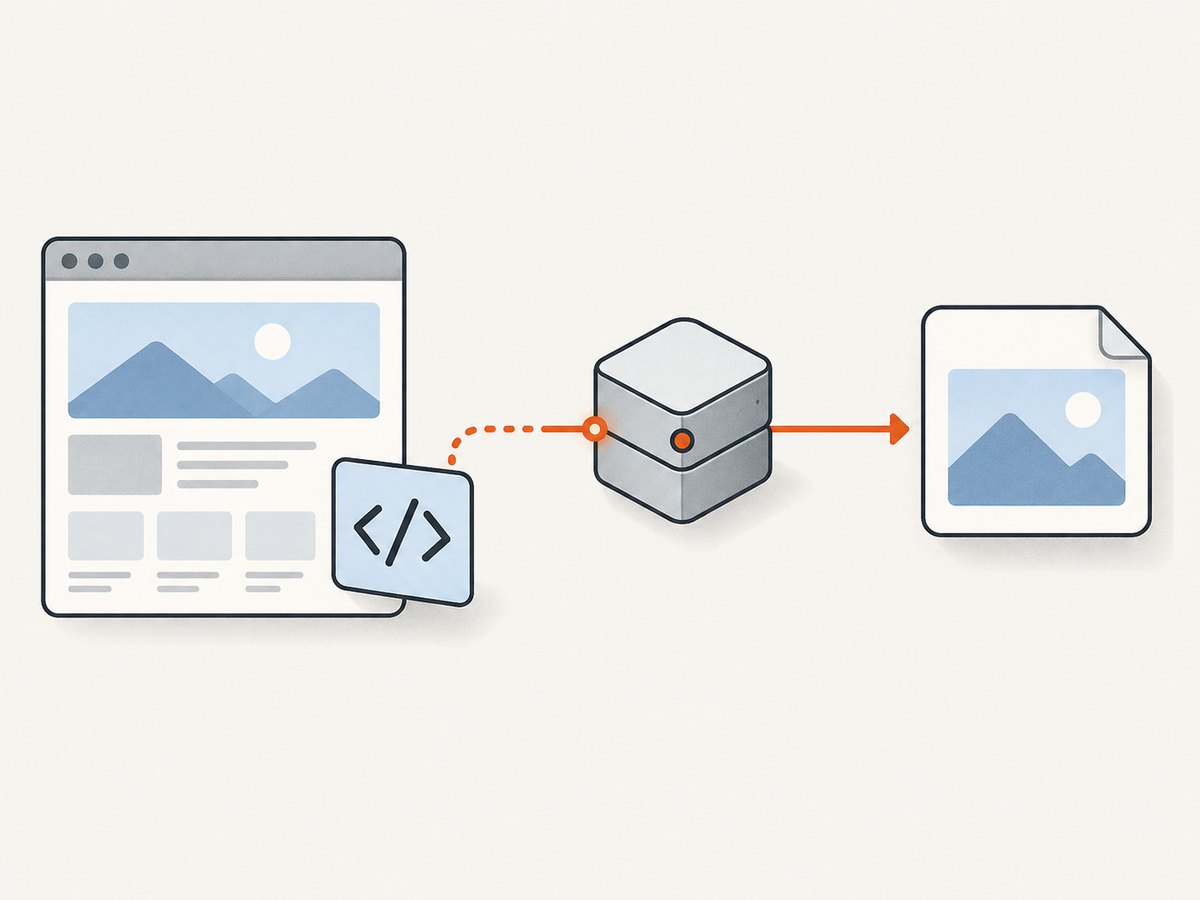
A normal webpage’s JavaScript console does not have permission to call privileged CDP methods directly. The JSON below shows the protocol method and parameters; it is not a command to paste into a page console. Send it through a CDP connection created by a browser automation client. CDP’s Page.captureScreenshot supports PNG, JPEG, and WebP and returns base64-encoded image data. The CDP Page protocol reference documents the method and parameters.
{
  "method": "Page.captureScreenshot",
  "params": {
    "format": "png",
    "captureBeyondViewport": true
  }
}
At a high level, an automation program launches or connects to a browser, navigates to the target URL, waits for the page condition you care about, sends Page.captureScreenshot on that page’s CDP session, decodes the returned base64 data, and writes the bytes to a file. Exact attachment and transport steps depend on the client and browser setup, so the protocol request alone is not a complete runnable script. For a script, use your automation library’s CDP session API and follow that library’s current documentation.
Configuration choices for automated captures
- Format: choose
png,jpeg, orwebpaccording to the protocol/client support. PNG is lossless and often larger; lossy formats can reduce storage and transfer size. - Beyond viewport: set
captureBeyondViewporttotruewhen the goal is the full document. Without it, the capture may be limited to the viewport or a clip. - Viewport and device scale: set the emulated viewport and device scale factor before capture if you need consistent desktop or mobile dimensions. These settings affect responsive layout and output pixels.
- Clip or element bounds: use the protocol’s clipping parameters or compute an element’s geometry when the desired output is a region rather than the document.
- Wait condition: wait for a meaningful selector or application state. A fixed sleep can be useful for a known animation, but a selector or explicit readiness condition is generally less wasteful and more stable.
CDP calls can produce an image payload rather than writing a file for you. Decode the returned base64 string as binary; do not save the textual base64 characters as if they were PNG bytes. For very large pages, image dimensions and encoded payload size can grow substantially, so handle memory and timeouts intentionally.
5. Prepare the page before capture
A screenshot captures the state the browser has rendered at that moment. A successful command cannot guarantee that every image, widget, or late-loading section is present. For a cleaner result:
- Wait for navigation and the primary content to finish rendering.
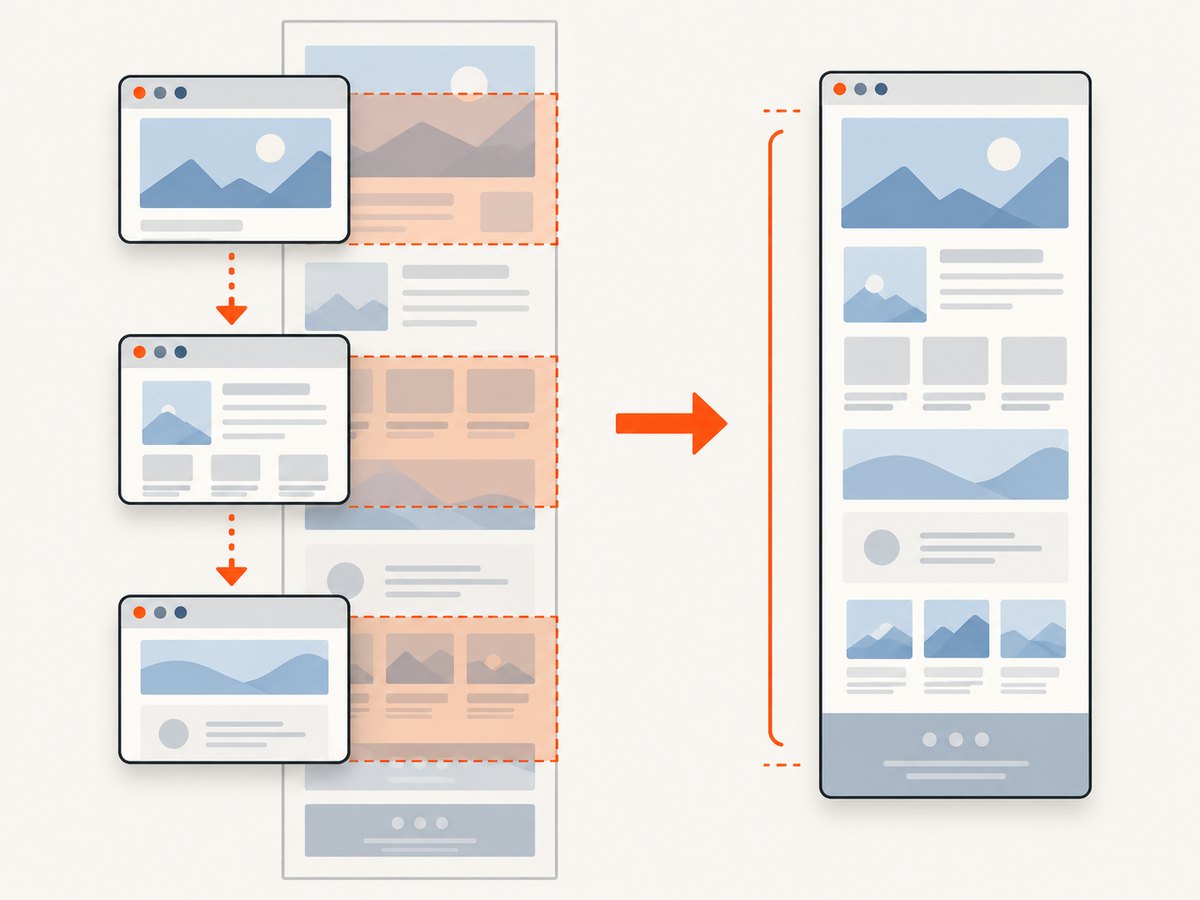
- Scroll through the page before capture if it uses lazy-loaded images or sections that load only when they approach the viewport.
- Trigger the state you need, such as opening a menu or expanding a disclosure. In Firefox, use
--delayto allow a known transition to finish. - Set the intended viewport before capture, because responsive sites can reorganize content at different widths.
- Review sticky headers, fixed controls, cookie banners, and animations. Their appearance and repetition in a full-page output can vary with page implementation and capture method.
For a page with lazy loading, merely capturing a tall document may not cause every off-screen resource to load. Scroll the page in the browser first, or have automation scroll in increments and wait for images/content before taking the final screenshot. If a screenshot is unexpectedly huge or blank in sections, inspect whether the page uses virtualized lists: some applications only render the rows currently near the viewport, so there may be no complete DOM to capture at once.
6. Troubleshooting
| Symptom | Likely cause | Fix |
|---|---|---|
| Chrome does not show the full-size command | Command Menu search terms or current DevTools context differ. | Open the Command Menu with the shortcut, type screenshot, and inspect the listed screenshot actions. Confirm Chrome has loaded the page. |
| Only the visible viewport appears | A viewport screenshot was selected instead of full-size capture, or automation did not request beyond-viewport capture. | Select Capture a full size screenshot in Chrome; for CDP set captureBeyondViewport: true. |
| Firefox says the helper is unknown | The command was entered in the page’s ordinary JavaScript console or with incorrect syntax. | Enter :screenshot --fullpage in Firefox’s Web Console, including the leading colon. |
| A Firefox image disappears after another capture | The second capture reused the same filename. | Choose a distinct --filename; Mozilla documents that the same name is overwritten. |
| Images or below-the-fold content are missing | Lazy loading, delayed rendering, failed network resources, or virtualized content. | Scroll through the page first, wait for the relevant content, and capture again. In automation, wait for a selector or application-ready condition. |
| The capture contains a menu in the wrong state | The menu was closed or its transition had not completed at capture time. | Open the menu before capturing; use Firefox --delay or an automation wait tied to the open state. |
| Area screenshot is unavailable in Chrome | DevTools is undocked. | Dock DevTools to the browser window, as required for Chrome’s area capture. |
| Automated image file is corrupted | The program wrote base64 text instead of decoded image bytes, or selected the wrong data field. | Decode the CDP base64 response to binary before writing the file, and verify the chosen format/extension match. |
| Capture is slow or times out on a long page | Large document height, heavy resources, or an unnecessarily long wait. | Wait only for required content, reduce output dimensions if acceptable, and use selector/element capture where a whole document is unnecessary. |
7. Performance, reliability, and cost
The built-in Chrome and Firefox workflows are convenient for occasional manual work and do not require a paid screenshot service. Their main operational limitation is manual repetition: each capture depends on the current browser state, and browser UI details can change between versions. For repeatable jobs, automation offers control over navigation, viewport, readiness, and file naming, but it adds browser lifecycle management, dependencies, resource use, and error handling.
Full-page captures consume more memory and produce larger files as document dimensions increase. Pick an output format suited to the downstream use, avoid capturing a full page when one element is enough, and keep the viewport and device scale consistent when comparing results. For reliable automated runs, set explicit timeouts, record the URL and capture parameters, use unique output names, and retry only transient navigation or loading failures. Do not interpret a successful protocol response as proof that the site rendered the intended content; validate key elements when correctness matters.
There is no browser-tool fee for using these built-in commands. Automation has the costs of running and maintaining a browser environment. A hosted screenshot API shifts that browser setup to a service and may charge by successful captures or plan quota; compare billing behavior and failure handling before choosing one.
Or skip the browser setup
ScreenshotNeo is a website screenshot API and MCP server. Use a GET request with the URL to receive an image or PDF. This cURL example saves a WebP capture of a full page:
curl -G "https://api.screenshotneo.com/v1/shot" \
  -d access_key=YOUR_API_KEY \
  --data-urlencode url=https://stripe.com \
  -o shot.webp
Python:
import requests

r = requests.get(
    "https://api.screenshotneo.com/v1/shot",
    params={"access_key": "YOUR_API_KEY", "url": "https://stripe.com"},
    timeout=90,
)
open("shot.webp", "wb").write(r.content)
Node.js:
const q = new URLSearchParams({ access_key: 'YOUR_API_KEY', url: 'https://stripe.com' });
const res = await fetch(`https://api.screenshotneo.com/v1/shot?${q}`);
See the ScreenshotNeo API documentation for request options. Cookie banners, popups, and chat widgets are removed before the shot. Bot checks, blank pages, and failed loads are never billed; response headers identify the page verdict and billing status. An MCP server lets AI agents use screenshot tools. The Free plan includes 1,000 screenshots a month with no card; paid plans start at $5 for 3,000 screenshots. Sign up for free and capture your first 1,000 screenshots a month without a card.
Frequently asked questions
Can I paste Page.captureScreenshot into the page Console?
No. It is a privileged Chrome DevTools Protocol method. Send it over a CDP connection from an automation client.
Does a full-page capture include the browser toolbar?
No. It captures the webpage, not the browser interface or desktop.
Can I capture only an article or component?
Yes. Firefox accepts a CSS selector with --selector; Chrome DevTools can capture a selected node, and automation can capture a clip or element bounds.
Why does my screenshot differ from what I see while scrolling?
Rendering can depend on scroll-triggered loading, sticky positioning, animations, viewport width, and the page’s own layout logic. Prepare the page and use a consistent viewport before comparing captures.
Which method should I use for scheduled captures?
Use browser automation or a screenshot API. Manual DevTools commands are suited to interactive, one-off captures; automation is better when the same capture needs to run repeatedly.


