How to Generate Blog Images Automatically From Templates
Build a reliable workflow that turns structured post data into branded blog images using reusable templates, APIs, webhooks, validation, and retries.
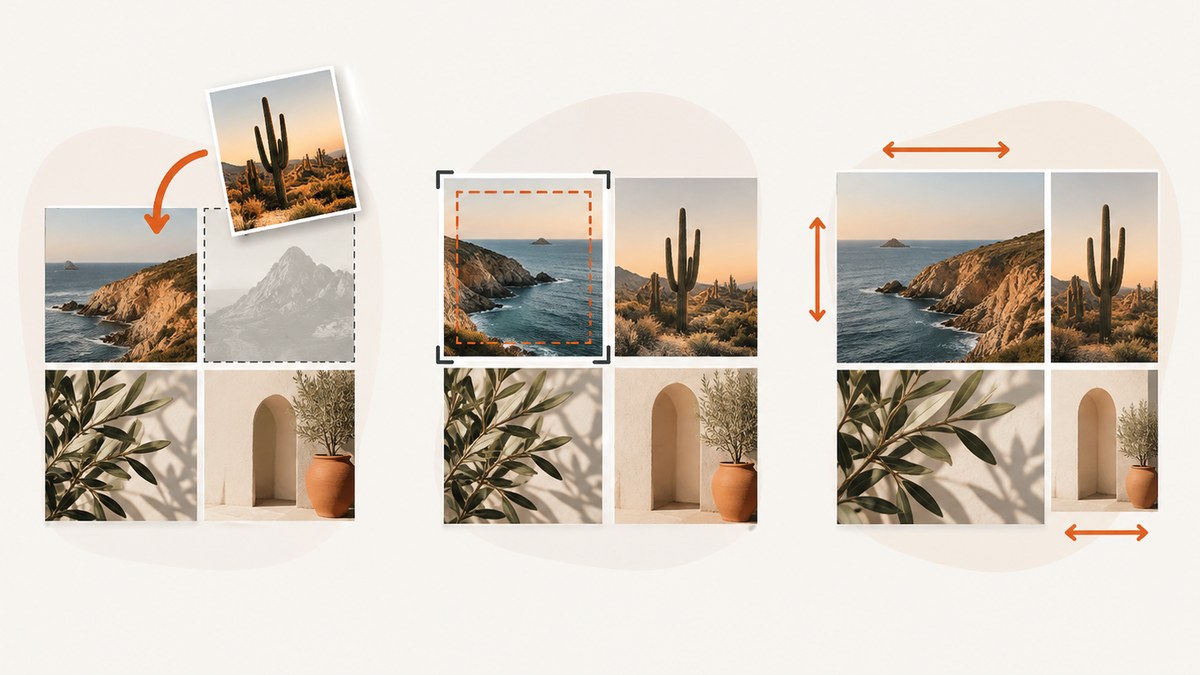
Direct answer: Create one reusable image template with stable, named fields such as title, author, category, and photo. When a post is drafted or published, send those values and an image URL to a template-rendering API. Retrieve the rendered PNG, JPG, WebP, PDF, or AVIF through a synchronous response, polling, or a webhook. Validate dimensions, crop, text overflow, contrast, alt text, and publication status before attaching the asset to the post.
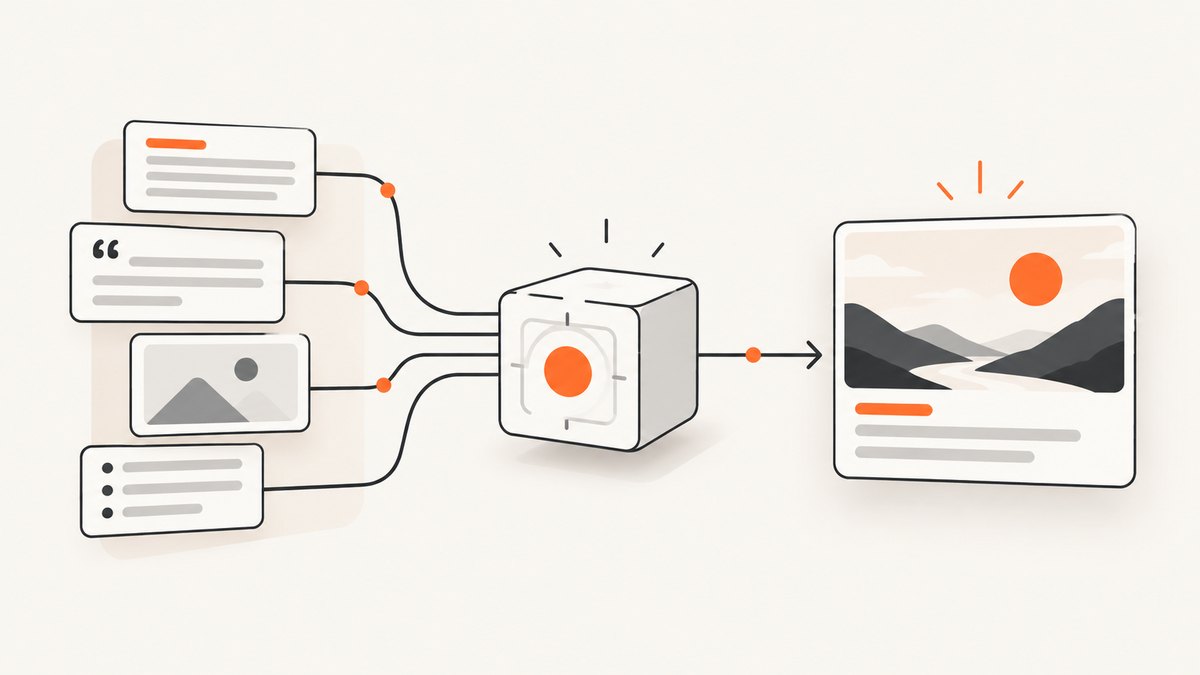
This design separates editorial data from visual layout. A writer changes the title in the CMS; the renderer applies that title to the approved template. The same workflow can create a social card, newsletter image, and archive thumbnail from related templates.
1. Model the workflow before choosing a provider
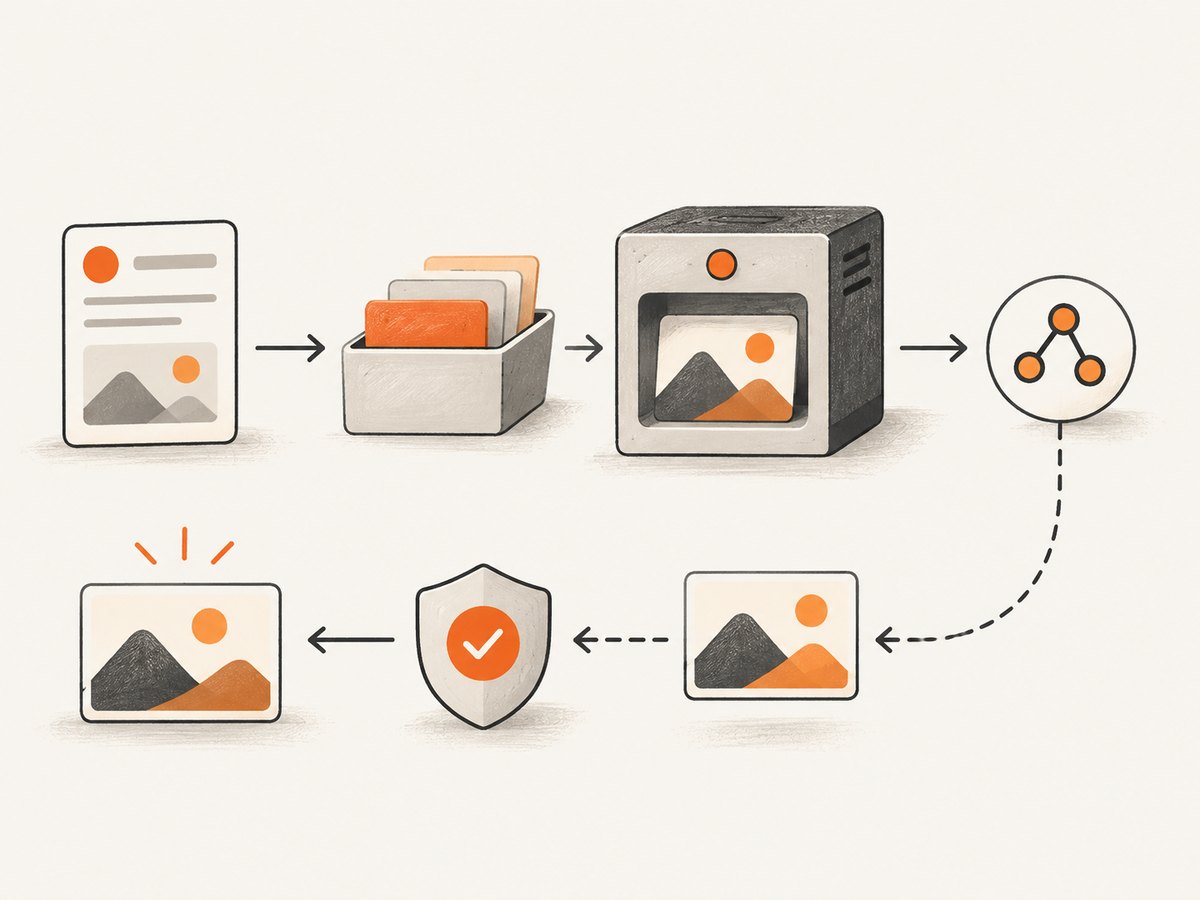
A dependable implementation has seven stages:
- Template: A design at the exact aspect ratio and dimensions required by your blog.
- Data contract: A predictable payload containing the post ID, title, canonical URL, author, category, source image, and output filename.
- Trigger: A publication event, draft approval event, scheduled job, or manual “regenerate image” action.
- Render request: An API call that maps payload fields to named template layers.
- Completion handling: A synchronous response, polling loop, or signed webhook.
- Validation: Checks for file type, dimensions, crop, text overflow, contrast, and alt text.
- Storage and publishing: Save the asset under a stable key and update the CMS record only after validation succeeds.
Keep a render record keyed by post_id and template version. Store the provider job ID, request payload hash, output URL, status, error, and timestamps. This makes retries idempotent and gives an operator a useful failure state instead of leaving a broken placeholder in production.
2. Design a template that survives real titles
Automation exposes design weaknesses that are easy to miss in a static mockup. Name every dynamic layer with a stable identifier, for example title, subtitle, author, category, and photo. Keep safe margins around the title and reserve enough vertical space for the longest realistic headline.
Decide these rules before connecting the CMS:
- Maximum title length: Truncate at a word boundary or select a shorter fallback title. Do not silently shrink type until it becomes unreadable.
- Line count: Set a maximum and test titles with unusually long words, punctuation, and non-Latin scripts.
- Image crop: Define whether the source uses cover, contain, focal-point, or face-aware cropping. Reject missing or inaccessible source images.
- Contrast: Test light and dark photographs behind every text treatment. Add a controlled overlay rather than relying on a particular source image.
- Safe area: Keep important content away from edges that may be clipped in cards or social previews.
- Versioning: Give templates an immutable version or UID. Existing posts should not change unexpectedly when a designer edits a current template.
Render a fixture set before production: a short title, a title near the limit, a title containing symbols, a missing subtitle, a very wide photograph, a very tall photograph, and a transparent PNG. Review the actual output at the sizes used by your theme.
3. Define the CMS payload and idempotency key
A minimal payload can look like this:
{
  "post_id": "post_8421",
  "title": "How to Generate Blog Images Automatically From Templates",
  "canonical_url": "https://example.com/blog/template-images",
  "author": "Editorial Team",
  "category": "Guides",
  "photo_url": "https://cdn.example.com/photos/hero.jpg",
  "output_filename": "post_8421-featured.webp",
  "template_version": "blog-card-v3"
}
Use a deterministic key such as post_id + template_version + payload_hash. A retry with the same key should update or return the existing render instead of creating duplicate assets. Keep secrets in environment variables and send only URLs that the rendering provider can fetch. If a source image is private, create a short-lived signed URL or upload the asset through the provider’s supported mechanism.
4. Bannerbear: API-first template rendering
Bannerbear’s V5 documentation describes images as its main resource and says that you generate images by sending a POST request with a template UID and a list of template modifications. A modification can change text, images, or colors; layers without modifications keep their designed values. The resulting image object exposes status, template, files, metadata, and creation time.
Bannerbear supports asynchronous jobs, webhooks, instant URLs, batch rendering, and JPG, PNG, PDF, WebP, and AVIF outputs. Its synchronous host waits for rendering but has a documented 10-second timeout, so asynchronous completion is safer for a publication pipeline.
The following example uses the documented API shape. Replace the template UID, layer names, and token with values from your Bannerbear project.
curl -X POST "https://api.bannerbear.com/v2/images" \
  -H "Authorization: Bearer YOUR_BANNERBEAR_TOKEN" \
  -H "Content-Type: application/json" \
  -d '{
    "template": "YOUR_TEMPLATE_UID",
    "synchronous": true,
    "modifications": [
      {"name": "title", "text": "How to Generate Blog Images Automatically From Templates"},
      {"name": "author", "text": "Editorial Team"},
      {"name": "category", "text": "Guides"},
      {"name": "photo", "image_url": "https://cdn.example.com/photos/hero.jpg"}
    ]
  }'
A synchronous response is convenient for a local script, but your CMS should normally submit an asynchronous job and receive a webhook. Verify the webhook signature according to the provider’s documentation, record the job ID, and make the handler idempotent. If the same event arrives twice, the second delivery should produce no second publication.
5. Complete Python and Node.js examples
These scripts submit a render and save the returned file when the provider returns a completed image synchronously. They use only standard HTTP clients plus Python’s requests package.
import os
import requests

payload = {
    "template": os.environ["BANNERBEAR_TEMPLATE_UID"],
    "synchronous": True,
    "modifications": [
        {"name": "title", "text": "How to Generate Blog Images Automatically From Templates"},
        {"name": "author", "text": "Editorial Team"},
        {"name": "category", "text": "Guides"},
        {"name": "photo", "image_url": "https://cdn.example.com/photos/hero.jpg"},
    ],
}
headers = {
    "Authorization": f"Bearer {os.environ['BANNERBEAR_TOKEN']}",
    "Content-Type": "application/json",
}
r = requests.post("https://api.bannerbear.com/v2/images", json=payload,
                  headers=headers, timeout=30)
r.raise_for_status()
image = r.json()
file_url = image.get("image_url") or image.get("files", {}).get("original")
if not file_url:
    raise RuntimeError(f"Render did not return a file URL: {image}")
asset = requests.get(file_url, timeout=30)
asset.raise_for_status()
open("featured.webp", "wb").write(asset.content)
print(file_url)
const token = process.env.BANNERBEAR_TOKEN;
const template = process.env.BANNERBEAR_TEMPLATE_UID;
const payload = {
template,
synchronous: true,
modifications: [
{ name: 'title', text: 'How to Generate Blog Images Automatically From Templates' },
{ name: 'author', text: 'Editorial Team' },
{ name: 'category', text: 'Guides' },
{ name: 'photo', image_url: 'https://cdn.example.com/photos/hero.jpg' }
]
};
const response = await fetch('https://api.bannerbear.com/v2/images', {
method: 'POST',
headers: {
Authorization: `Bearer ${token}`,
'Content-Type': 'application/json'
},
body: JSON.stringify(payload)
});
if (!response.ok) throw new Error(`${response.status}: ${await response.text()}`);
const image = await response.json();
const fileUrl = image.image_url || image.files?.original;
if (!fileUrl) throw new Error('Render completed without a file URL');
const file = await fetch(fileUrl);
if (!file.ok) throw new Error(`Asset download failed: ${file.status}`);
const buffer = Buffer.from(await file.arrayBuffer());
await import('node:fs/promises').then(fs => fs.writeFile('featured.webp', buffer));
console.log(fileUrl);6. Canva Autofill for governed brand templates
Canva’s documented Autofill flow is centered on tagged brand-template fields. First query the brand template’s dataset to discover autofillable fields, then create an Autofill job with your structured data and retrieve the generated design. Canva also documents create-from-design and update-design modes, which fill tagged fields in an existing design.
This is a good fit when editors already manage brand templates in Canva and need governance around fonts, colors, and approved layouts. Treat the dataset schema as an API contract: when a designer renames or removes a tag, your integration should fail clearly and alert an operator instead of publishing a partially filled design.
Use the same CMS payload described above, map its keys to Canva’s tagged fields, persist the Autofill job ID, and poll or process the completion event before publishing. Keep a template identifier in configuration so a new design can be rolled out without changing application code.
7. Cloudinary as the asset and delivery layer
Cloudinary’s programmatic image-creation documentation covers assets created from text, AI-generated images, and combinations with transformations and delivery. It is complementary when the renderer creates the image but your system still needs storage, resizing, format negotiation, CDN delivery, or additional transformations.
A common arrangement is: Bannerbear or Canva creates the design, Cloudinary stores the result, and the CMS saves a stable Cloudinary delivery URL. Generate responsive variants at the edge, but keep the original render so you can regenerate derivatives without losing the source. Do not use a delivery transformation to hide a failed render; validation belongs before the asset is marked publishable.
8. Completion, retries, and validation
Asynchronous rendering changes the publication sequence. Create the post in a “rendering” state, submit the job, and publish the featured image only after completion and validation. Poll with exponential backoff when webhooks are unavailable. For example, check after 2, 4, 8, 16, and 30 seconds, then stop after a fixed deadline and expose the failure to an operator.
Retry only transient failures such as rate limits, provider 5xx responses, and temporary source-image fetch errors. Do not retry invalid credentials, an unknown template UID, malformed layer names, or a permanently inaccessible image. Add a random jitter to concurrent retries so a large publication batch does not synchronize into a traffic spike.
Validate at least:
- HTTP status and content type.
- Expected pixel dimensions and aspect ratio.
- Nonzero file size and decodable image data.
- Title presence, line count, and safe margins.
- Source-image crop and a minimum contrast rule.
- Alt text generated from the post title and editorial context.
- Stable storage path and a successful CMS attachment update.
9. Performance, reliability, and cost controls
Rendering cost is usually driven by the number of variants, output format, and provider plan. Avoid generating every format synchronously on the publication request. Render one canonical asset, then create thumbnails or format variants in the delivery layer. Deduplicate by payload hash so editing unrelated post metadata does not create an identical image repeatedly.
For throughput, queue render jobs and limit concurrency to the provider’s documented rate limits. Cache source-image downloads when allowed. Keep timeouts on every outbound request and record latency by stage: submit, render, download, validation, and CMS update. A queue with dead-letter handling prevents one bad source URL from blocking the rest of a batch.
Reliability also depends on credential and URL hygiene. Rotate API keys, never place them in client-side code, and use HTTPS source URLs. If a webhook is delayed, the poller should reconcile jobs periodically. If the CMS update fails after a successful render, retain the asset and retry the attachment step rather than rendering again.
10. Troubleshooting
| Error | Likely cause | Fix |
|---|---|---|
| 401 or 403 | Expired, missing, or incorrectly scoped token | Check the server-side secret, authorization header, and project permissions. |
| Template not found | Wrong UID, workspace, or template version | Verify the immutable template identifier and environment configuration. |
| Text is missing | Layer name does not match the template tag | Query the template fields and use exact, case-sensitive names. |
| Render stays pending | Asynchronous job is still processing or webhook was lost | Poll with backoff and run a periodic reconciliation job. |
| Source image cannot be fetched | Private URL, redirect, unsupported format, or expired signed URL | Use a reachable HTTPS URL or upload the asset through the provider’s supported path. |
| Title is clipped | Input exceeds the layout’s safe area | Set a length policy, add a shorter fallback, and test long fixtures. |
| Duplicate images | Retries create new jobs without an idempotency key | Persist a payload hash and reuse the existing completed render. |
| CMS shows a broken preview | Attachment updated before the file was fully available | Download, validate, and store the asset before changing the post record. |
11. Or skip the browser setup
If your workflow also needs a clean screenshot of a webpage, ScreenshotNeo provides a single HTTP request. The API returns PNG, JPEG, WebP, or PDF, and its options cover full-page capture, CSS selectors, device presets, dark mode, custom CSS and JavaScript, waiting rules, headers, cookies, geolocation, caching, signed links, asynchronous jobs, webhooks, and bulk capture. See the ScreenshotNeo documentation for the full parameter list.
curl -G "https://api.screenshotneo.com/v1/shot" -d access_key=YOUR_API_KEY --data-urlencode url=https://stripe.com -o shot.webpimport requests
r = requests.get("https://api.screenshotneo.com/v1/shot", params={"access_key": "YOUR_API_KEY", "url": "https://stripe.com"}, timeout=90)
open("shot.webp", "wb").write(r.content)const q = new URLSearchParams({ access_key: 'YOUR_API_KEY', url: 'https://stripe.com' }); const res = await fetch(`https://api.screenshotneo.com/v1/shot?${q}`);Cookie banners, newsletter popups, and chat widgets are removed before the shot. Bot checks, blank pages, failed loads, timeouts, and cache hits are never billed, and response headers identify the page verdict and billing status. An MCP server lets AI agents such as Claude and Cursor take screenshots. The Free plan includes 1,000 screenshots a month with no card; paid plans start at $5 for 3,000. Create a free ScreenshotNeo account.
12. Short FAQ
Should rendering happen when a post is drafted or published?
Render during draft review when editors need to approve the visual. Render again on publication only if the final title, category, or source image can change.
Can one template produce several sizes?
Use separate templates when composition changes materially. Use delivery-layer resizing for simple thumbnails that preserve the same composition.
How should failed renders appear to editors?
Keep the post in a visible “image failed” state with the provider error, job ID, and a retry action. Never replace a known-good image with an empty placeholder.
Is a webhook required?
No. Polling works for small systems, but signed webhooks reduce latency and avoid unnecessary status requests at higher volume.
What is the safest first implementation?
Start with one versioned template, one synchronous development script, fixture-based validation, and a queued asynchronous production path. Add more templates only after the first path has observable failures and retries.


