How to Generate Marketing Images for Events
A practical workflow for creating accurate event graphics across social, email, web and print, with prompts, sizing, review and export guidance.
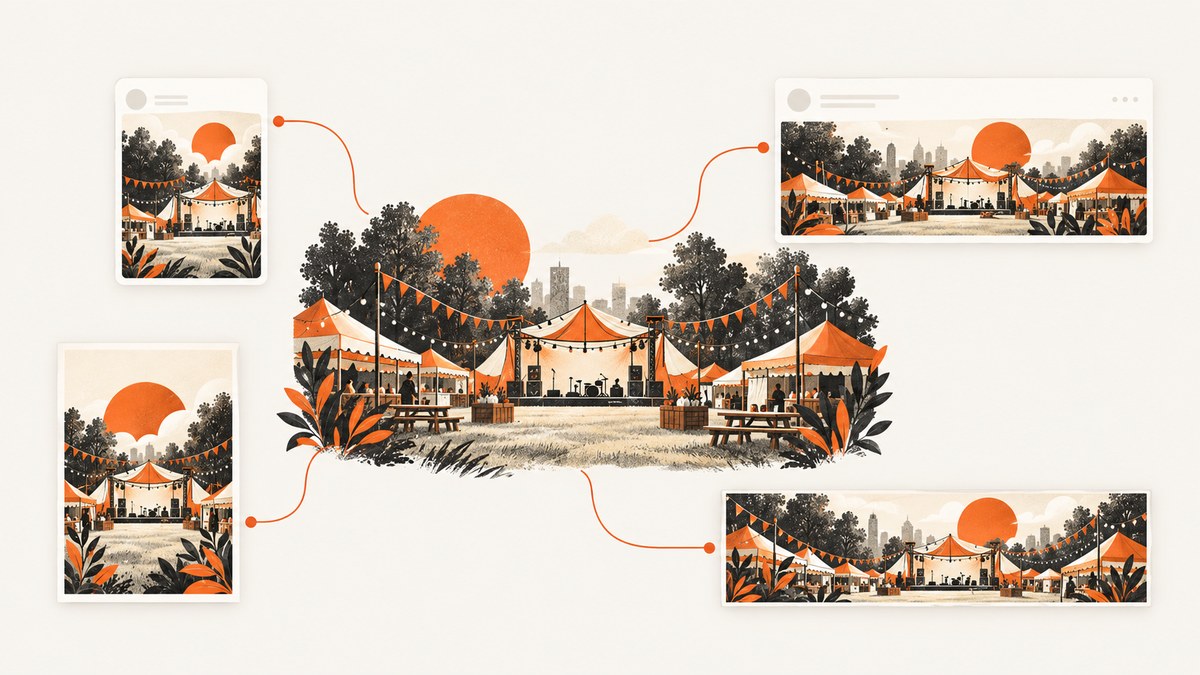
To generate effective marketing images for an event, decide where each image will appear, define the information hierarchy, establish one visual theme, generate or select imagery, add verified event details as editable text, adapt the design to every destination, proofread it, and export in the required format. AI tools can speed up concepts and layouts, but the organizer remains responsible for accurate copy, brand assets, permissions and final review.
1. Define the image job before opening a design tool
Start with a one-page brief. A social feed image, event-page cover, email header, flyer and printed banner have different proportions, reading distances and safe areas. Write down the decisions below:
- Objective: awareness, registrations, ticket sales, attendance reminders or post-event sharing.
- Audience: for example, local families, developers, conference buyers or existing members.
- Destination: event listing, social feed, story, email, website hero, digital signage or print.
- Call to action: Buy tickets, RSVP, Register, Submit a talk or Save the date.
- Information hierarchy: event name first; then the visual promise; then date, time, location or online format; then speaker, benefit and ticket details.
- Production needs: digital only, print only or a coordinated set of both.
Keep factual copy out of an image-generation prompt whenever possible. Generate the visual concept, then add the event name, date, venue, URL and ticket information in editable text. This prevents invented or misspelled details from reaching the final artwork.
2. Select a destination-specific size
Use the destination’s current specification or its template rather than assuming one canvas works everywhere. Adobe’s event-banner guidance gives these examples: an Eventbrite header at 2160 × 1080 pixels, a Facebook event cover at 1200 × 628 pixels and printed banner templates beginning at 72 × 36 inches. They are examples from Adobe, not universal requirements; verify the platform and printer before publishing. See Adobe’s event banner guidance for the documented workflow.
| Placement | Design implication | Check before export |
|---|---|---|
| Event page cover | Wide composition with a clear focal point and generous edges | Desktop and mobile crops |
| Social feed | Readable at phone width; keep the CTA inside safe margins | Platform crop and compression |
| Story or vertical display | Reserve top and bottom areas for interface controls | 9:16 preview on a phone |
| Email header | Short headline and strong contrast | Dark mode and narrow screens |
| Print banner or poster | Large type, high-resolution source and viewing distance | Bleed, color profile and printer template |
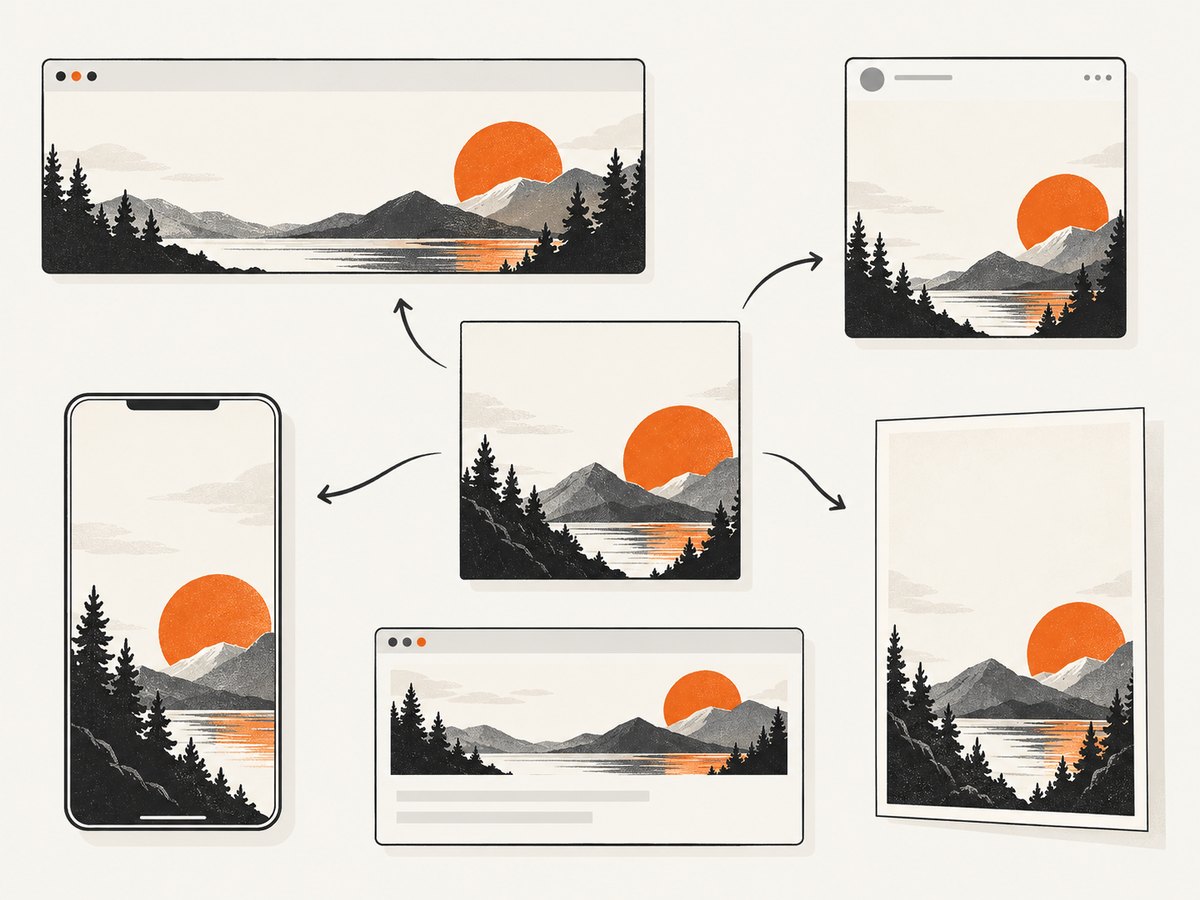
If you need several placements, create a master visual direction and separate layouts. Do not simply stretch a square image into a banner.
3. Build a visual system that can be reused
Choose a palette, typography pair, image treatment, logo placement and voice that can carry through the campaign. A reusable campaign may include signage, flyers, banners, videos, social posts, carousels and post-event materials. Adobe describes adapting templates and reference-image variations across these outputs in its 2025 event-marketing material.
Gather approved logos, color values, speaker photographs, venue images and accessibility requirements before designing. Decide which element is allowed to change between versions (for example, date or speaker) and which must remain fixed (logo treatment, type scale and color).
4. Generate or select the visual concept
AI image and template tools are useful for exploring art direction and creating editable starting layouts. Adobe documents template browsing, uploaded media, stock assets, image generation, object insertion and removal, and an AI template generator that can produce editable designs for social posts, flyers, posters, cards and presentations. Canva documents prompt-driven poster generation and subsequent editing. These are relevant options rather than a ranked winner; compare their sizing, brand controls, collaboration, export and rights terms for your project.
Write prompts as art direction
A reliable prompt names the event type, audience, mood, subject, composition, palette, orientation and the area that must remain clear for text. For example:
Wide editorial-style image for a community food festival, warm late-afternoon light, locally grown produce in the foreground, open uncluttered area on the left for an event title, deep green and cream palette, welcoming neighborhood mood, landscape composition, no logos or legible lettering.Generate several directions, select one that fits the audience, and place it into the editable design. Ask for a clean area rather than asking the model to render your final event copy. AI-generated poster text and dimensions still require manual checking.
5. Add the real event information
Use editable text layers for every fact. A clear event image should state the event title and support it with relevant imagery, then provide who, what, where and when. Include ticket or RSVP information when applicable. Adobe’s guidance similarly recommends the who, what, where and when plus ticket or RSVP details.
- Event name and short value proposition.
- Date, start and end time, including time zone for online events.
- Venue address or streaming method.
- Featured speaker, performer, activity or attendee benefit.
- Ticket price, registration deadline and a short URL or QR code.
- Organizer logo and required sponsor marks.
Keep one primary CTA. If the artwork is viewed without its caption, the viewer should still know what it promotes and what to do next.
6. Adapt one campaign into multiple outputs
Duplicate the master design for the event page, feed, story, email, printable flyer and on-site signage as needed. Preserve the visual system while changing crop, text scale, line length and safe margins. A face or product that is centered in a square may need to move to one side in a wide banner so the title remains readable.
For print, keep a high-resolution original, confirm bleed and trim marks with the printer, and ask which color profile and PDF settings are required. For digital delivery, export the format requested by the destination and keep a lossless master for future revisions.
7. Review, rights-check and export
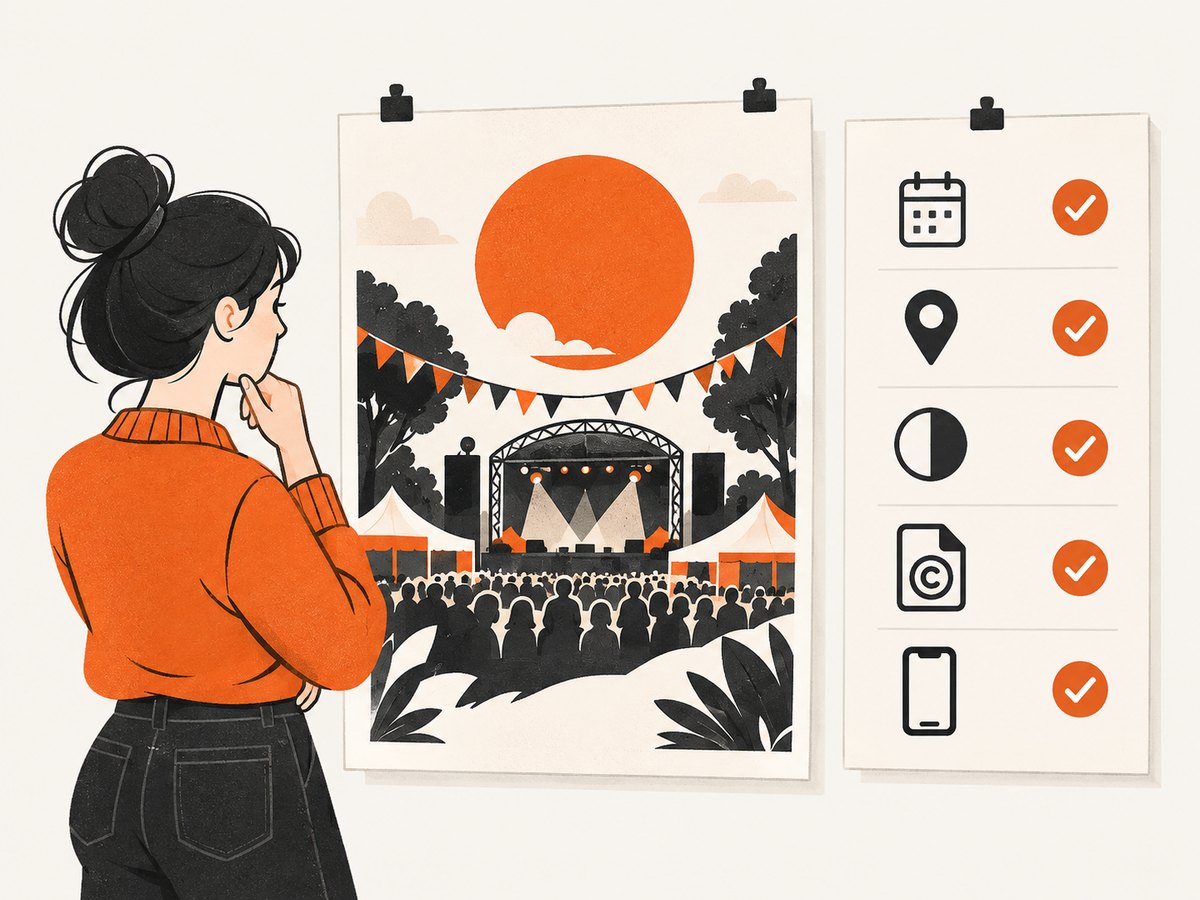
- Read every word from the exported file, not only the editable source.
- Verify date, time zone, venue, accessibility information, ticket URL and CTA.
- Check logo usage, brand colors, sponsor order and required disclaimers.
- Preview at the actual destination size on a phone and desktop.
- Check contrast, small text, color-blind readability and safe margins.
- Confirm image licenses, model or property permissions and attribution requirements.
- Export a destination-ready file and retain an editable source plus a version number.
Vendor descriptions are not a substitute for a rights review. Adobe describes its generator as designed to be commercially safe, but you should still check current terms and the specific assets used. Canva says AI-image copyright treatment can vary by country and that its ownership statement does not mean you have exclusive rights. Its content license also says releases are generally not obtained for Free Content and places responsibility for determining and obtaining needed releases on the user. Read Canva’s AI poster guidance and its Content License Agreement for those qualifications.
8. Troubleshoot common failures
| Problem | Likely cause | Fix |
|---|---|---|
| Text is misspelled or unreadable | Text was generated inside the image | Regenerate without lettering and add editable text manually. |
| Important subject is cropped | One crop was stretched across placements | Make a placement-specific layout and reposition the focal point. |
| Mobile viewers miss the CTA | Type is too small or near interface controls | Increase type size, shorten the copy and preview on a phone. |
| Print looks soft | Low-resolution source or unsuitable export | Use the largest original, confirm printer requirements and export their requested PDF settings. |
| Brand feels inconsistent | Each asset used a different palette or image treatment | Lock a small token set: colors, type, logo placement and photo style. |
| Rights are unclear | Stock, AI, people or property permissions were not recorded | Keep source and license records; replace assets when permission cannot be established. |
9. Or skip the browser setup
If your workflow needs screenshots of event pages, registration confirmations or campaign previews, ScreenshotNeo can capture a URL through one request. Its clean-shot process accepts cookie or consent banners and removes more than 60 known consent platforms, newsletter popups and chat widgets before capture; each step can be turned off. Bot checks, blank pages, timeouts, failed loads and cache hits are not billed, and the response identifies the result with X-Page-Verdict and X-Billed headers. An MCP server provides take_screenshot, get_page_info and capture_pdf tools for Claude, Cursor and other MCP clients.
See the ScreenshotNeo API documentation for all options. This minimal call returns a WebP image:
curl -G "https://api.screenshotneo.com/v1/shot" -d access_key=YOUR_API_KEY --data-urlencode url=https://stripe.com -o shot.webpimport requests
r = requests.get("https://api.screenshotneo.com/v1/shot", params={"access_key": "YOUR_API_KEY", "url": "https://stripe.com"}, timeout=90)
open("shot.webp", "wb").write(r.content)const q = new URLSearchParams({ access_key: 'YOUR_API_KEY', url: 'https://stripe.com' });
const res = await fetch(`https://api.screenshotneo.com/v1/shot?${q}`);You can set full-page capture with lazy images, a CSS element selector, dark mode, any viewport or one of 12 device presets, retina scale, PDF paper size and margins, custom CSS or JavaScript, clicks, selector or network-idle waits, blocked ads and resource types, headers, cookies, user agent, Authorization, timezone, geolocation, transparent background, resizing, a chosen cache TTL, signed links, asynchronous jobs with signed webhooks, bulk capture of 100 URLs per call and usage reporting. Parameter names used by other screenshot APIs also work.
For reliable batches, use caching where appropriate, wait for a meaningful selector instead of an arbitrary long delay, and inspect the verdict and billing headers. A failed page should be retried only after fixing its cause; retries do not turn an unavailable page into a valid event asset.
ScreenshotNeo’s Free plan includes 1,000 shots each month with no card. Paid plans start at $5 for 3,000 shots, with every feature on every plan; yearly billing gives two months free. Create a free ScreenshotNeo account to start.
10. Short FAQ
Should I generate the complete poster with AI?
Generate the visual direction or an editable layout, then add factual event copy yourself. This makes spelling, dates and brand review controllable.
Can one image serve every channel?
Use one visual system, but create destination-specific crops and text layouts. Dimensions, safe areas and reading distance differ.
What should I save for future events?
Keep the editable master, approved logos and colors, prompt notes, source licenses, export settings and a versioned folder of final files.
Is AI artwork automatically copyright-safe?
No. Rights depend on the tool’s terms, the source assets, people and property depicted, and local law. Review each asset in context.


