How to Generate Graphics Automatically From Templates
Learn how to turn reusable templates and structured data into reliable batches of graphics with Canva, Adobe Express, APIs, and automation.
Direct answer
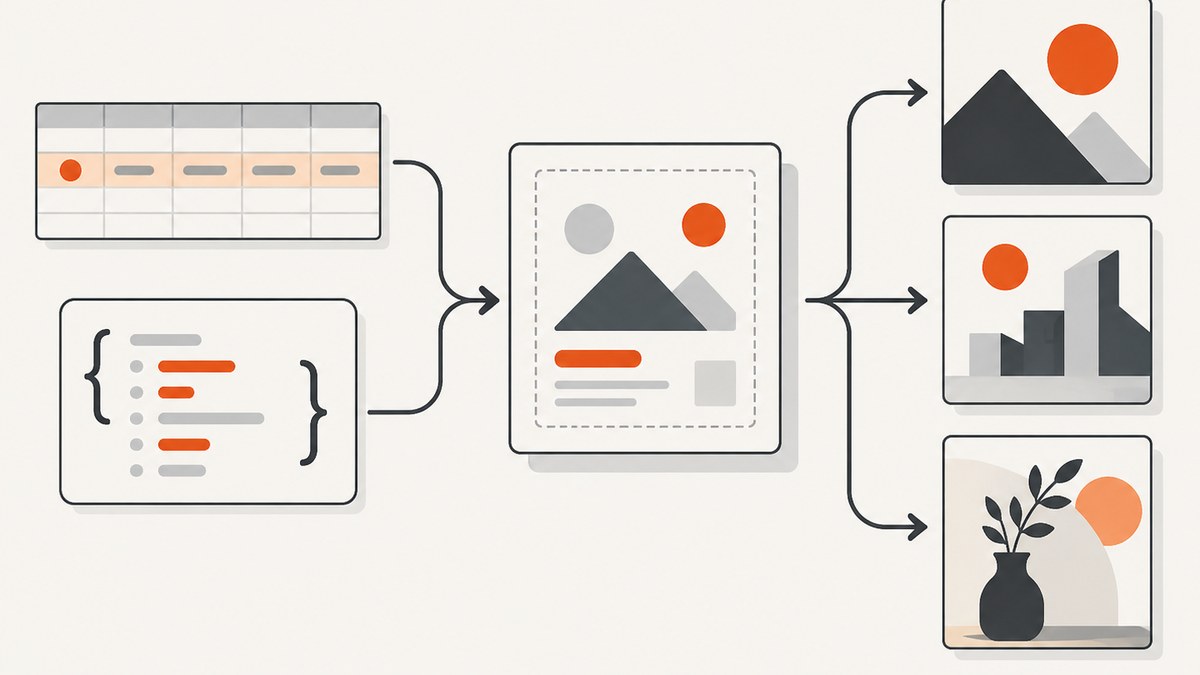
To generate graphics automatically from templates, create one reusable design with clearly separated replaceable fields, prepare your changing values as rows and columns or structured API data, map each field to the template, render a batch, and inspect representative outputs before publishing. The same method works for social cards, product images, certificates, ads, reports, and personalized banners.
A dependable workflow has five parts: a template with replaceable text and image fields, a data source, a mapping between data and fields, a rendering step, and quality checks. You can do this in a desktop design tool such as Canva or Adobe Express, or connect an application to a template-rendering API such as Canva Autofill, Bannerbear, or Placid.
1. Design the template for automation
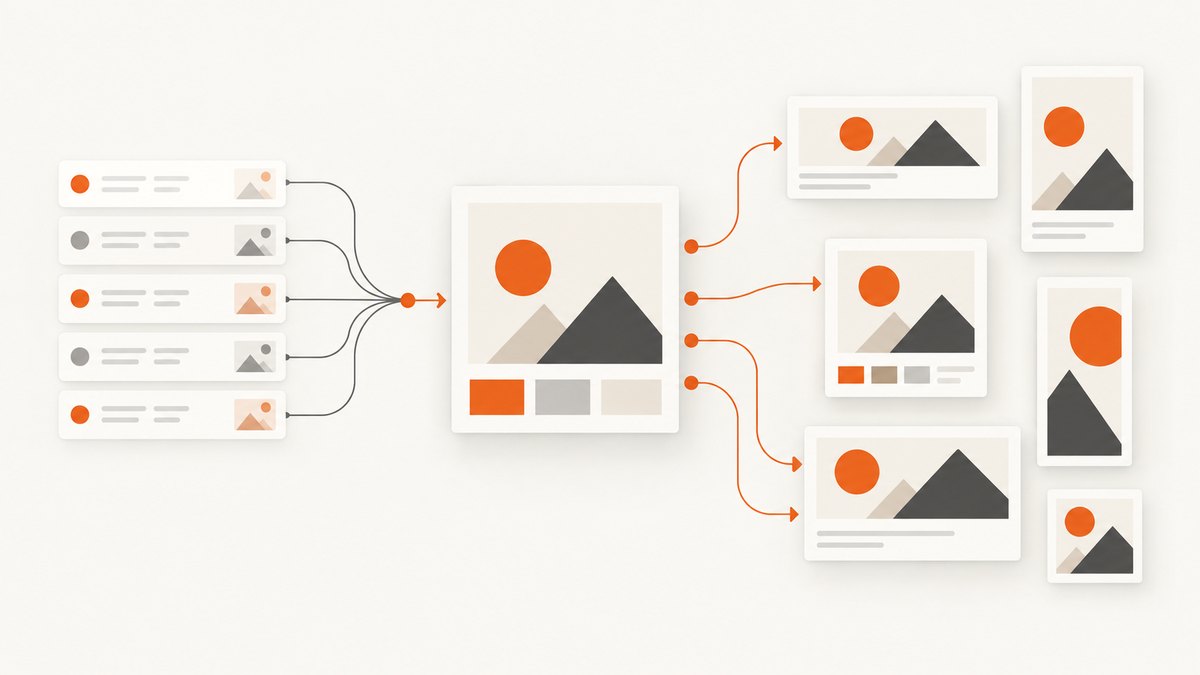
Automation starts with field design, not code. Give every value that will change its own field. Canva recommends a separate text box for each data field and image placeholders such as frames or grids. Name fields by meaning rather than appearance: customer_name, price, product_image, and expiry_date are easier to map than text_1 or left_box.
Template checklist
- Create one text element per replaceable value.
- Use image frames or containers with a predictable crop.
- Set maximum text lengths and choose fonts that remain readable at those lengths.
- Keep fixed branding, backgrounds, and decorative elements separate from dynamic fields.
- Define the output size and format before you build the data pipeline.
- Make a test version containing the longest expected name, largest number, and widest image.
When one template must support many content types, decide which fields are optional. A missing subtitle should either hide its label and spacing or use a deliberate fallback. Do not leave empty boxes that look like broken content.
2. Organize the changing data
For spreadsheet-driven tools, each column represents a field and each row represents one complete design. Canva describes this row-based model in its Bulk Create documentation. A small CSV might look like this:
name,role,photo_url,cta_color
Ada Lovelace,Engineer,https://example.com/ada.jpg,#5B5CE2
Grace Hopper,Computer scientist,https://example.com/grace.jpg,#0B8F87
For an API, the same record is usually a JSON object:
{
  "name": "Ada Lovelace",
  "role": "Engineer",
  "photo_url": "https://example.com/ada.jpg",
  "cta_color": "#5B5CE2"
}
Normalize values before rendering. Convert dates to one format, validate URLs, remove unexpected markup, and make sure numbers use the intended decimal and currency rules. Keep an identifier for every row so a failed render can be retried without duplicating successful outputs.
3. Choose a generation workflow
Canva Bulk Create
Canva Bulk Create connects data in rows and columns to placeholders in a design. Canva says each row generates one complete page or design and the feature supports up to 150 data fields. Its help page lists desktop availability for Canva Pro, Teams, Business, Enterprise, Education, and Nonprofits accounts; access and plan names can change, so confirm your account before planning a production batch.
- Open a design in Canva on desktop.
- Add text boxes and image frames for every dynamic field.
- Open Bulk Create from Apps or a Canva Sheet.
- Upload or paste the data, then connect each column to a design element.
- Generate a small sample and inspect text fit, image crops, and missing values.
- Generate the full batch and export the required files.
Adobe Express Bulk Create
Adobe Express provides a Bulk Create and Generate add-on that replaces text and images. Adobe documents up to 99 design variations and supports JPEG and PNG output. The CSV template must be created inside the add-on; Adobe says it does not currently provide a way to manually create that template elsewhere and upload it. Use this route when the batch is prepared by a designer inside Express and the documented limit fits your job.
Canva Autofill API
For an application-managed workflow, Canva’s Autofill API guide describes populating tagged fields in a brand template through REST APIs. The documented prerequisites include an eligible Canva plan and multifactor authentication. This is useful when a form submission, database event, or scheduled job should create a design without opening the editor.
Bannerbear and Placid APIs
Bannerbear models a template as reusable layers such as text boxes and image containers whose properties can be changed for each image request. Placid’s image API describes deterministic template-based generation from structured data. Review each service’s current API reference for authentication, limits, asynchronous jobs, output URLs, and retention before committing to an integration.
| Workflow | Data input | Setup location | Useful when |
|---|---|---|---|
| Canva Bulk Create | Rows and columns | Canva desktop editor | A designer owns a finite batch |
| Adobe Express add-on | Add-on-created CSV | Adobe Express | You need up to 99 variations in JPEG or PNG |
| Canva Autofill API | Structured API data | Brand template plus REST integration | Your application initiates renders |
| Bannerbear or Placid | JSON layer values | Service template editor and API | You need a dedicated image-rendering endpoint |
4. Build an API rendering pipeline
An API pipeline should separate validation, rendering, storage, and delivery. A typical request flow is:
- Read a row from your database or queue.
- Validate required fields and image URLs.
- Send values to the template API.
- Poll or receive a webhook if rendering is asynchronous.
- Store the returned image with the row identifier.
- Run automated checks and send failures to a retry queue.
Use idempotency where the provider supports it, or derive a stable key from the template version and normalized input. That prevents retries from creating duplicate assets. Record the template version with every output so a later redesign does not make old files impossible to reproduce.
Minimal Python request pattern
import os
import requests

payload = {
    'template_id': os.environ['TEMPLATE_ID'],
    'modifications': {
        'name': 'Ada Lovelace',
        'role': 'Engineer',
        'photo_url': 'https://example.com/ada.jpg'
    }
}
response = requests.post(
    'https://provider.example/render',
    json=payload,
    headers={'Authorization': f"Bearer {os.environ['API_KEY']}"},
    timeout=30,
)
response.raise_for_status()
print(response.json())
Replace the endpoint and payload shape with the provider’s current documentation. Do not assume that a synchronous response means the image is ready; many rendering APIs return a job identifier first.
Minimal Node.js request pattern
const payload = {
  template_id: process.env.TEMPLATE_ID,
  modifications: {
    name: 'Ada Lovelace',
    role: 'Engineer',
    photo_url: 'https://example.com/ada.jpg'
  }
};

const response = await fetch('https://provider.example/render', {
  method: 'POST',
  headers: {
    Authorization: `Bearer ${process.env.API_KEY}`,
    'Content-Type': 'application/json'
  },
  body: JSON.stringify(payload)
});
if (!response.ok) throw new Error(`Render failed: ${response.status}`);
console.log(await response.json());
5. Validate every batch before publishing
Generate a sample containing short and long text, missing optional fields, transparent and opaque images, and the largest expected numeric values. Check:
- Text does not overflow, wrap into a collision, or become too small.
- Images use the intended crop and preserve faces or product details.
- Colors remain readable in light and dark contexts.
- Optional fields do not leave awkward gaps.
- File dimensions, format, and color profile match the destination.
- Every row produced exactly one output and every output has the correct identifier.
For large jobs, compare a rendered manifest with the input manifest. A count match alone is insufficient: duplicate images can still produce the expected number of files.
6. Performance, reliability, and cost
Batch size, source-image dimensions, font loading, and remote asset availability affect render time. Keep source images close to the service when possible, avoid unnecessarily large originals, and cache immutable assets. For parallel work, use a bounded worker pool instead of launching hundreds of requests at once. Respect documented rate limits and retry only transient failures such as connection resets or server errors.
Use exponential backoff with jitter, a maximum retry count, and a dead-letter queue. Do not retry validation errors, unauthorized requests, or malformed template identifiers. If a provider offers asynchronous jobs or webhooks, prefer them for large batches so your request process is not held open. Verify webhook signatures when the provider documents them and make webhook handling idempotent.
Cost depends on the provider’s plan, render count, storage, and any paid asset services. Estimate from your maximum monthly rows, expected retries, and preview renders. Keep preview traffic separate from production traffic so design iteration does not consume the same quota as published assets.
7. Troubleshooting common failures
Fields are not replaced
Cause: the field name in the data does not match the template tag, or the element was not marked as replaceable.
Fix: compare names character by character, remove hidden whitespace, and render one record with a known value.
Text is clipped or overlaps
Cause: the template assumes a shorter value than the real data.
Fix: test worst-case strings, increase the text area, reduce font size within a defined minimum, or add a truncation and review rule.
Images are blank
Cause: the URL requires authentication, blocks the rendering service, redirects unexpectedly, or returns an unsupported format.
Fix: use an accessible HTTPS URL, check the final response and content type, and convert unusual formats before rendering.
Only some rows fail
Cause: one row contains invalid encoding, a missing required value, or a bad image URL.
Fix: log the row identifier and provider response, quarantine that row, and retry it after correction rather than rerunning the entire batch.
Exports have the wrong dimensions
Cause: the design page, export preset, or API output setting differs from the destination requirement.
Fix: set dimensions in the template specification and verify them from the downloaded file metadata.
Rate limits or timeouts
Cause: too much concurrency or a render waiting on remote assets.
Fix: reduce worker count, add bounded retries, increase the client timeout where appropriate, and move long jobs to an asynchronous workflow.
Or skip the browser setup
If your workflow starts with web pages rather than a design file, ScreenshotNeo can return a rendered screenshot or PDF from one GET request. It supports full-page captures with lazy images loaded, CSS-selector element captures, dark mode, device presets or custom viewports, retina scale, custom CSS and JavaScript, clicks, selector or network-idle waits, request blocking, headers, cookies, user agents, authorization, timezone, geolocation, transparent backgrounds, resizing, caching, signed links, asynchronous jobs, signed webhooks, bulk capture of up to 100 URLs per call, a usage API, and an OpenAPI specification.
cURL:
curl -G "https://api.screenshotneo.com/v1/shot" -d access_key=YOUR_API_KEY --data-urlencode url=https://stripe.com -o shot.webpPython:
import requests
r = requests.get("https://api.screenshotneo.com/v1/shot", params={"access_key": "YOUR_API_KEY", "url": "https://stripe.com"}, timeout=90)
open("shot.webp", "wb").write(r.content)
Node.js:
const q = new URLSearchParams({ access_key: 'YOUR_API_KEY', url: 'https://stripe.com' });
const res = await fetch(`https://api.screenshotneo.com/v1/shot?${q}`);
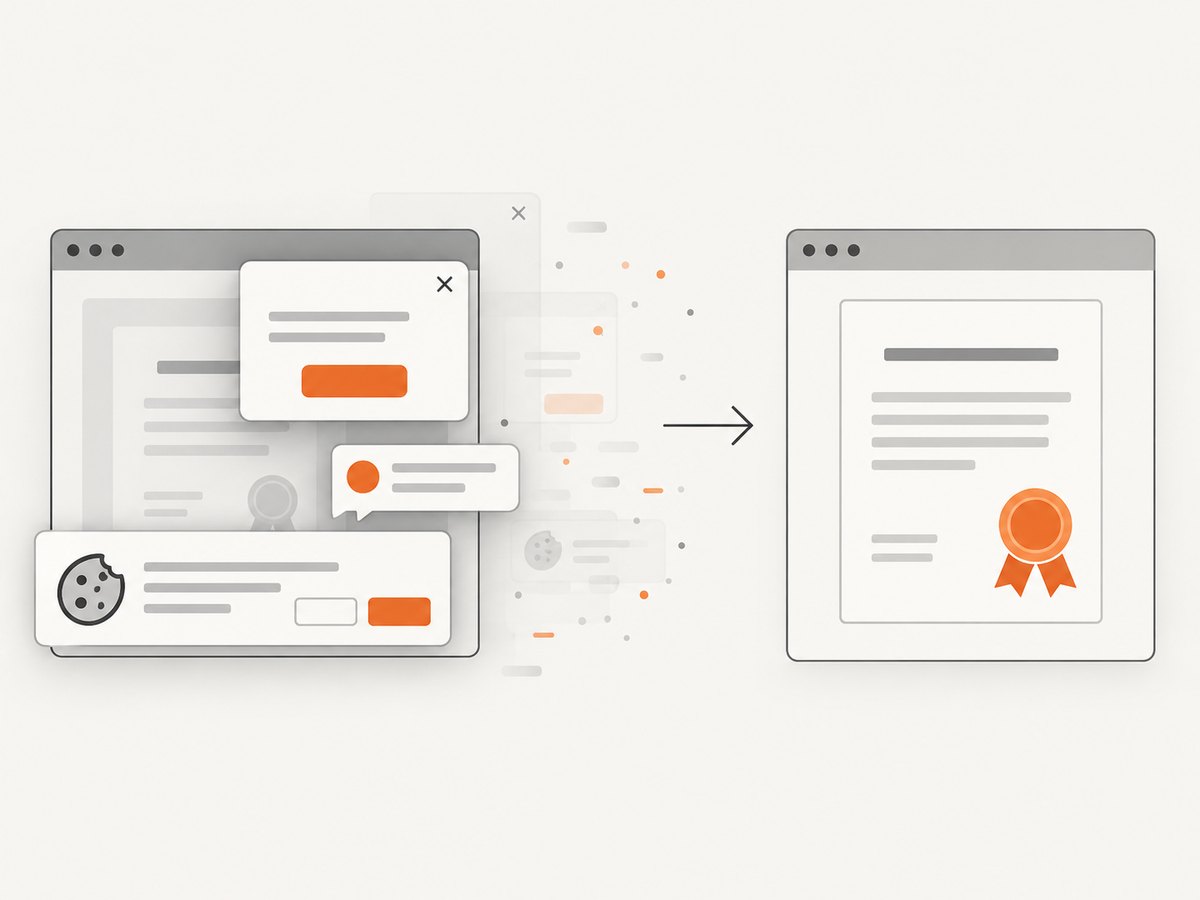
See the ScreenshotNeo documentation for options and response details. Cookie banners, newsletter popups, and chat widgets are removed before the shot. Bot checks, blank pages, failed loads, timeouts, and cache hits are not billed; response headers identify the page verdict and whether the request was billed. An MCP server lets Claude, Cursor, and other MCP clients take screenshots, inspect pages, and capture PDFs. The Free plan includes 1,000 screenshots a month with no card, and paid plans start at $5 for 3,000 shots. Create a free ScreenshotNeo account.
FAQ
Do I need an API for template-based graphics?
No. Canva Bulk Create and Adobe Express support in-app batch workflows. Use an API when another system must start renders automatically.
Should each row create one file?
Usually yes. One row per complete design makes retries, auditing, and delivery status easier to manage.
How do I prevent layout surprises?
Test representative extremes before the full batch, define field length rules, and review a sample after every template change.
Can I combine template rendering with webpage screenshots?
Yes. A template API can create the graphic, while ScreenshotNeo can capture the resulting public page or produce a PDF of a page that contains generated assets.


