How to Generate Images with ChatGPT and an Image API
Learn how to create and edit images in ChatGPT, then automate the same workflow with OpenAI’s Images and Responses APIs.
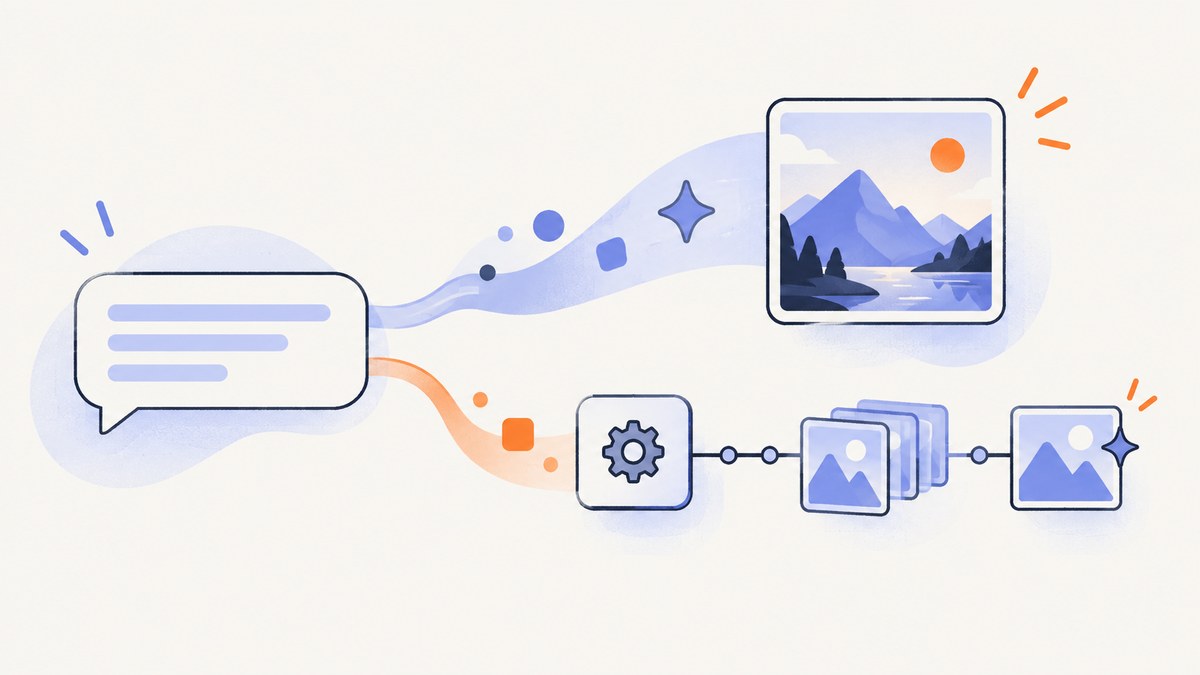
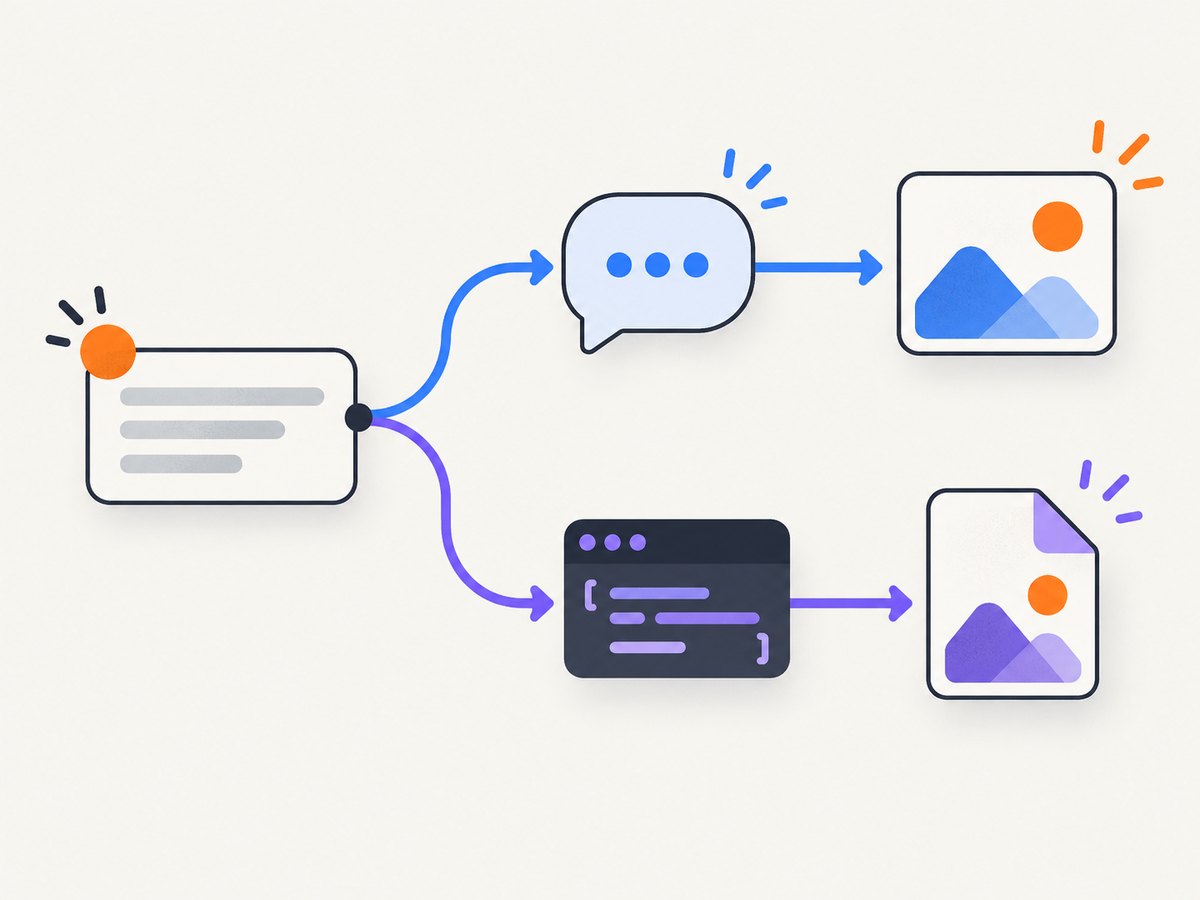
You can generate an image in ChatGPT by describing what you want in a conversation, or add image generation to software through OpenAI’s Images API and Responses API. ChatGPT is the fastest route for interactive creation and editing. The Images API is the straightforward choice for one generation or edit. The Responses API fits a multi-turn assistant that needs to reason, ask follow-up questions, and generate images as part of a larger workflow.
This guide covers both paths, including prompts, edits, model selection, output controls, runnable API examples, cost planning, failure handling, and production practices.
1. Choose ChatGPT or an image API
| Use case | Best path | Why |
|---|---|---|
| Make one image without writing code | ChatGPT Images | Describe the image conversationally and refine it interactively. |
| Edit an image by describing a change | ChatGPT or Images API edit | Both support edits; ChatGPT is easier for visual iteration, while the API is repeatable. |
| Generate images inside an application | Images API | It is designed for a single generation or edit request. |
| Build a conversational or multi-step agent | Responses API image-generation tool | The model can combine reasoning, conversation, image inputs, and generation. |
OpenAI’s current image documentation describes two GPT Image 2.5 choices: gpt-image-2.5-flare prioritizes speed, while gpt-image-2.5-sunburst prioritizes demanding quality and editing precision. Verify model names, access requirements, supported parameters, and rates in the current Images guide before deploying. Some organizations may need to complete organization verification before using GPT Image models.
2. Generate an image in ChatGPT
- Open a normal ChatGPT conversation or open the Images experience.
- Describe the purpose, subject, action, setting, style, composition, and constraints.
- Wait for the result. Complex generations can take a few minutes, and you can continue using ChatGPT while it runs.
- Review the image. Ask for one focused change at a time instead of rewriting every requirement.
- Save, copy, or share the result. Images are available under Images; deleting the conversation deletes its associated image from My images.
A useful first prompt is:
Create a hero image for a developer documentation page about database backups. Show a laptop with a simple abstract data-flow illustration on screen, on a clean desk in a bright studio. Use a restrained blue and charcoal palette, wide horizontal composition, soft natural light, and generous empty space on the left for a page heading. No readable text, logos, or watermarks.OpenAI Academy summarizes the approach this way: “A good image prompt does not need to be long.” State what the image is, how it should feel, and what it needs to accomplish. A short, specific prompt usually gives you a better starting point than a paragraph of unrelated adjectives.
Editing an image in ChatGPT
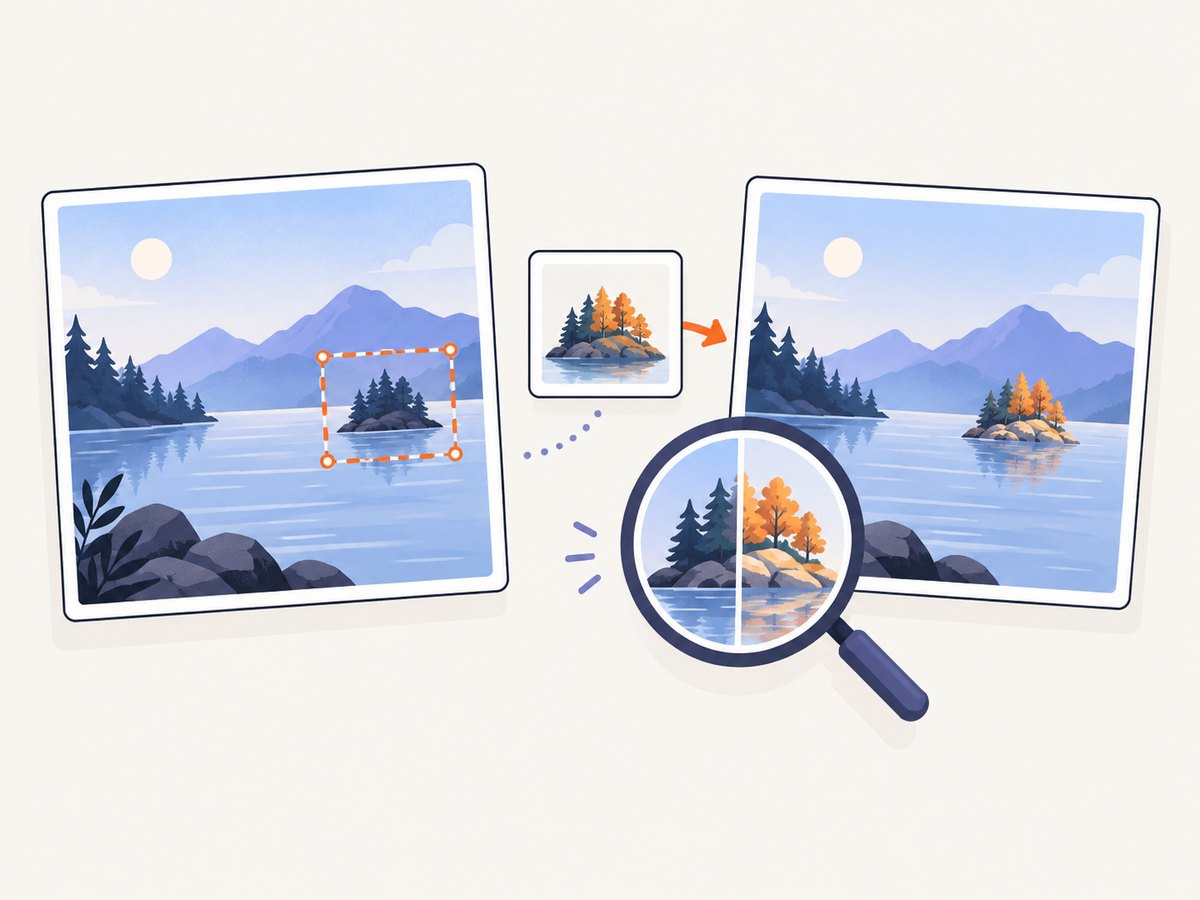
You can edit an image ChatGPT generated or upload an existing image, then describe the change. You may select an area with the selection tool, but the selection is not a pixel-perfect mask: edits can extend beyond the highlighted region. Always state what must remain unchanged.
Replace the background with a quiet mountain lake at dawn. Keep the person, clothing, pose, camera angle, and lighting on the subject unchanged. Remove the traffic signs and parked cars, but preserve the original crop.For a localized edit, identify both the object and its position: “Change the red mug on the right side of the table to a matte black mug. Keep every other object, shadow, and background detail unchanged.” Inspect the result before asking for another change.
3. Write prompts that produce usable results
Use this structure when a first attempt is inconsistent:
Create a [purpose] image of [main subject] [action] in [setting]. Use [visual style], [composition], and [lighting]. Include [required details]. Avoid [things to exclude].- Purpose: Say where the asset will be used, such as a blog hero, product illustration, social card, or icon.
- Subject and action: Name the central object and what it is doing.
- Setting: Specify location, time, atmosphere, and background.
- Composition: Give orientation, camera distance, crop, focal point, and empty space.
- Style: Use concrete descriptors such as editorial illustration, flat vector-like shapes, documentary photography, or ink sketch.
- Constraints: State required objects, colors, transparency, exclusions, and whether text is forbidden.
Refine one variable at a time. If the subject is correct but the crop is wrong, ask only for a new crop. If the composition is right but the colors are wrong, preserve the composition explicitly. This makes failures easier to diagnose and reduces accidental changes.
4. Generate one image with the Images API
Use the Images API when your application needs one generated image or one edit. The request can control model, size, quality, output format, compression, and background where supported. Transparent output requires a compatible format. Check the live endpoint documentation for the exact parameter names accepted by your selected model.
cURL
curl https://api.openai.com/v1/images/generations \
  -H "Authorization: Bearer $OPENAI_API_KEY" \
  -H "Content-Type: application/json" \
  -d '{
    "model": "gpt-image-2.5-flare",
    "prompt": "A clean editorial illustration of a developer reviewing an API response on a laptop, blue and charcoal palette, wide composition, no text or logos",
    "size": "1536x1024",
    "quality": "medium",
    "output_format": "webp",
    "background": "opaque"
  }'
Python
import base64
import os
from openai import OpenAI

client = OpenAI(api_key=os.environ["OPENAI_API_KEY"])
result = client.images.generate(
    model="gpt-image-2.5-flare",
    prompt=(
        "A clean editorial illustration of a developer reviewing an API "
        "response on a laptop, blue and charcoal palette, wide composition, "
        "no text or logos"
    ),
    size="1536x1024",
    quality="medium",
    output_format="webp",
    background="opaque",
)

with open("image.webp", "wb") as file:
    file.write(base64.b64decode(result.data[0].b64_json))
Node.js
import OpenAI from "openai";
import { writeFile } from "node:fs/promises";

const client = new OpenAI({ apiKey: process.env.OPENAI_API_KEY });
const result = await client.images.generate({
  model: "gpt-image-2.5-flare",
  prompt: "A clean editorial illustration of a developer reviewing an API response on a laptop, blue and charcoal palette, wide composition, no text or logos",
  size: "1536x1024",
  quality: "medium",
  output_format: "webp",
  background: "opaque"
});

await writeFile("image.webp", Buffer.from(result.data[0].b64_json, "base64"));
Editing an existing image
For an edit, send the source image and an instruction describing the change and what to preserve. Use the edit endpoint and the multipart format documented in the official guide. Keep source dimensions and output format in mind when building a pipeline; convert or resize after generation if your downstream system has fixed requirements.
5. Use the Responses API for a conversational workflow
The Responses API is useful when image generation is one step in a broader interaction. Your application can collect requirements, inspect prior turns, accept image inputs, and invoke the image-generation tool. Choose a supported mainline model for the response and select the image model in the tool configuration. This is a better fit for an assistant that might ask, “Should the illustration be square or landscape?” before it generates anything.
import OpenAI from "openai";

const client = new OpenAI({ apiKey: process.env.OPENAI_API_KEY });
const response = await client.responses.create({
  model: "gpt-5",
  input: "Create a square illustration for a software release note. Show a package moving through a deployment pipeline. Use a simple editorial style and no readable text.",
  tools: [
    {
      type: "image_generation",
      model: "gpt-image-2.5-sunburst",
      quality: "high",
      size: "1024x1024",
      output_format: "png"
    }
  ]
});

console.log(response);
Tool schemas and supported model combinations change more often than the basic workflow. Treat this as a starting pattern and copy the current tool shape from the Responses documentation before shipping.
6. Output options and model decisions
| Decision | Guidance |
|---|---|
| Flare or Sunburst | Start with Flare when latency matters; use Sunburst for demanding quality or precise edits. Test representative prompts. |
| Quality | GPT Image 2.5 supports low, medium, high, auto, plus xhigh and max where documented. Higher quality can consume more tokens. |
| Size | Choose the aspect ratio your layout needs. Avoid generating a large image only to discard most of it during cropping. |
| Format | Use PNG for lossless graphics or transparency, JPEG for broadly compatible photos, and WebP when your delivery stack supports it. |
| Background | Request transparency when you need to place an object over another design, and verify the selected format supports it. |
| Compression | Apply it when reducing transfer size matters, but inspect fine lines, text-like details, and gradients afterward. |
7. Cost, performance, and reliability
Image API billing is token-based. Cost varies with model, quality, output size, and token consumption. GPT Image 2.5 documentation lists rates of $8 per million image input tokens, $2 per million cached image input tokens, and $30 per million image output tokens; text input is listed at $5 per million tokens and cached text input at $1.25 per million. Equal token rates do not guarantee equal cost per image because models and quality levels can consume different amounts. Responses requests also include the mainline model’s token usage.
Published examples for GPT Image 1.5 estimate $0.009, $0.034, and $0.133 for low, medium, and high quality at 1024×1024, and $0.013, $0.05, and $0.20 for 1024×1536 or 1536×1024. Those figures are examples for GPT Image 1.5, not promises for GPT Image 2.5. Check current pricing before setting a budget.
- Record model, quality, size, prompt version, request ID, latency, and token usage for each job.
- Use lower quality and smaller dimensions for drafts; reserve high quality for approved assets.
- Cache identical requests using a normalized prompt and option set.
- Retry transient network or server failures with exponential backoff and a maximum attempt count.
- Make jobs idempotent: attach your own request ID so a retry does not create duplicate paid assets unknowingly.
- Queue long-running work instead of holding a short HTTP request open. Store the generated bytes in durable object storage and return a job status to the caller.
8. Troubleshooting common failures
| Symptom | Likely cause | Fix |
|---|---|---|
| Model access denied | Organization verification or model access is incomplete. | Check the organization settings and current image-model eligibility. |
| Invalid parameter | An option is unsupported for the endpoint, model, format, or size. | Remove optional fields, confirm the live schema, then add options back one at a time. |
| Image is cropped incorrectly | The requested aspect ratio does not match the final layout. | Choose the production aspect ratio at generation time and describe the focal point and safe space. |
| Edit changes unrelated areas | Selection highlights are approximate. | State what must remain unchanged, simplify the edit, and inspect each iteration. |
| Unexpected text or malformed lettering | Generated lettering is difficult to control. | Ask for no readable text, or add typography in your own design tool after generation. |
| Request times out | Generation or network latency exceeds your client timeout. | Use a longer timeout, queue the work, and retry only transient failures. |
| Costs are higher than expected | High quality, large sizes, repeated retries, or Responses text tokens increase usage. | Log usage, cap retries, cache drafts, and choose quality per workflow stage. |
| Downloaded file is empty | The code saved an error response as if it were image bytes. | Check the HTTP status and parse the error body before writing the file. |
9. Or skip the browser setup
If your goal is to capture a generated image, documentation page, or visual result as a clean asset, ScreenshotNeo provides a website screenshot API and MCP server. One GET request returns PNG, JPEG, WebP, or PDF. It accepts cookie and consent banners before capture, then removes more than 60 known consent platforms, newsletter popups, and chat widgets. Each cleanup step can be turned off.
Only clean shots are billed. Bot checks, CAPTCHAs, blank pages, timeouts, failed loads, and cache hits cost nothing, and the response reports the result with X-Page-Verdict and X-Billed headers. An MCP server provides take_screenshot, get_page_info, and capture_pdf tools for Claude, Cursor, and other MCP clients.
See the ScreenshotNeo API documentation for all options. A minimal capture looks like this:
curl -G "https://api.screenshotneo.com/v1/shot" -d access_key=YOUR_API_KEY --data-urlencode url=https://stripe.com -o shot.webpimport requests
r = requests.get("https://api.screenshotneo.com/v1/shot", params={"access_key": "YOUR_API_KEY", "url": "https://stripe.com"}, timeout=90)
open("shot.webp", "wb").write(r.content)const q = new URLSearchParams({ access_key: 'YOUR_API_KEY', url: 'https://stripe.com' });
const res = await fetch(`https://api.screenshotneo.com/v1/shot?${q}`);Features include full-page capture with lazy images loaded, CSS-selector element capture, dark mode, device presets, custom viewports, retina scale, PDF controls, HTML/CSS rendering, custom CSS and JavaScript, clicks, waits, request blocking, headers, cookies, user agents, authorization, timezone, geolocation, transparent backgrounds, resizing, caching, signed links, asynchronous jobs, signed webhooks, bulk capture of up to 100 URLs per call, usage APIs, and an OpenAPI specification. The free plan includes 1,000 screenshots a month with no card; paid plans start at $5 for 3,000. Create a free ScreenshotNeo account.
10. A practical production checklist
- Choose ChatGPT for interactive creation and an API for repeatable software workflows.
- Use Images API for one generation or edit; use Responses for a conversational, multi-step agent.
- Write the purpose, subject, action, setting, style, composition, and constraints.
- Refine one property at a time and inspect every result.
- Log model, quality, size, usage, latency, and request identifiers.
- Validate status codes before saving bytes.
- Retry transient failures with bounded exponential backoff.
- Check current model access, parameters, and prices immediately before release.
Frequently asked questions
Can I generate images in every ChatGPT plan?
The Help Center states that ChatGPT Images is available on all tiers and on web, iOS, and Android. Availability and rollout details can change, so check the current Help Center for your account.
Should I use Flare or Sunburst?
Start with Flare when speed is the priority. Try Sunburst when quality or editing precision matters more, then compare both on prompts representative of your application.
Can an API request edit an uploaded image?
Yes. Use the Images API edit endpoint or provide an image input in a Responses workflow, and clearly describe both the requested change and what must stay the same.
Do I need a physical drawing tablet or other hardware?
No. The workflow is software-based. ChatGPT mobile can accept a sketch as an optional reference, but no particular peripheral is required.
Why does an image cost more than another image with the same settings?
Token consumption can differ by model, prompt, quality, and output. Measure usage for your own prompts and use the current pricing page rather than a fixed per-image assumption.


