How to Generate Multiple Image Sizes from One Template
Learn how to create reliable image variants from one template with Photoshop, Canva, or an API—and how to check every export before delivery.
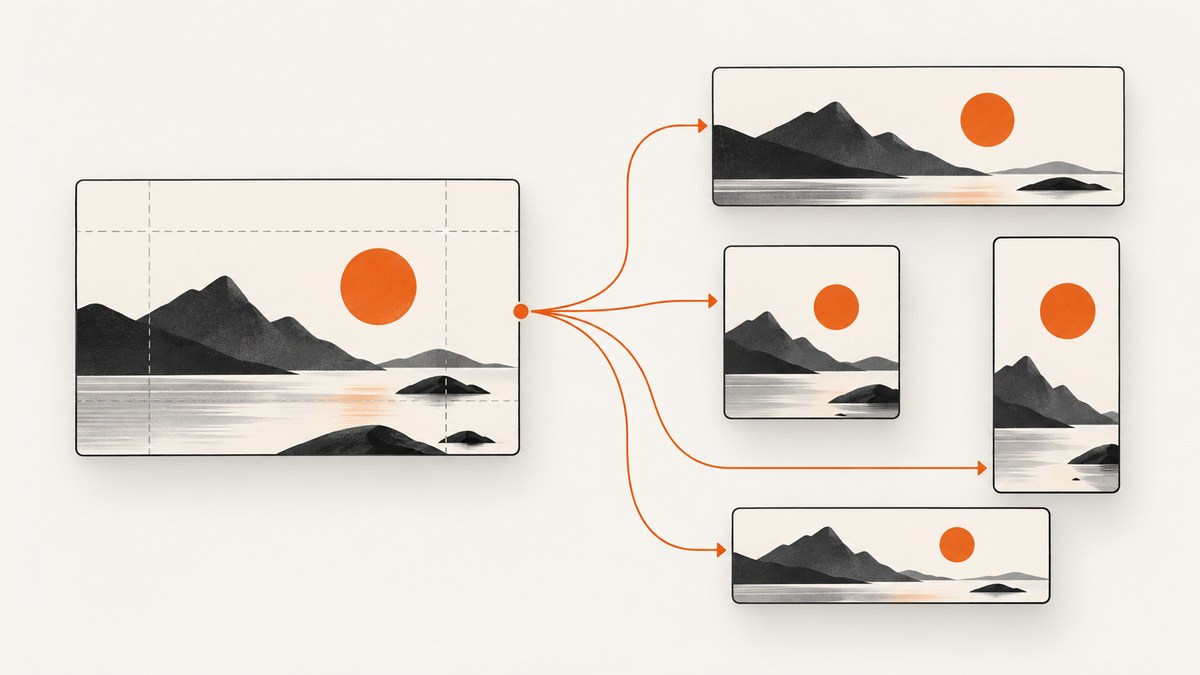
To generate multiple image sizes from one template, define the destination dimensions, make a reusable source design, create separate layouts for aspect ratios that change the composition, and export the required variants together. Use Photoshop artboards for designer-controlled layouts, Canva resizing for quick template copies, or an image rendition API for an automated pipeline. Then inspect every file for dimensions, crop, legibility, format, and naming.
The key decision is whether your target sizes share an aspect ratio. Proportional sizes can usually be exported by scaling. A square post, a wide thumbnail, and a vertical story need different framing; a single crop or uniform resize can cut off important content or leave empty space.
1. Choose a workflow for your output
| Need | Good fit | What to plan for |
|---|---|---|
| A designer-reviewed batch with layout control | Photoshop artboards and Export As | Make separate artboards for aspect ratios that need different composition. |
| Quickly adapting a template to common formats | Canva Resize | Feature availability and limits depend on the current plan and interface. |
| Personalized designs from rows of data | Canva Bulk Create | Connect data columns to placeholders; this is a data-to-design workflow. |
| Programmatic rendition generation | Adobe Firefly Services PSD rendition API | Handle asynchronous jobs and check current access, terms, and service limits. |
Photoshop documents artboards as a way to keep canvases for different screen sizes or design variations in one document. Canva supports resizing to suggested or custom dimensions and selecting multiple formats. Adobe’s PSD rendition API documents requests for multiple output sizes and formats. See the primary documentation for Photoshop artboards, Photoshop Export As, Canva Resize, Canva Bulk Create, and Adobe Firefly Services PSD rendition API.
2. Map sizes and composition before exporting
Write down the exact width, height, file format, and intended placement for every deliverable. Add any safe-area requirements from the destination platform or design brief. This prevents a common mistake: exporting the right-looking file at the wrong pixel dimensions, or preparing one crop that fails in another placement.
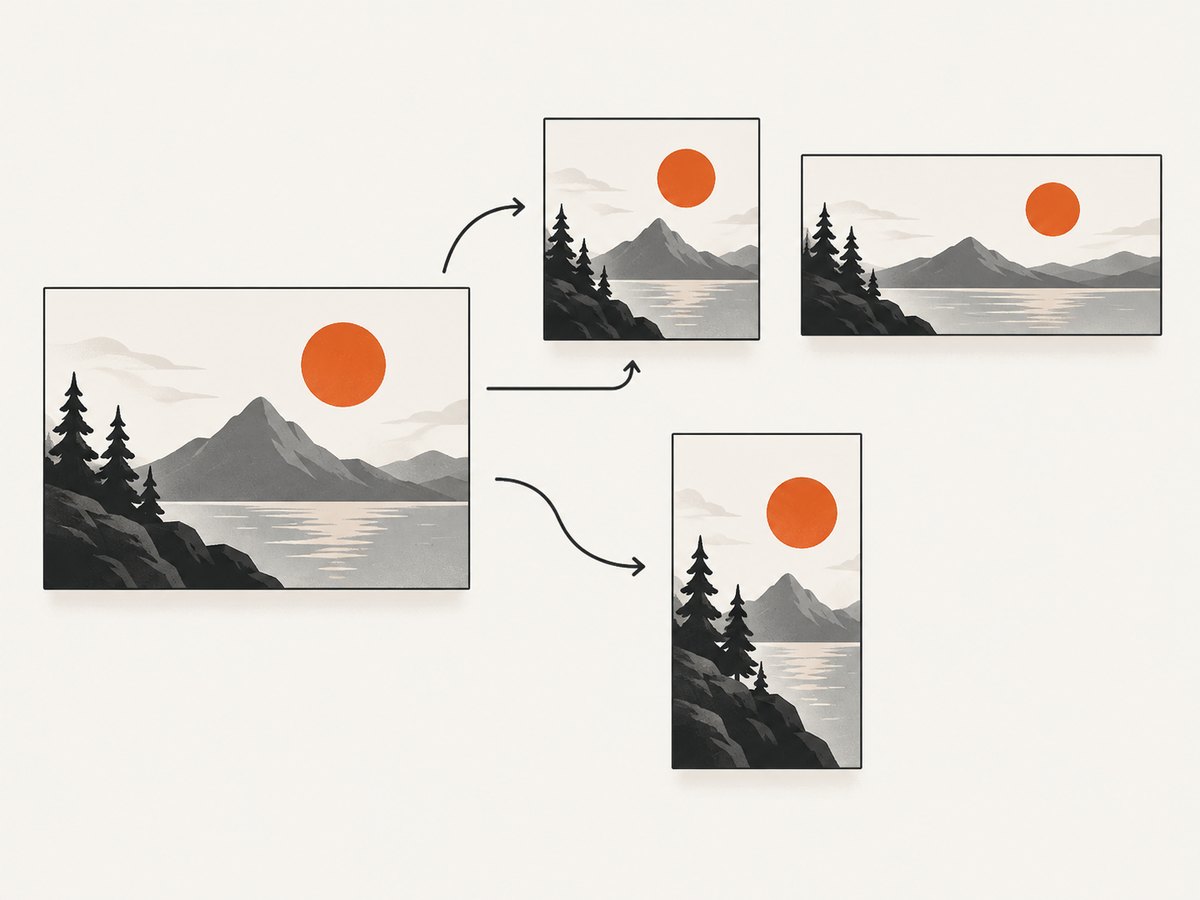
- Group proportional outputs. If dimensions have the same aspect ratio, one composition can often be scaled to each requested resolution. For example, 1200 × 675 and 800 × 450 are both 16:9.
- Separate materially different ratios. Create an alternate composition when a crop changes where the subject, headline, or margin should sit. A 16:9 layout does not automatically become a good 9:16 story by scaling.
- Mark content that must remain visible. Keep logos, text, faces, and important objects away from edges that a crop might remove. Review the smallest output for readable type.
- Specify export properties. Decide PNG, JPEG, or another required format; compression or quality; transparency needs; and a filename convention that records the dimensions or placement.
When a different ratio creates empty canvas or cuts away context, reframe the subject, move text, extend the canvas, or crop deliberately. Adobe’s tutorial demonstrates adapting a 16:9 image to 9:16 and using Generative Expand to fill added canvas. That kind of edit is a composition decision, not a resolution setting.
3. Make variants in Photoshop
- Create a Photoshop document with artboards, or convert existing layers or groups into artboards. Give each artboard a clear name, such as
campaign-wide,campaign-square, orcampaign-story. - Set each artboard to the required dimensions. Reposition the subject and text for each ratio instead of assuming a uniform scale will preserve the layout.
- Check the visible design at its intended display size. Confirm text legibility, margins, subject placement, and any crop or safe-area requirements.
- Choose File > Export > Export As. Select the artboards or layers to export, add the needed relative sizes and suffixes, then set the format and quality.
- Export and inspect the resulting files. Confirm that the suffixes distinguish versions and that each file has the requested pixel dimensions.
Photoshop’s size scaling controls apply to the selected layers or artboards. They help produce multiple resolutions of a layout, while separate artboards preserve distinct compositions. See Adobe’s Export As instructions for the current controls.
4. Resize or personalize a template in Canva
For a small set of format variants, open the design and select Resize. Choose suggested or custom dimensions, select one or more sizes or a format bundle, choose the pages to include, then resize directly or create copies. Review each result before publishing; the resized design may need manual repositioning.
Canva’s help page describes plan eligibility for Magic Resize, selection of up to five new sizes per design, and bulk resizing of up to 50 designs and 250 total outputs per action. Those plan rules, feature labels, and limits can change, so check the current Canva Resize guidance before depending on them.
Use Bulk Create when the variation is data-driven—for example, each row supplies a different title or image. Connect columns in a data source to template placeholders; each row produces a page or design. Canva describes availability on specified paid, education, and nonprofit plans and on desktop in its Bulk Create help. Check current eligibility before building a workflow around it.
5. Generate renditions through an API
Adobe’s PSD rendition documentation shows how to request multiple JPEG, TIFF, or PNG outputs at different sizes. The example starts an asynchronous job and returns a status URL to poll. A production integration therefore needs to submit the request, retain the job identifier or status URL, poll until the job completes or fails, and then retrieve and validate the renditions. Follow the current Adobe API documentation for authentication, request schema, and response details.
Before wiring an API into a delivery pipeline, answer these questions from the current provider documentation and your own requirements:
- Can the service accept the source file and desired output sizes and formats?
- Does it return a job that must be polled, or results synchronously?
- How are failed jobs reported, and can a request be safely retried?
- What account eligibility, current pricing, throughput limits, and retention terms apply?
- How will your pipeline verify dimensions, format, and visual quality before delivery?
The cited API page establishes an asynchronous rendition workflow; it does not establish current pricing, account eligibility, throughput limits, or suitability for a particular production system. Confirm those separately before estimating cost or capacity.
6. Validate the output set
Automation can produce files without proving that each one works as a composition. Use this checklist before handing off a batch:
- Every file has the exact pixel width and height requested.
- The subject and important context are visible in every crop.
- Text remains legible at the actual display size, with margins that suit the destination.
- The file uses the requested format, quality, and transparency behavior.
- Names identify the placement or dimensions and do not overwrite another variant.
- All expected variants are present, and no unintended intermediate files are included.
For repeated batches, keep the size list and naming convention next to the template or pipeline configuration. That gives designers and developers a shared reference when a placement changes.
7. Troubleshooting common problems
| Problem | Likely cause | Fix |
|---|---|---|
| Text or a face is cut off | A new aspect ratio was made by scaling or cropping the original layout without reframing. | Create or adjust a layout for that ratio; move key content inward and inspect the crop. |
| Extra blank space appears | The source ratio is narrower or wider than the target canvas. | Reposition or extend the background, or crop intentionally. Review the whole composition rather than stretching it. |
| Export dimensions are wrong | A relative scale was mistaken for a fixed pixel size, or the wrong artboard was selected. | Check the export size settings and selected artboards, then inspect actual file dimensions. |
| Small version looks soft | The source lacks detail for the requested output, or compression is too aggressive. | Use a suitable source and revise format or quality settings; inspect at the target display size. |
| Canva resize option is missing | The current account plan or interface may not include the feature. | Check Canva’s current eligibility page and use a custom-size copy or another supported workflow. |
| API call appears stuck | The rendition request is asynchronous and the integration is waiting for an immediate file. | Use the returned status URL or job status flow described by the provider; handle in-progress, success, and failure states. |
| Files overwrite each other | Export names lack a unique size or placement suffix. | Add a predictable suffix such as the placement or dimensions and verify the full output list. |
8. Performance, reliability, and cost
For an occasional, designer-reviewed batch, editor exports avoid building an integration. For repeated personalized output, a data-to-template workflow can reduce manual duplication. For application pipelines, API generation can automate renditions, but asynchronous jobs add status handling and failure recovery. Choose based on batch size, how often designs change, and how much visual review each output needs.
Do not assume that API generation is cheaper or faster for your workload from the existence of a rendition endpoint. The cited Adobe documentation does not specify current pricing, throughput, or account eligibility. Check the provider’s current terms and estimate using your actual number of source designs and outputs. Include time for visual checks, retries, and rework when a crop needs a new composition.
Reliability comes from treating generation and validation as separate steps. Keep a manifest of expected variants, make the job status visible, and verify the output set before delivery. If a request fails, retain enough context to retry or reproduce it. For asynchronous processing, avoid treating “job accepted” as “all files are ready.”
Or skip the browser setup
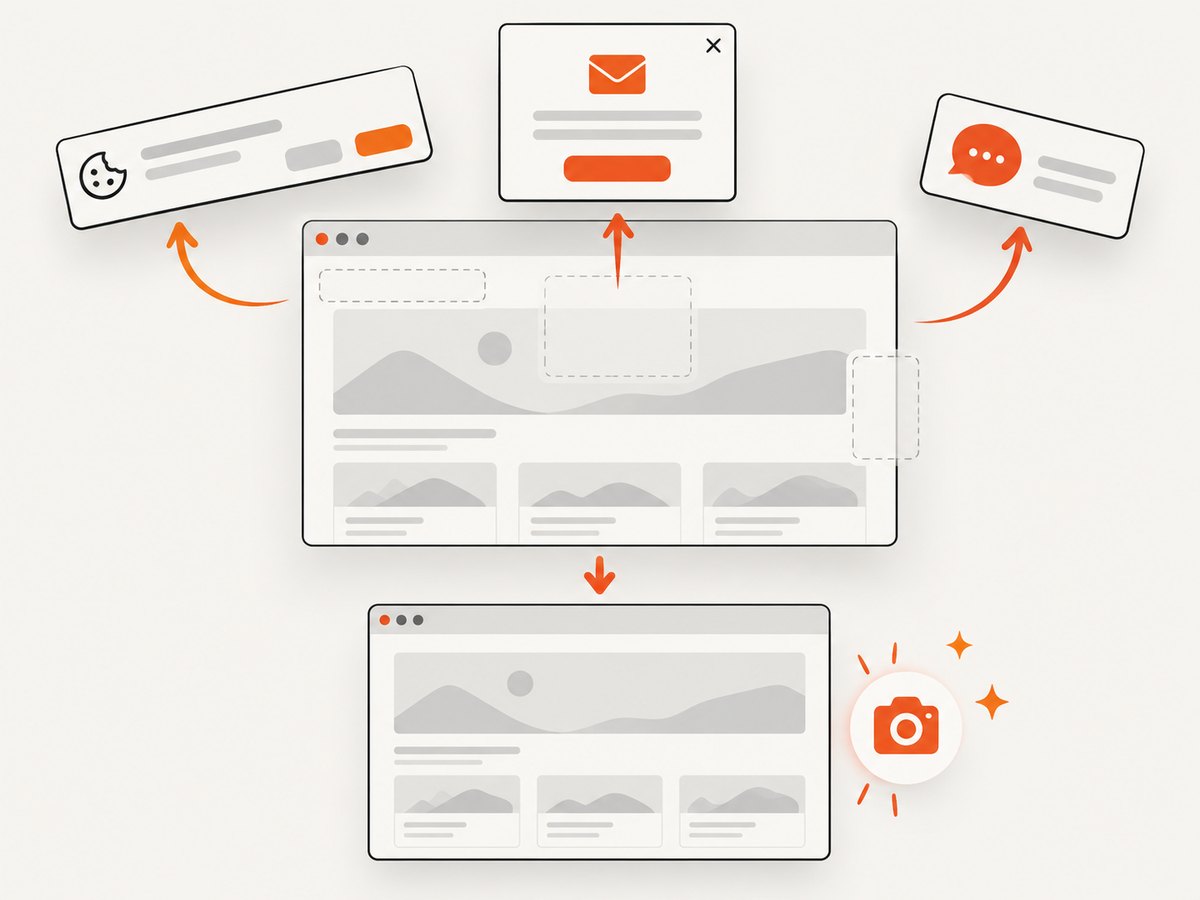
If by image sizes you mean screenshots of a webpage at different viewport sizes, ScreenshotNeo can return a screenshot from one GET request. It is a website screenshot API and MCP server by Yorker Media. The request below captures a page; use the documented viewport and output options to make the variants you need. See the ScreenshotNeo API docs for parameters.
curl -G "https://api.screenshotneo.com/v1/shot" -d access_key=YOUR_API_KEY --data-urlencode url=https://stripe.com -o shot.webpimport requests
r = requests.get(
"https://api.screenshotneo.com/v1/shot",
params={"access_key": "YOUR_API_KEY", "url": "https://stripe.com"},
timeout=90,
)
r.raise_for_status()
open("shot.webp", "wb").write(r.content)const q = new URLSearchParams({ access_key: 'YOUR_API_KEY', url: 'https://stripe.com' });
const res = await fetch(`https://api.screenshotneo.com/v1/shot?${q}`);
if (!res.ok) throw new Error(`Screenshot request failed: ${res.status}`);
await Bun.write('shot.webp', new Uint8Array(await res.arrayBuffer()));For webpage captures, ScreenshotNeo removes cookie banners, newsletter popups, and chat widgets before the shot; each cleanup step can be turned off. Bot checks, blank pages, and failed loads are never billed, and response headers report the page verdict and billing status. Its MCP server lets AI agents use take_screenshot, get_page_info, and capture_pdf. The Free plan includes 1,000 shots per month with no card; paid plans start at $5 for 3,000. All features are on every plan. ScreenshotNeo captures webpages; it does not replace a design editor when a template needs a new composition for a different aspect ratio.
Sign up for 1,000 free screenshots a month, with no card required.
FAQ
Can I use one design for every platform?
You can reuse the source, but review each target ratio. Different placements may need their own framing and text position.
Should I export a large image and let the platform resize it?
That may work for proportional outputs, but it does not ensure a good crop or readable text in every placement. Export and check the exact required dimensions.
Is Bulk Create the same as resizing?
No. Resizing adapts a design to dimensions. Bulk Create maps data to template placeholders to make personalized pages or designs.
What should I automate first?
Start with repetitive, predictable exports and file naming. Keep composition review in the workflow whenever a ratio or content change can affect the design.


