How to Generate Open Graph Images in Swift
Create Open Graph images in Swift with ImageRenderer or UIKit, publish them, and connect them to complete og:image metadata.

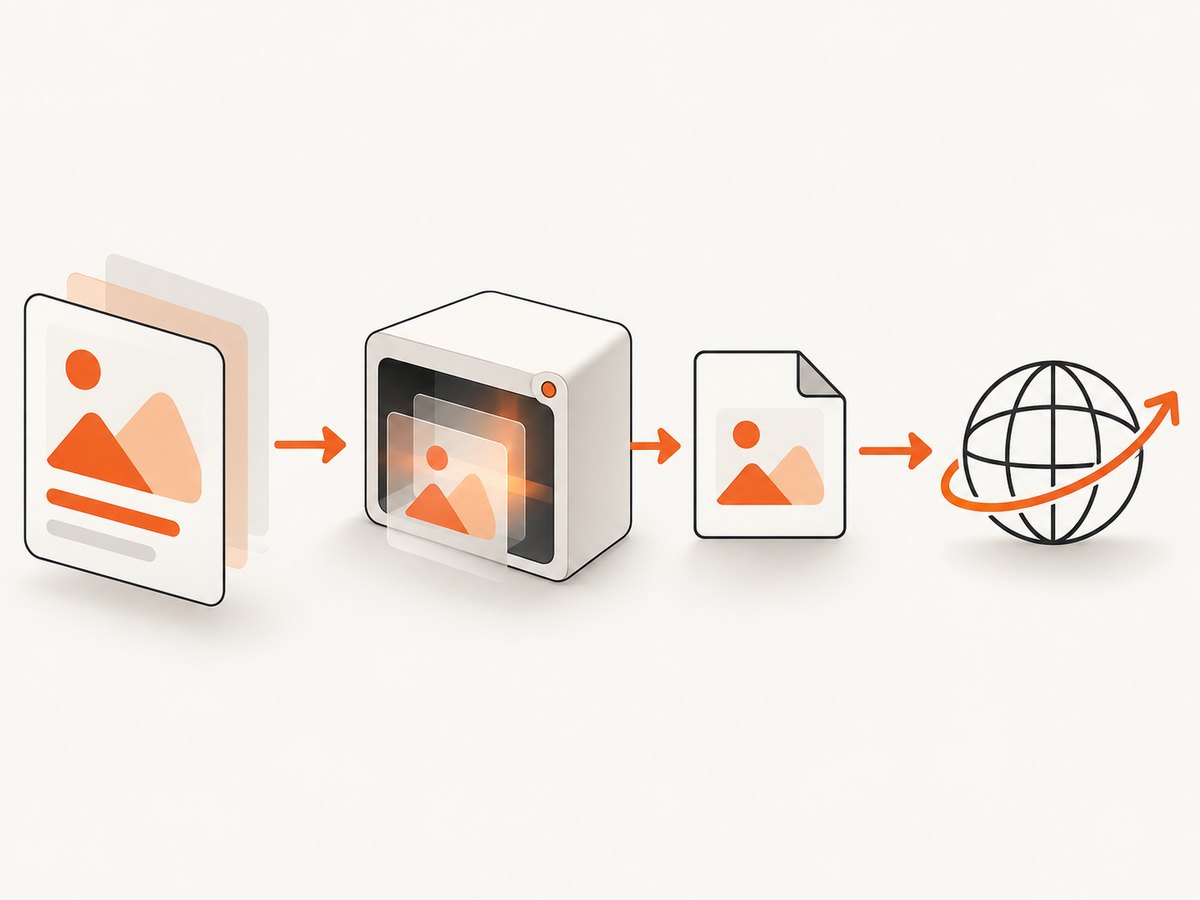
Short answer: draw your social card as a bitmap in Swift, save or upload it to a stable public URL, then point your page’s Open Graph metadata at that URL. Use SwiftUI ImageRenderer when the artwork is a SwiftUI view. Use UIKit’s UIGraphicsImageRenderer when you need explicit Core Graphics drawing or predictable PNG/JPEG byte output. Rendering the file and publishing the metadata are separate jobs.
The Open Graph protocol defines four basic properties: og:title, og:type, og:image, and og:url. Your Swift code creates the image; the HTML head tells crawlers which image represents the page. This guide covers both parts, including complete Swift examples, encoding and upload decisions, cache and layout edge cases, and a browser-based alternative.
1. Choose a rendering path
| Approach | Use it when | Output | Limitation |
|---|---|---|---|
SwiftUI ImageRenderer |
Your card is a SwiftUI composition of text, shapes, images, gradients, or Canvas drawing. | A rasterized image or drawing into a Core Graphics context. | UIKit/AppKit-composited content such as web views and media players may not render as expected. |
UIKit UIGraphicsImageRenderer |
You want explicit drawing instructions, Core Graphics primitives, or direct PNG/JPEG data. | UIImage, PNG data, or JPEG data. |
You are responsible for layout, line wrapping, and drawing coordinates. |
| Browser generator | You need a one-off, manually designed card without a Swift build pipeline. | Usually a downloaded PNG and copied metadata, according to the generator’s documentation. | It is not a runtime or build automation path; verify the destination platform’s requirements. |
Apple documents ImageRenderer and UIGraphicsImageRenderer. The metadata model is defined by the Open Graph protocol.
2. Generate an image with SwiftUI ImageRenderer
Build the card at a fixed logical size. A common template is 1200 by 630 pixels, but that is vendor guidance rather than a universal Open Graph requirement. Confirm the current limits and preview behavior of the social platforms you support.
import SwiftUI

struct SocialCard: View {
    let title: String
    let subtitle: String

    var body: some View {
        ZStack {
            LinearGradient(
                colors: [.indigo, .purple, .black],
                startPoint: .topLeading,
                endPoint: .bottomTrailing
            )

            VStack(alignment: .leading, spacing: 24) {
                Spacer()
                Text(title)
                    .font(.system(size: 72, weight: .bold, design: .rounded))
                    .foregroundStyle(.white)
                    .lineLimit(3)
                Text(subtitle)
                    .font(.system(size: 30, weight: .medium))
                    .foregroundStyle(.white.opacity(0.8))
                Spacer()
                HStack {
                    Text("Example site")
                        .font(.system(size: 24, weight: .semibold))
                    Spacer()
                    Circle()
                        .fill(.white.opacity(0.8))
                        .frame(width: 18, height: 18)
                }
                .foregroundStyle(.white)
            }
            .padding(72)
        }
        .frame(width: 1200, height: 630)
    }
}

@MainActor
func makeOpenGraphPNG(title: String, subtitle: String) throws -> Data {
    let renderer = ImageRenderer(
        content: SocialCard(title: title, subtitle: subtitle)
    )
    renderer.scale = 1

    guard let data = renderer.uiImage?.pngData() else {
        throw NSError(domain: "OGImage", code: 1,
                      userInfo: [NSLocalizedDescriptionKey: "Could not encode PNG"])
    }
    return data
}

let png = try await makeOpenGraphPNG(
    title: "Swift image generation",
    subtitle: "A card generated from a SwiftUI view"
)
try png.write(to: URL(fileURLWithPath: "/tmp/article-card.png"))
ImageRenderer can expose an image or draw into a Core Graphics context. Keep the design inside SwiftUI-rendered primitives when you need predictable output. If a card embeds a web view, media player, or another platform-composited view, capture that component separately or switch to an explicit UIKit/Core Graphics drawing path.
Control pixel density
The view’s point size and output scale are separate decisions. A 1200-point view at scale 1 produces 1200 pixels; a 600-point view at scale 2 also produces 1200 pixels. Set the scale deliberately and inspect the encoded dimensions before publishing. A scale that is too high increases memory use and upload size without improving a platform preview that downsizes the image.
3. Generate PNG or JPEG with UIKit
UIGraphicsImageRenderer is useful when you want direct drawing and explicit encoded bytes. The renderer’s format controls scale, opacity, and color settings; its pngData and jpegData methods perform the encoding.
import UIKit

func makeCardPNG(title: String, subtitle: String) -> Data {
    let size = CGSize(width: 1200, height: 630)
    let format = UIGraphicsImageRendererFormat()
    format.scale = 1
    format.opaque = true

    let renderer = UIGraphicsImageRenderer(size: size, format: format)
    return renderer.pngData { context in
        let bounds = CGRect(origin: .zero, size: size)
        UIColor(red: 0.08, green: 0.06, blue: 0.20, alpha: 1).setFill()
        context.fill(bounds)

        let paragraph = NSMutableParagraphStyle()
        paragraph.lineBreakMode = .byWordWrapping
        paragraph.alignment = .left

        let titleAttributes: [NSAttributedString.Key: Any] = [
            .font: UIFont.systemFont(ofSize: 72, weight: .bold),
            .foregroundColor: UIColor.white,
            .paragraphStyle: paragraph
        ]
        let subtitleAttributes: [NSAttributedString.Key: Any] = [
            .font: UIFont.systemFont(ofSize: 30, weight: .medium),
            .foregroundColor: UIColor.white.withAlphaComponent(0.8),
            .paragraphStyle: paragraph
        ]

        title.draw(in: CGRect(x: 72, y: 120, width: 1056, height: 260),
                   withAttributes: titleAttributes)
        subtitle.draw(in: CGRect(x: 72, y: 430, width: 1056, height: 100),
                      withAttributes: subtitleAttributes)
    }
}

let data = makeCardPNG(title: "Swift image generation",
                       subtitle: "UIKit and Core Graphics output")
try data.write(to: URL(fileURLWithPath: "/tmp/article-card.png"))
Use PNG for sharp text, transparency, and flat graphics. Use JPEG when photographic content makes the smaller lossy file worthwhile. If you need a transparent background, set format.opaque = false and draw without an opaque fill, then verify that the destination platform preserves transparency.
4. Publish the bitmap and add Open Graph metadata
The image must be retrievable at the absolute URL placed in og:image. Upload the generated bytes to your web host, object storage, or deployment artifact, and make sure the URL works without an authenticated session. Keep the URL stable when possible; changing filenames on every build can leave crawlers with stale or broken references.
<head>
  <meta property="og:title" content="How to Generate Open Graph Images in Swift" />
  <meta property="og:type" content="article" />
  <meta property="og:url" content="https://example.com/swift-og-images" />
  <meta property="og:image" content="https://example.com/images/swift-og-images.png" />
  <meta property="og:image:type" content="image/png" />
  <meta property="og:image:width" content="1200" />
  <meta property="og:image:height" content="630" />
  <meta property="og:image:alt" content="A Swift-generated gradient card about Open Graph images" />
</head>
The four required properties are og:title, og:type, og:image, and og:url. The image structured properties include type, width, height, secure URL, and alt text. Add dimensions and MIME type when you know them, and always provide concise alt text for an image. The 1200 by 630 values above are an example, not a protocol mandate.
Canonical URL and image URL rules
- Use the canonical page URL in
og:url, including the correct scheme and host. - Use an absolute HTTPS image URL that a crawler can fetch directly.
- Return the correct
Content-Type, such asimage/pngorimage/jpeg. - Do not rely on JavaScript to insert Open Graph tags; place them in the server-rendered HTML head.
- Keep the image within the target platform’s current byte and dimension limits, then check an actual share preview.
5. Handle dynamic titles, fonts, and layout safely
Dynamic content is where most generated cards fail. Long titles can clip, overlap the footer, or become unreadable after a platform downsizes the image.
- Define a maximum title length or calculate the available height before drawing.
- Use word wrapping and a bounded line count. Reserve space for the subtitle and branding.
- Load the exact fonts before rendering. A fallback font can change line breaks and invalidate your layout.
- Escape user-provided text as text, never as markup. The renderer draws characters; it does not sanitize HTML for you.
- Render a set of representative strings: short, very long, accented, right-to-left, and emoji-containing titles.
For server-side or command-line generation, keep the drawing code deterministic. Avoid timestamps, random gradients, remote assets, or locale-dependent formatting unless those changes are intentional. Deterministic output makes caching and visual review easier.
6. Troubleshooting
| Symptom | Likely cause | Fix |
|---|---|---|
| The image is blank or missing. | The renderer returned no image, the file was not written, or the URL is private. | Check the optional renderer result, verify the saved byte count, request the public URL without cookies, and confirm the response MIME type. |
| Text is clipped. | The title exceeds the fixed drawing rectangle or uses a different fallback font. | Measure text, reduce the font size, increase the card height, or cap the line count and add an ellipsis. |
| SwiftUI content does not appear. | The view contains UIKit/AppKit-composited content such as a web view or media player. | Replace it with SwiftUI primitives or render that component through UIKit/Core Graphics. |
| The preview shows an old card. | A crawler or intermediary cached the previous image or metadata. | Keep URLs stable for production, use a versioned filename when you intentionally replace an image, and recheck the destination’s current cache-refresh process. |
| The card looks blurry. | The output scale is too low or the platform resized a small source upward. | Render at the intended pixel dimensions, set the renderer scale explicitly, and inspect the final encoded file. |
| Transparent areas become black or white. | The renderer was configured as opaque or the destination does not preserve alpha. | Set opaque to false, export PNG, and verify the platform’s transparency behavior. |
| Metadata is ignored. | Tags are missing, malformed, relative, or only inserted client-side. | Put complete absolute tags in the server HTML head and validate the page source, not only the rendered DOM. |
7. Performance, reliability, and cost
Rendering is generally easiest to operate as a build or publish step: generate once, upload once, and serve the immutable file through your normal web stack. If you generate on demand, bound memory use, avoid unbounded title lengths, and cache by a key containing every visual input. A cache key that omits the theme, locale, or title can return the wrong card.
PNG size depends on dimensions and graphic complexity; JPEG size depends on quality and photographic detail. Measure your own output rather than assuming one format is always smaller. Keep a failed upload from publishing metadata that points to a missing file: upload first, verify a successful response, then update the page.
Open Graph itself does not promise a universal image dimension, preview timing, or cache-refresh interval. The protocol describes metadata fields; individual destinations decide how and when they fetch, resize, cache, and display the image. Treat preview checking as part of your release process.
8. Or skip the browser setup
If your goal is to capture an existing web page or hosted design rather than draw a card in Swift, ScreenshotNeo returns a screenshot from one GET request. It can capture PNG, JPEG, WebP, or PDF, and it supports custom CSS and JavaScript when you need the page to become a social image.

curl -G "https://api.screenshotneo.com/v1/shot" -d access_key=YOUR_API_KEY --data-urlencode url=https://stripe.com -o shot.webpimport requests
r = requests.get("https://api.screenshotneo.com/v1/shot", params={"access_key": "YOUR_API_KEY", "url": "https://stripe.com"}, timeout=90)
open("shot.webp", "wb").write(r.content)const q = new URLSearchParams({ access_key: 'YOUR_API_KEY', url: 'https://stripe.com' });
const res = await fetch(`https://api.screenshotneo.com/v1/shot?${q}`);See the ScreenshotNeo API documentation for the request options and response headers. Cookie and consent banners, newsletter popups, and chat widgets are removed before the shot. Bot checks, blank pages, timeouts, failed loads, and cache hits are not billed, and the response identifies the result with X-Page-Verdict and X-Billed headers. An MCP server provides take_screenshot, get_page_info, and capture_pdf tools for Claude, Cursor, and other MCP clients. The free plan includes 1,000 screenshots a month with no card; paid plans start at $5 for 3,000 shots. Create a free ScreenshotNeo account.
9. FAQ
Does Open Graph require a 1200×630 image?
No. That size is common template guidance. The protocol defines metadata properties, while each destination can apply its own recommendations and limits.
Should I use PNG or JPEG?
PNG is usually appropriate for text, vectors, transparency, and flat gradients. JPEG can be smaller for photographic artwork. Compare the encoded size and visual quality of your actual cards.
Can ImageRenderer capture a web page?
It is intended for SwiftUI-rendered content. Apple warns that native UIKit/AppKit frameworks, including web views and media players, may not be captured as expected. Use explicit drawing or a browser screenshot service for web content.
Where should generation run?
Run it during a build or publishing job when the card is stable. Generate on demand only when the design depends on request-time data and you have bounded memory, deterministic caching, and a reliable upload path.
What is the minimum metadata I need?
Provide og:title, og:type, og:image, and og:url. Add image type, dimensions, secure URL, and alt text when applicable.