How to Generate Google Play Store Screenshots Online for Free
Create compliant Google Play screenshots without Photoshop: capture real app screens, format them online, and upload them correctly.
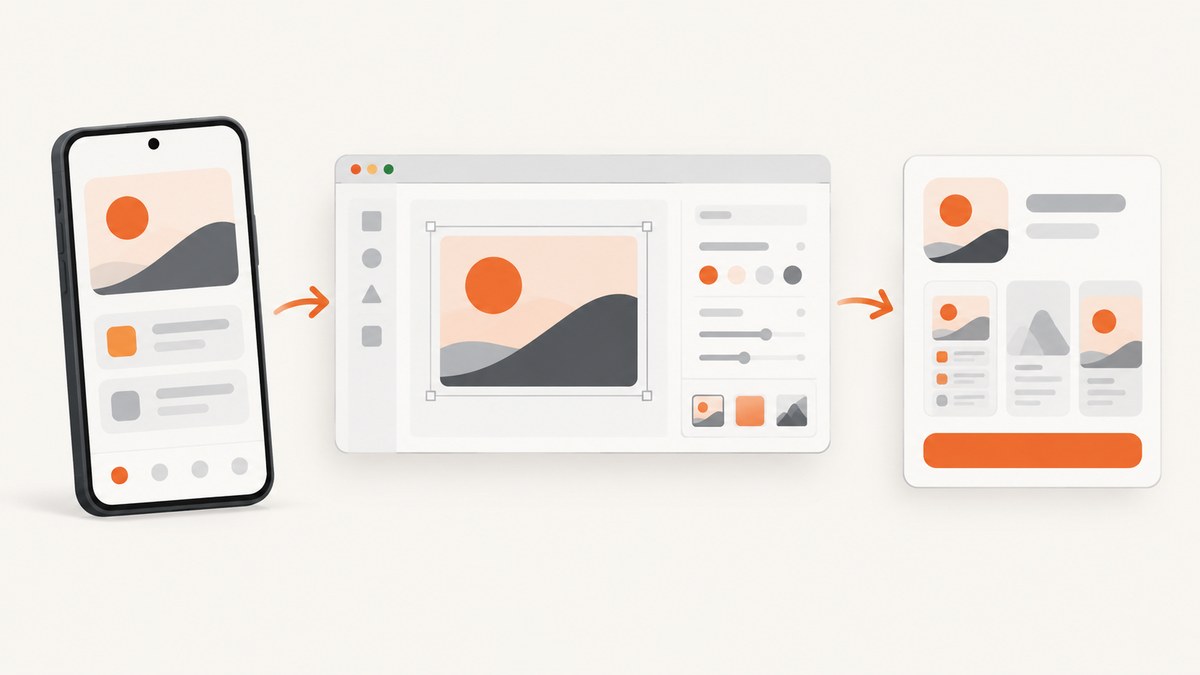
Yes, you can create Google Play Store screenshots online for free. Start with authentic captures from your Android app or emulator, then use a browser editor such as Playril to arrange and export them. Before uploading, check Google Play’s current file, size, aspect-ratio, device-type, and content rules.
This workflow avoids Photoshop and Figma for straightforward jobs. You still need real app screens: Google says screenshots must demonstrate the actual in-app experience and focus on core features.
1. The free workflow at a glance
- Capture clean screens from a real Android phone or Android Studio emulator.
- Choose screens that show the app’s main value in the first three images.
- Upload the captures to a browser editor such as Playril.
- Choose a phone or tablet canvas, add optional background treatment and short supporting messaging, and export JPEG or 24-bit PNG files.
- Validate dimensions and aspect ratio against Play Console’s requirements.
- Upload the files under Grow users > Store presence > Main store listing, then organize reusable versions in Asset Library.
Playril describes itself as free, browser-based, with no sign-up and no watermark. Those are vendor claims, so confirm the current availability and limits before publishing.
2. Capture authentic app screens first
Use an Android phone
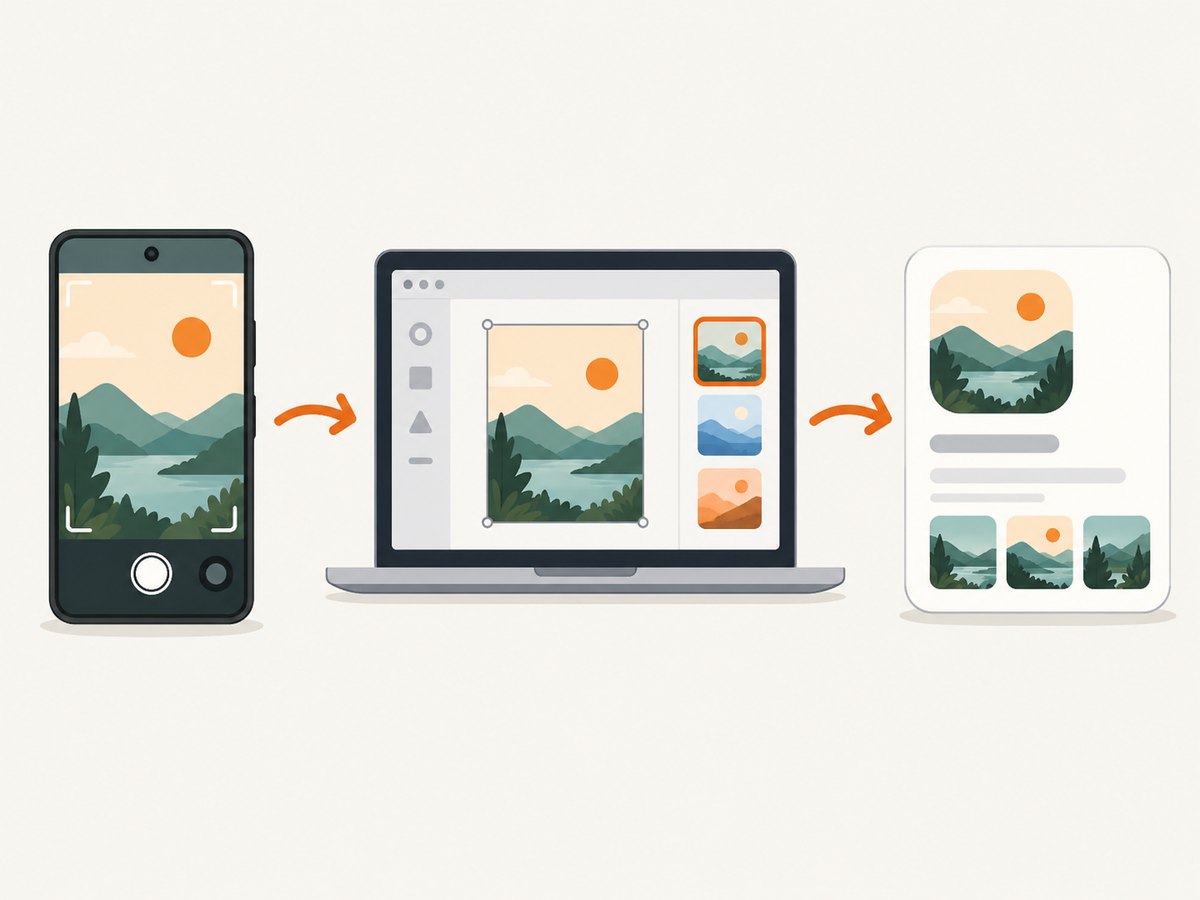
Open the current release of your app, navigate to the exact states you want users to understand, and capture each screen without notification banners or unrelated overlays. On many Android devices, press and hold Power + Volume Down at the same time. The exact gesture can vary by manufacturer.
Use Android Studio
Run the app in an Android Studio emulator, navigate to the same states, and use the emulator’s screenshot control. This is useful when you need repeatable captures for several device sizes or cannot access a physical phone.
Capture checklist
- Use the current production UI, not an obsolete mockup.
- Show the feature or result a new user cares about in each frame.
- Remove test data, debug banners, personal information, and expired promotions.
- Capture enough states for phone and tablet device types you support.
- Keep the interface legible; avoid shrinking several screens into one unreadable collage.
- Do not rely on fingers, people, or decorative device frames to explain the product. Google recommends keeping the app UI prominent and avoiding people or fingers unless that interaction is core to the experience.
3. Make screenshots online with a browser editor
Step 1: Prepare your source files
Keep the original PNG files from your phone or emulator. Name them by screen and sequence, for example 01-dashboard.png, 02-search.png, and 03-export.png. Do not repeatedly recompress the same JPEG; export once at the end.
Step 2: Upload to Playril
Playril’s stated purpose is to produce Google Play assets without Photoshop or Figma. Upload your captures, select the phone, 7-inch tablet, or 10-inch tablet format you need, and arrange the screens in the order users should see them.
Step 3: Add supporting design carefully
You can add a background, color treatment, and short explanatory messaging around the screenshot. Keep the actual app surface large enough to read. The first three images should communicate the core experience even when viewed as small listing thumbnails.
Step 4: Export and inspect
Export JPEG or 24-bit PNG. Open every exported file at 100% zoom and check for clipped UI, unreadable text, accidental transparency, and incorrect ordering. Keep an unedited copy of every source capture so you can revise the set later.
A small browser-side dimension check
If you are preparing many files, this standalone page reports each image’s dimensions and aspect ratio before upload:
<!doctype html>
<input id="files" type="file" accept="image/png,image/jpeg" multiple>
<pre id="output"></pre>
<script>
const input = document.querySelector('#files');
const output = document.querySelector('#output');
input.addEventListener('change', () => {
  output.textContent = '';
  [...input.files].forEach(file => {
    const image = new Image();
    image.onload = () => {
      const longest = Math.max(image.width, image.height);
      const shortest = Math.min(image.width, image.height);
      const ratio = (longest / shortest).toFixed(3);
      const sizeOK = longest >= 320 && longest <= 3840 && shortest >= 320;
      const ratioOK = longest <= shortest * 2;
      output.textContent += `${file.name}: ${image.width}x${image.height}, ratio ${ratio}, ` +
        `size ${sizeOK ? 'OK' : 'CHECK'}, aspect ${ratioOK ? 'OK' : 'CHECK'}\n`;
      URL.revokeObjectURL(image.src);
    };
    image.src = URL.createObjectURL(file);
  });
});
</script>
4. When Figma or another design tool is the better choice
A manual design tool gives you precise control over typography, spacing, localization, and reusable templates. Expo’s documentation describes a common approach: combine actual screenshots (or designs) with supporting messaging. Choose this route when you need a branded campaign, many language variants, or a template that will be updated repeatedly.
For a one-off listing, a browser editor is usually faster. For a large catalog, create a master layout with fixed safe areas and replace only the captured screens and localized text.
5. Google Play screenshot requirements to verify
| Rule | Current guidance | Practical check |
|---|---|---|
| Minimum listing coverage | At least two screenshots across different device types for a normal listing | Prepare the device categories your app supports, rather than uploading two near-identical phone images. |
| Recommendation eligibility | At least four screenshots at a minimum 1080-pixel dimension; 1920×1080 landscape or 1080×1920 portrait are the stated examples | Keep a four-image, 1080-pixel set ready if recommendation eligibility matters. |
| File type | JPEG or 24-bit PNG | Export one of these formats and open the files before upload. |
| Dimensions | Minimum 320 px, maximum 3840 px | Check both width and height; a single small dimension can fail validation. |
| Aspect ratio | The longest side cannot exceed twice the shortest side | Reject files wider or taller than 2:1. |
| Quantity | Up to eight screenshots for each supported device type | Order the strongest eight or fewer images for each category. |
| Content | Show the actual in-app or in-game experience and focus on core features | Use real screens and keep UI prominent in the first three images. |
Google’s device-art guidance also warns against using its generated device graphics as your feature image or screenshots; submitting the screenshot alone without framing is recommended. Device frames can still be useful in promotional mockups outside the screenshot assets.
6. Upload and maintain versions in Play Console
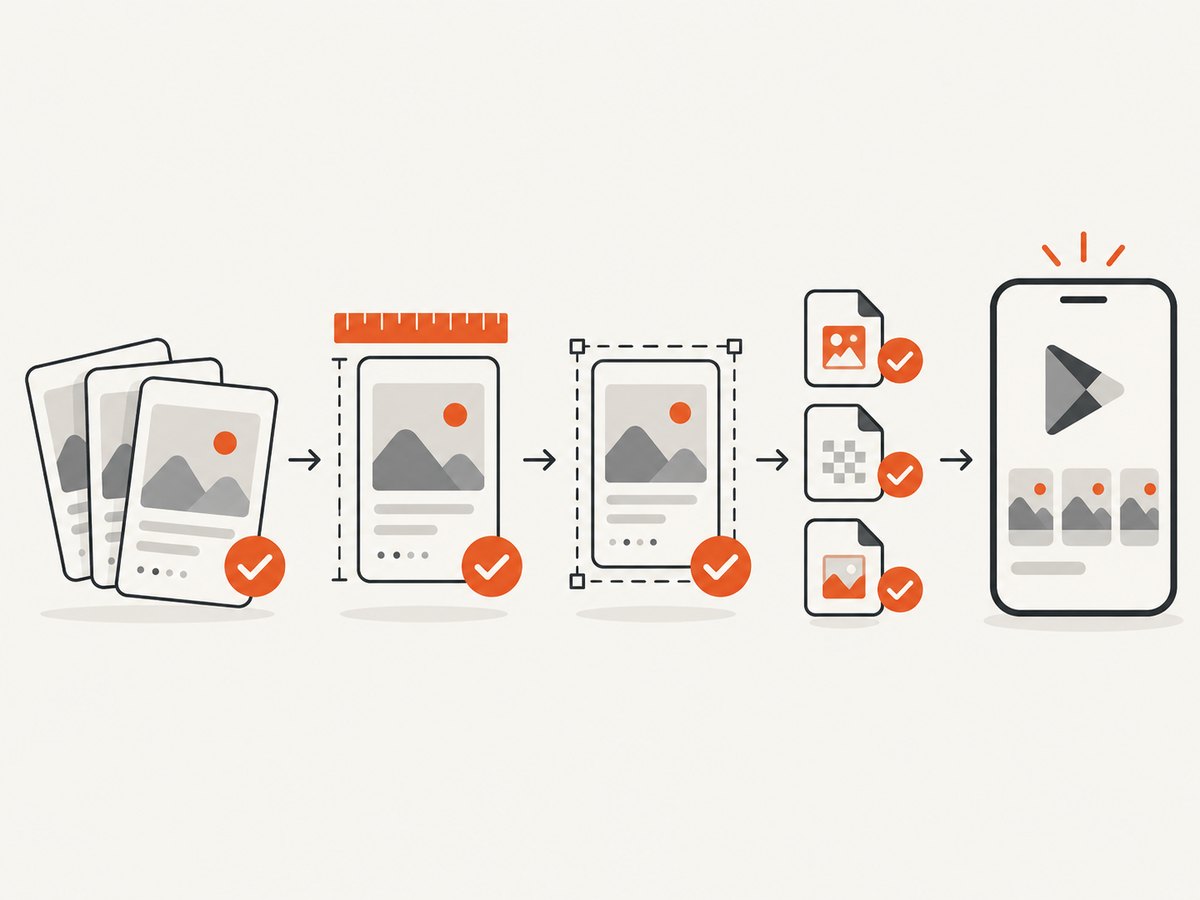
- Open your app in Play Console.
- Go to Grow users > Store presence > Main store listing.
- Select the appropriate device type and upload the files in their intended order.
- Review the preview at thumbnail size and on a full listing page.
- Save the approved files in Asset Library with clear tags and version names.
Google’s Asset Library is a central place to upload, reuse, filter, tag, and crop assets across the main listing, custom listings, experiments, and events. Keep a source version and an exported version so a future UI change does not force you to rebuild the artwork from memory.
7. Troubleshooting common failures
| Symptom | Likely cause | Fix |
|---|---|---|
| Play Console rejects the file type | Animated PNG, unsupported JPEG mode, or another format | Export a standard JPEG or 24-bit PNG and recheck the file extension and metadata. |
| Image is below the minimum | One dimension is under 320 px | Return to the original capture or export at a larger canvas; do not upscale a blurry thumbnail. |
| Aspect-ratio error | Longest side is more than twice the shortest | Use a portrait or landscape canvas within the 2:1 limit, then place the screenshot inside it. |
| Text is unreadable in the listing | Too much copy or an overly reduced screenshot | Shorten the message, enlarge the app surface, and prioritize the first three images. |
| Screenshot does not match the shipped app | Captured from a debug build or old release | Install the current production build and recapture the affected states. |
| Tablet listing looks stretched | Phone capture placed on a tablet canvas without checking layout | Capture a tablet layout when supported; otherwise use a clean composition that preserves the phone screen’s proportions. |
| Browser editor export has unexpected cropping | Canvas preset or safe-area setting changed the crop | Inspect the preview at 100%, compare with the source, and export again with the intended device preset. |
| Old artwork keeps appearing | Cached local file or stale Asset Library copy | Use versioned filenames, remove obsolete copies, and confirm the preview after saving. |
8. Performance, reliability, and cost notes
- Capture cost: Android Studio and a device screenshot function do not require a design subscription. Browser editors may change their free limits, so verify the current vendor terms.
- Time: Capture once from a stable build, then reuse the originals for phone, tablet, experiments, and localized listings.
- Quality: Work from original PNG captures and export only once. Repeated JPEG compression makes text and thin lines harder to read.
- Reliability: Keep a local archive with the app version, device category, capture date, source files, and final exports. This makes rollback possible when a release changes the UI.
- Device coverage: Plan separately for phone, tablet, Chromebook, TV, Wear OS, Automotive, or XR listings where your app supports them; a phone-only set does not demonstrate those experiences.
9. Or skip the browser setup
If your source material is already a public web page, ScreenshotNeo can return a screenshot or PDF with one GET request. Its capture options include full-page shots with lazy images loaded, CSS-selector element capture, device presets or custom viewports, retina scale, dark mode, custom CSS and JavaScript, click and wait actions, request blocking, headers, cookies, user agent, timezone, geolocation, resizing, caching, signed links, asynchronous jobs, bulk capture, and usage reporting. See the ScreenshotNeo documentation for parameter details.
For a Google Play page or web-based app preview, the basic calls are:
cURL
curl -G "https://api.screenshotneo.com/v1/shot" -d access_key=YOUR_API_KEY --data-urlencode url=https://play.google.com/store/apps/details?id=com.example.app -o shot.webpPython
import requests
r = requests.get("https://api.screenshotneo.com/v1/shot", params={"access_key": "YOUR_API_KEY", "url": "https://play.google.com/store/apps/details?id=com.example.app"}, timeout=90)
open("shot.webp", "wb").write(r.content)
Node.js
const q = new URLSearchParams({ access_key: 'YOUR_API_KEY', url: 'https://play.google.com/store/apps/details?id=com.example.app' }); const res = await fetch(`https://api.screenshotneo.com/v1/shot?${q}`);Cookie banners, newsletter popups, and chat widgets are removed before the shot. Bot checks, blank pages, timeouts, failed loads, and cache hits are not billed, and response headers identify the page verdict and billing state. An MCP server lets AI agents use take_screenshot, get_page_info, and capture_pdf. The Free plan includes 1,000 screenshots each month with no card; paid plans start at $5 for 3,000 shots.
Create a free ScreenshotNeo account and start with the included 1,000 screenshots.
10. FAQ
Can I submit screenshots made entirely in a browser?
Yes, if the final images accurately show the real app experience and meet Play’s file, dimension, aspect-ratio, and device-type rules. A browser editor arranges the assets; it does not replace the need for authentic app screens.
Do I need Photoshop or Figma?
No. A browser editor such as Playril can handle basic layouts. Use Figma or another design tool when you need reusable branded templates, detailed typography control, or many localized variants.
Should I add a phone frame?
Use framing only when it helps a promotional design outside the submitted screenshot. Google recommends the screenshot alone without framing for the listing assets.
How many screenshots should I prepare?
Prepare at least two across different device types for a normal listing, up to eight per supported device type, and a four-image set at 1080 pixels if you are targeting recommendation eligibility.
Can I reuse the same image for phone and tablet?
You can reuse an asset when it accurately represents the experience, but a true tablet capture is clearer when the layout changes at larger widths.


